

GPT AI Content Creator
User Guide
WordPress | 6.2 * |
GPT AI Content Creator | 1.0 * |
*When using other versions some differences are possible to occur
** Screenshots were taken from a PC
Table of Contents
You can download the GPT AI Content Creator plugin here https://bestwebsoft.com/products/wordpress/plugins/gpt-ai-content-creator/
1. Introduction
Note: Сlick the “Save Changes” button in order to apply any changes. |
1.1. Open your WordPress Admin Dashboard and find the menu on the left.
1.2. Go to the “GPT AI Content Creator” > “Settings” on your dashboard.

2. Settings
Use the “Settings” tab to change the global settings of the plugin.
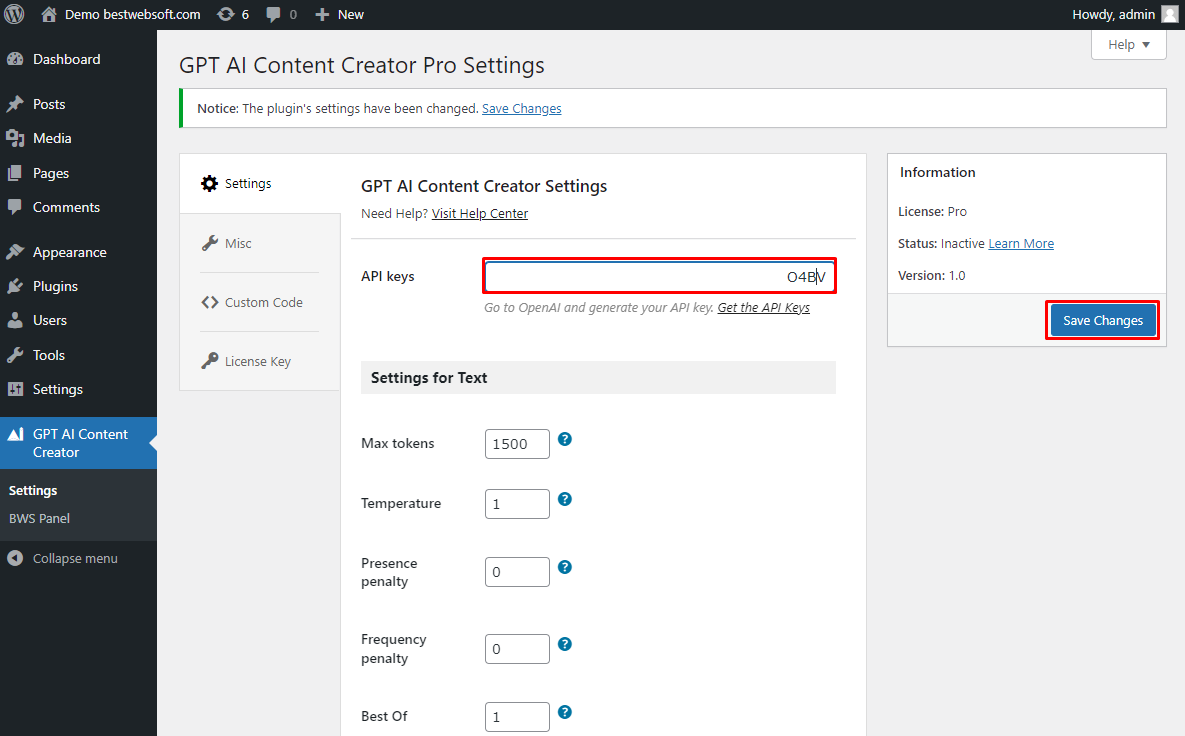
2.1. API keys
Use the “API keys” option to insert the OpenAI API key from your own account.

2.1.1. To obtain your API key click the “Get the API Keys” link and Log in to your OpenAI account.

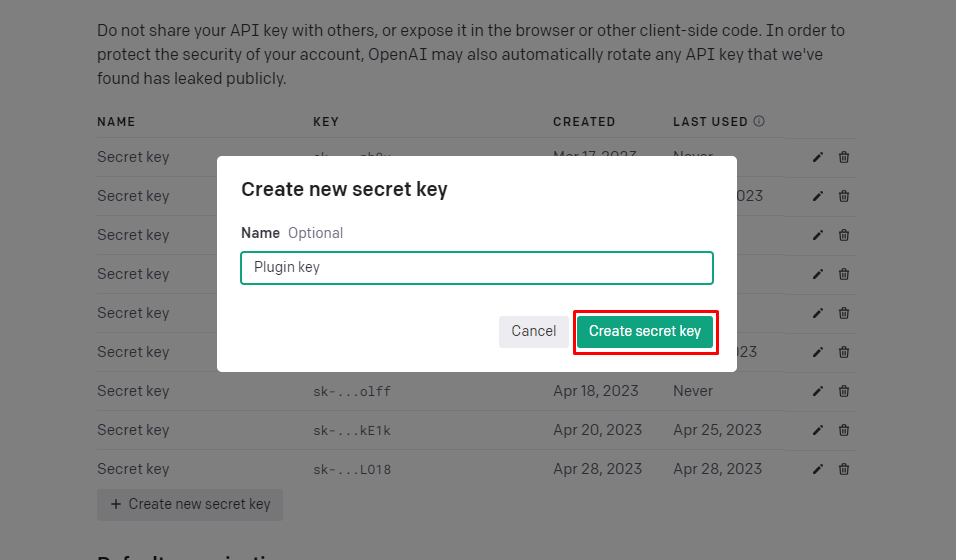
2.1.2. On the API Keys page click the “Create new secret key” button.

2.1.3. Type the name for the key (optional) and click the “Create secret key” button.
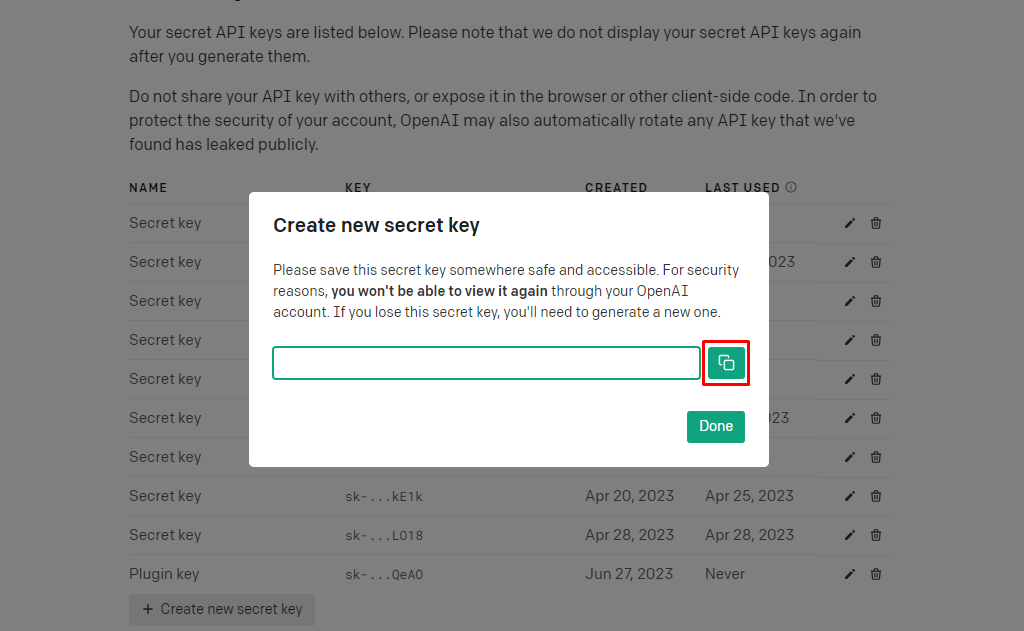
2.1.4. Copy your API key.
2.1.5. Insert the key to the “API keys” option field on the plugin settings page and save changes.
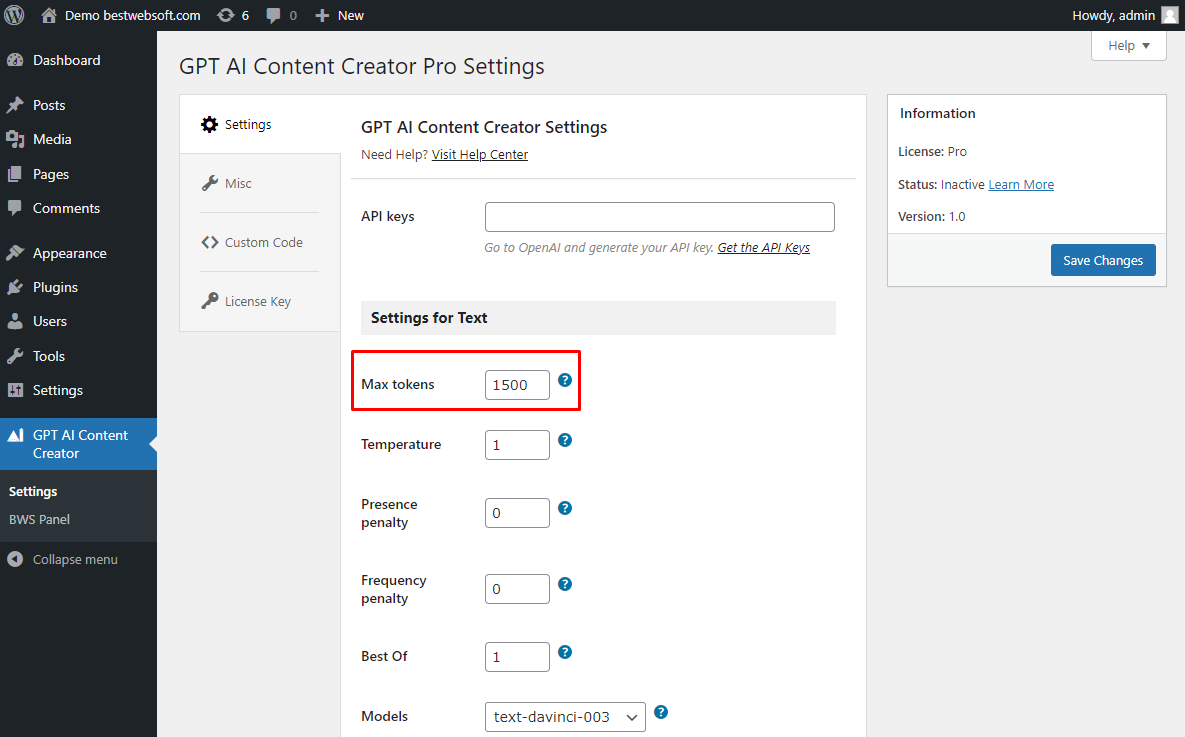
2.1. Max Tokens
Use the “Max Tokens” option to set the maximum number of tokens (words and punctuation marks) that the model is allowed to generate in its response. This can be used to control the length of the generated text.
2.2. Temperature
Use the “Temperature” option to control the randomness and creativity of the model's responses. A higher temperature will result in more unpredictable and diverse responses, while a lower temperature will produce more conservative and predictable responses.

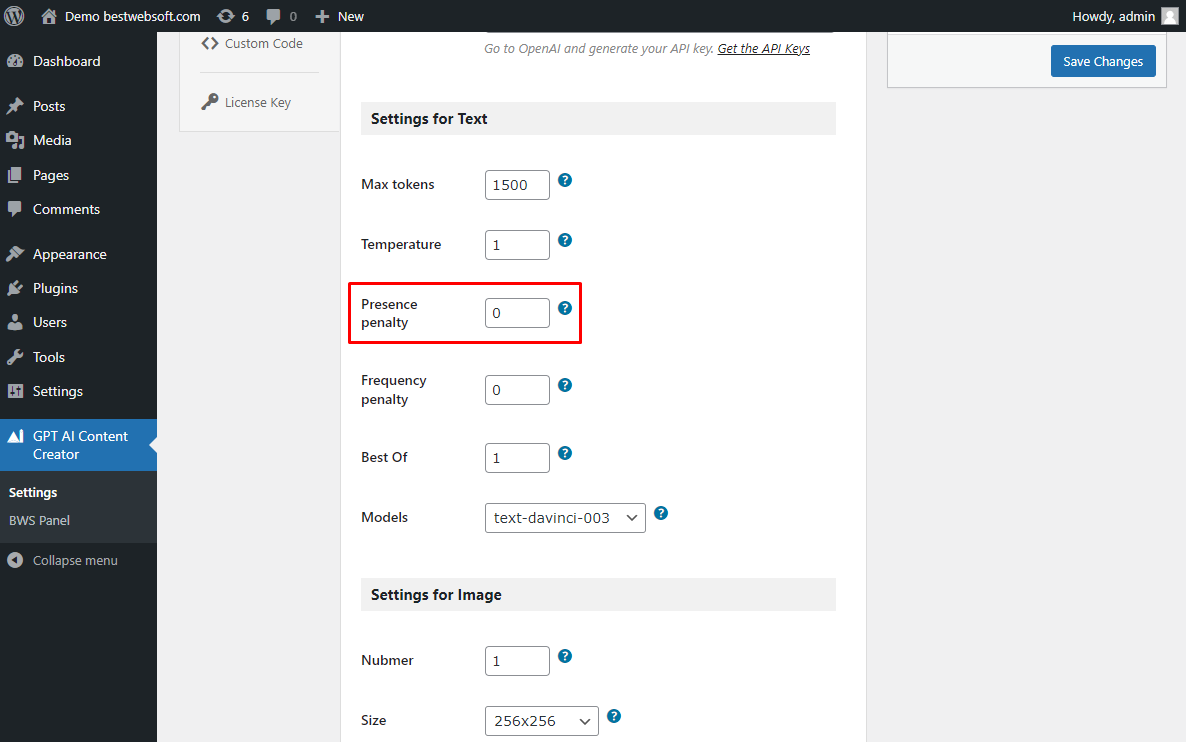
2.3. Presence penalty
Use the “Presence penalty” option to penalize the model for using certain words or phrases in its response. This can be used to encourage the model to generate more diverse and original responses.
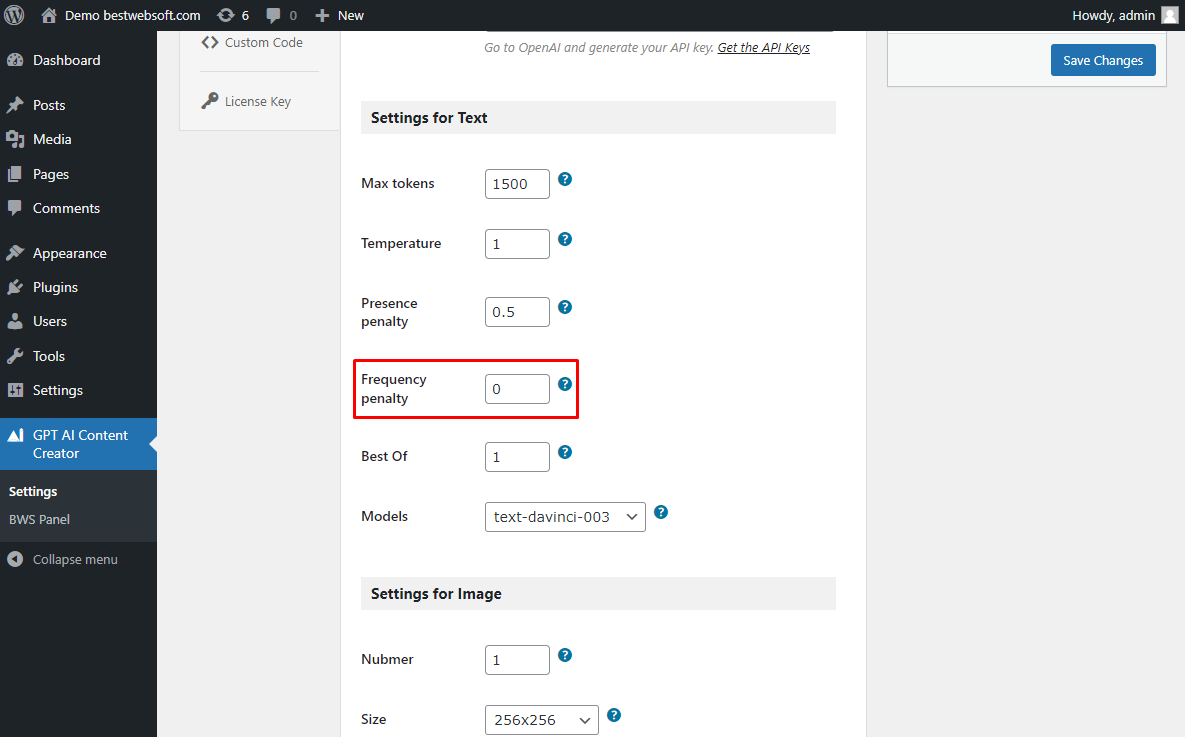
2.4. Frequency penalty
Use the “Frequency penalty ” option to penalize the model for repeating certain words or phrases in its response. This can be used to encourage the model to generate more varied and natural-sounding responses.
2.5. Best Of
Use the “Best Of” option to control how many of the model's generated responses are returned to the user. For example, setting best of to 3 will result in the model generating 3 different responses, and returning the one that it deems to be the best. This can be used to increase the likelihood of getting a high-quality response from the model.

2.6. Models
The “Model” option refers to the specific version of the GPT-3 architecture that is being used. There are several different versions of the GPT-3 model available, each with different levels of complexity and computational power.

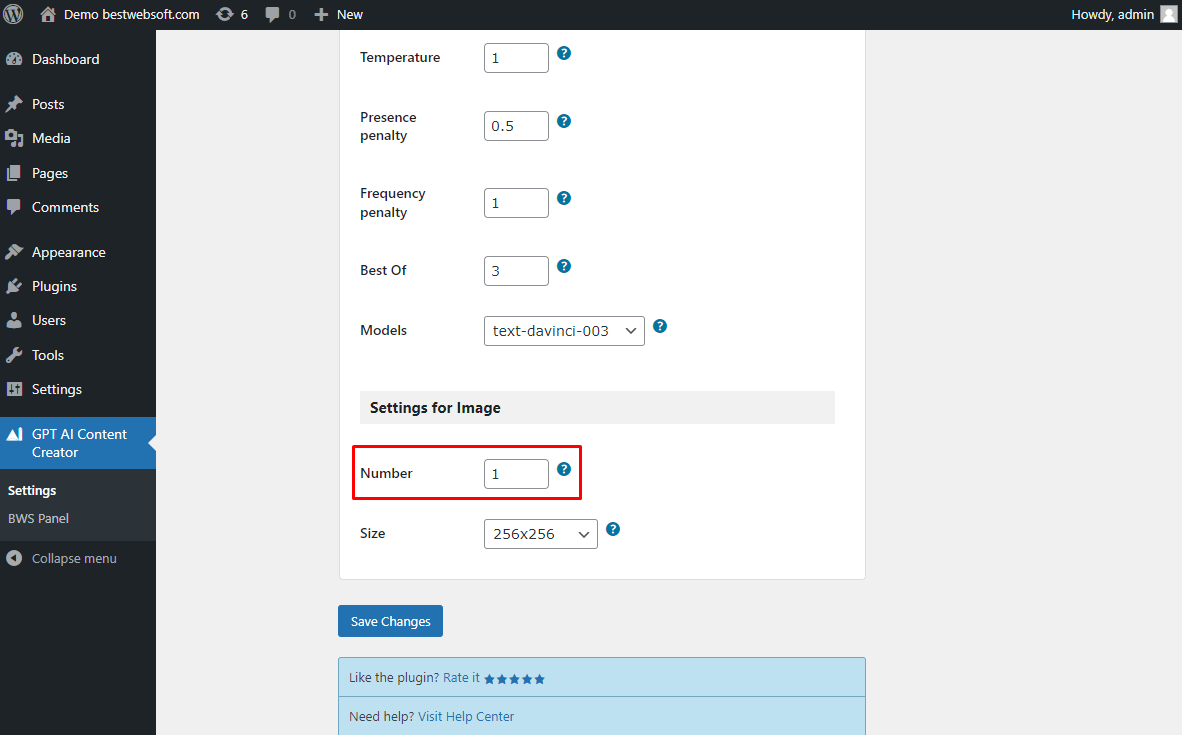
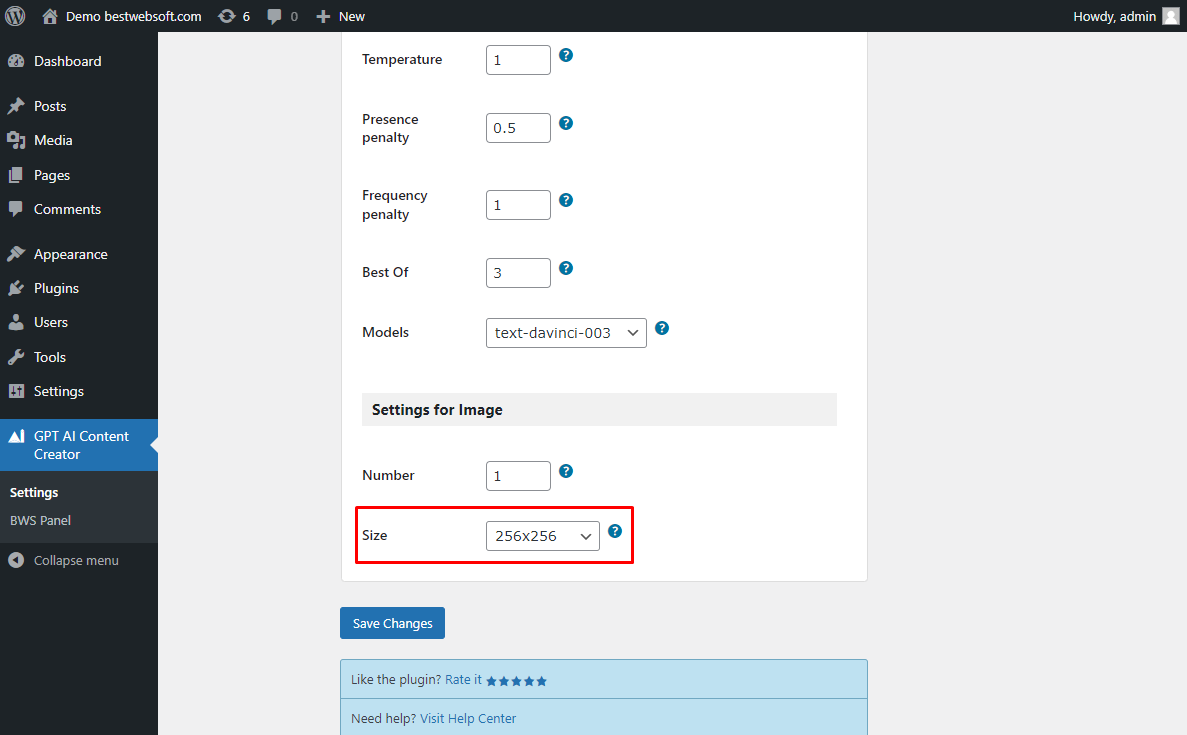
2.7. Number
Use the “Number” option to set the number of images to generate.
2.7. Size
Use the “Size” option to set the size of the generated images.
3. Miscellaneous Settings
Use the options of the “Miscellaneous Settings” tab to make the settings regarding the track usage and default settings.
3.1. Track Usage
Enable the “Track Usage” option to allow tracking plugin usage anonymously.

3.2. Services banner
Enable the “Services banner” option to hide the services and ads banners.

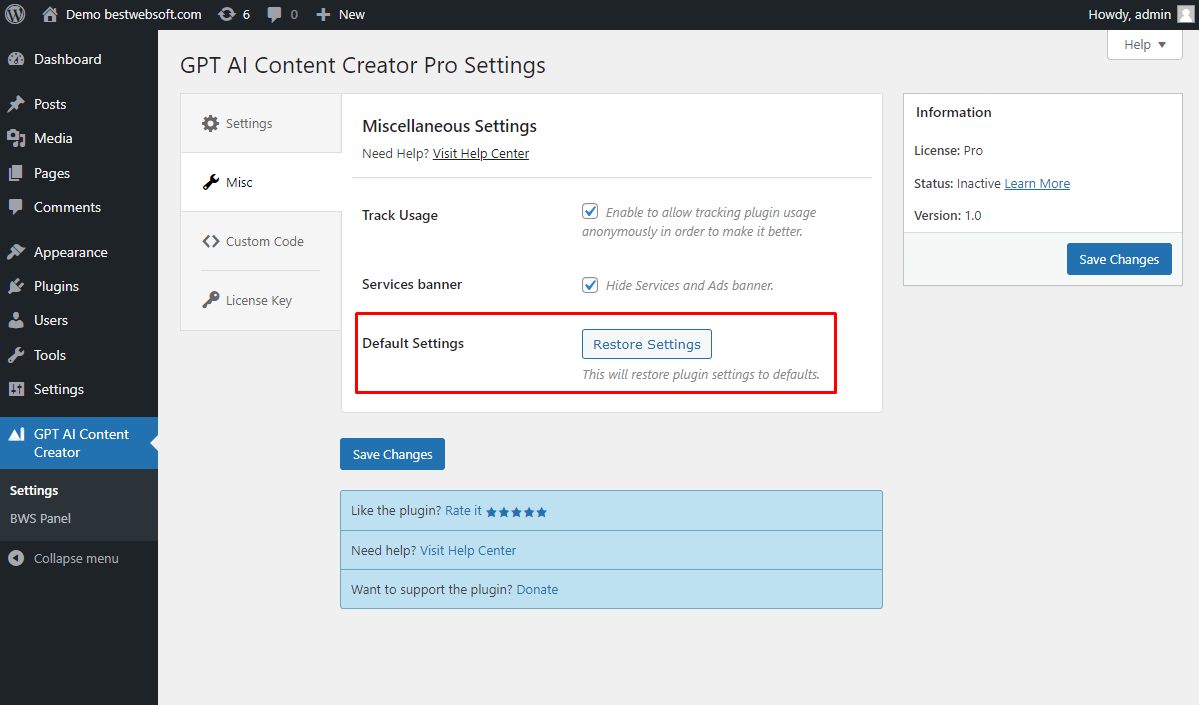
3.2. Default Settings
Click the “Restore Settings” button to reset all the settings made previously and revert them to the default ones.
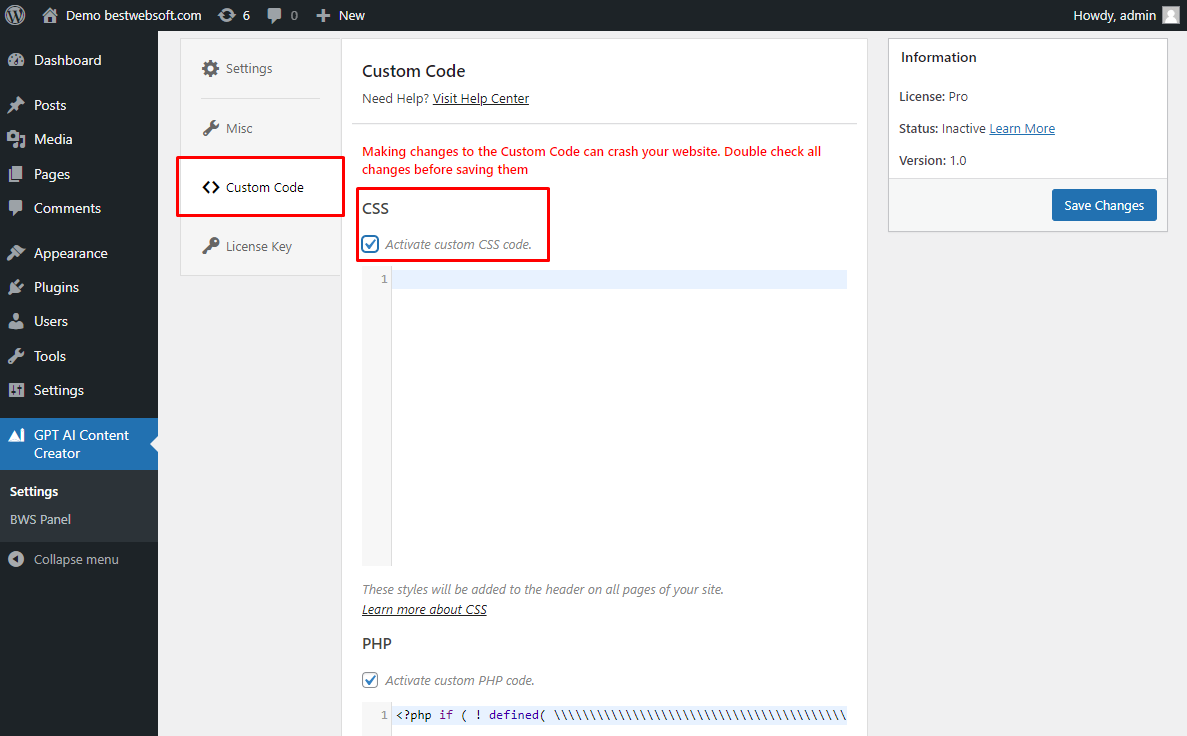
4. Custom Code
Use the “Custom code” tab to insert a CSS, PHP, or JavaScript code. To activate the inserted code, enable the “Activate custom … code” option, and save changes.
5. AI Content Generation
Follow the next steps to generate content for your WordPress website posts and pages.
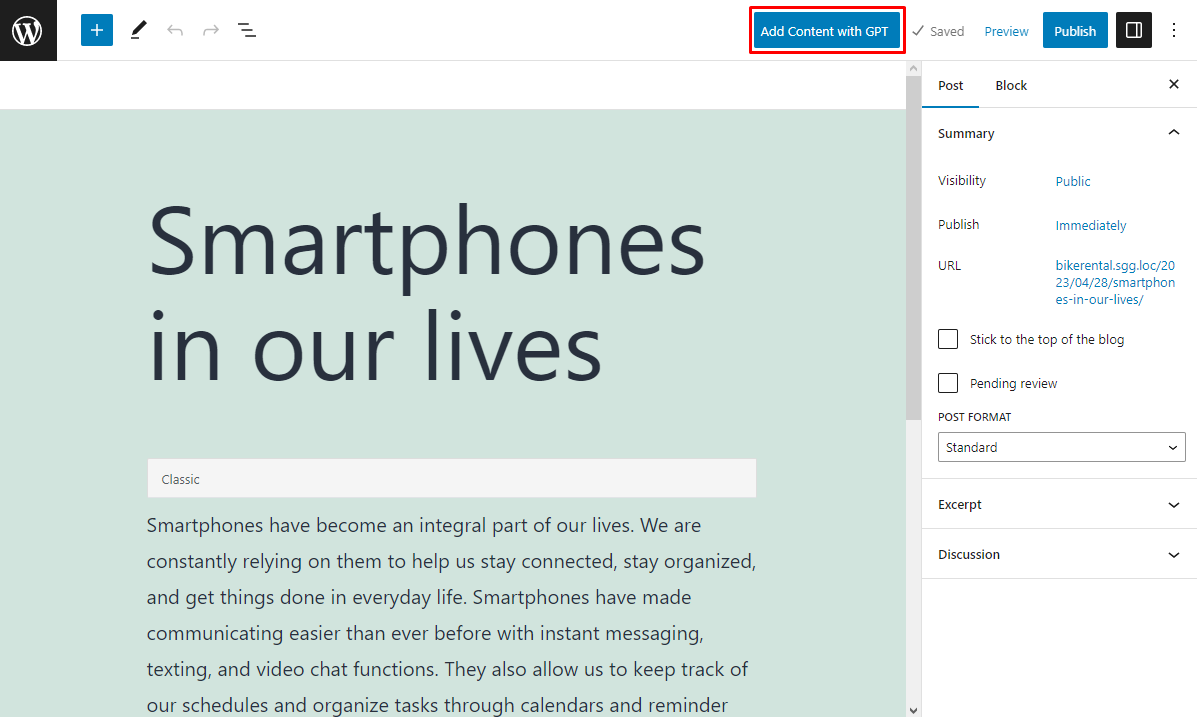
5.1. Open the post or page in the edit mode and enter the Title.

5.2. Click the “Add Content with GPT” button, wait a few seconds and the generated text based on your title will be shown in the editor.
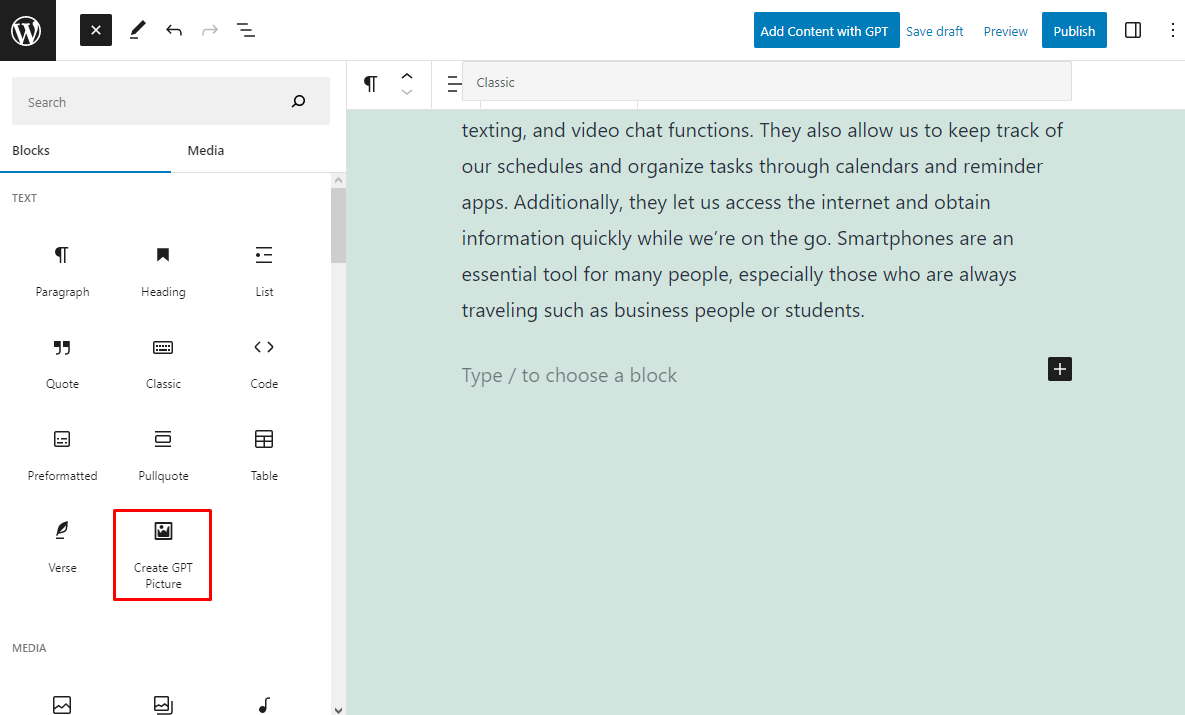
5.3. To add AI-generated image insert the “Create GPT Picture” block.
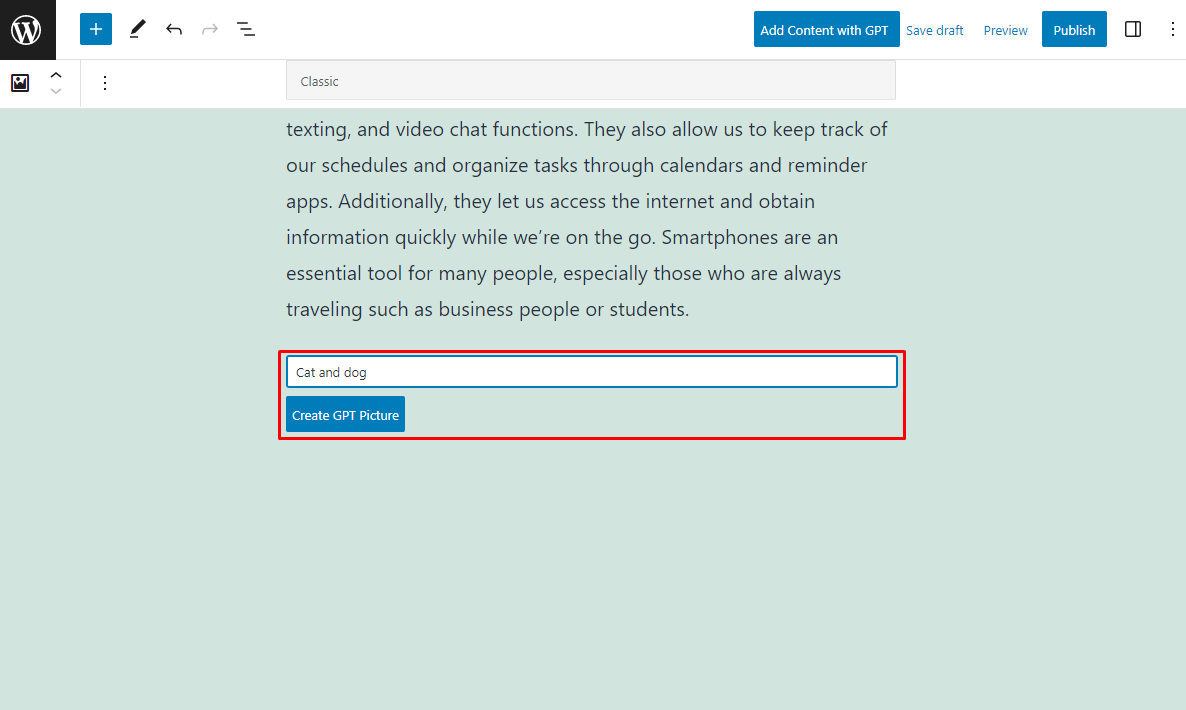
5.4. Type your prompt in the text field and click the “Create GPT Picture” button.
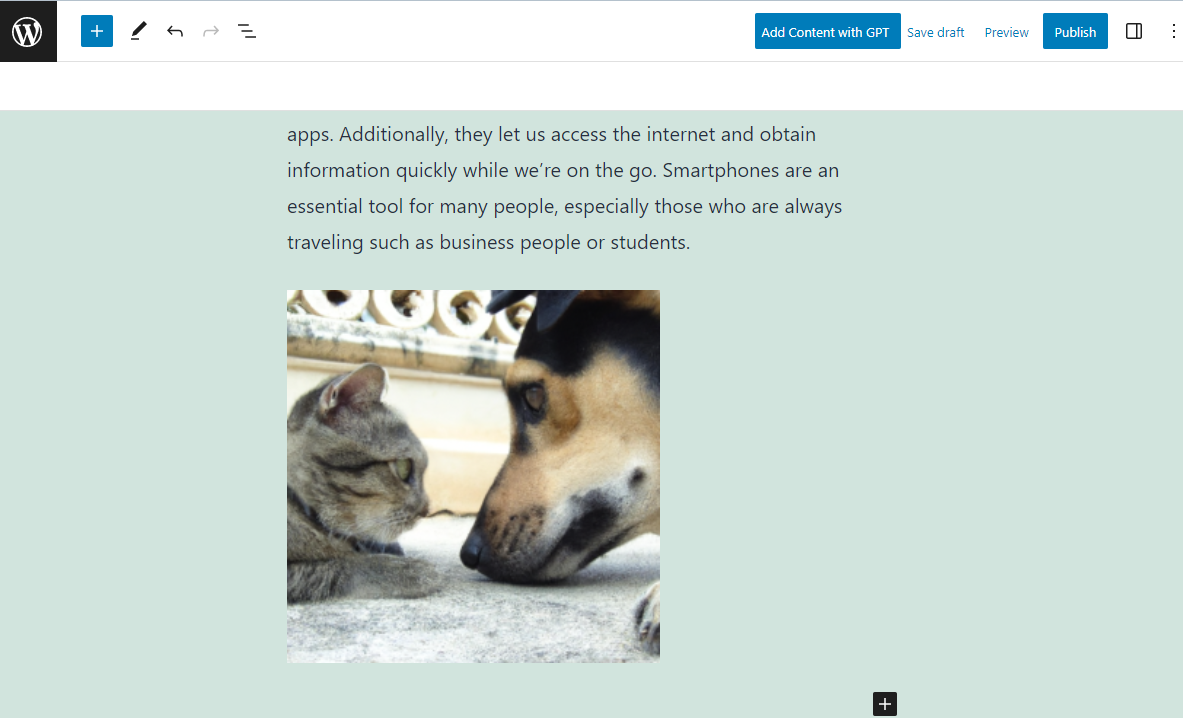
5.5. Generated picture may look on the editor as follows:
Thank you!
Help & Support
Visit our Help Center if you have any questions — https://support.bestwebsoft.com/
Services
We provide additional services such as WordPress themes & plugins development,
graphic design, custom programming.
Contact us now to get a free quote — https://bestwebsoft.com/contacts/

