


How to Install a WordPress Plugin
User Guide
WordPress version: Demo Plugin: | 5.7 * Updater |
* When using other versions some differences are possible to occur
** Screenshots were taken from a PC
Table of Contents
1. Install WordPress plugin right from your Dashboard
2. Install WordPress plugin ZIP file via FTP
3. Install WordPress plugin ZIP file via your Dashboard
4. How to disable banners on the Plugins page
1. Install WordPress plugin right from your Dashboard
This is an example of how you can install any BestWebSoft plugin right from your Dashboard.
1.1. Log in to your site as an administrator.
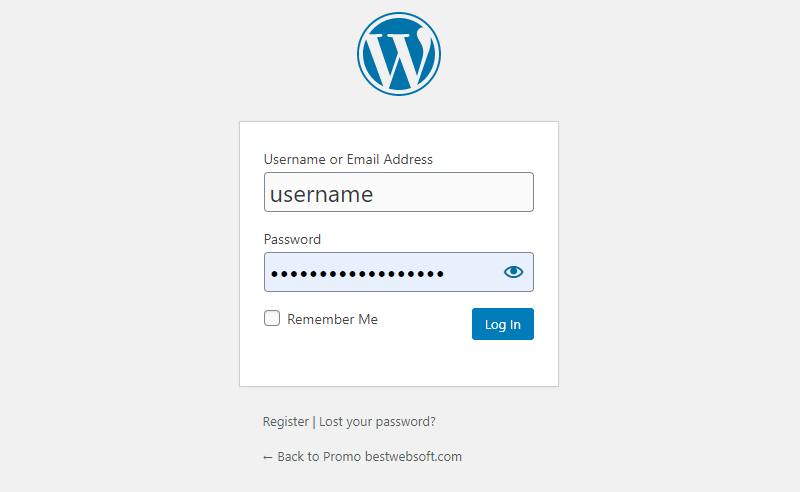
1.2. Go to your Dashboard and find the menu on the left.
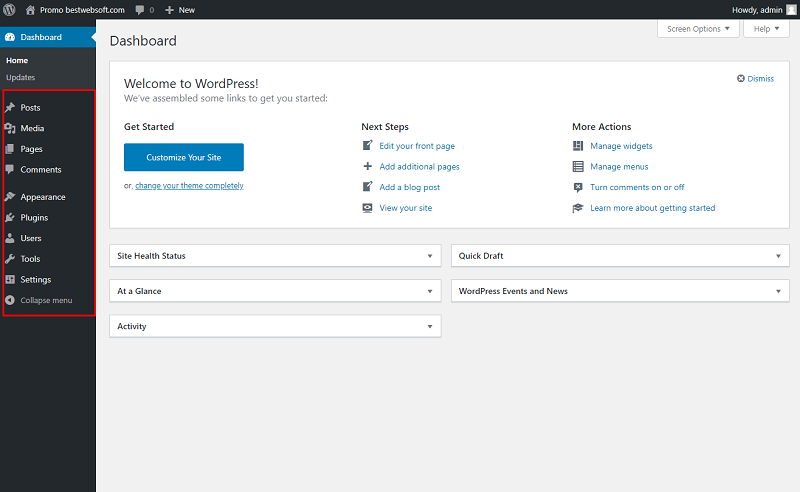
1.3. Select “Plugins” > “Add New”.

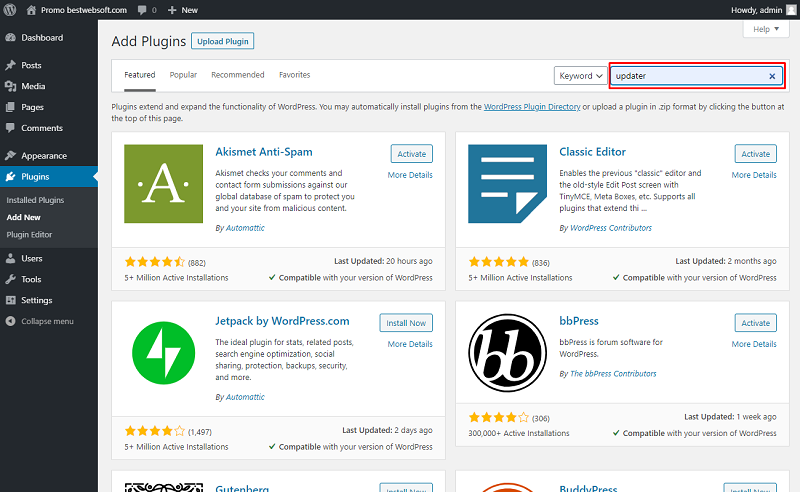
1.4. Find the “Search” field.

1.5. Enter the name of the necessary plugin and press “Enter”.
As the example we used Updater, but the instruction can be applied to any BestWebSoft plugin.
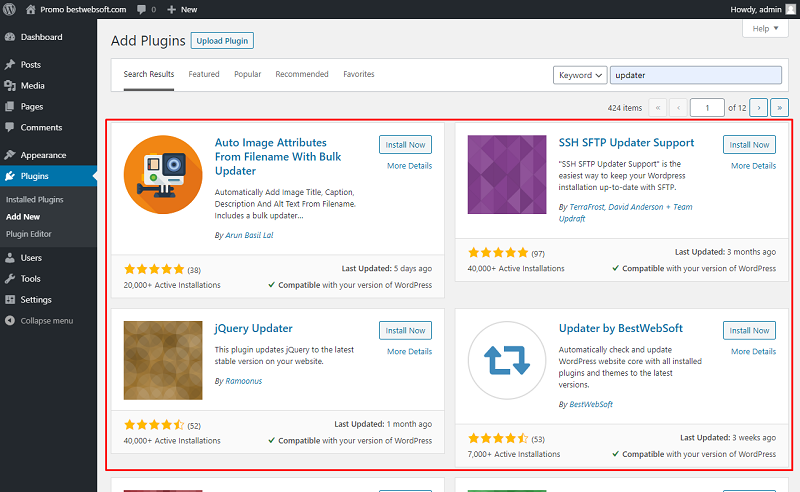
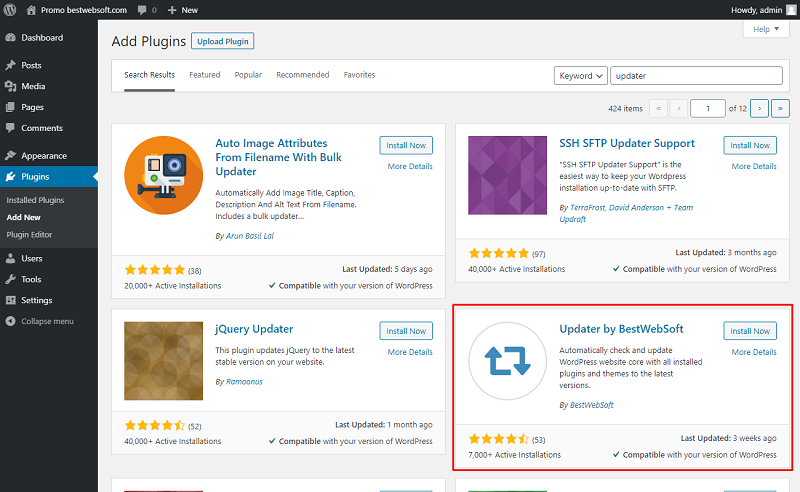
1.6. You will see a list of plugins.
As the example we used Updater, but the instruction can be applied to any BestWebSoft plugin.
1.7. Find the necessary plugin in the list. Please read the description carefully to be sure you select the right one.
As the example we used Updater, but the instruction can be applied to any BestWebSoft plugin.
1.8. Click the “Install Now” button.

As the example we used Updater, but the instruction can be applied to any BestWebSoft plugin.
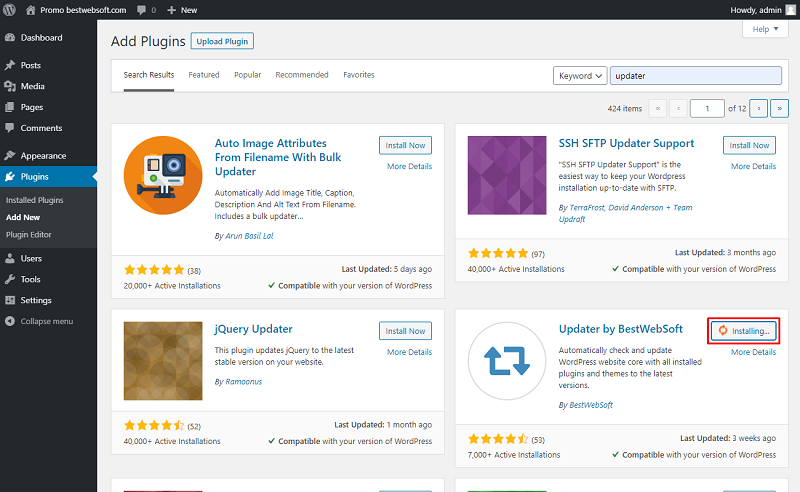
1.9. Then, you’ll see the button with the plugin installation process.
As the example we used Updater, but the instruction can be applied to any BestWebSoft plugin.
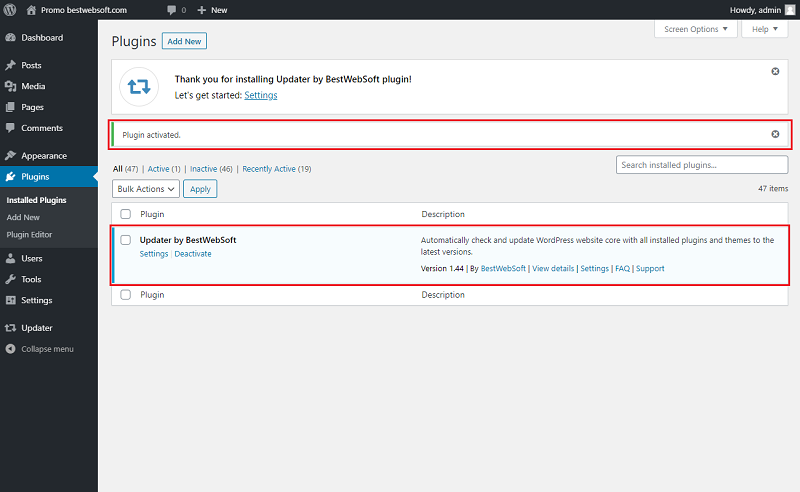
1.10. Click the “Activate” button.

As an example we used Updater, but the instruction can be applied to any BestWebSoft plugin.
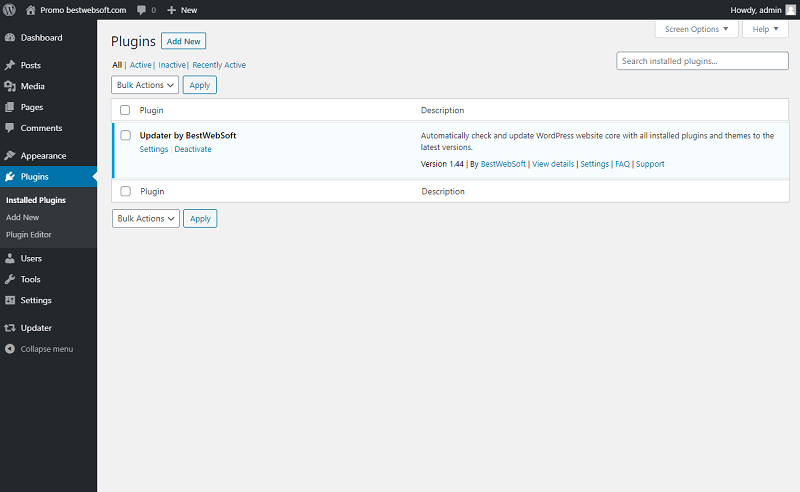
1.11. Voila - BestWebSoft plugin is activated! It will appear in the list of Installed Plugins.
As the example we used Updater, but the instruction can be applied to any BestWebSoft plugin.
Please pay attention!: When you activate Pro version, the free one will be deactivated automatically. As all the functionality of the free version is available in Pro version, you can delete the free one. There is no need in a basic (free) version. |
2. Install WordPress plugin ZIP file via FTP
This is an example of how you can install any BestWebSoft plugin via FTP software.
2.1. Go to wordpress.org and find the necessary BestWebSoft plugin (in our case it’s Updater - https://wordpress.org/plugins/updater/), click the “Download” button (always the latest one is available)

As the example we used Updater, but the instruction can be applied to any BestWebSoft plugin.
2.2. A pop-up window will suggest the place to save. Select Desktop and click “Save”:

As the example we used Updater, but the instruction can be applied to any BestWebSoft plugin.
2.3. Make sure that zip-file has appeared on your desktop.

As the example we used Updater, but the instruction can be applied to any BestWebSoft plugin.
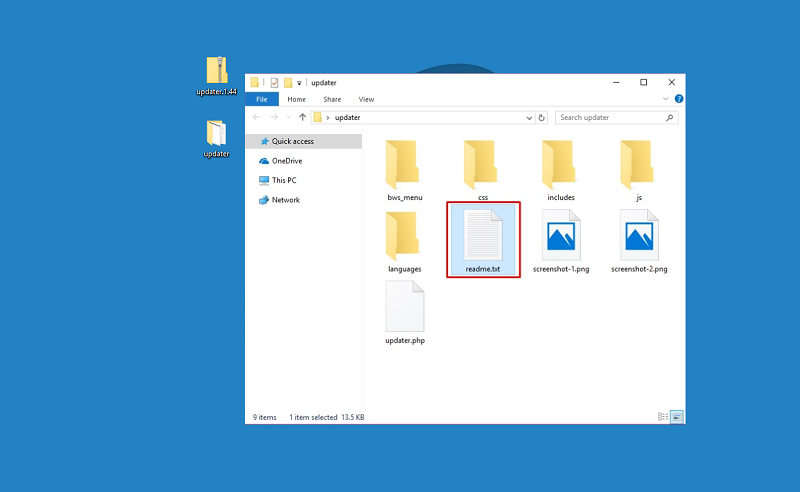
2.4. Extract the plugin folder to your desktop.

As the example we used Updater, but the instruction can be applied to any BestWebSoft plugin.
2.5. Read through the “readme” file thoroughly to ensure you follow the installation instructions.
As the example we used Updater, but the instruction can be applied to any BestWebSoft plugin.

As the example we used Updater, but the instruction can be applied to any BestWebSoft plugin.
2.6. With your FTP program upload the plugin’s folder to /wp-content/plugins/ folder in your Wordpress directory online (as the example we used Updater plugin).
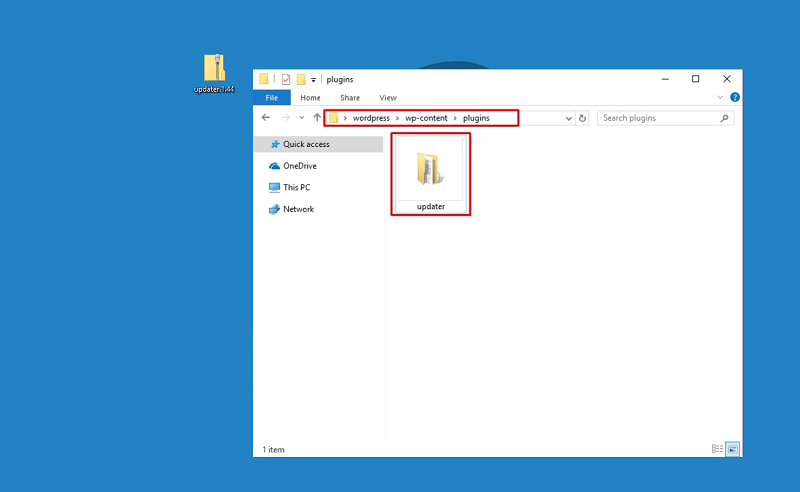
As the example we used Updater, but the instruction can be applied to any BestWebSoft plugin.
2.7. Find the plugins menu on your left and click “Installed Plugins”. You will see a list of installed plugins.
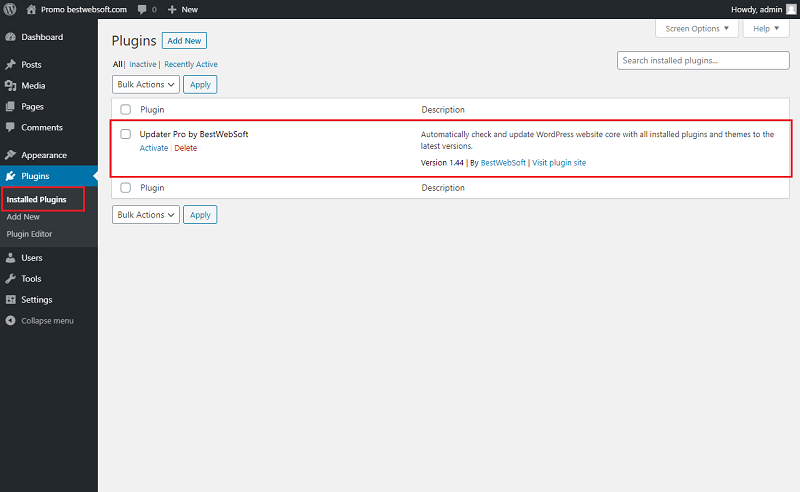
As the example we used Updater, but the instruction can be applied to any BestWebSoft plugin.
2.8. Find your plugin and click “Activate”.
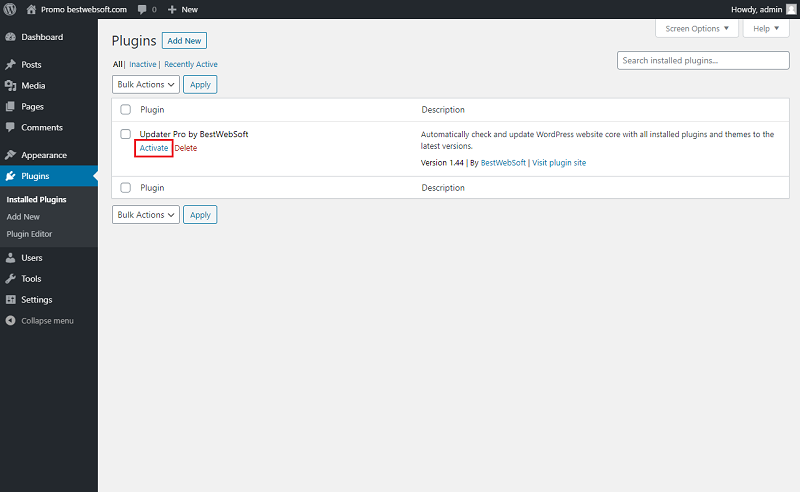
As the example we used Updater, but the instruction can be applied to any BestWebSoft plugin.
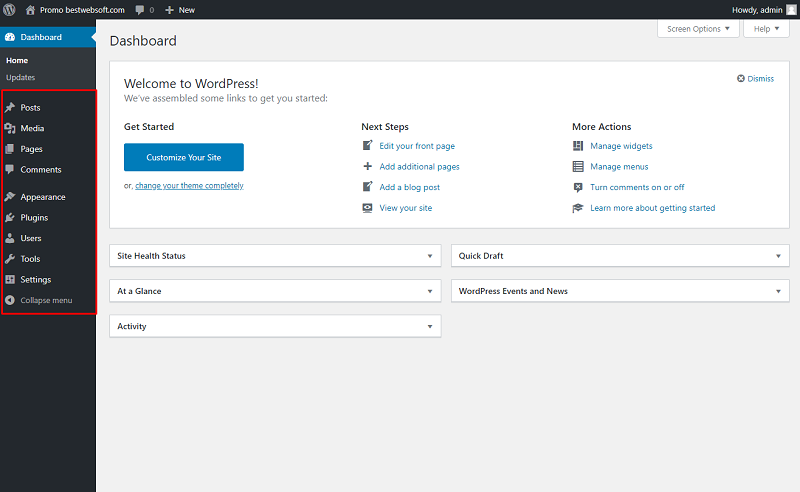
2.9. Voila - BestWebSoft plugin is activated!

As the example we used Updater, but the instruction can be applied to any BestWebSoft plugin.
Please pay attention!: When you activate Pro version, the free one will be deactivated automatically. As all the functionality of the free version is available in Pro version, you can delete the free one. There is no need in a basic (free) version. |
3. Install WordPress plugin ZIP file via your Dashboard
This is an example of how you can install any BestWebSoft plugin.
Note: This way of installation is preferable when you download the plugin folder by using a download link (mostly in case with Pro versions). In this case you do not have to extract the folder with the plugin to your desktop, it will be extracted automatically in your dashboard. |
3.1. Make sure there is a plugin zip-folder on your desktop.

As the example we used Updater, but the instruction can be applied to any BestWebSoft plugin.
3.2. Go to your admin dashboard.
3.3. Click “Plugins” > “Add New”.

3.4. Click the “Upload Plugin” button at the top of the page.

3.5. Click the “Choose File” button.
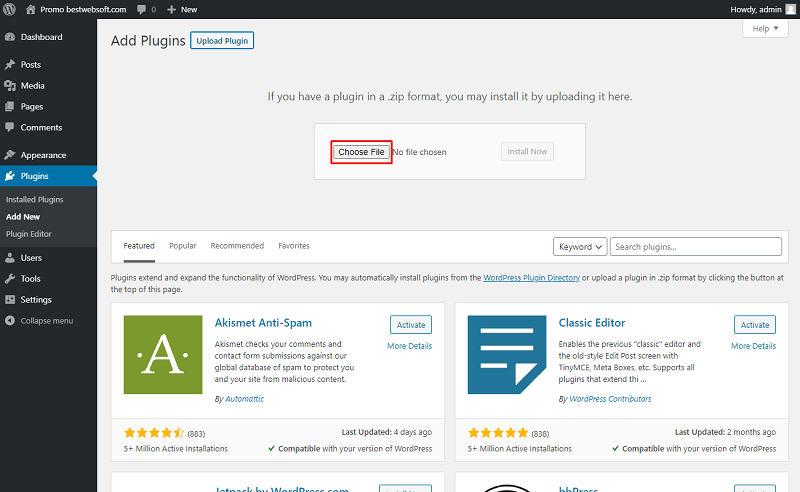
3.6. A pop-up window will ask you to choose the file. Select plugin zip-folder and click “Open”.

As the example we used Updater, but the instruction can be applied to any BestWebSoft plugin.
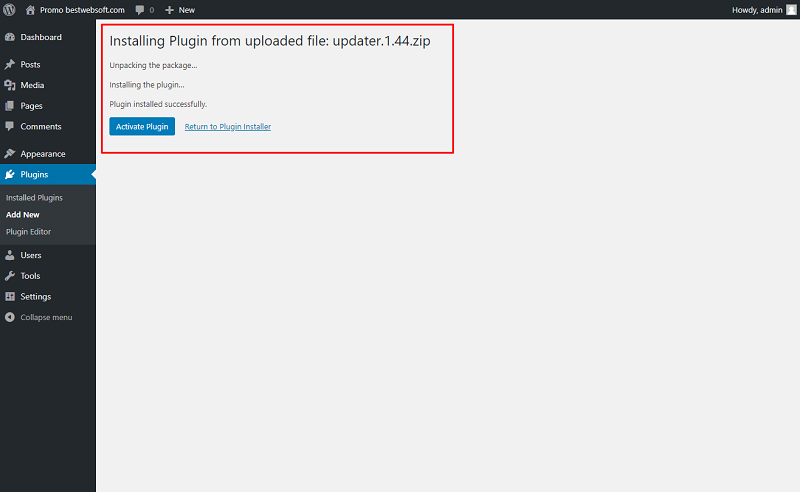
3.7. Click the “Install Now” button.

As the example we used Updater, but the instruction can be applied to any BestWebSoft plugin.
3.8. The resulting installation screen will list the installation as successful or note any problems during the install.
As the example we used Updater, but the instruction can be applied to any BestWebSoft plugin.
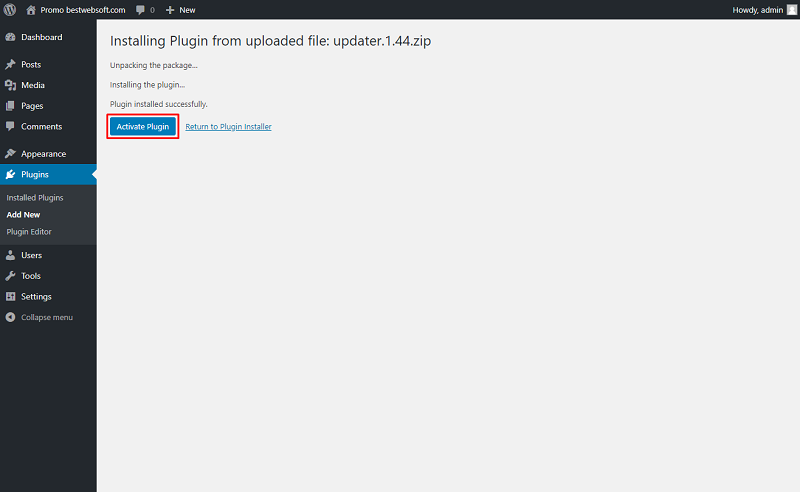
3.9. Click the “Activate Plugin” button.
As the example we used Updater, but the instruction can be applied to any BestWebSoft plugin.
3.10. Voila - BestWebSoft plugin is activated!

As the example we used Updater, but the instruction can be applied to any BestWebSoft plugin.
Please pay attention!: When you activate Pro version, the free one will be deactivated automatically. As all the functionality of the free version is available in Pro version, you can delete the free one. There is no need in a basic (free) version. |
4. How to disable banners on the Plugins page
This is an example of how to disable any BestWebSoft banner.
4.1. As much as banners can be informative, you may want to close them.

4.2. To disable a plugin’s banner, сlick the little cross in the top right corner.
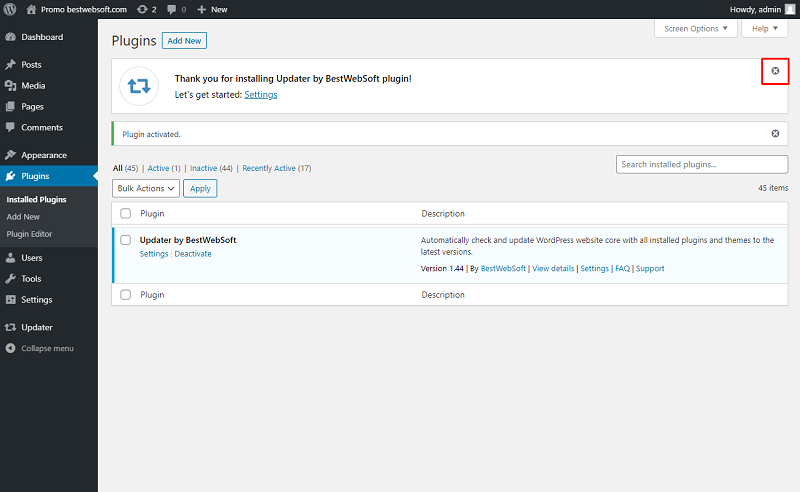
4.3. That’s it! For the next month, you won’t see this banner on the Plugins page.
Note: Other plugin’s banners may still appear, so if you want to disable those also, you will have to manually close each one. |
Note: When you close any of the banners, your browser creates special cookies, and they are not supposed to be displayed after that. Hence, if the banner you’ve disabled appears sooner that it is expected, it is possible that cookies are disabled in your browser, or you have cleared them. Therefore, to make sure you’ve disabled the banner correctly it is best that: - you do not delete cookies; - you always use the same browser (on the same computer). |
Thank you!
Help & Support
Visit our Help Center if you have any questions — https://support.bestwebsoft.com/
Services
We provide additional services such as Wordpress themes & plugins development,
graphic design, custom programming.
Contact us now to get a free quote — https://bestwebsoft.com/contacts/

