

Htaccess
User Guide
Htaccess | 1.8.6 * |
WordPress | 6.4 * |
*When using other versions some differences are possible to occur
** Screenshots were taken from a PC
Table of Contents
2.4. Disable Access to xmlrpc.php
5.2. Create htaccess-backup.txt
You can download Htaccess Plugin here:
https://bestwebsoft.com/products/wordpress/plugins/htaccess/
1. Introduction
Note: Сlick the “Save Changes” button in order to apply any changes. |
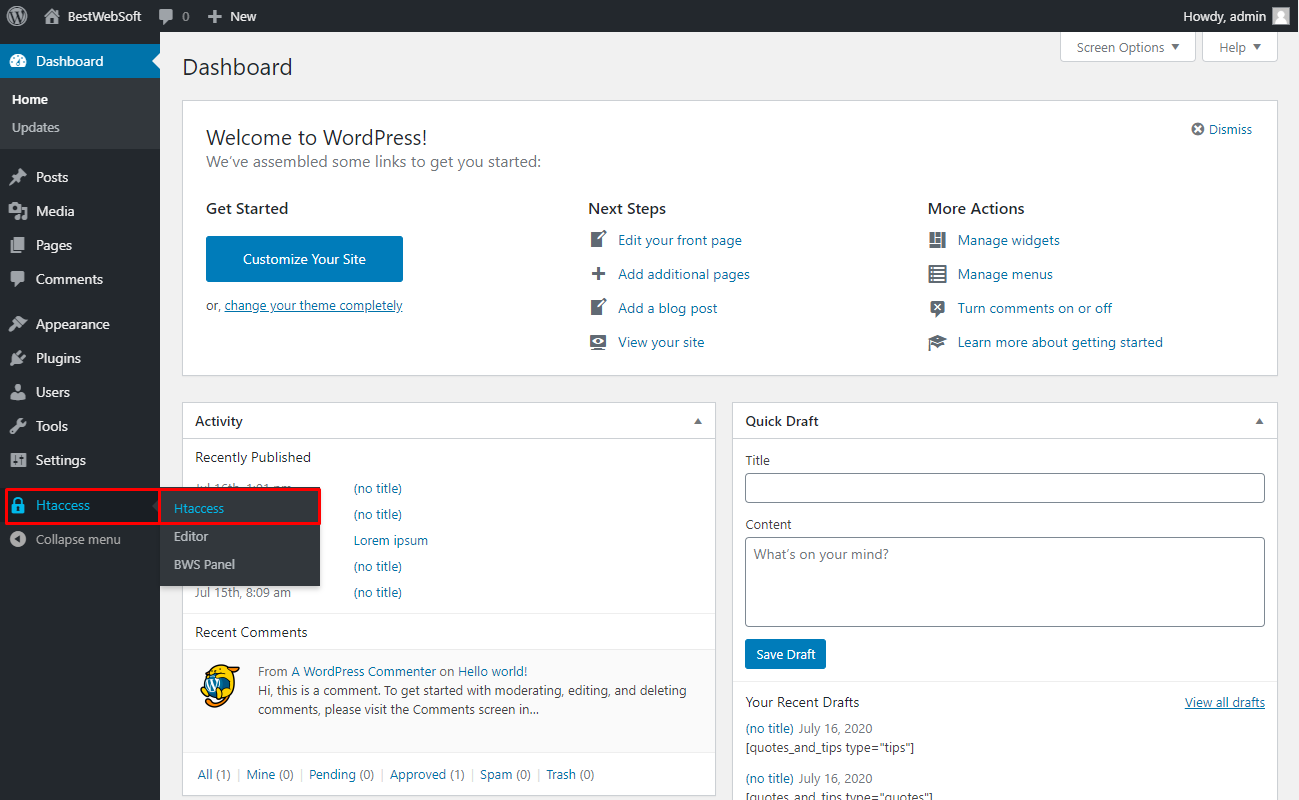
1.1. Open your WordPress Admin Dashboard and find the menu on the left.
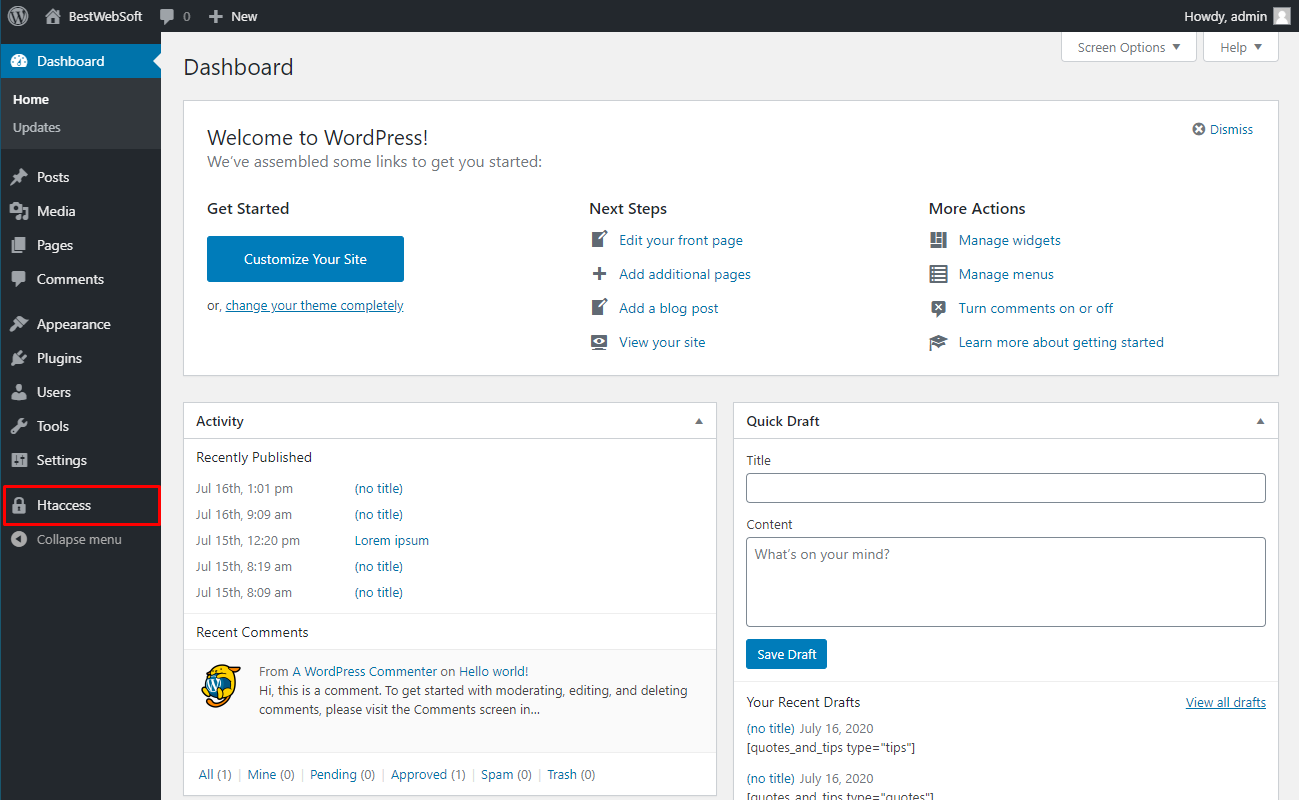
1.2. Open the ”Htaccess” > “Htaccess” page.
2. Settings
Use the options of the “Settings” page to make the global settings for the plugin.
Note: Making changes to .htaccess file can crash your website. Double-check all changes before saving them and read our FAQ. |

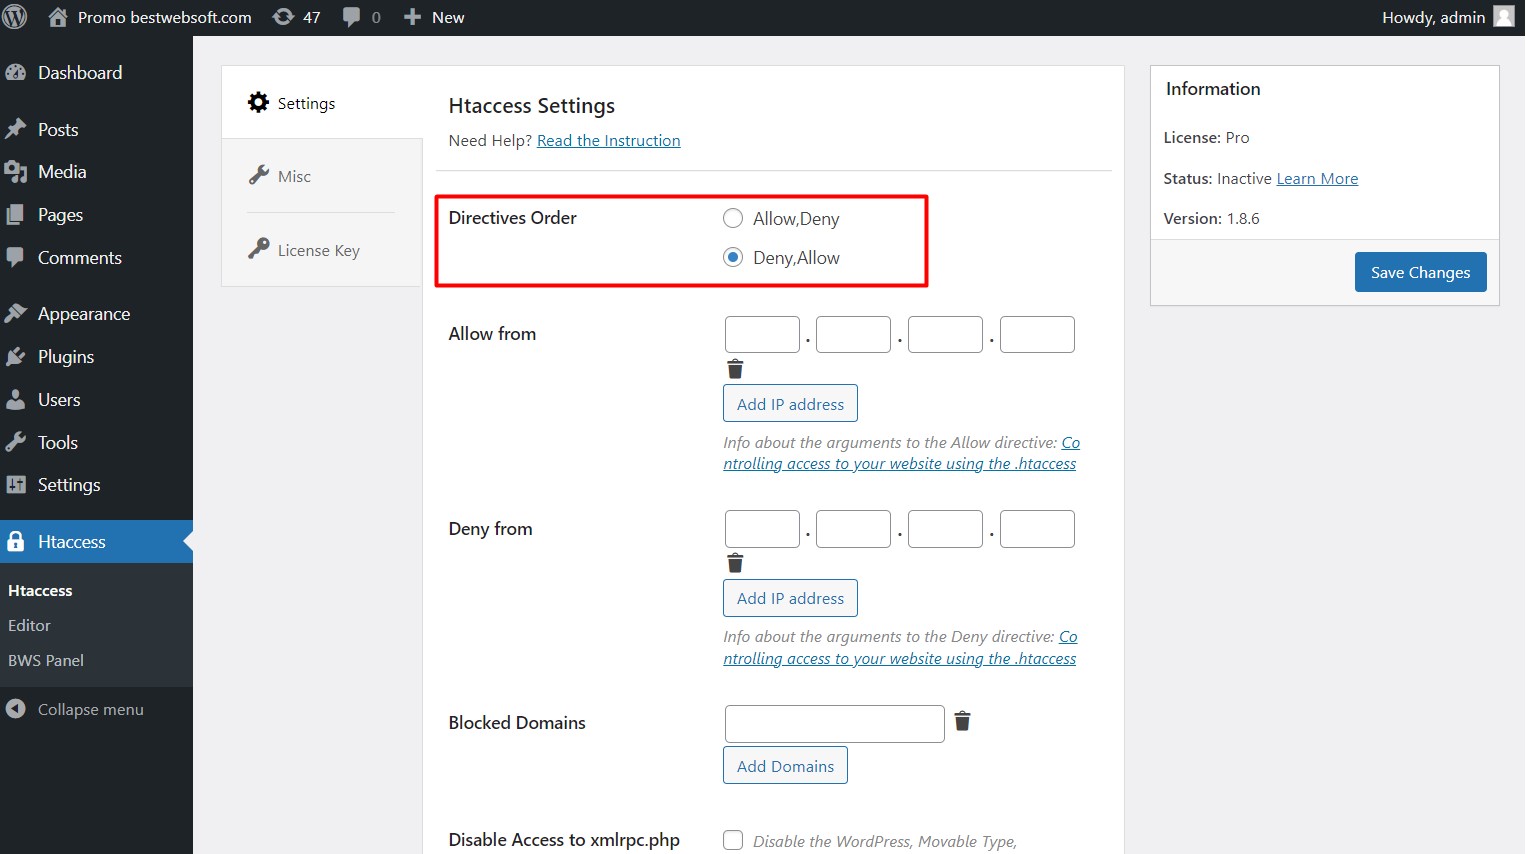
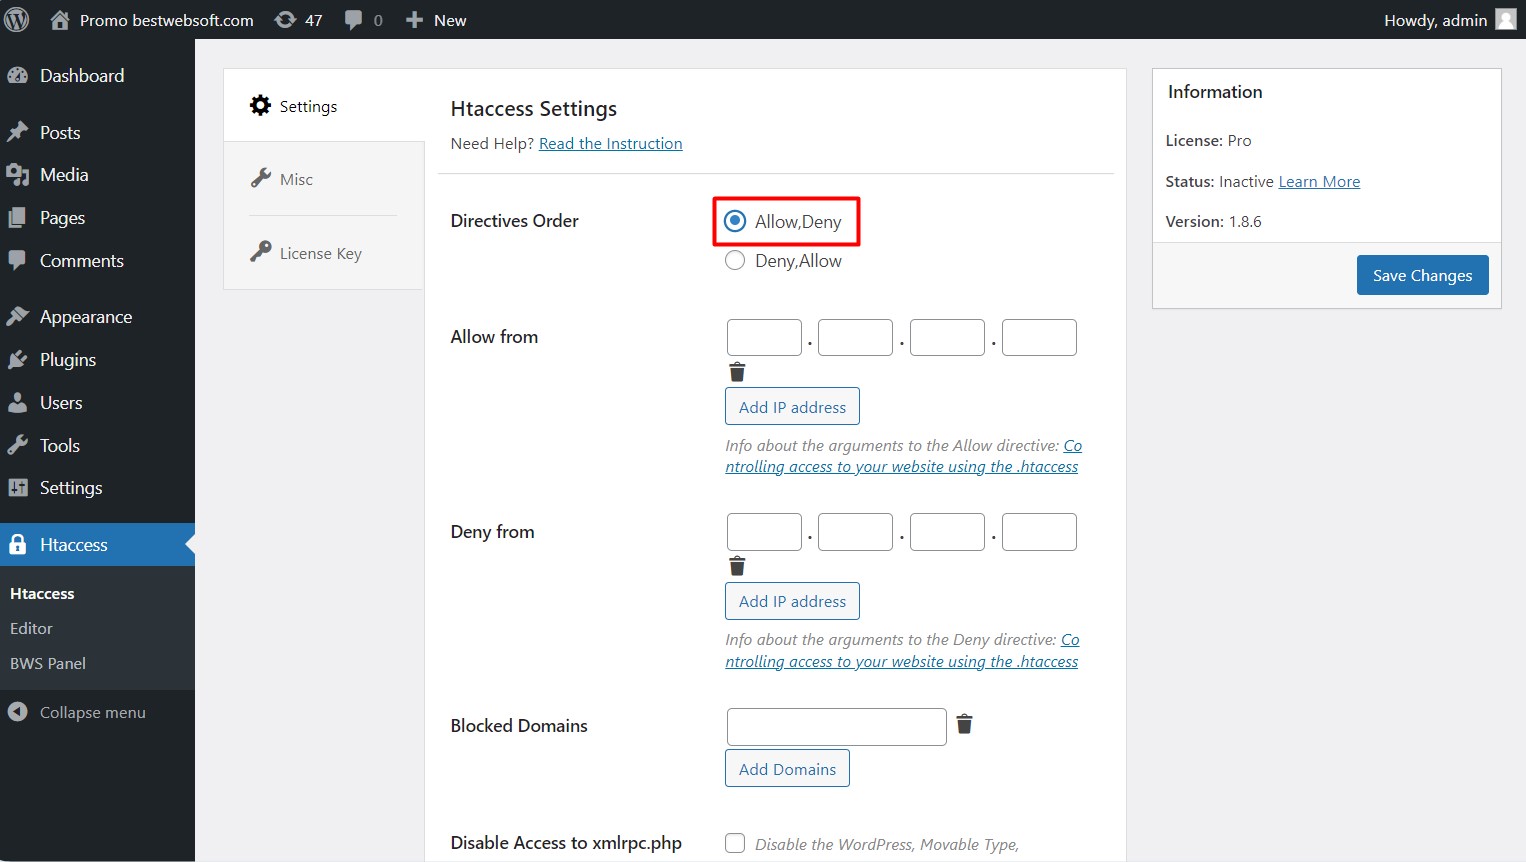
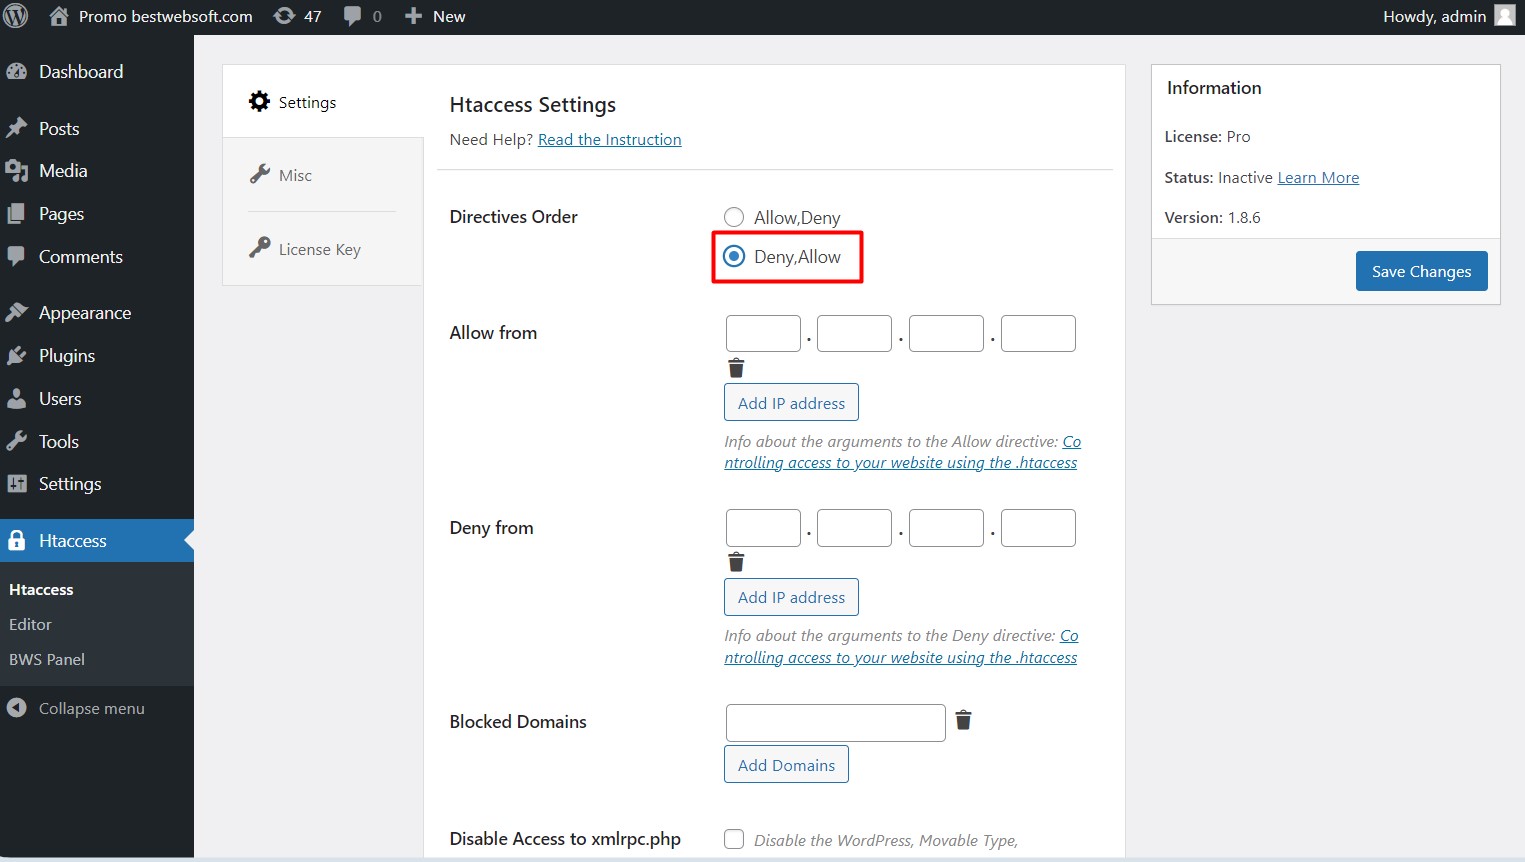
2.1. Directives Order
Use the ”Directives Order” option to choose between “Allow, Deny” and “Deny, Allow” directives order.
Note: If after adding a test value to deny/ allow directives your website crashed - just delete everything from .htaccess file before block “# BEGIN WordPress” manually from the root directory of your website. |
2.1.1. Choose “Allow, Deny” to set the deny for default mode. You can optionally specify “Allow” rules.
Note: The process will be held as follows: Rule Allow list of Allow rules Except list of Deny rules Deny Policy (when no rule applied) |
2.1.2. Choose “Deny, Allow” to set the allow for default mode. You can optionally specify “Deny” rules.
Note: The process will be held as follows: Rule Deny list of Deny rules Except list of Allow rules Allow Policy (when no rule applied) |
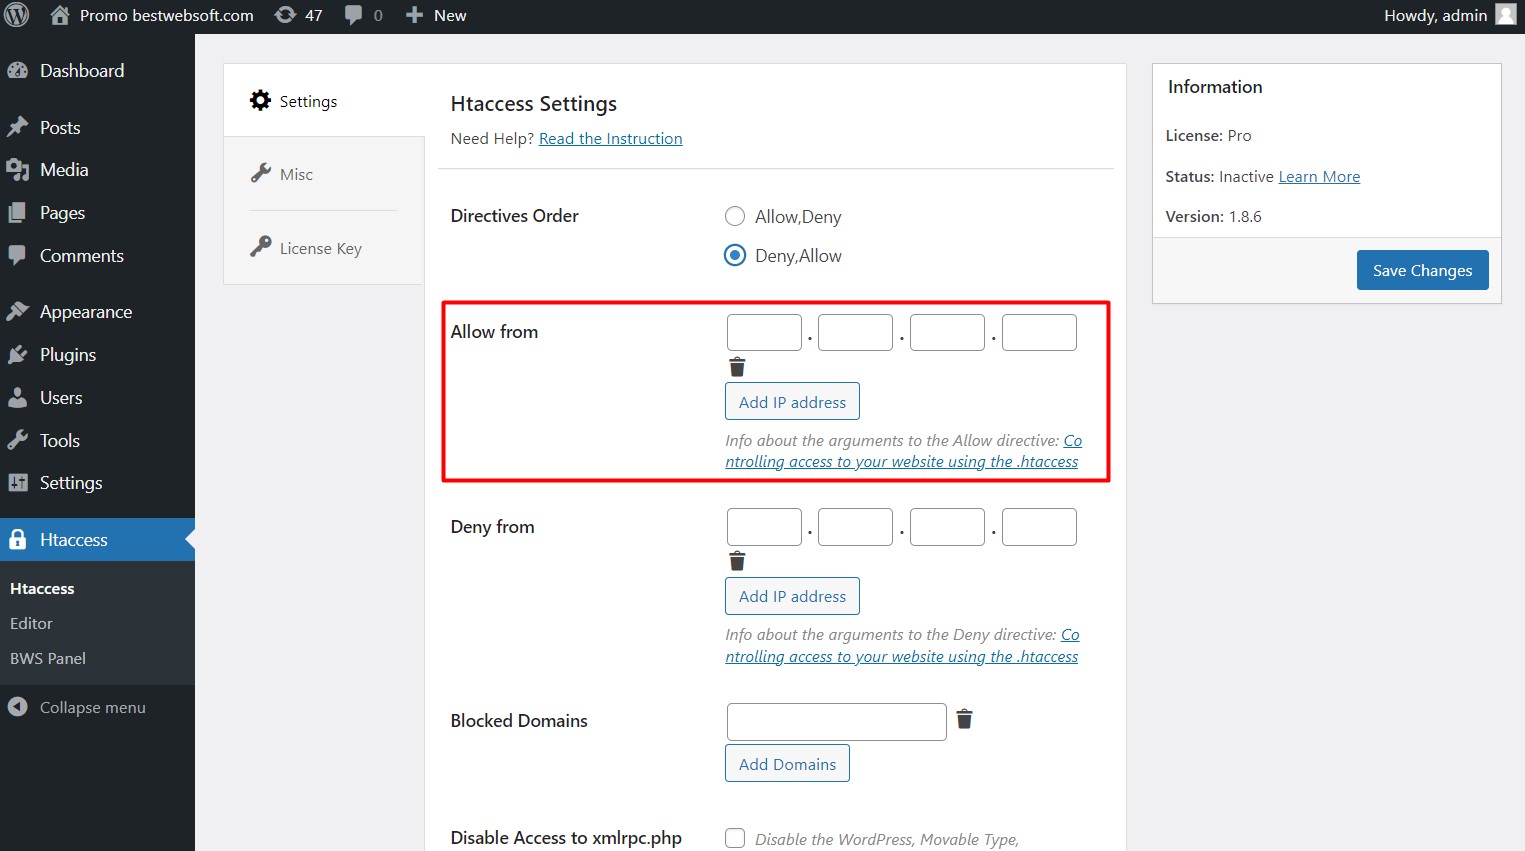
2.2. Allow from
Use the ”Allow from” option to enter an IP address in order to describe which hosts can access an area of the server.
2.2.1. Enter the necessary IP to add to the allow list.
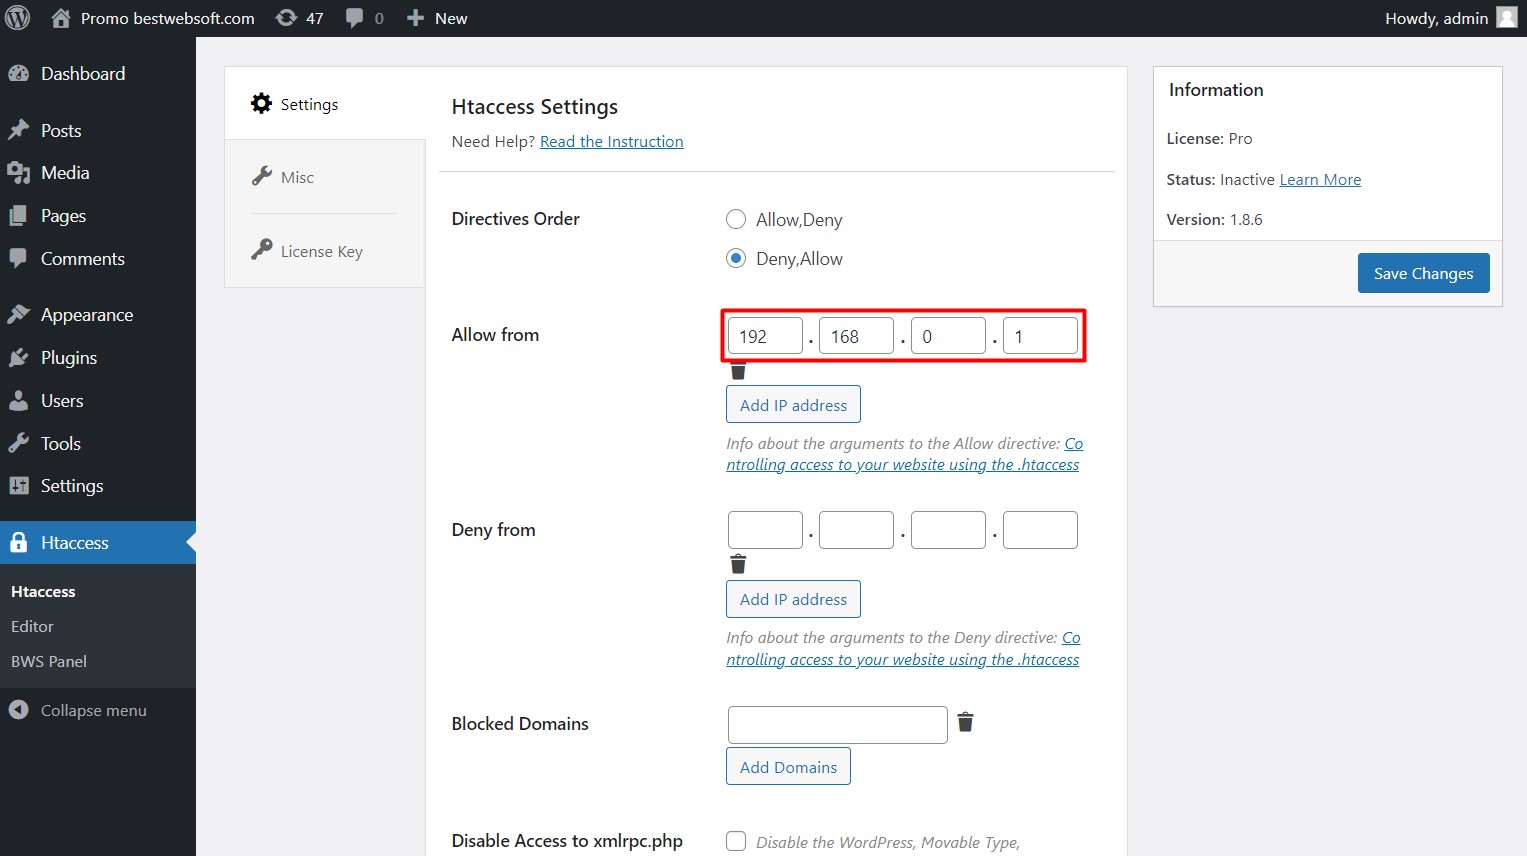
2.2.2. Click the “Add IP address” button to add the entered IP to the Allow directive.

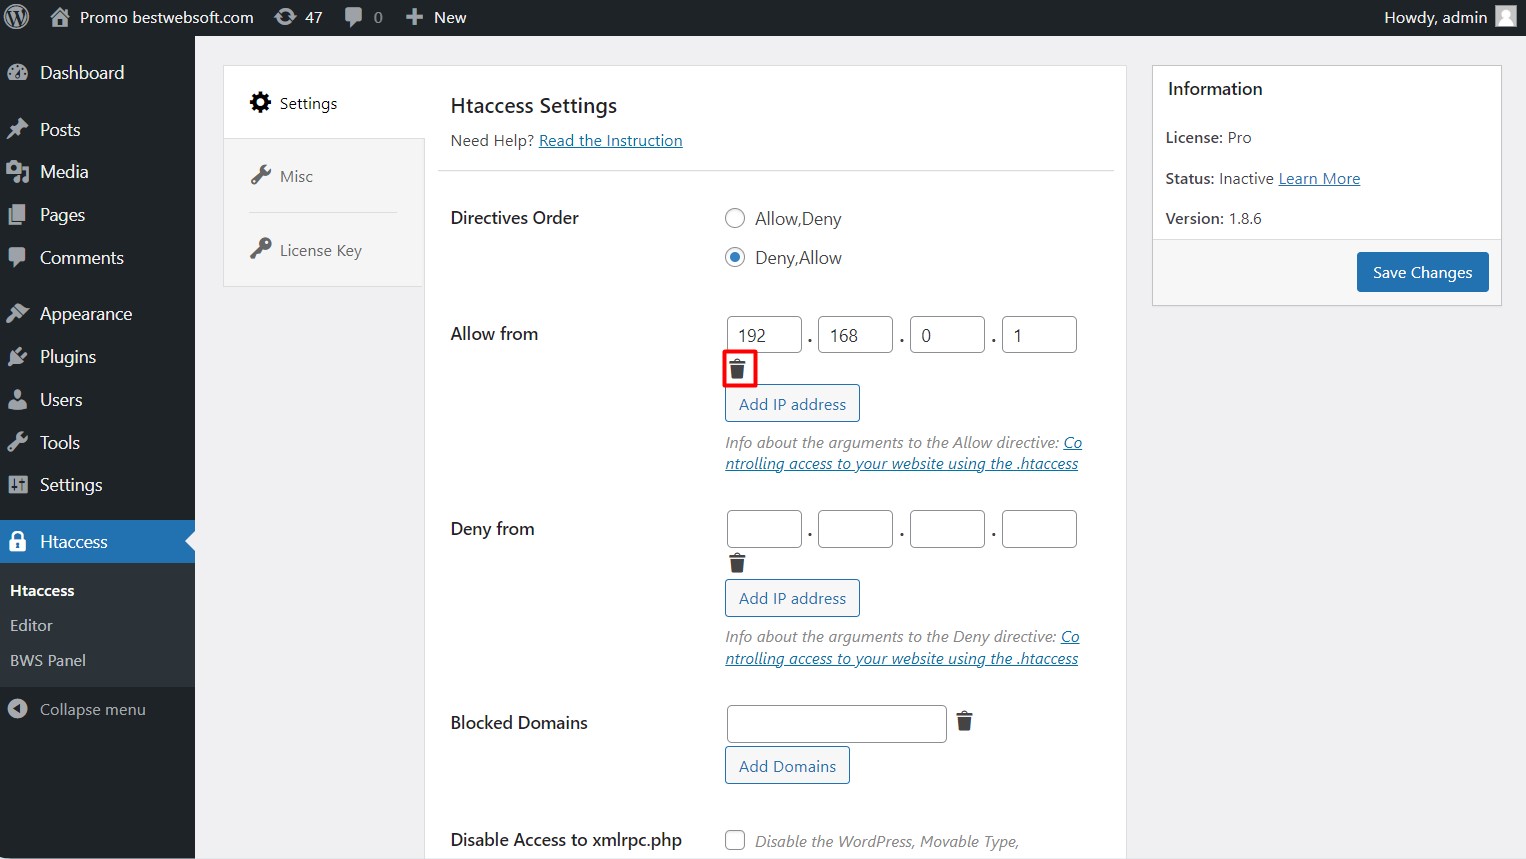
2.2.3. To delete the IP address from the Allow directive click the “Trash” button.
2.3. Deny from
Use the ”Deny from” option to enter an IP address in order to control which hosts are denied access to the server.
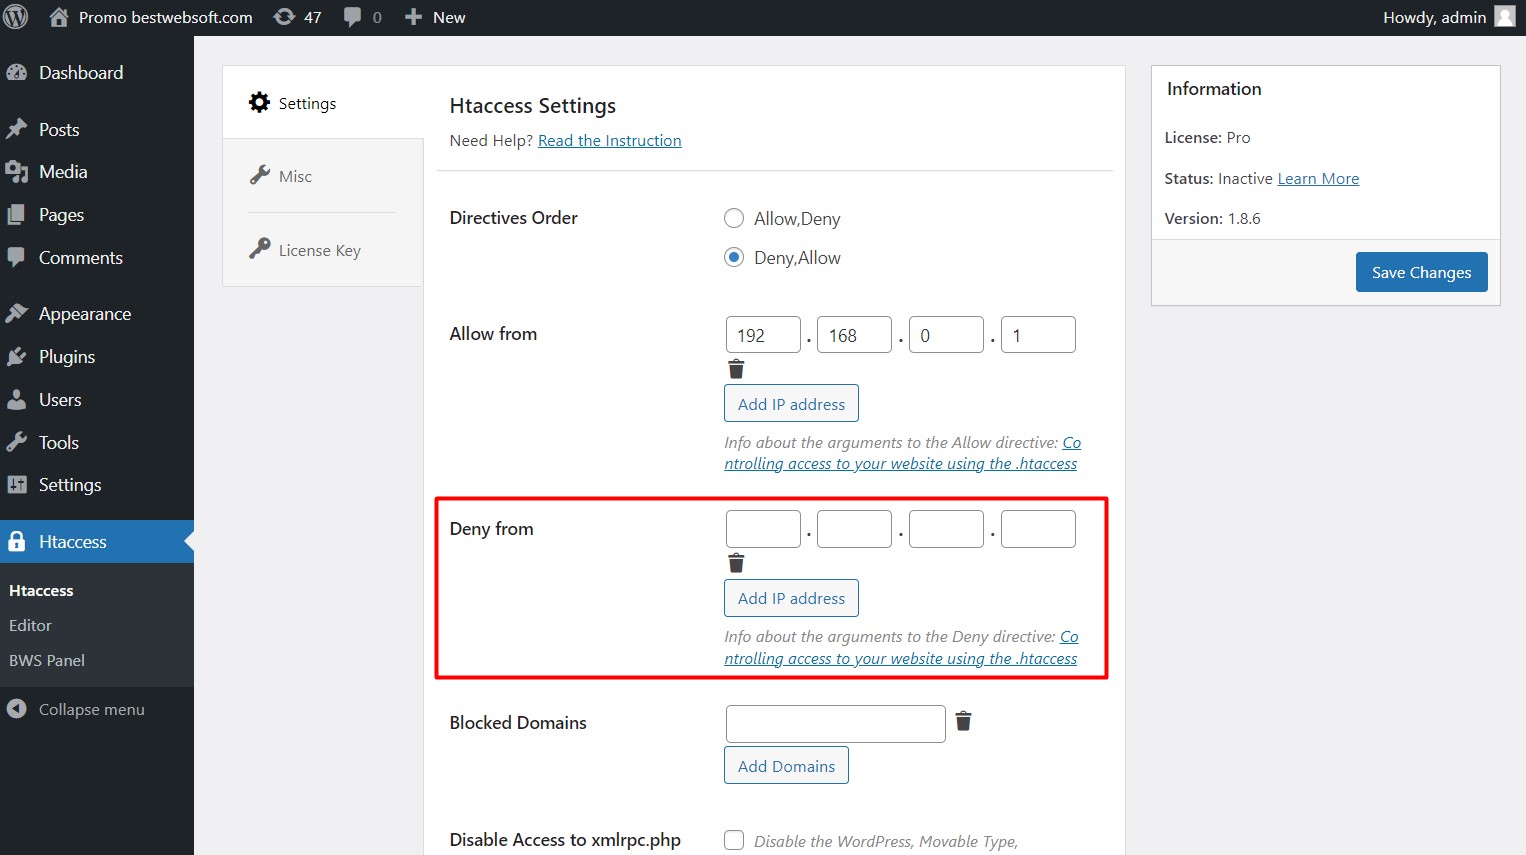
2.3.1. Enter the necessary IP to add to the deny list.
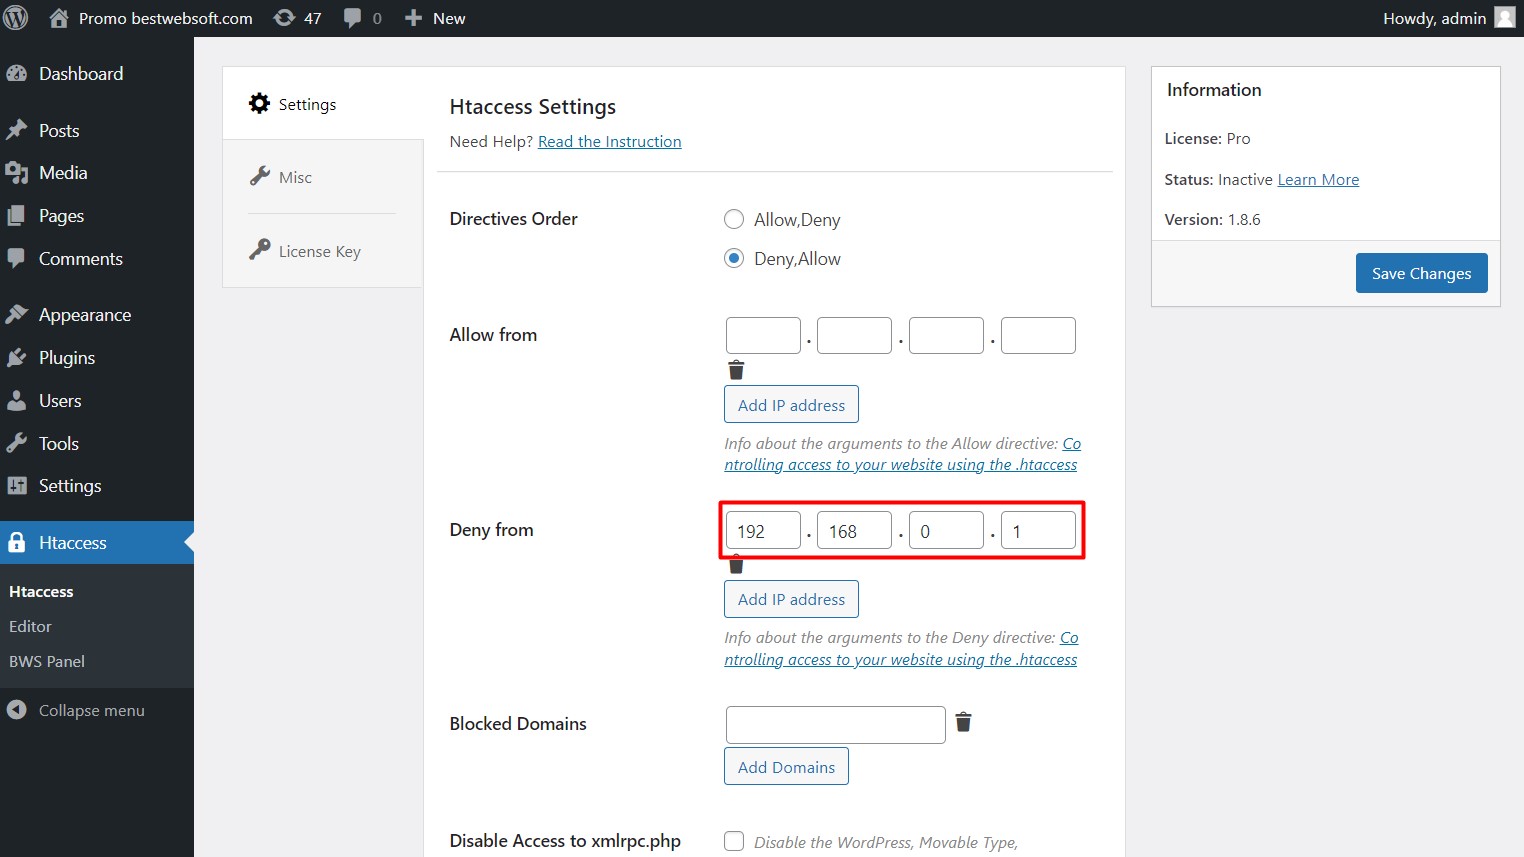
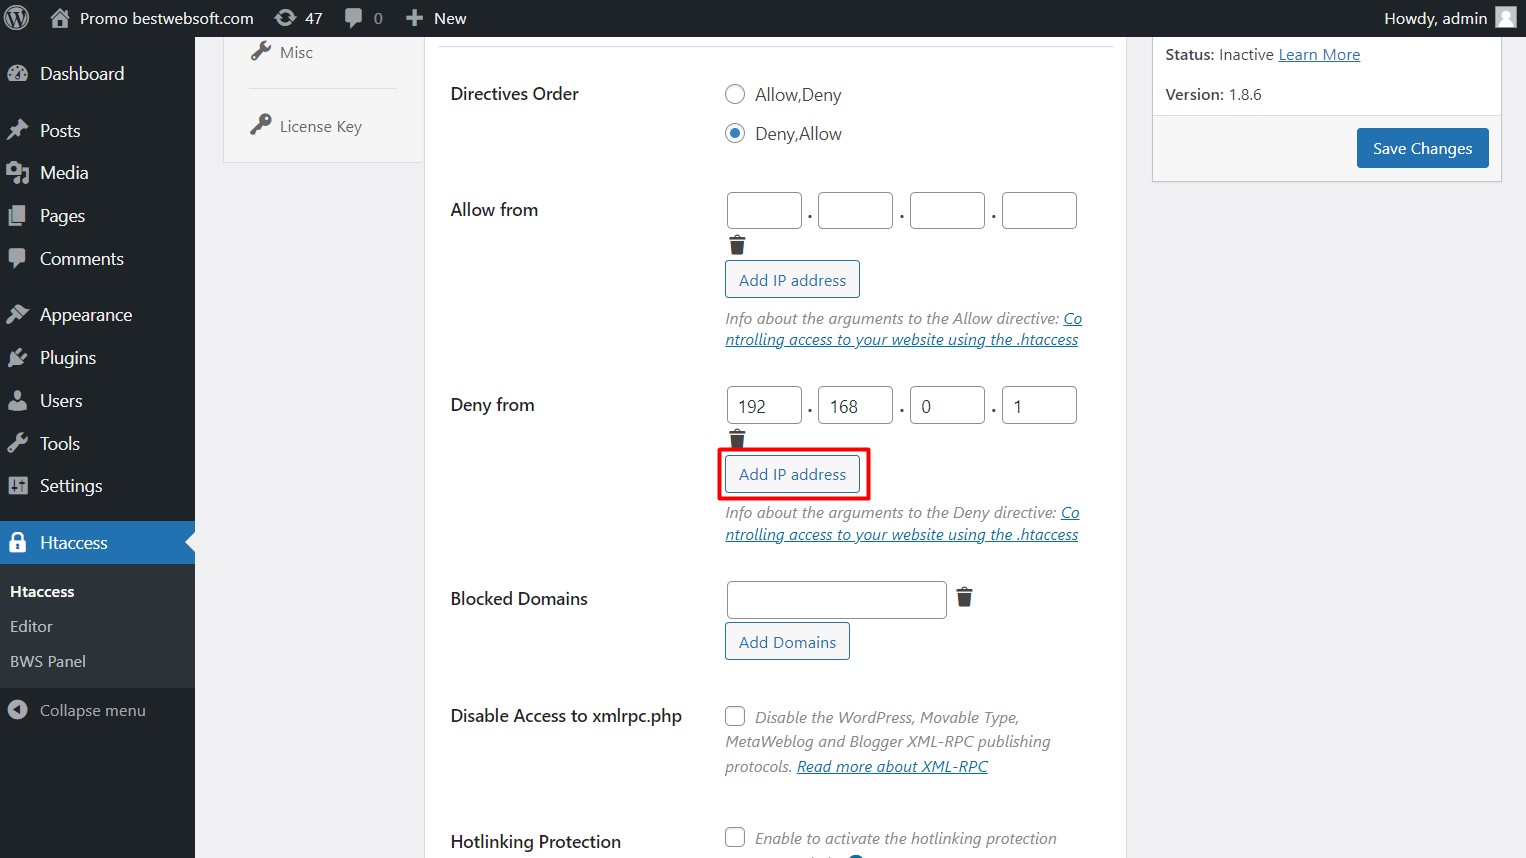
2.3.2. Click the “Add IP address” button to add the entered IP to the Deny directive.
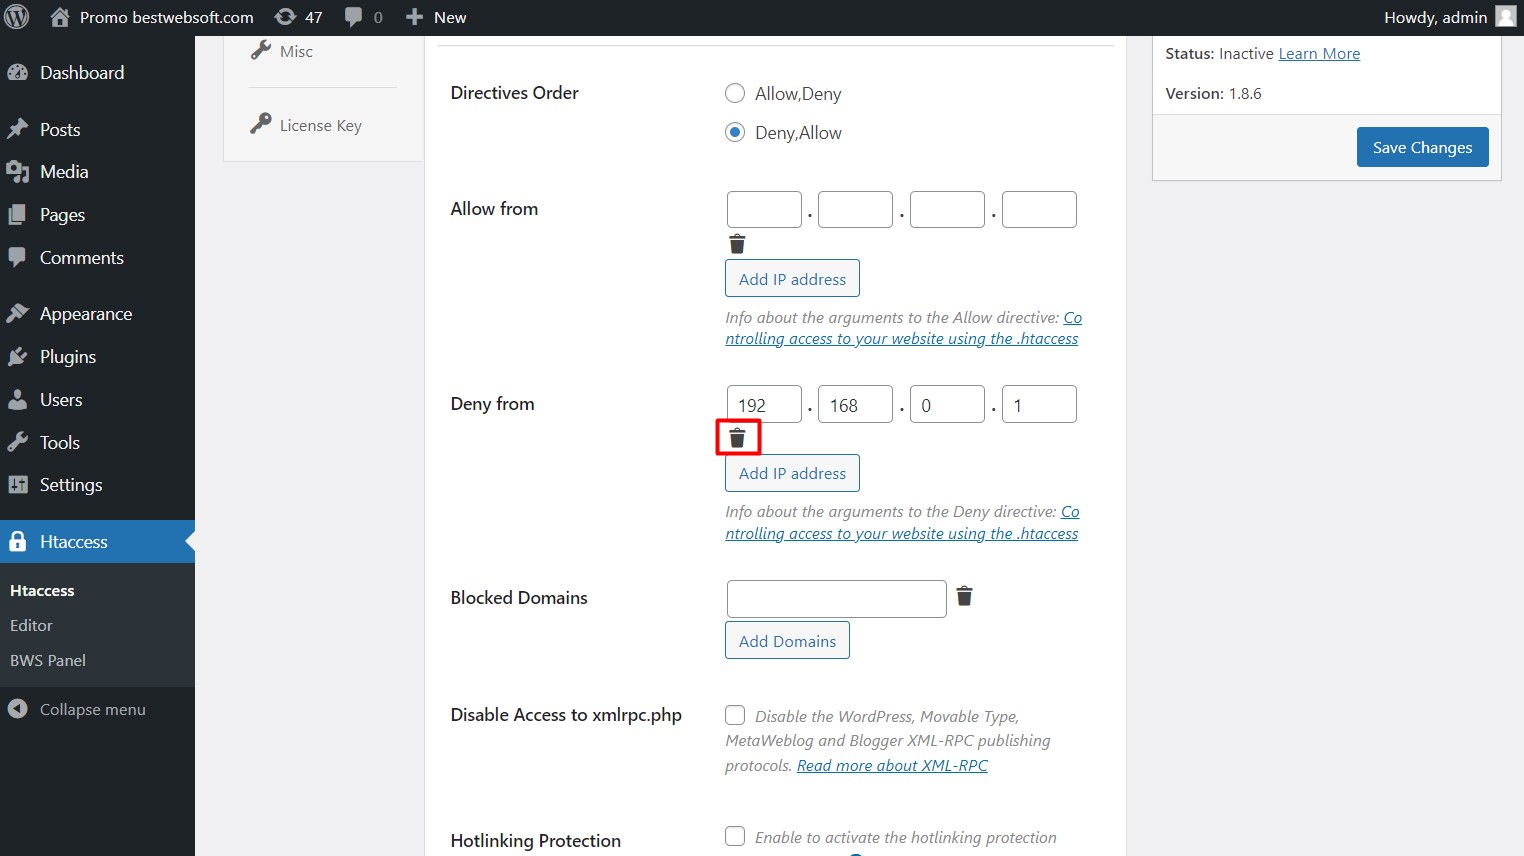
2.3.3. To delete the IP address from the Deny directive click the “Trash” button.
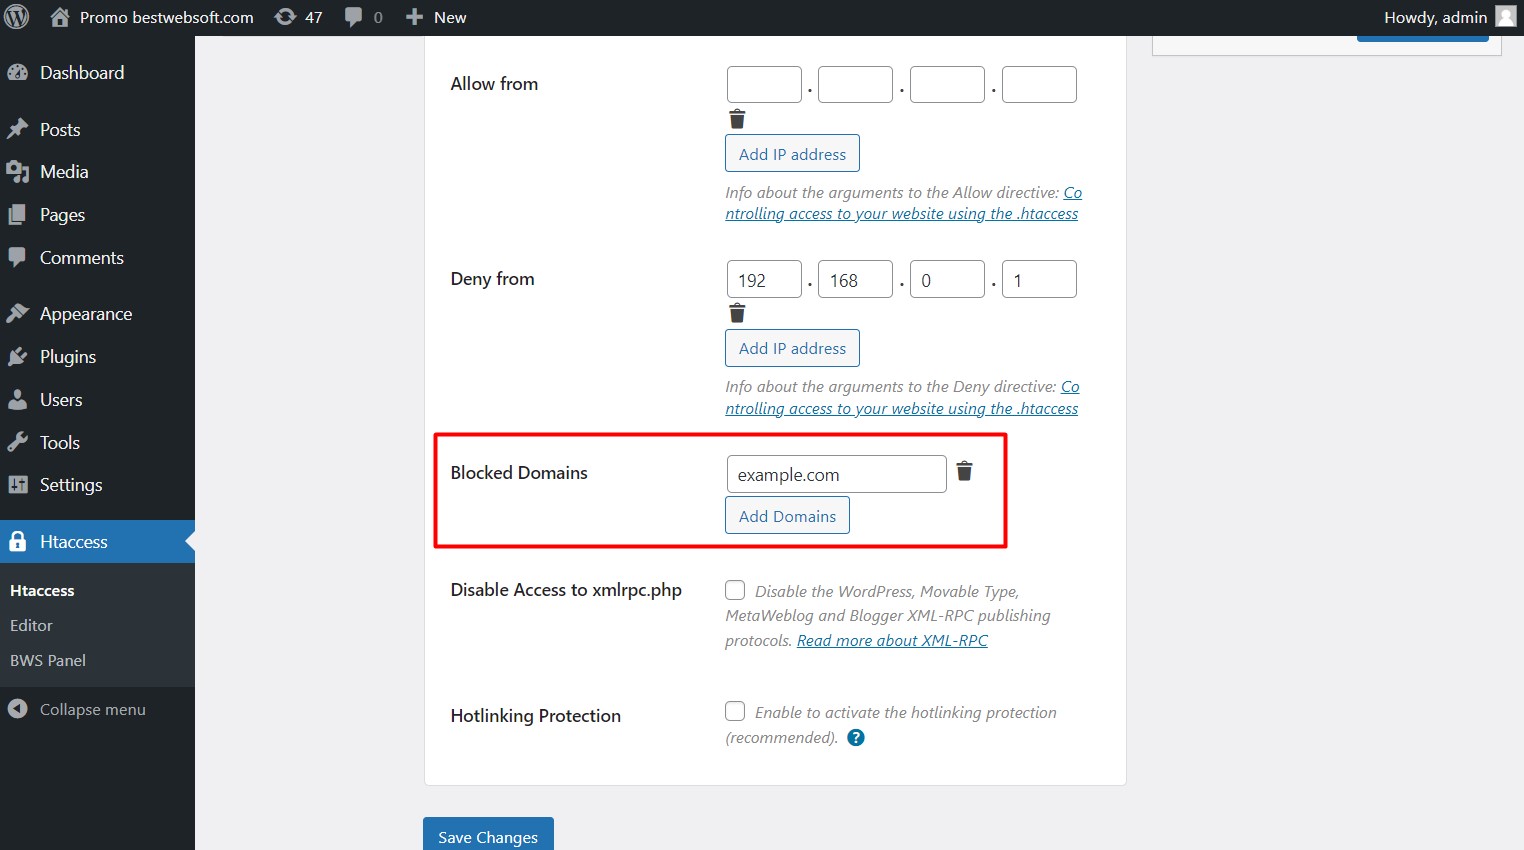
2.4. Blocked Domains
Use the “Blocked Domains” option to add domains that contain links to your site to blocked ones. When you follow a link from such a domain, a 403 error will be displayed.
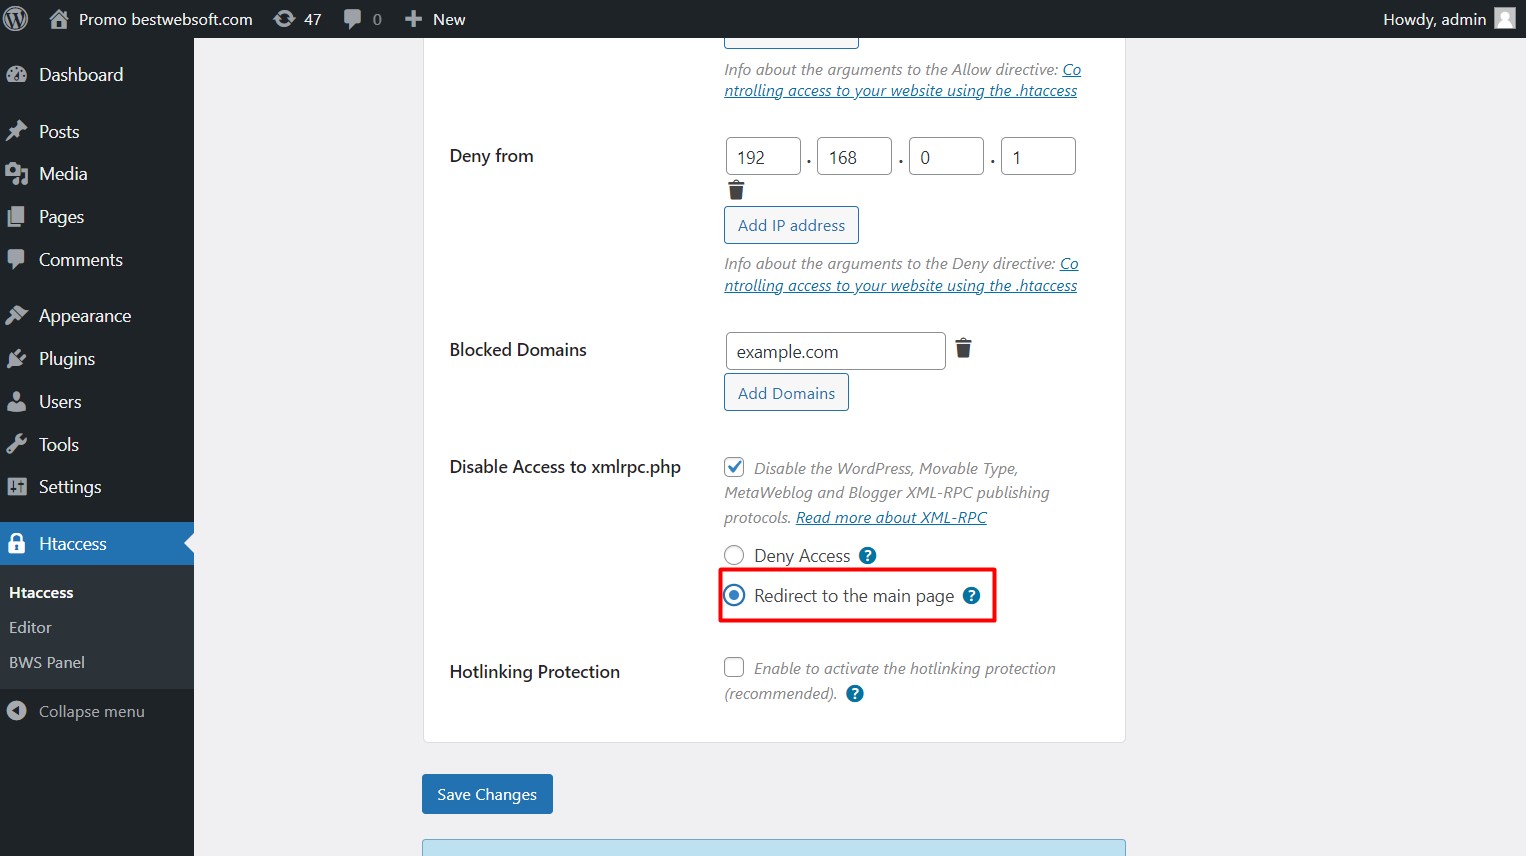
2.4. Disable Access to xmlrpc.php
Enable the ”Disable Access to xmlrpc.php” option to disable xmlrpc.php directory scanning which will prevent the site from working at the maximum capacity, or to prevent remote-publishing which will strengthen the website’s security.
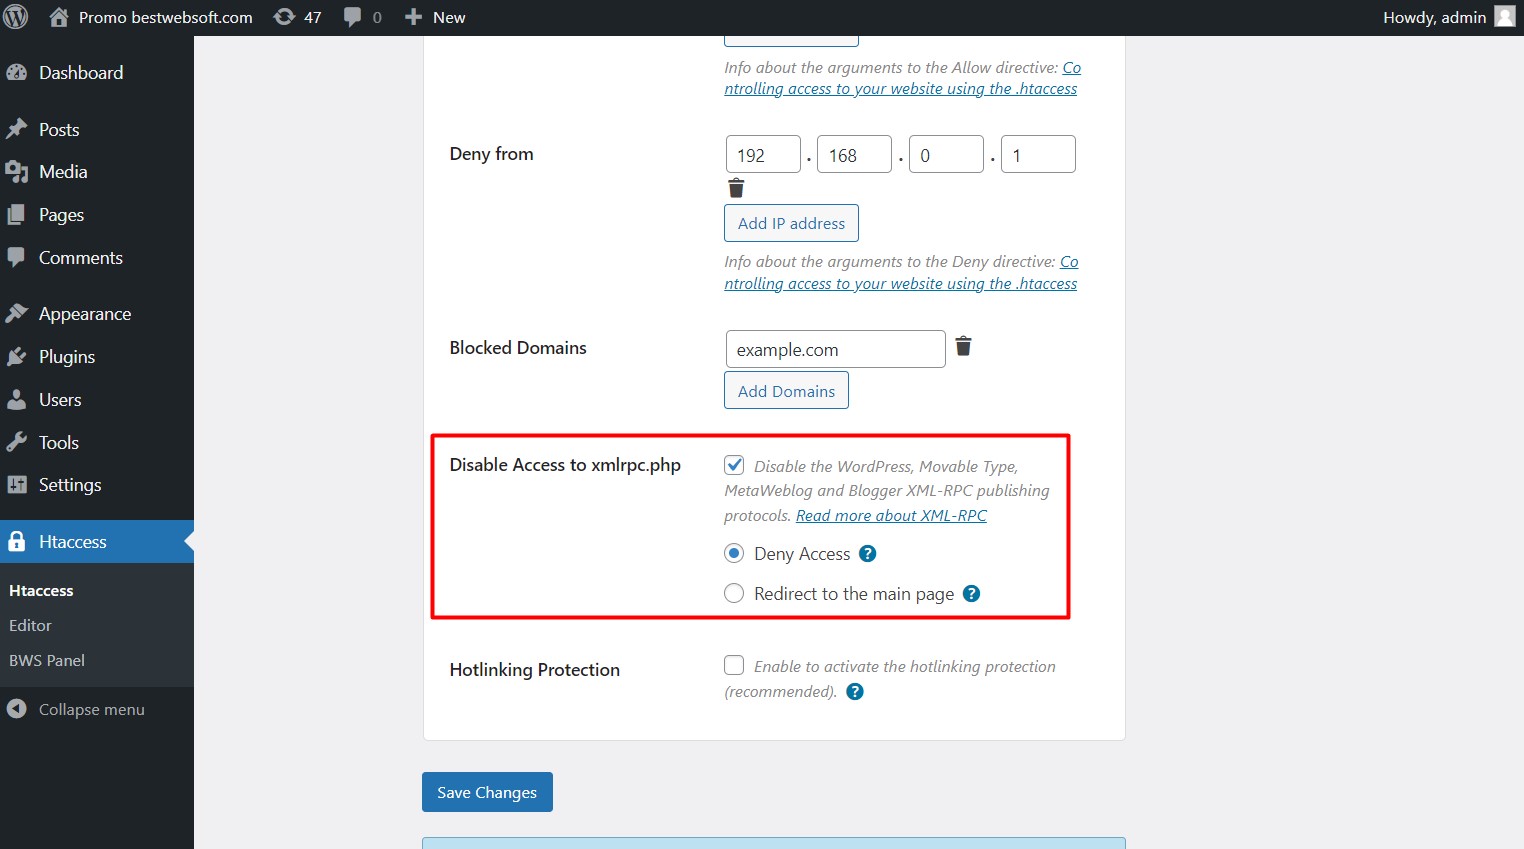
2.4.1. Choose “Deny Access” to set the XML_RPC publishing protocols denied access.

2.4.2. Choose the “Redirect to the main page” to set the all XML_RPC publishing protocols directing to the main page.
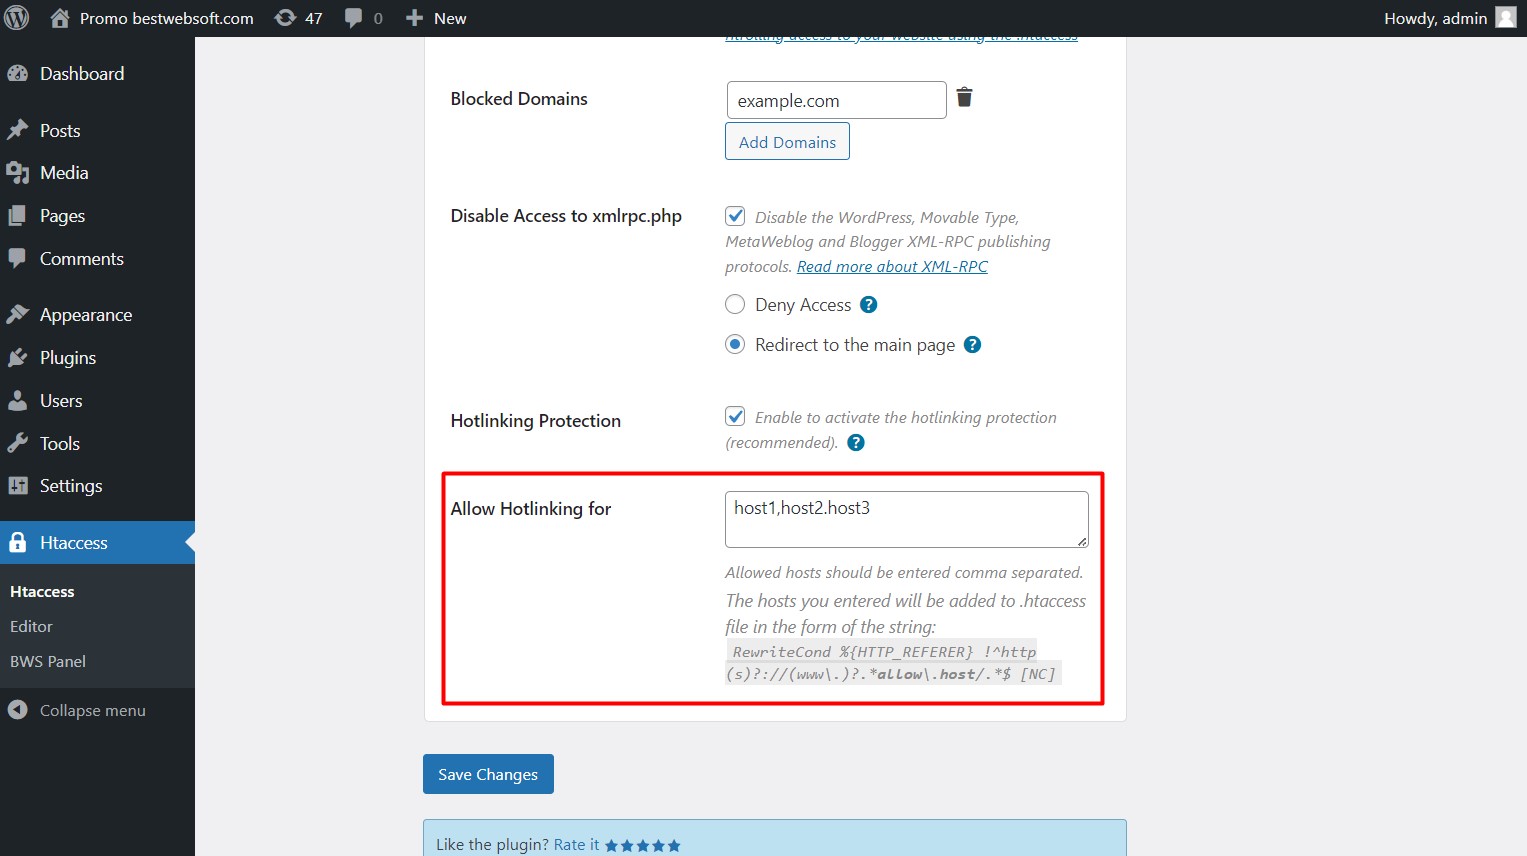
2.5. Hotlinking Protection
Enable the ”Hotlinking Protection” option to disable the direct linking to files from the website.
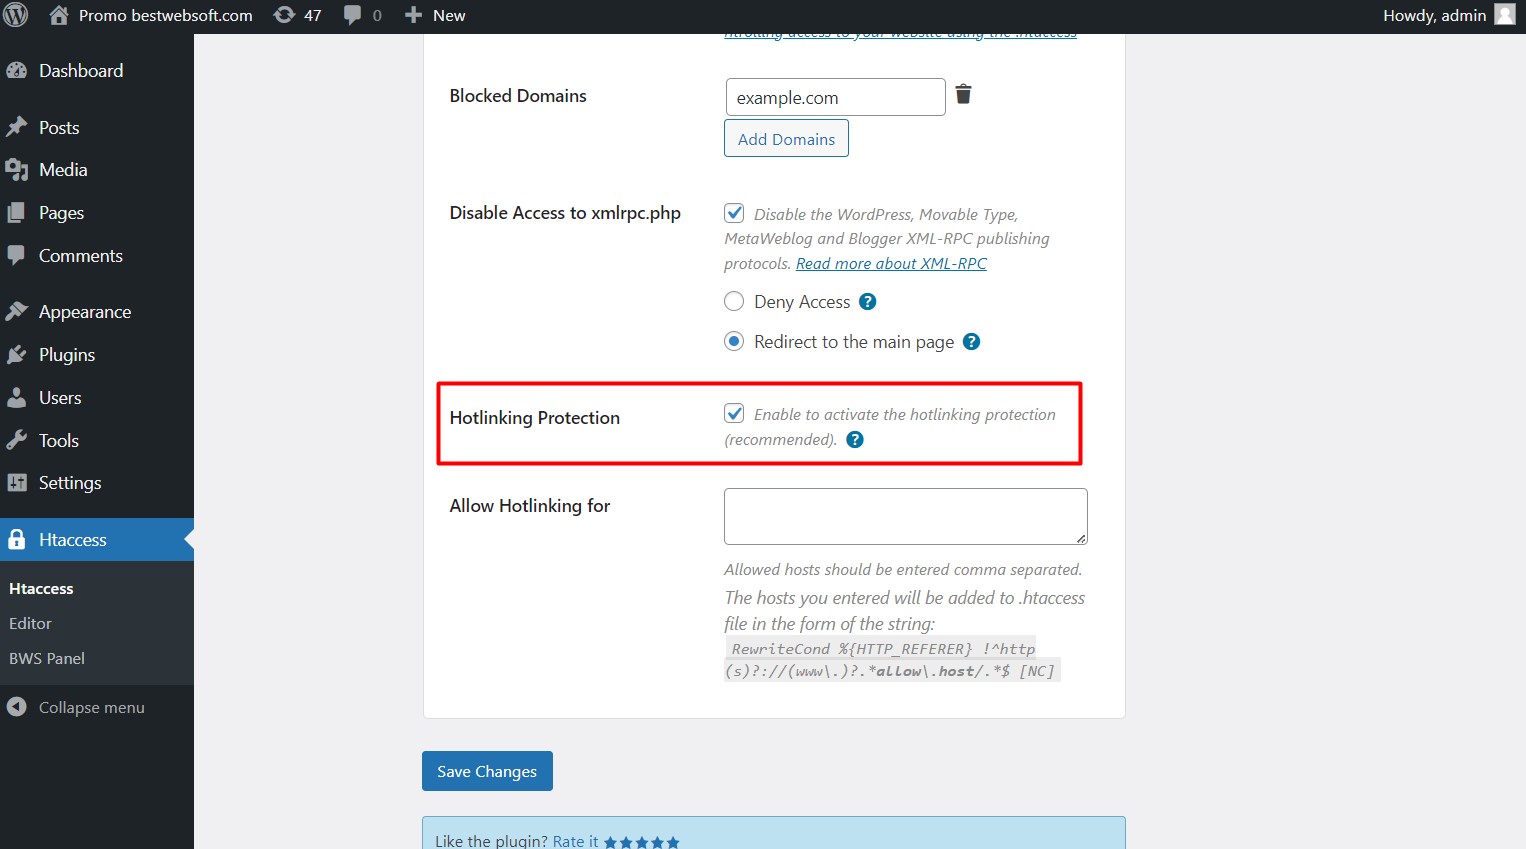
2.6. Allow Hotlinking For
Use the ”Allow Hotlinking for'' option to enter the hosts that will be allowed access to media files. Enter the necessary value into the option field.
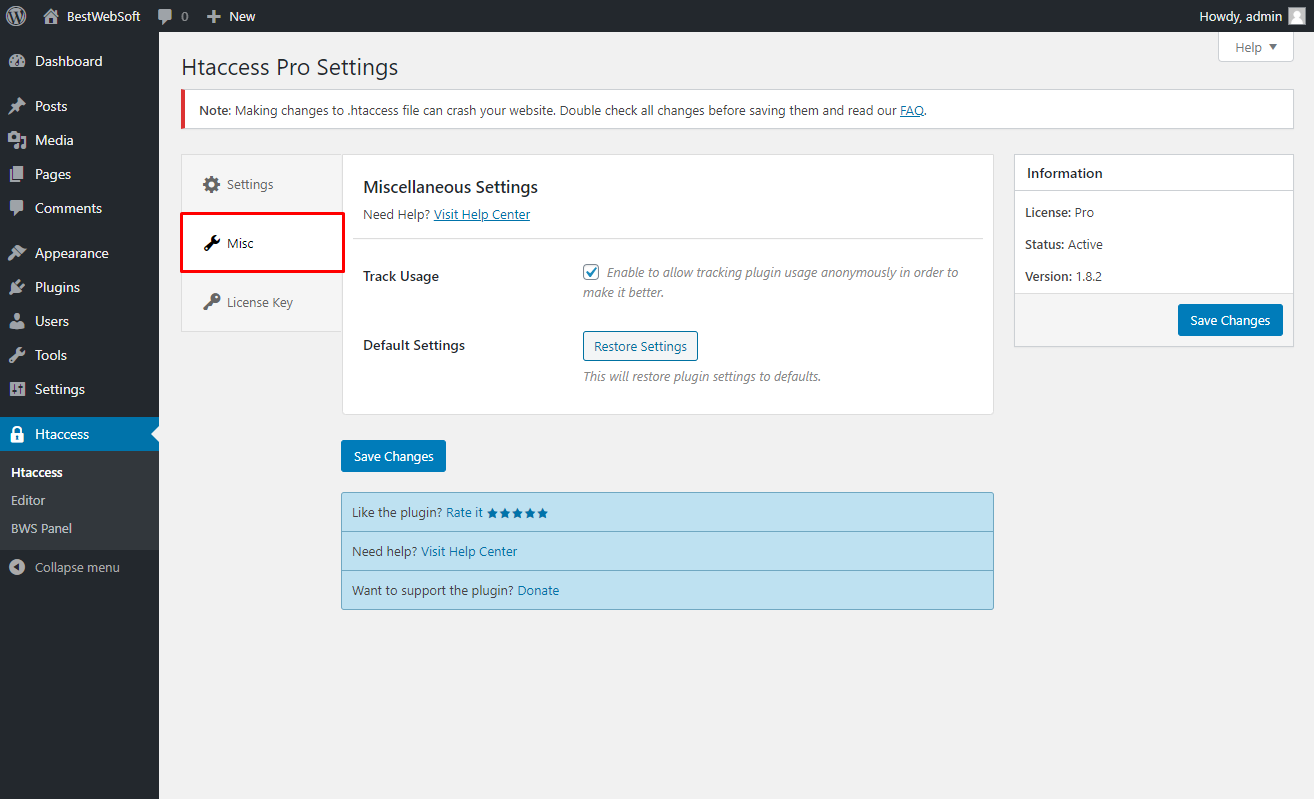
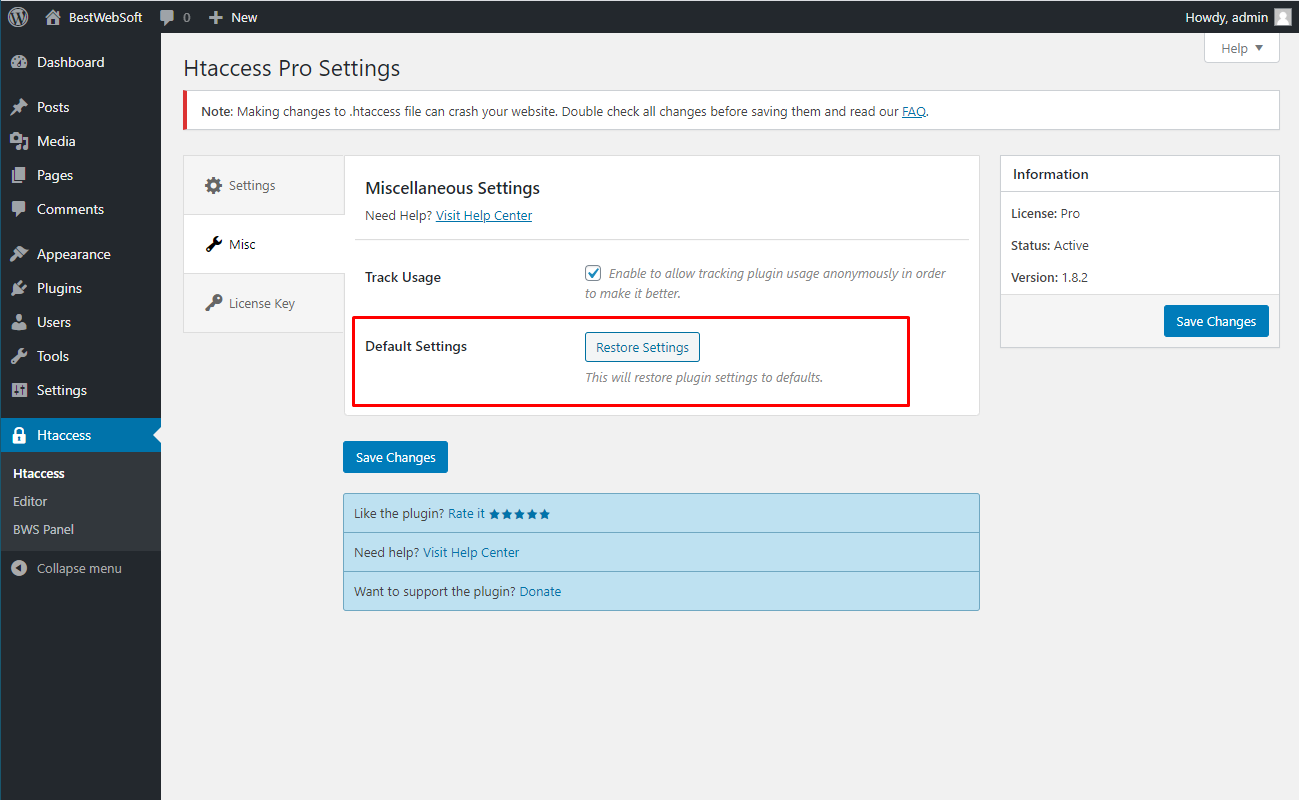
3. Miscellaneous Settings
Use the options of the “Miscellaneous Settings” tab to make the settings regarding the track usage and default settings.
3.1. Track Usage
Enable the “Track Usage” option to allow tracking plugin usage anonymously.

3.2. Default Settings
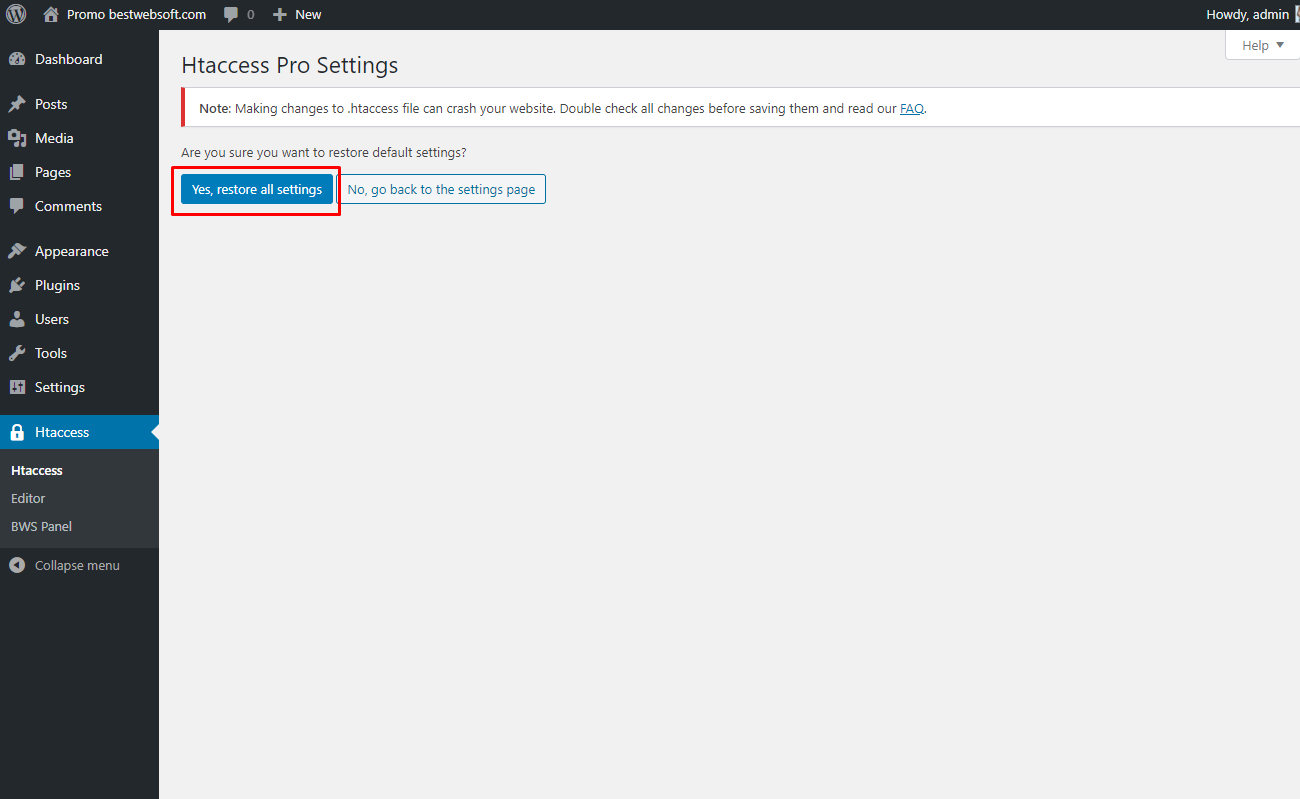
Click the “Restore settings” button to reset all the settings made previously and revert them to the default ones.
3.2.1. Click “Yes, restore all settings” button to confirm the procedure.
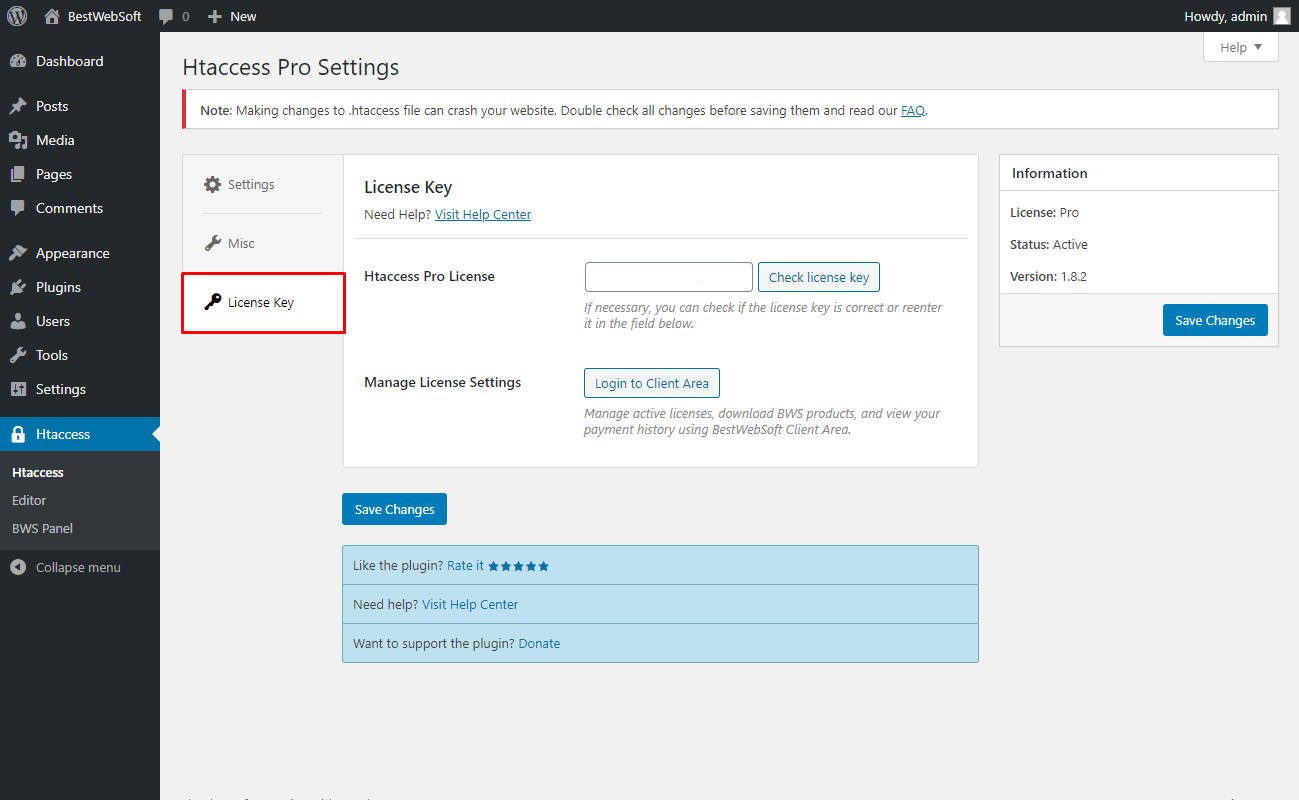
4. License Key
Use the “License Key” tab to activate or check the Pro plugin license.
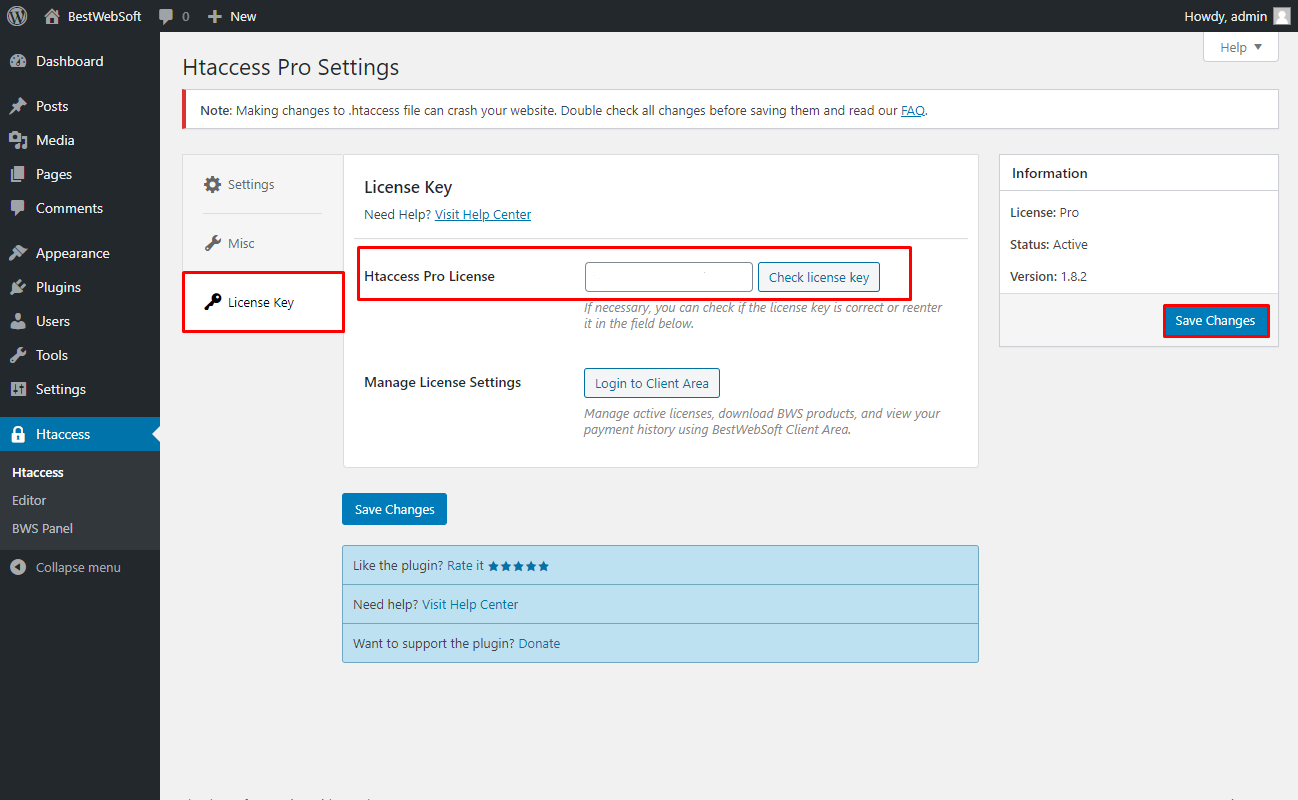
4.1. Htaccess Pro License
After a successful plugin purchase, you will receive an email notification with a download link and a license key. Activate Pro license by pasting a license key into the “Htaccess Pro License” field and clicking the “Save Changes” button.
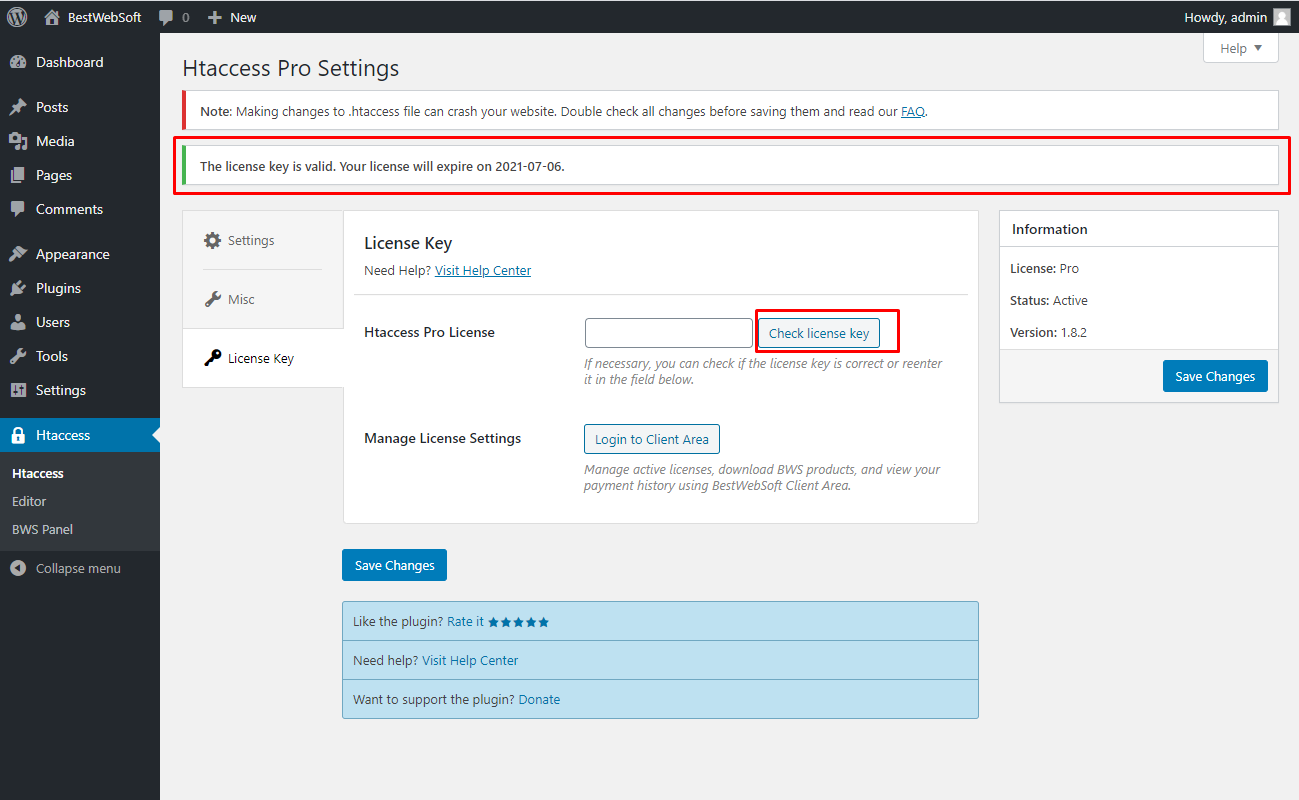
4.2. Check License Key
To check the license key, click the “Check license key” button. If the entered key is correct, the notification “The license key is valid. Your license will expire on XXXX-XX-XX” will be displayed in the upper left corner of the page.
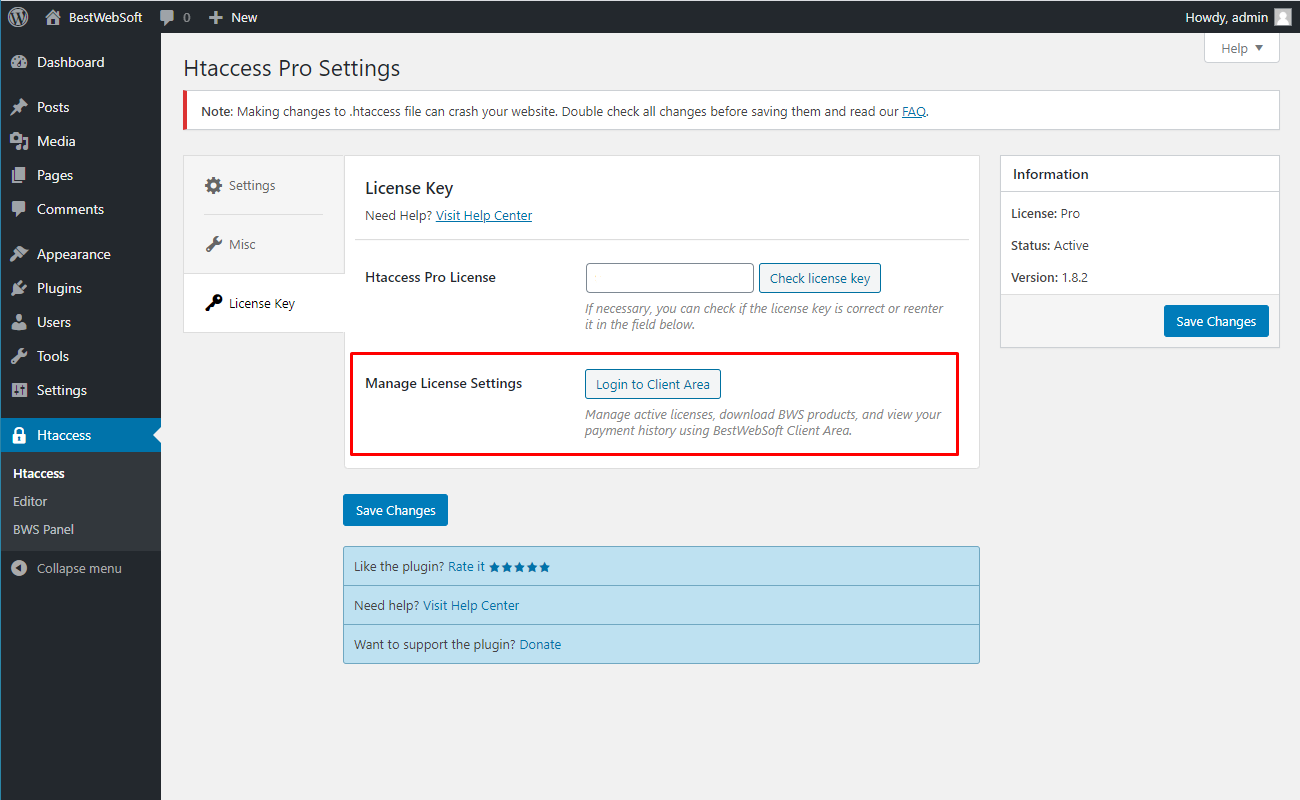
4.3. Manage License Settings
Use the “Manage License Settings” option to change your license settings. Click the “Login to Client Area” button to open your personal Client Area dashboard found on the https://bestwebsoft.com/ website. Browse and download purchased products, change the license domain and copy the license keys.
5. Htaccess Editor
Use the “Htaccess Editor” page to add a htaccess code and create a backup.
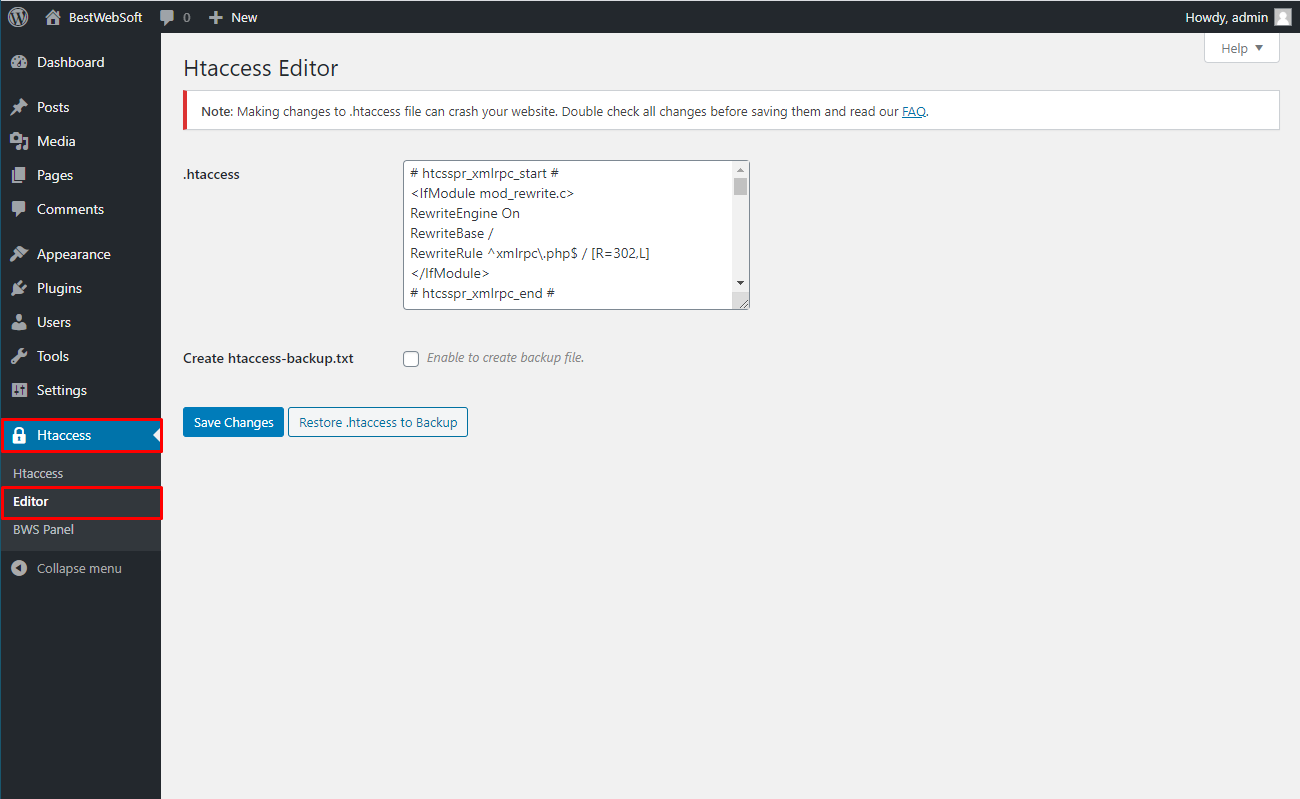
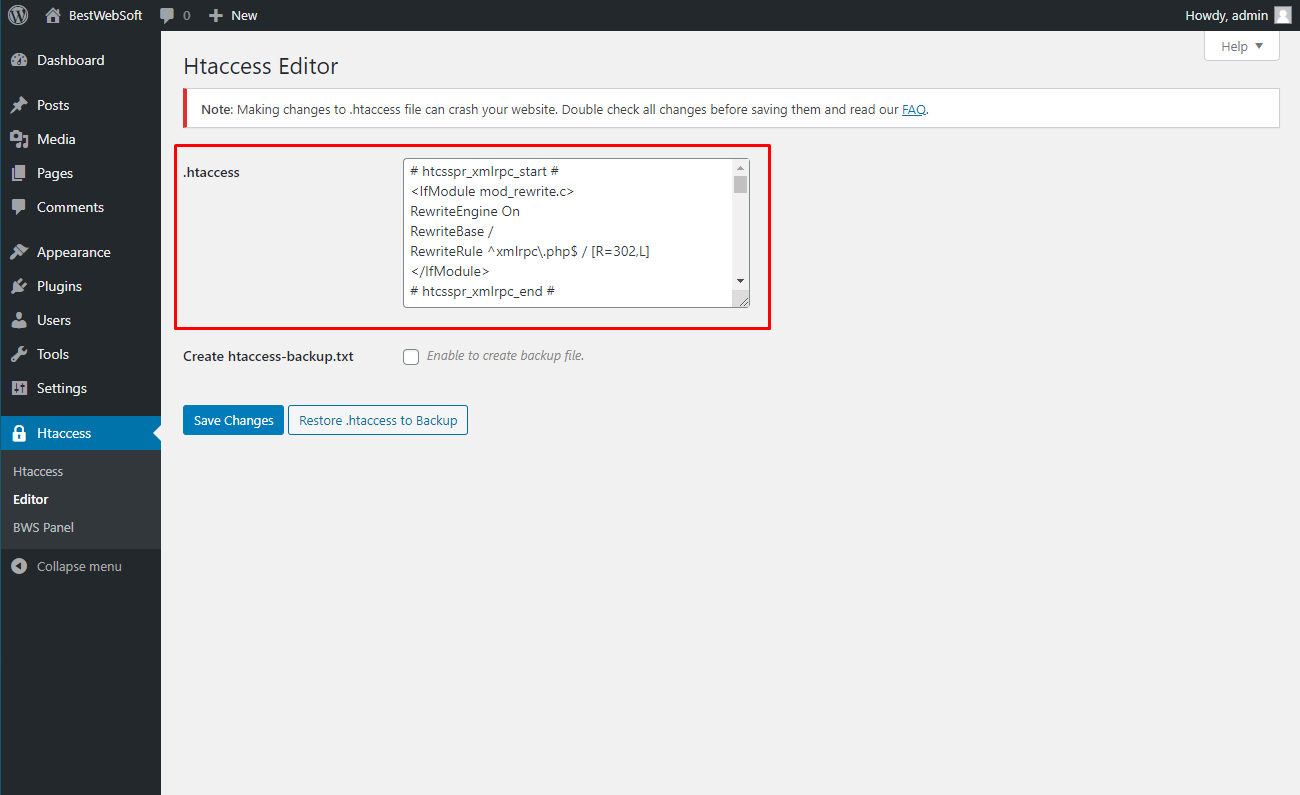
5.1. .htaccess
Use the “.htaccess” option in order to copy different parts of a htaccess code or to modify it.
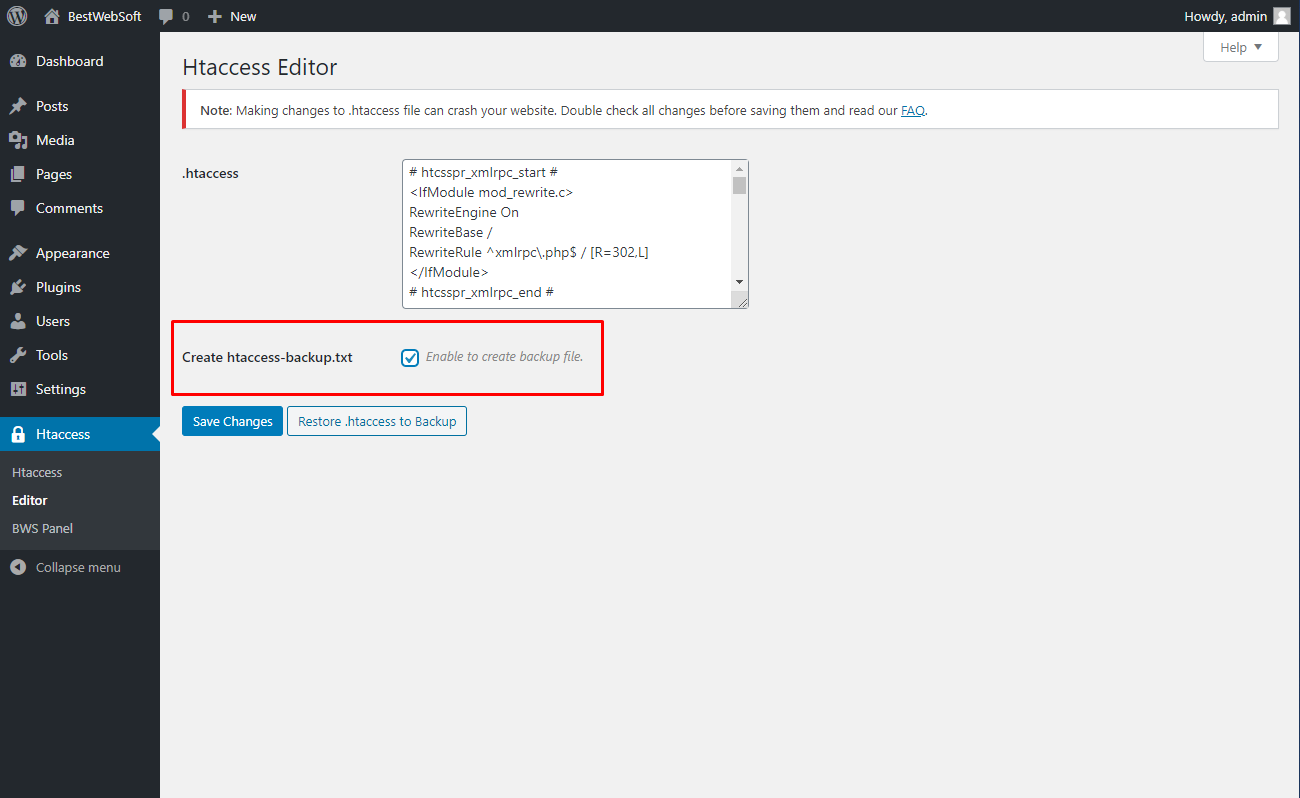
5.2. Create htaccess-backup.txt
Enable the “Create htaccess-backup.txt” option to create the backup file.
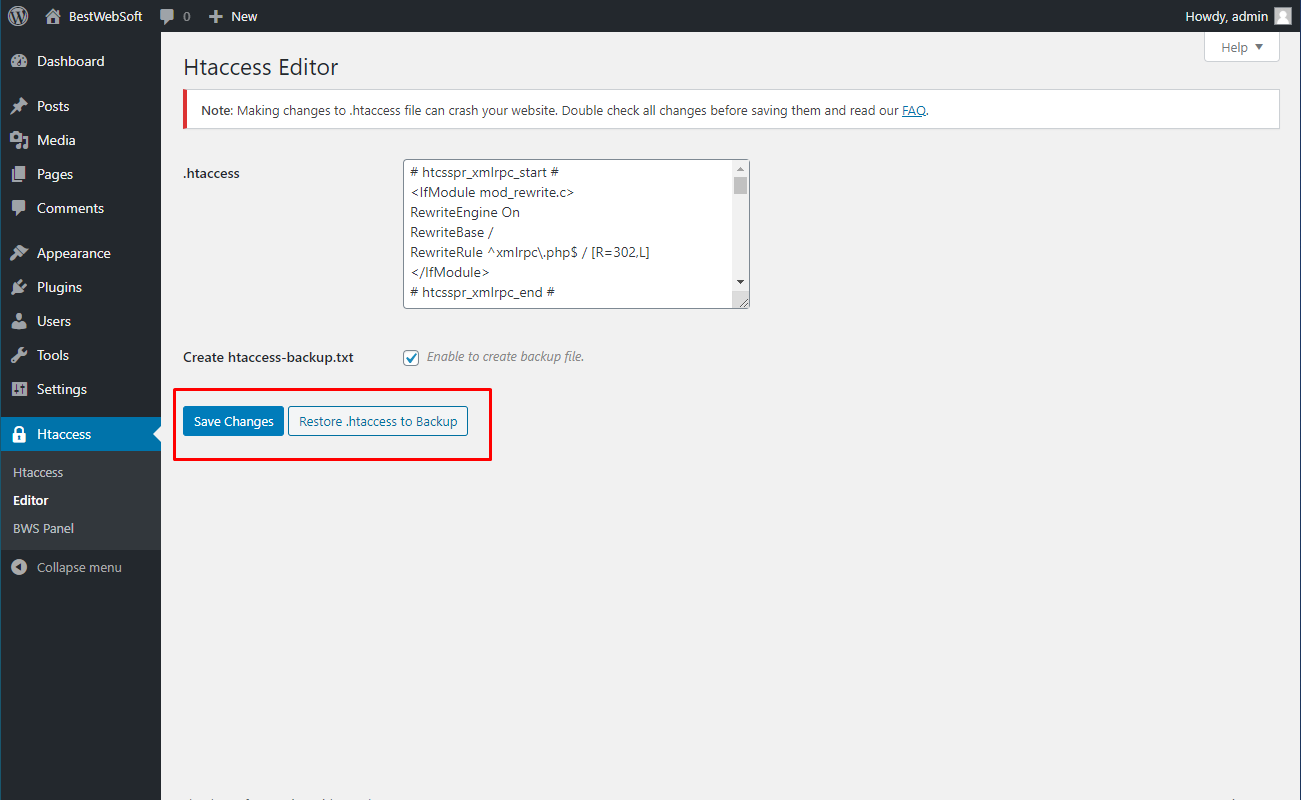
5.2.1. Click one of the buttons either to save changes or to restore .htaccess to backup.
Thank you!
Help & Support
Visit our Help Center if you have any questions — https://support.bestwebsoft.com/
Services
We provide additional services such as WordPress themes & plugins development,
graphic design, custom programming.
Contact us now to get a free quote — https://bestwebsoft.com/contacts/

