

Quotes and Tips
User Guide
Quotes and Tips | 1.44 * |
WordPress | 6.2 * |
Custom search Sender | 1.46 * 1.37 * |
*When using other versions some differences are possible to occur
** Screenshots were taken from a PC
Table of Contents
4.5. Add Quotes and Tips to the Search
4.6. Automatic Mailout When Publishing
5.7. Background Image Alignment
You can download Quotes and Tips Plugin here:
https://bestwebsoft.com/products/wordpress/plugins/quotes-and-tips/
1. Introduction
Note: Сlick the “Save Changes” button in order to apply any changes. |
1.1. Open your WordPress Admin Dashboard and find the menu on the left.
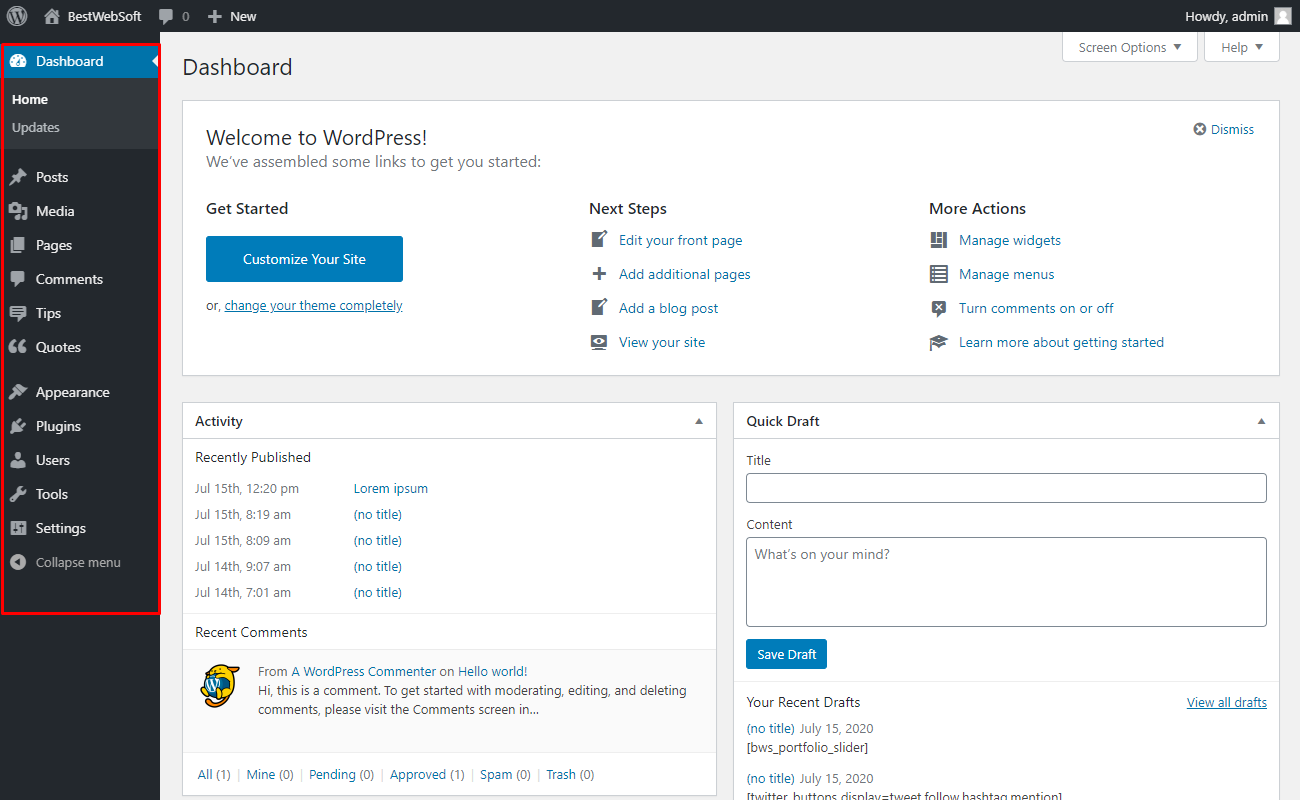
1.2. Open the ”Tips” or “Quotes” > “Settings” page. They are identical.

2. Add New Tip
Open the “Add New” page to create a new tip.
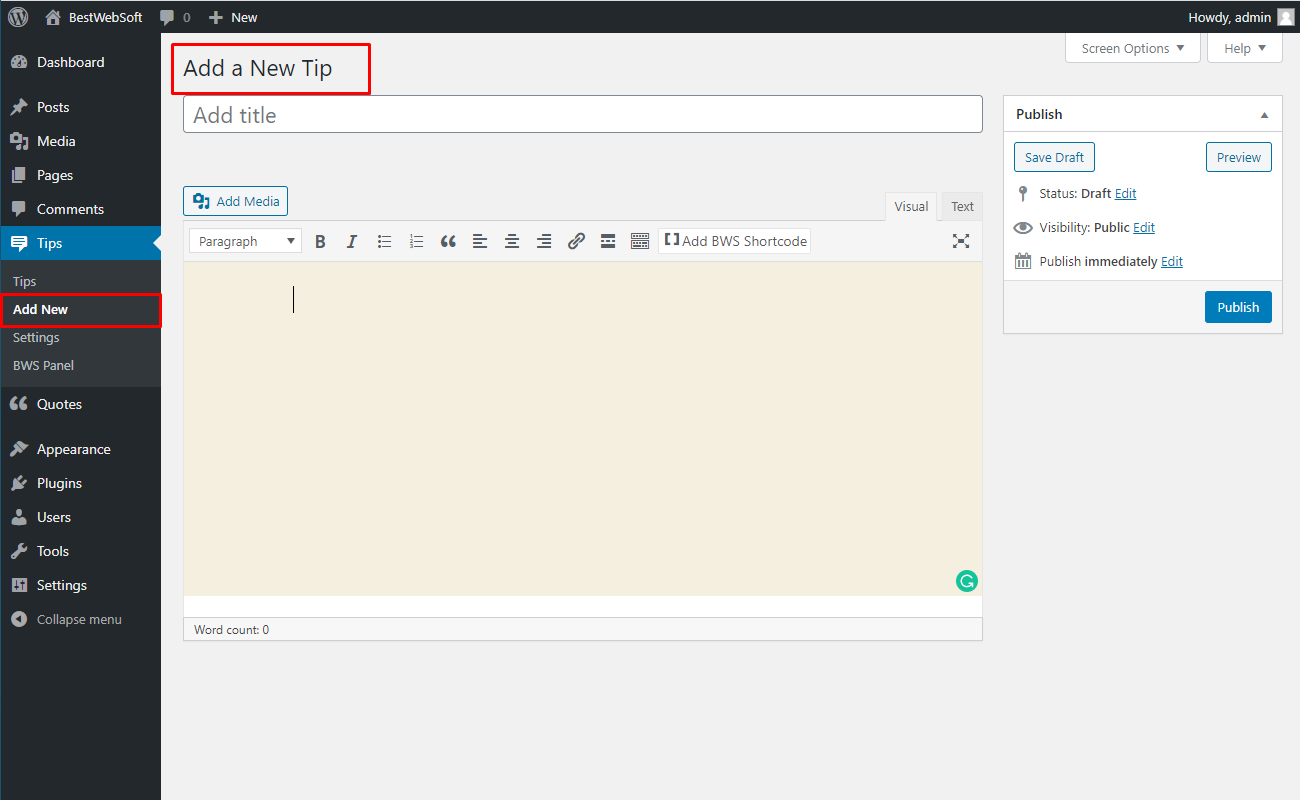
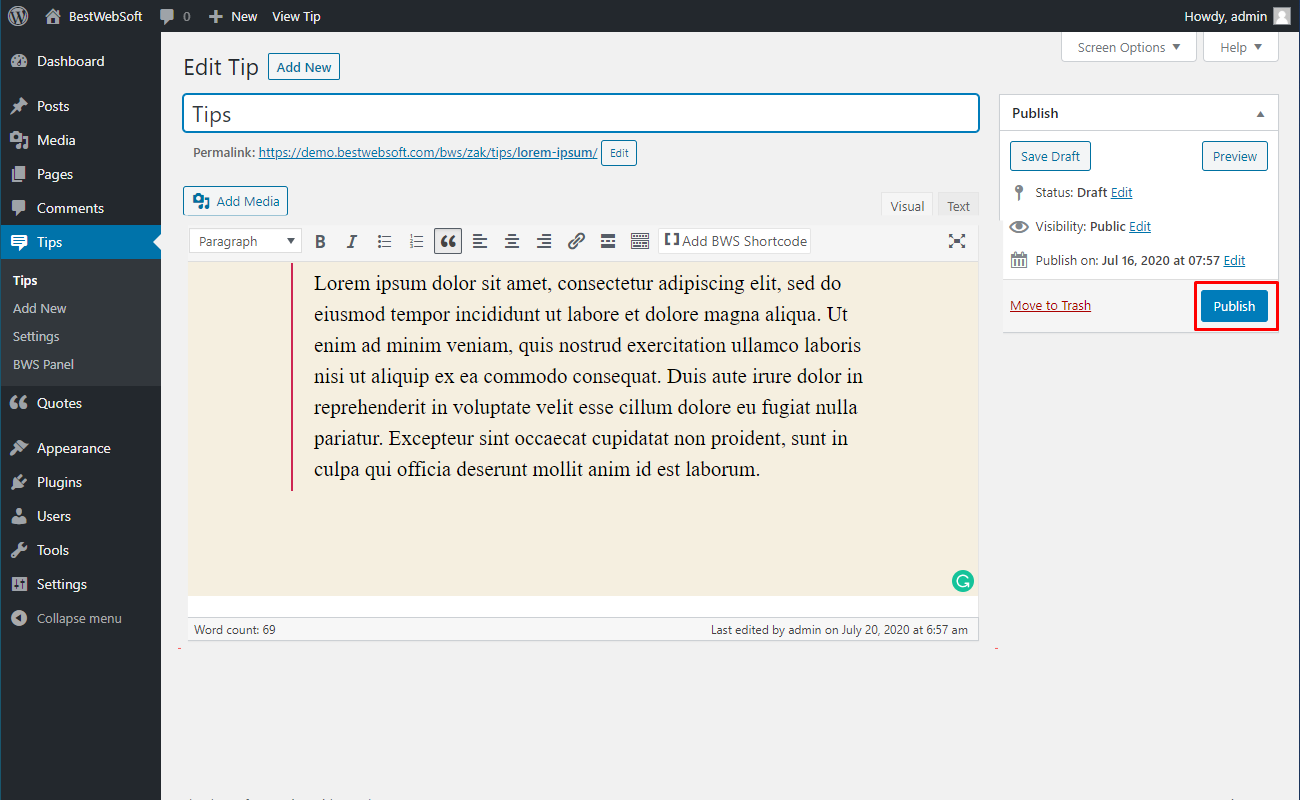
2.1. Add Title
Use the “Add Title” option to add the title of the tip.

2.2. Add Text
Use the “Add Text” section to enter the text that will be displayed as a tip.
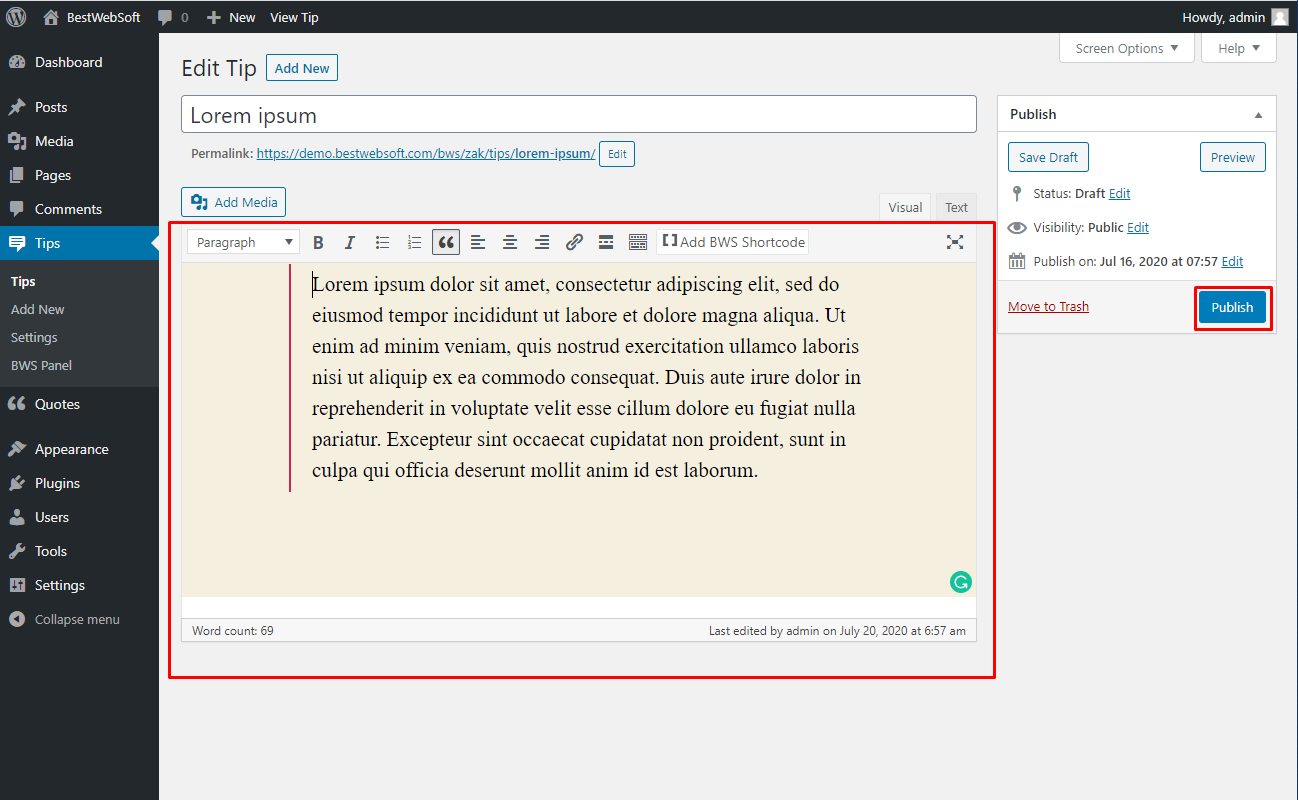
2.2.1. Click the “Publish” button to save tips.
2.3. Select Categorie
Use the Tips Categories block to add tips to the necessary category.

2.4. Tips Categories
Use the “Tips Categories” page to add new and edit the existing categories
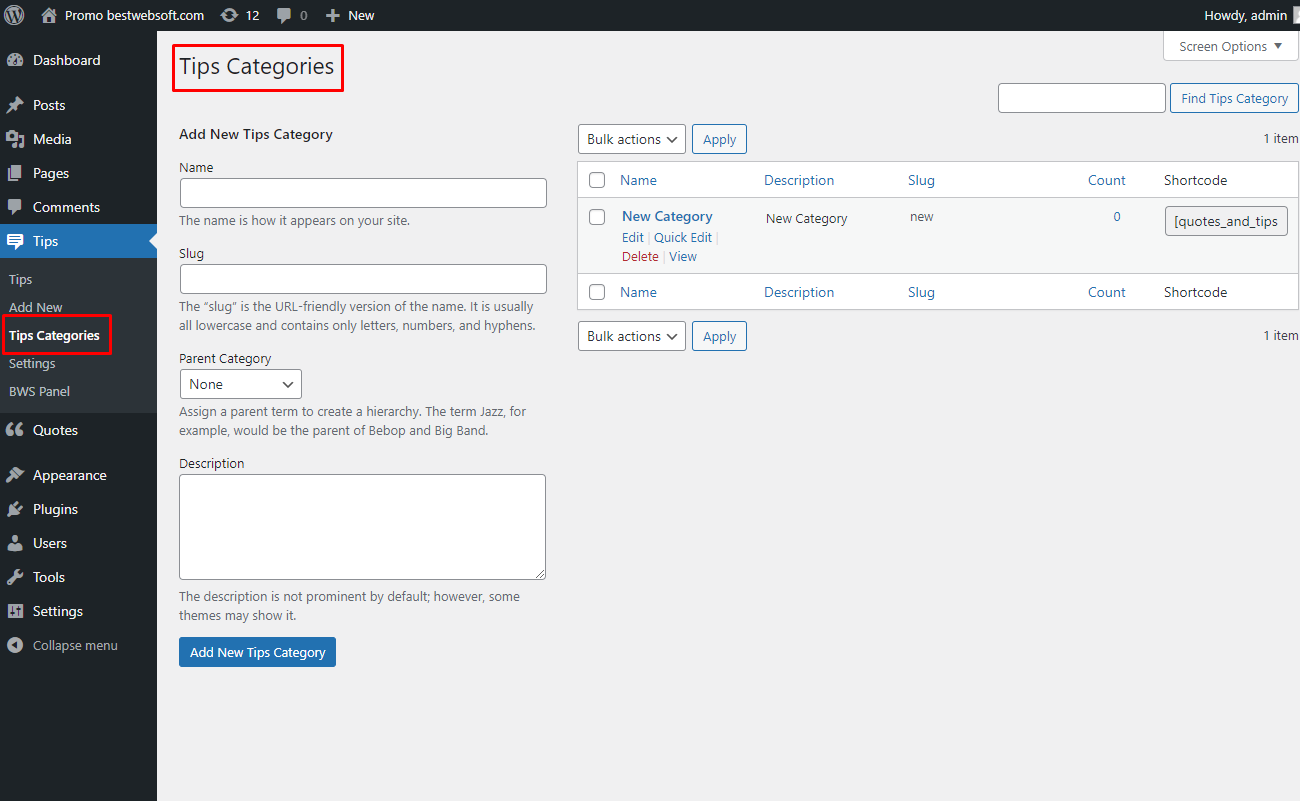
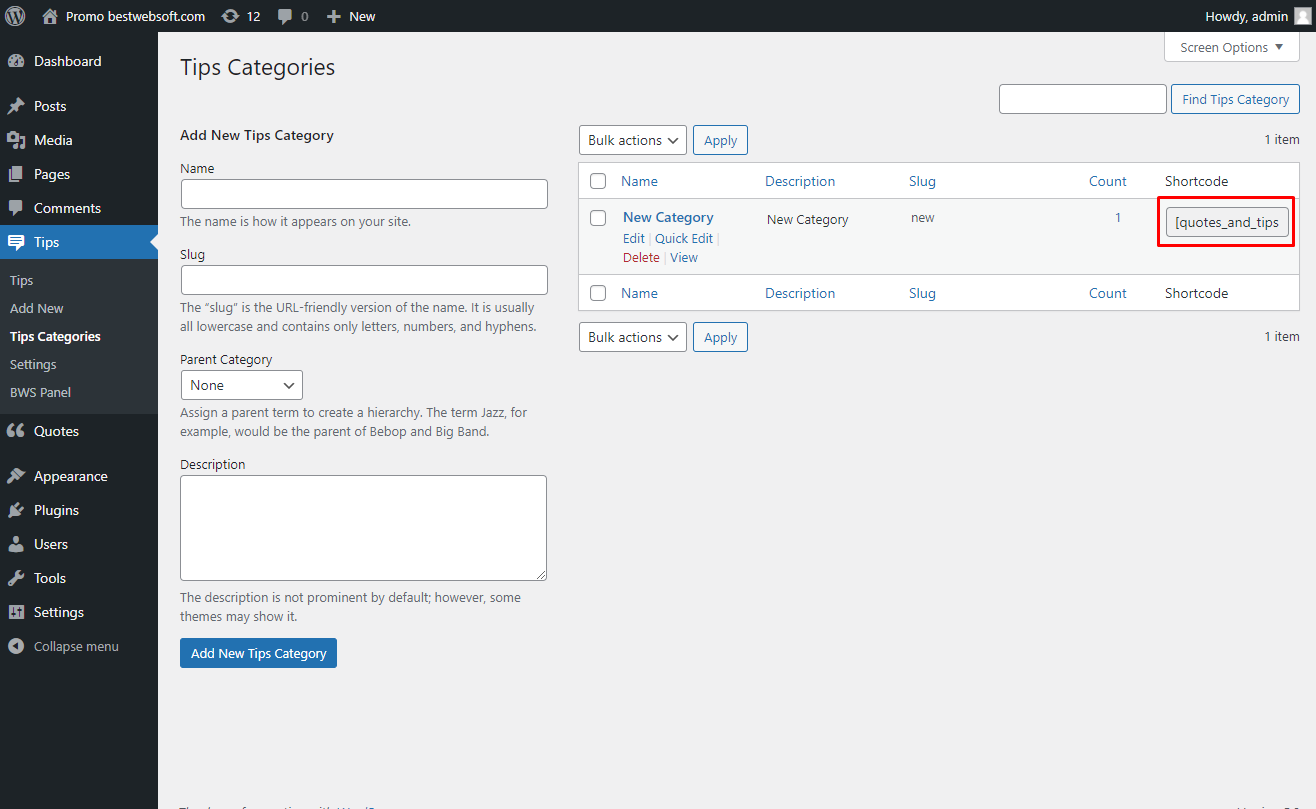
2.3.1. Use the shortcode from the categories list to display the tips from the necessary category.
3. Add New Quote
Open the “Add New Quote” page to create a new quote.
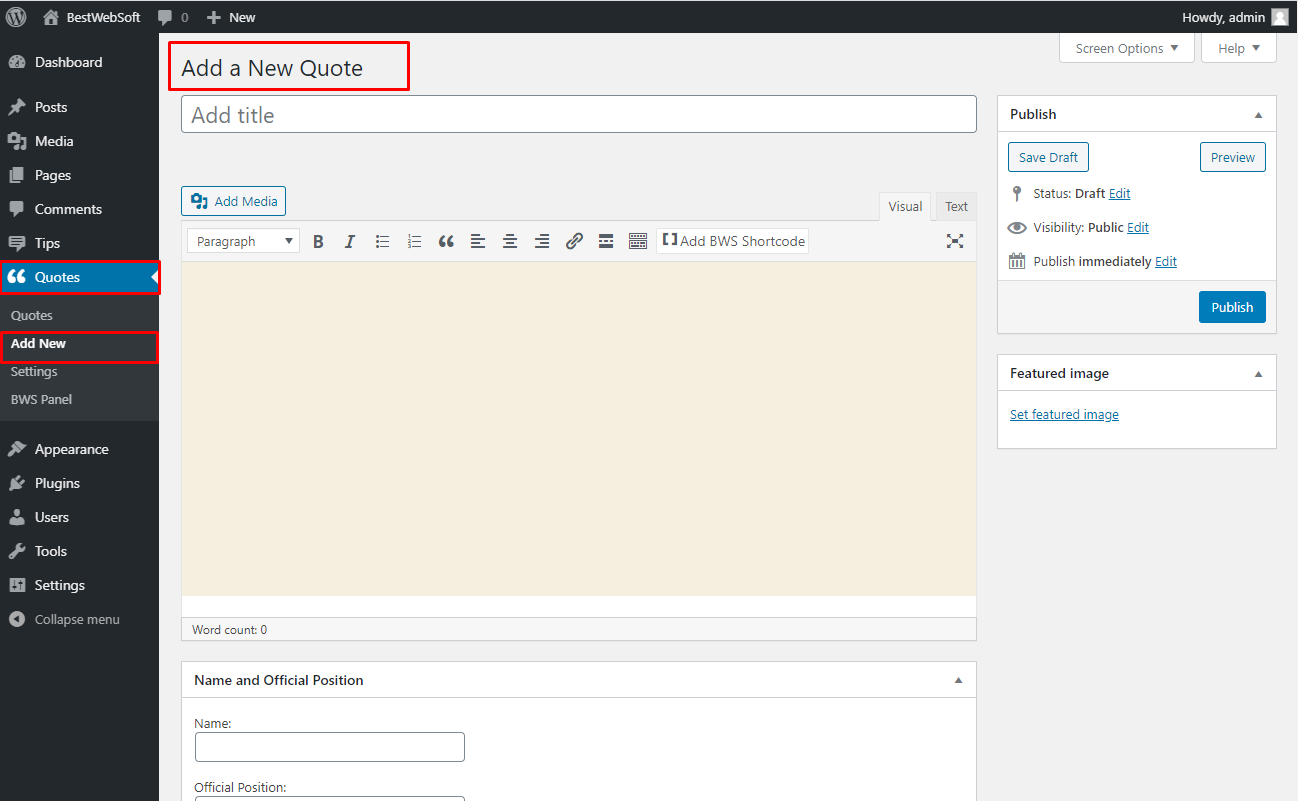
3.1. Add Title
Use the “Add Title” option to add the title of the quote.

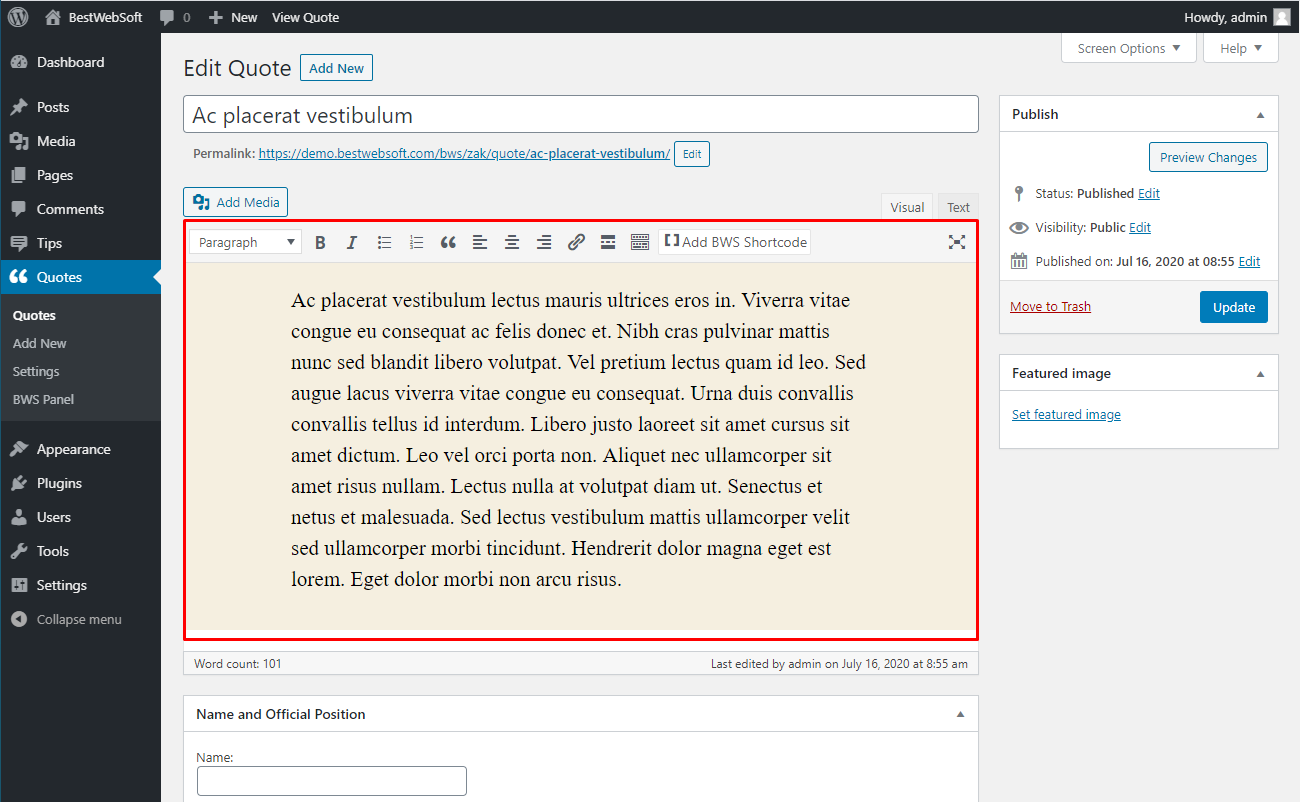
3.2. Add Text
Use the “Add Text” section to enter the text that will be displayed as a quote.
3.3. Add Name
Use the “Name” option to add the name of the quoted person. Enter the appropriate name into the option field.

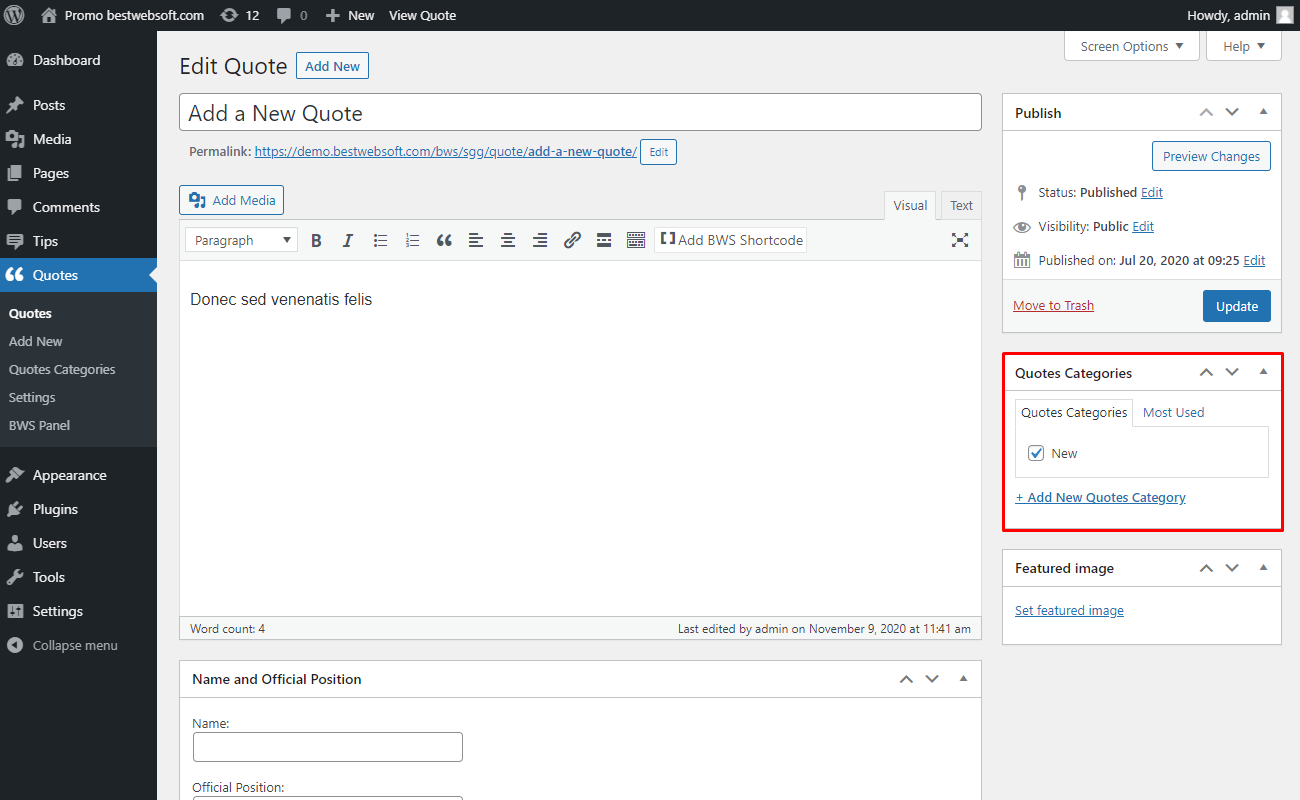
3.4. Select Category
Use the Quotes Categories block to add a quote to the necessary category.
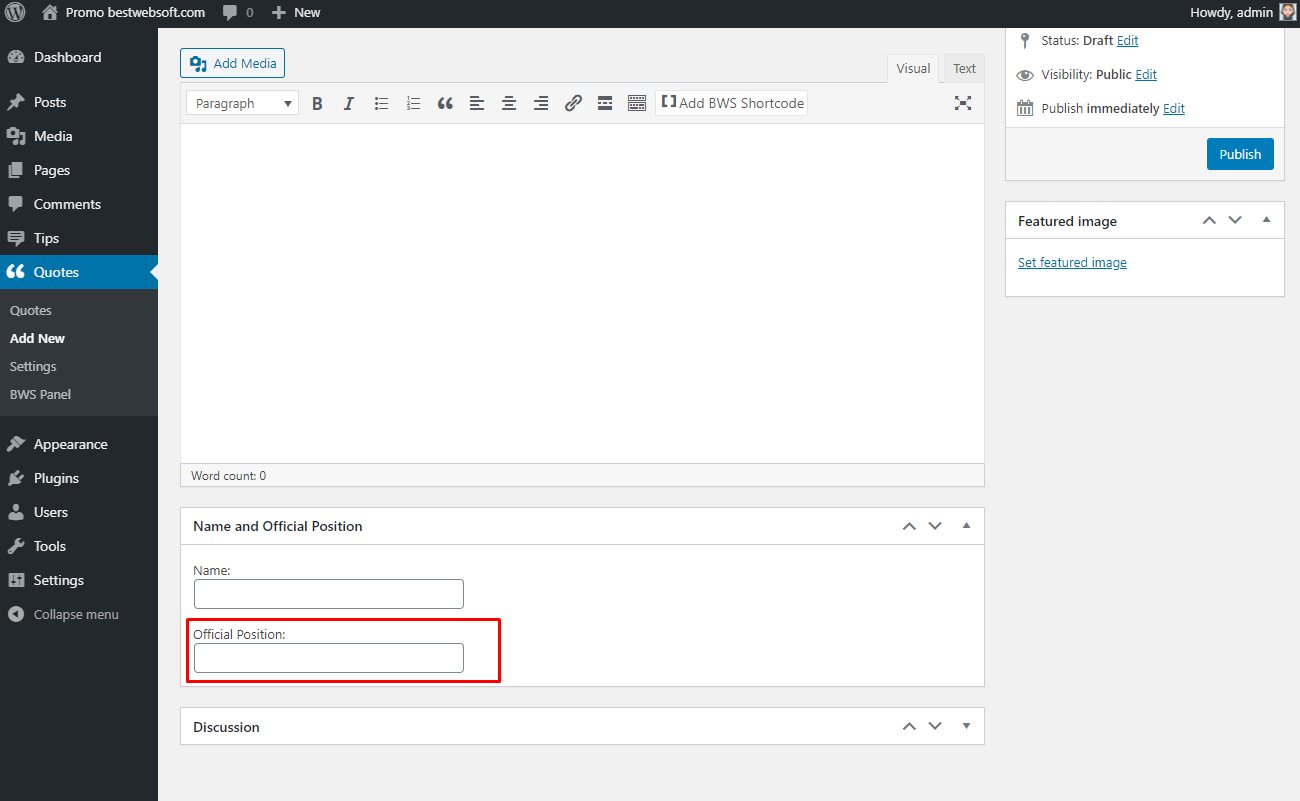
3.5. Add Official Position
Use the “Official Position” option to add the official position of the person who is quoted. Enter the appropriate position into the option field.
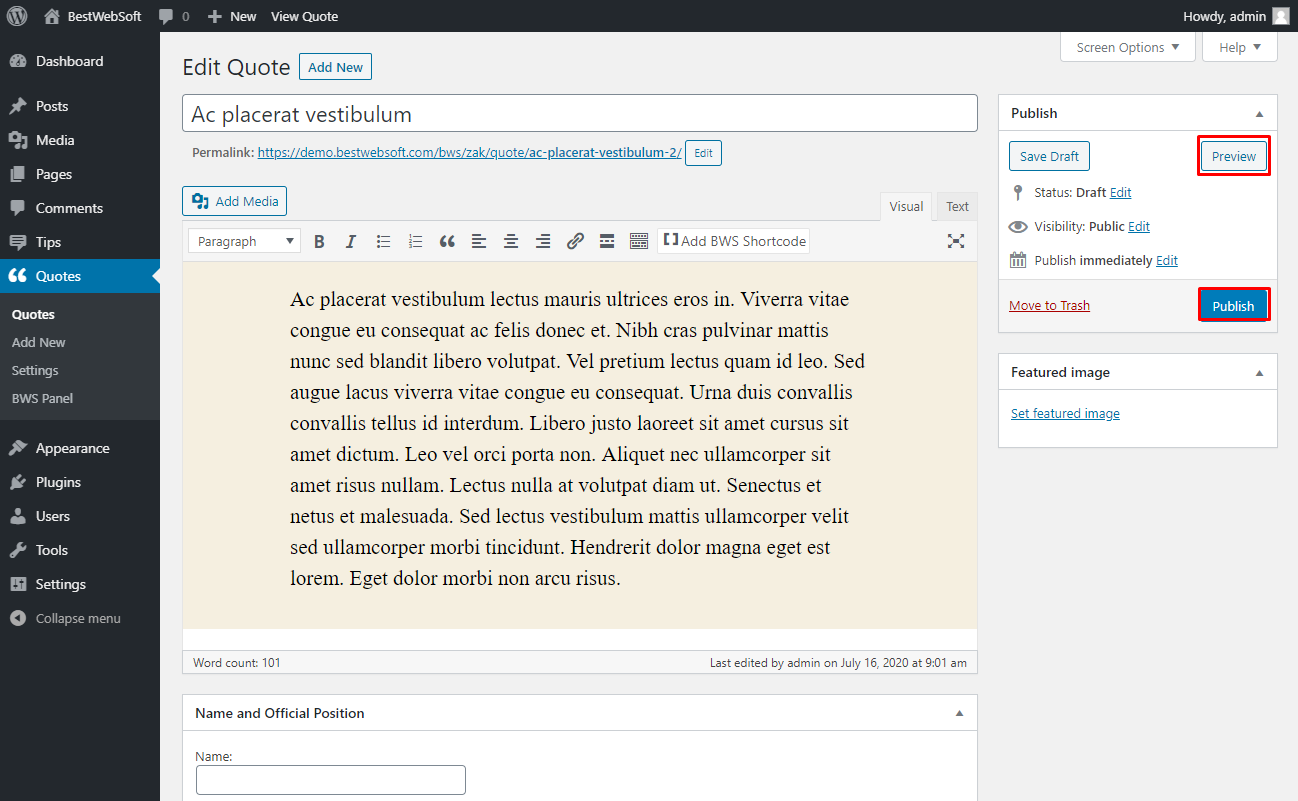
3.4.1. Click the “Publish” button to display quotes.
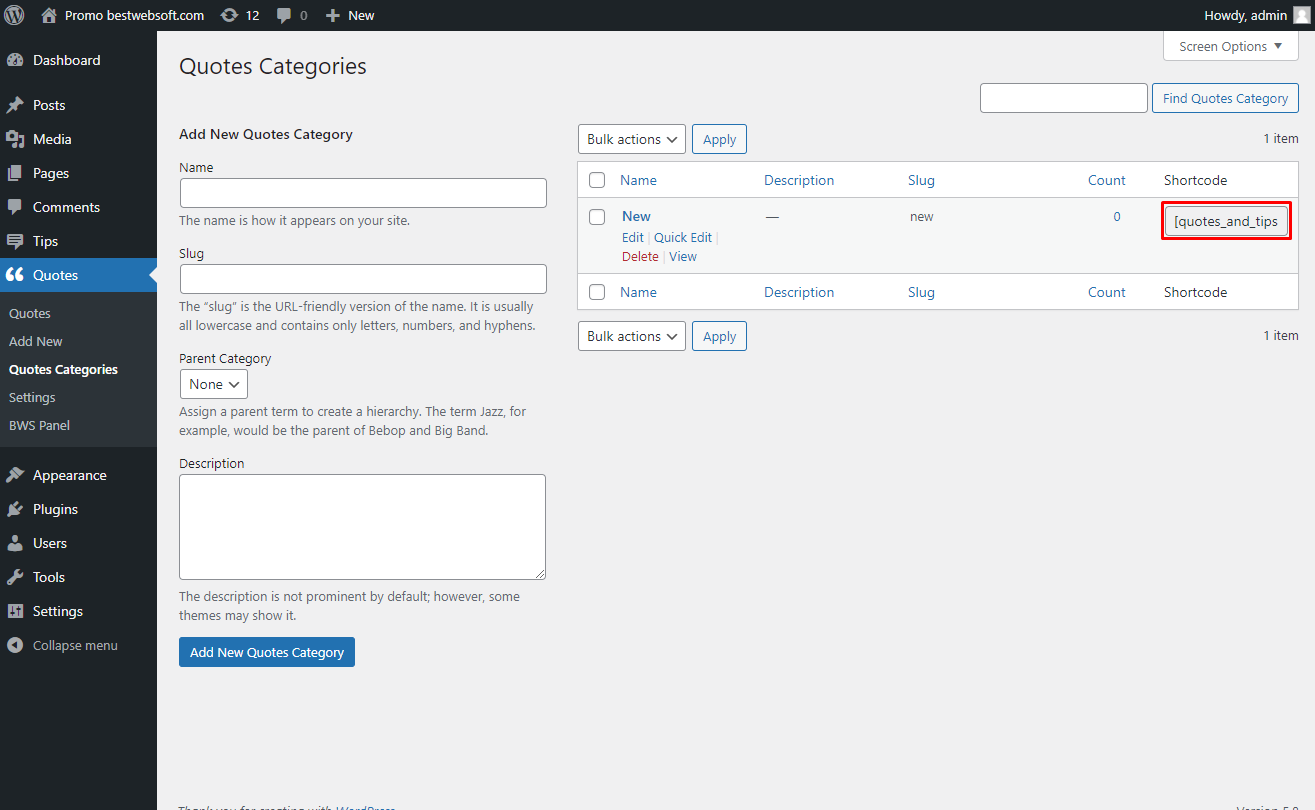
3.6. Quotes Categories
Use the “Quotes Categories” page to add new and edit the existing categories
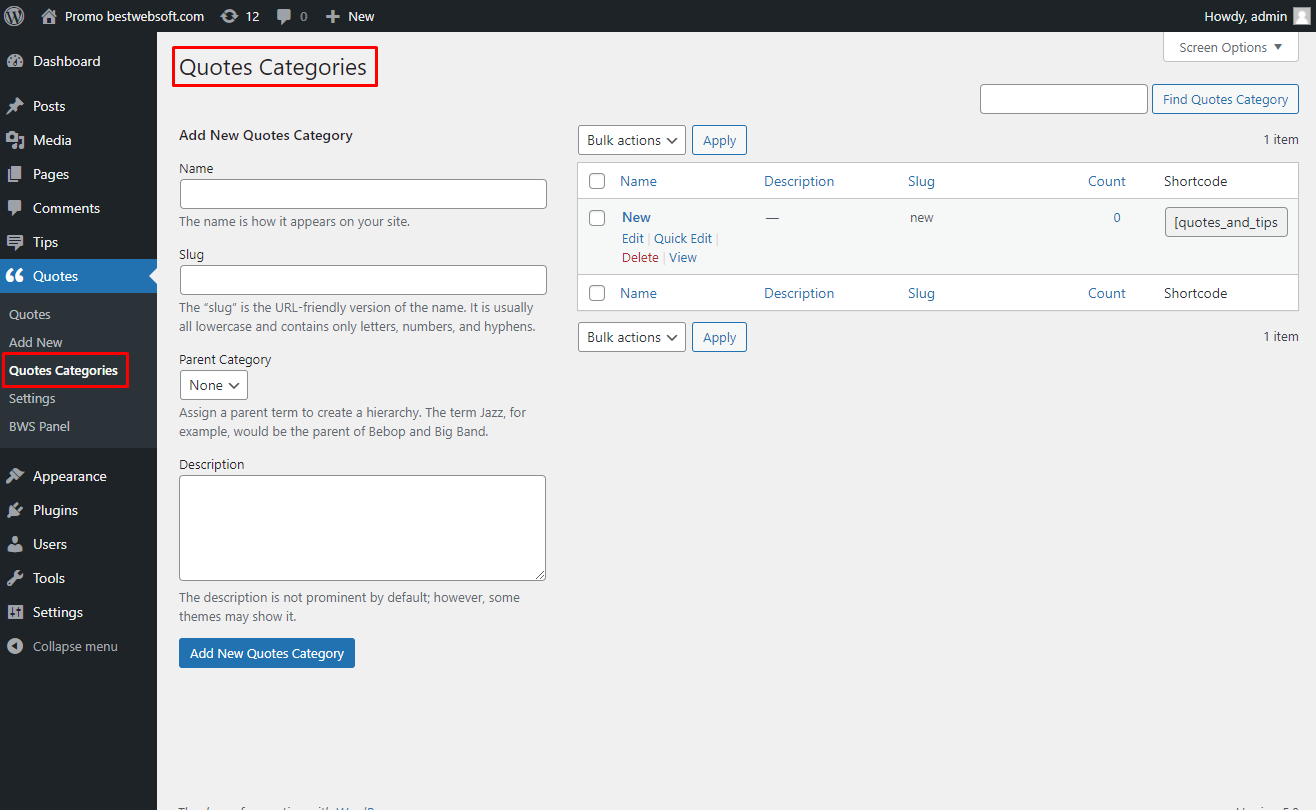
3.6.1. Use the shortcode from the categories list to display the quotes from the necessary category.
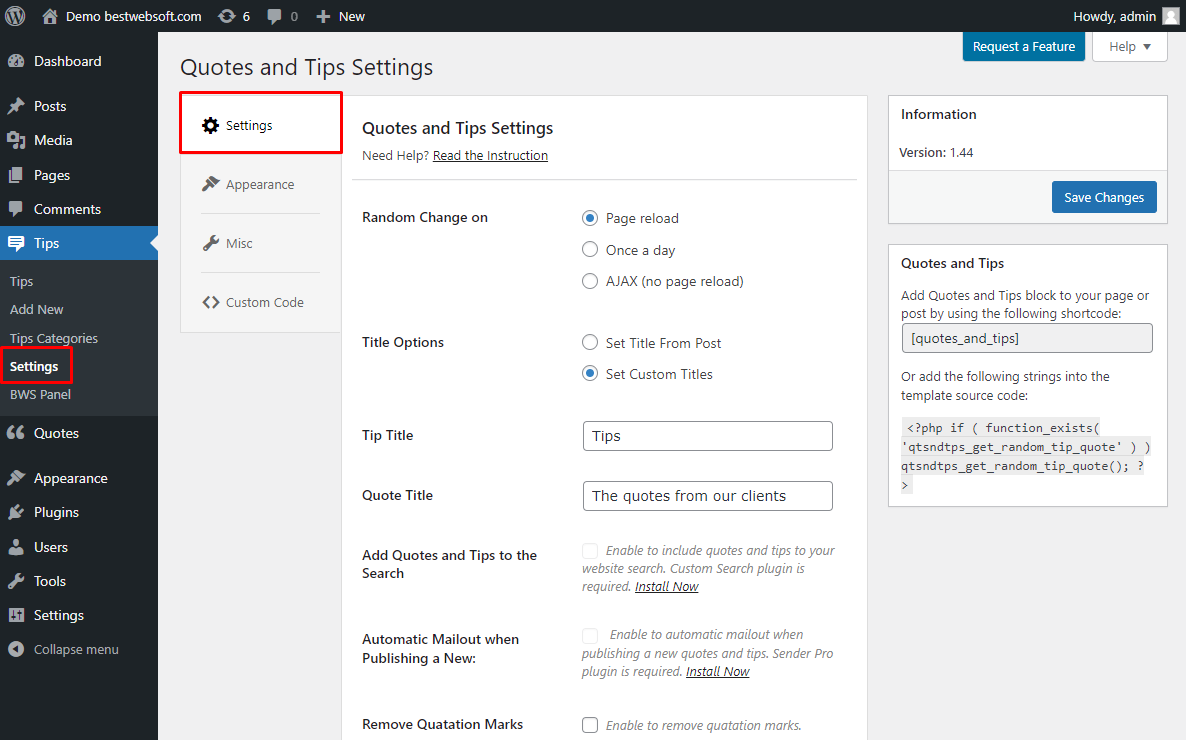
4. Settings
Use the options of the “Settings” page to make the global settings for the plugin.
4.1. Random Change on
Use the ”Random Change on” option to set the change on the selected action.

4.1.1. Choose the “Page reload” to set the change quotes and tips after the reload of the page.

4.1.2. Choose the “Once a day” to set the quotes and tips change once in 24 hours.

4.1.3. Choose the “AJAX (no page reload)” to set the automatic quotes and tips change.
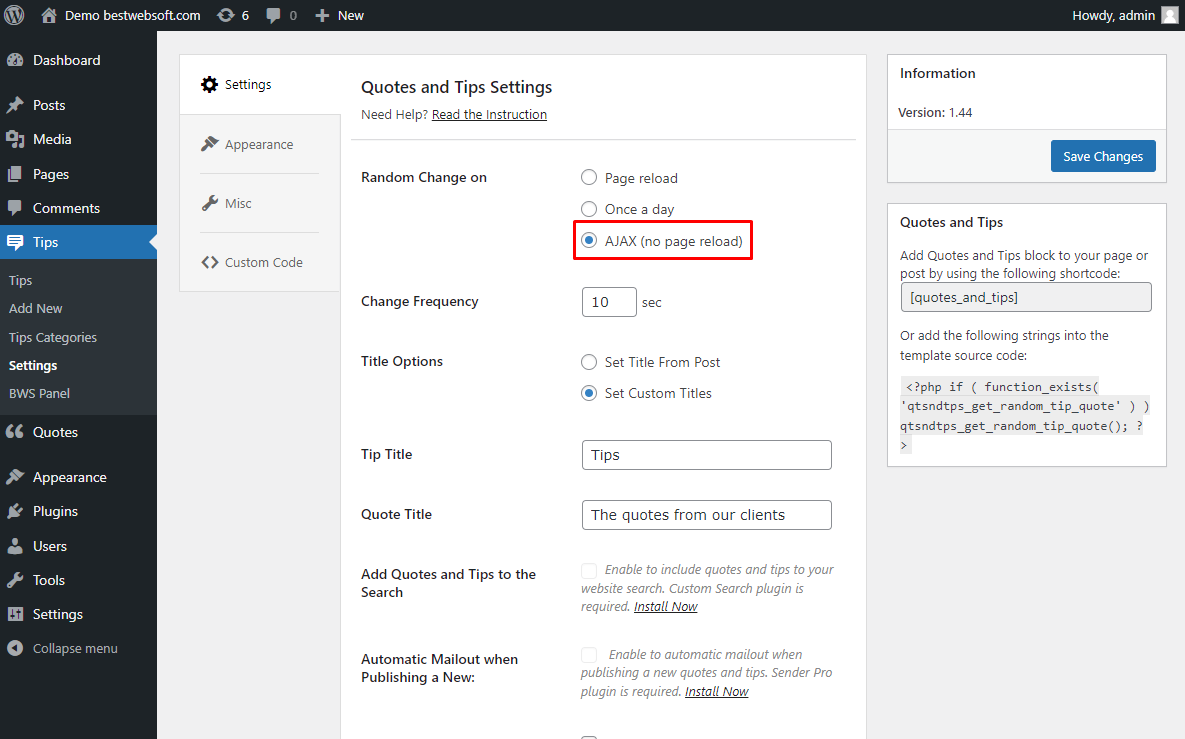
4.2. Change Frequency
Use the “Change Frequency” option to set the time range within that the quotes and tips will change.

4.3. Title Options
Use the ”Title Options” option to set the title from the post or make a custom one by entering the tip and quote title.
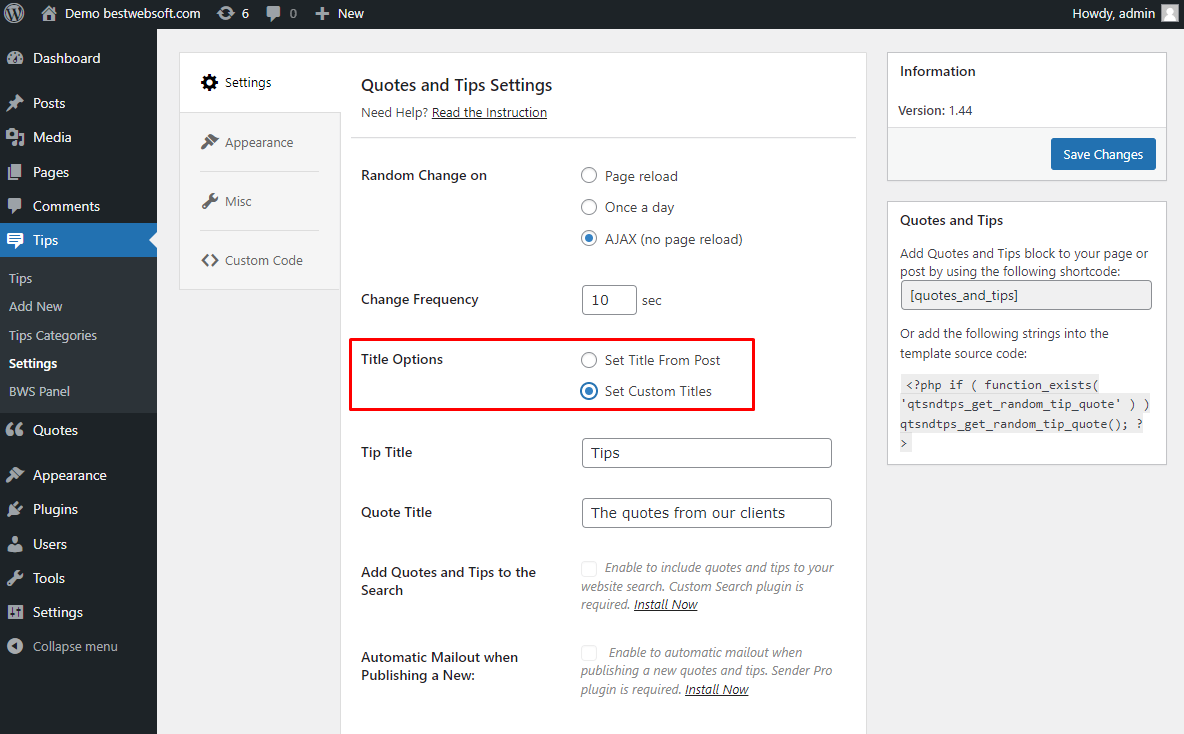
4.4. Custom Tip Title
Enter the “Tip Title” to display any chosen title.

4.4.1. After publishing, the “Tip Title” may look on a page as follows:

4.4.2. Enter the “Quote Title” to display any chosen title.
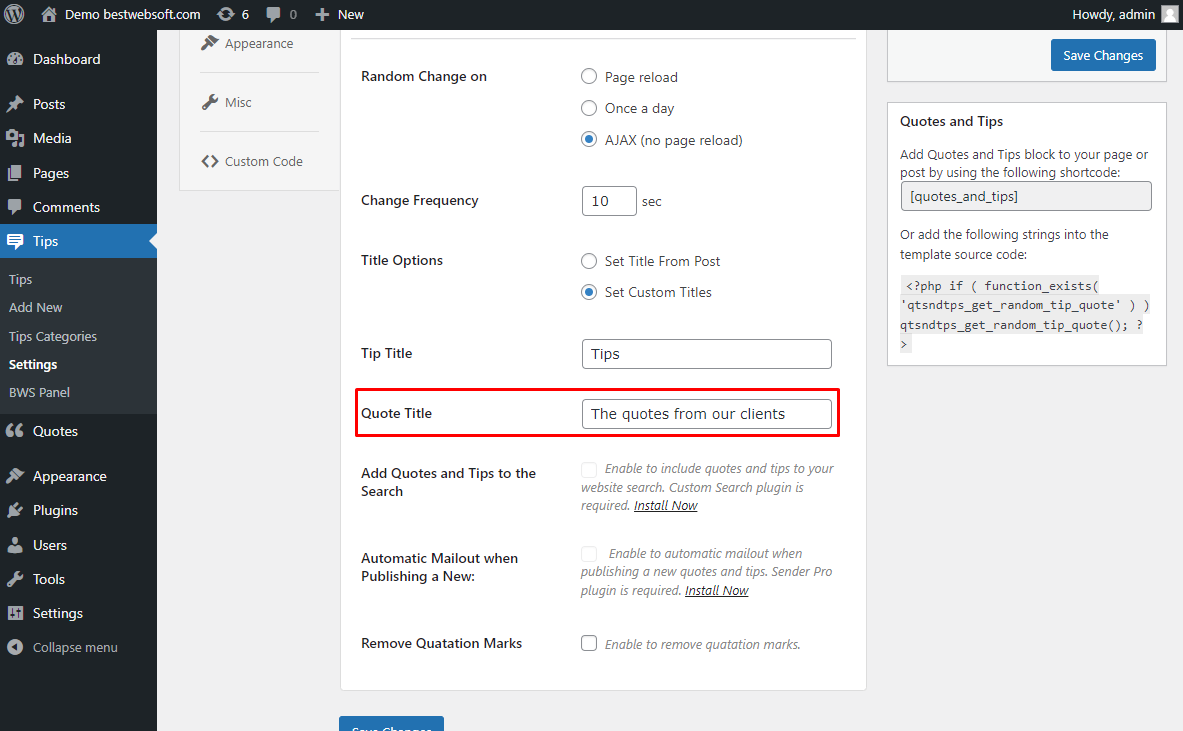
4.4.3. After publishing, “Quote Title” may look on a page as follows:

4.5. Add Quotes and Tips to the Search
Note: Install and activate the Custom Search Plugin to enable this option. |
The “Quotes and Tips by BestwebSoft” plugin is compatible with the “Custom Search by BestWebSoft” plugin.
Download and install the plugin by clicking the “Learn More” link next to “Custom Search” option or follow the link:
https://bestwebsoft.com/products/wordpress/plugins/custom-search/

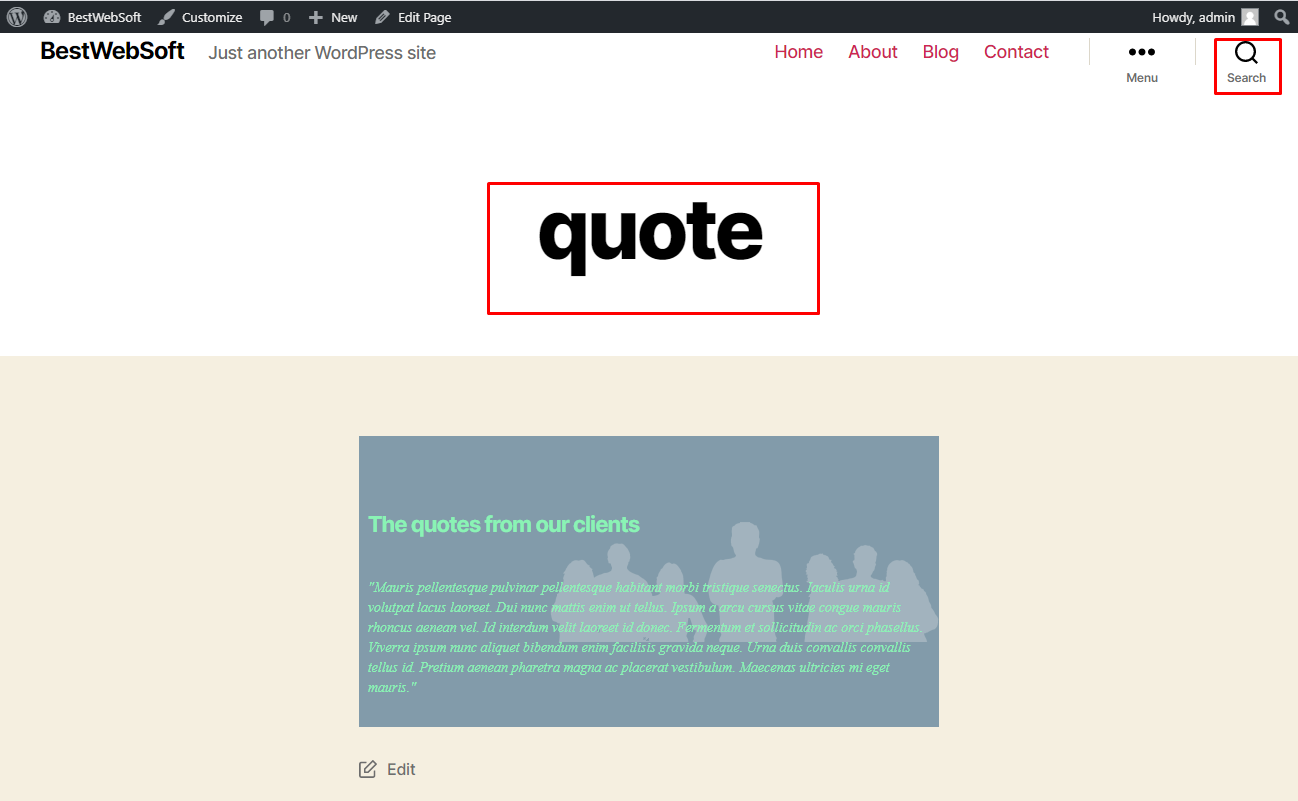
4.5.1. After installing the plugin go to Custom Search Settings to include quotes and tips to your website search.

4.5.2. After enabling this function while searching it will look in the following way:
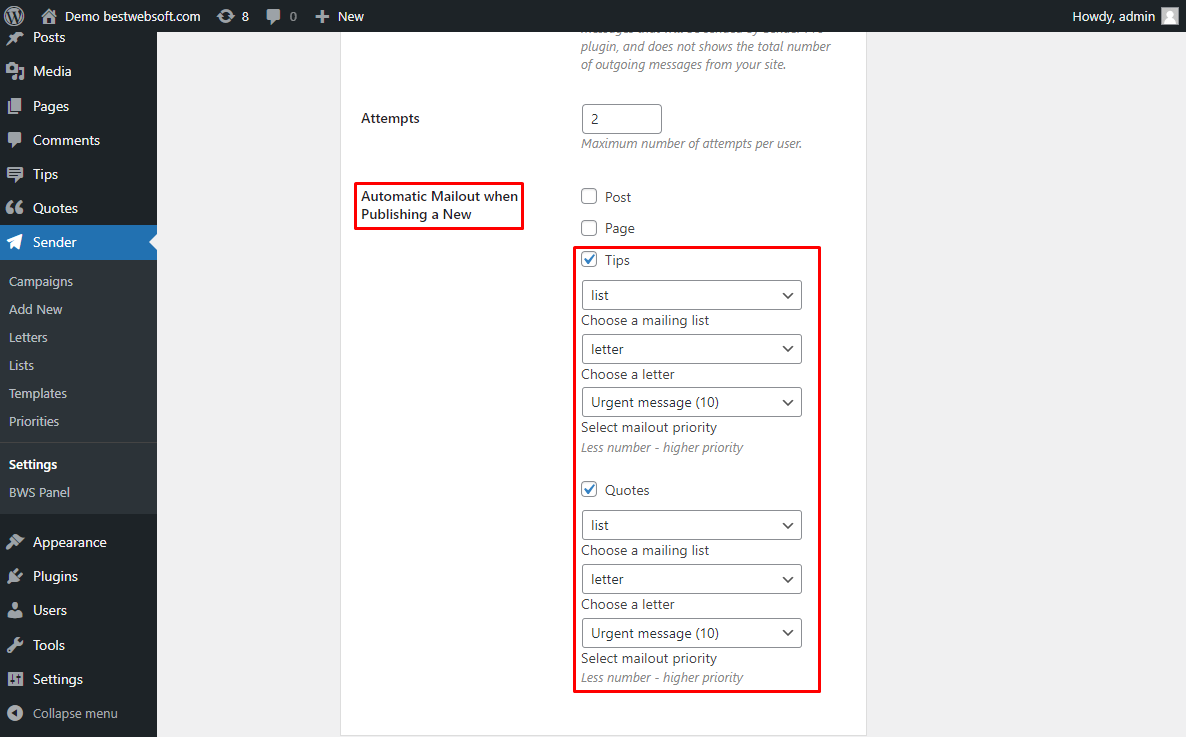
4.6. Automatic Mailout When Publishing
Quotes and Tips by BestWebSoft is compatible with the “Sender” plugin by BestWebSoft. You can download the plugin by clicking the “Install Now” link.

4.6.1. After a successful download, activation and configuration of Sender, go to Sender Pro Settings to include quotes and tips to automatic mailout when publishing a new quotes and tips
4.7. Remove Quatation Marks
Enable the “Remove Quatation Marks” option to display quotes without special “” symbol.

5. Appearance
Use the options of the “Appearance” tab to change the visual aspect of the tips and quotes.
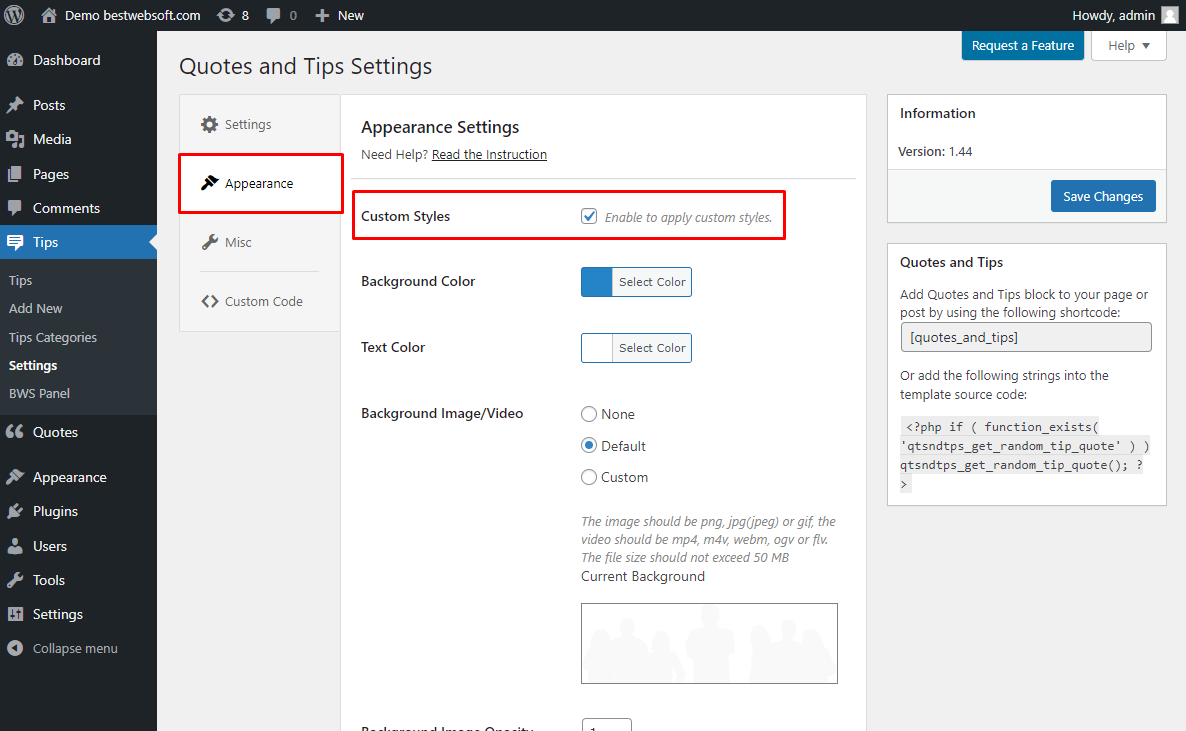
5.1. Custom Styles
Enable “Custom Styles” to apply custom style for quotes and tips.
5.2. Background Color
Use the ”Background Color” option to choose the color of the background for tips and quotes.
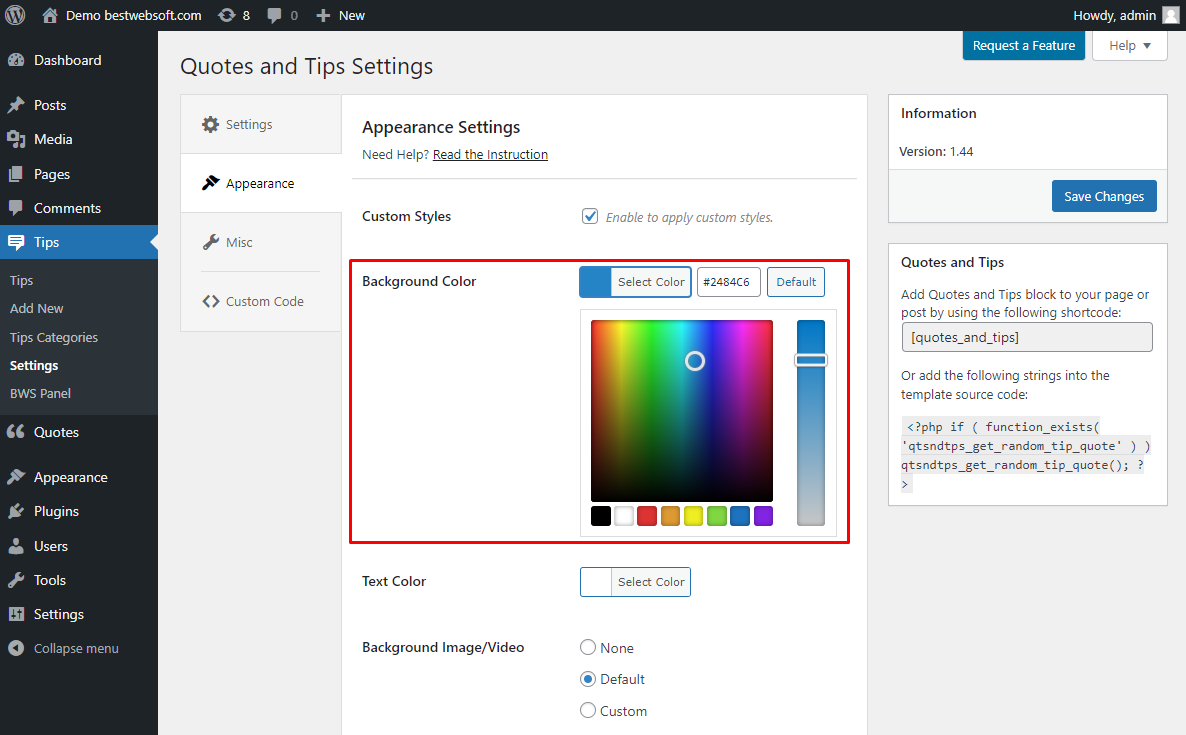
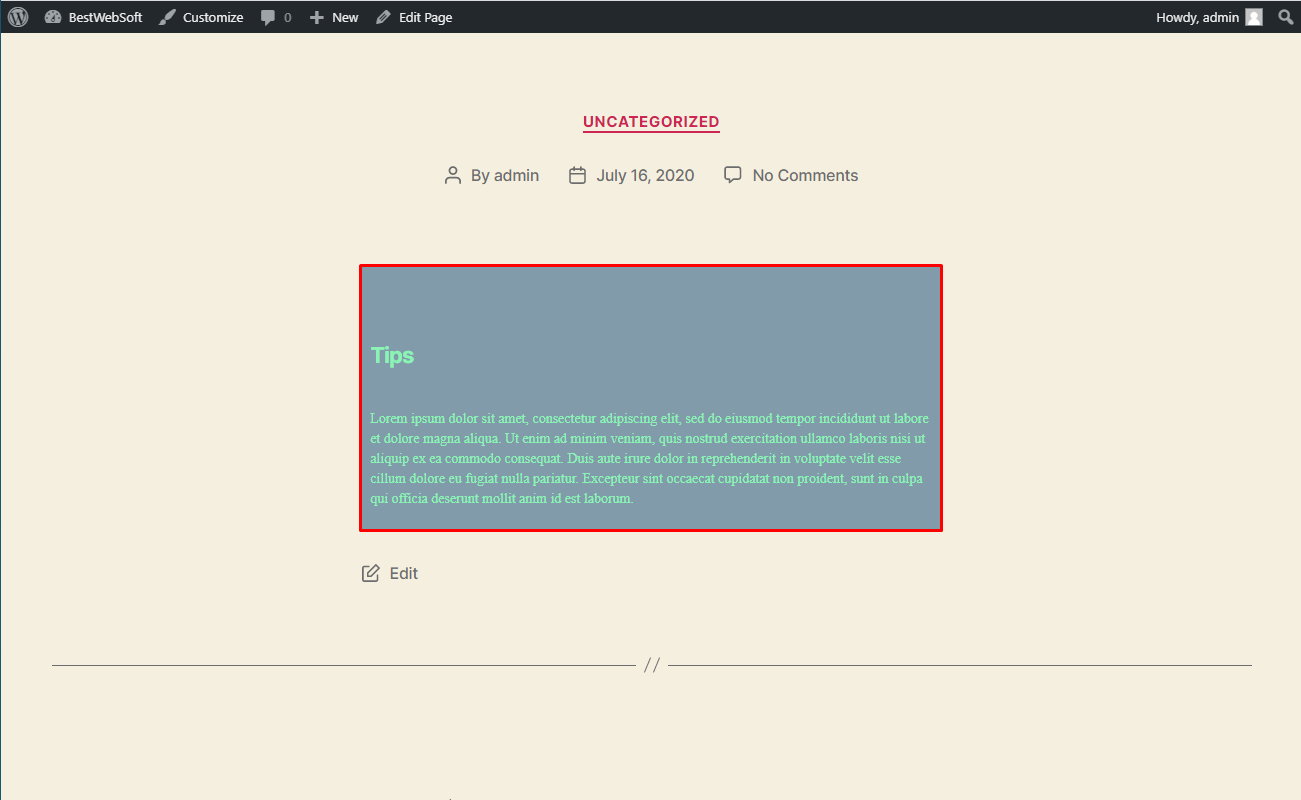
5.2.1. After publishing, background color may look on a page as follows:
5.3. Text Color
Use the ”Text Color” to choose the color of the text color for tips and quotes.
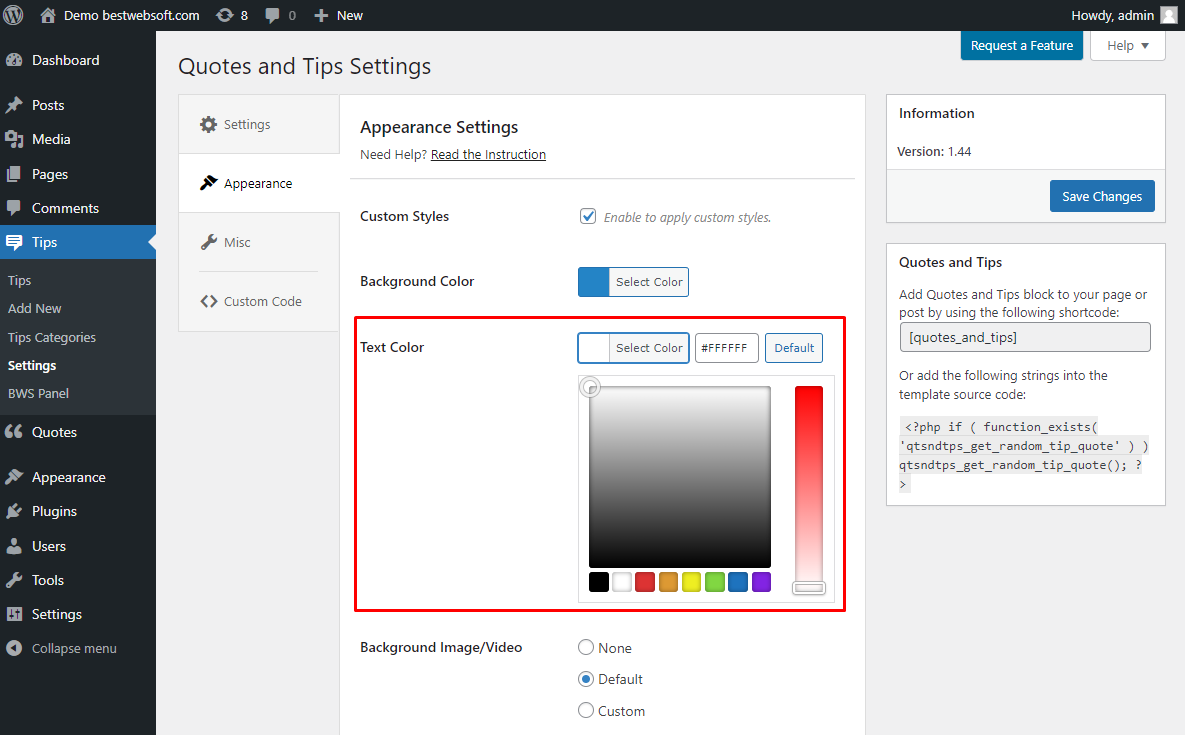
5.3.1. After publishing, text color may look on a page as follows:

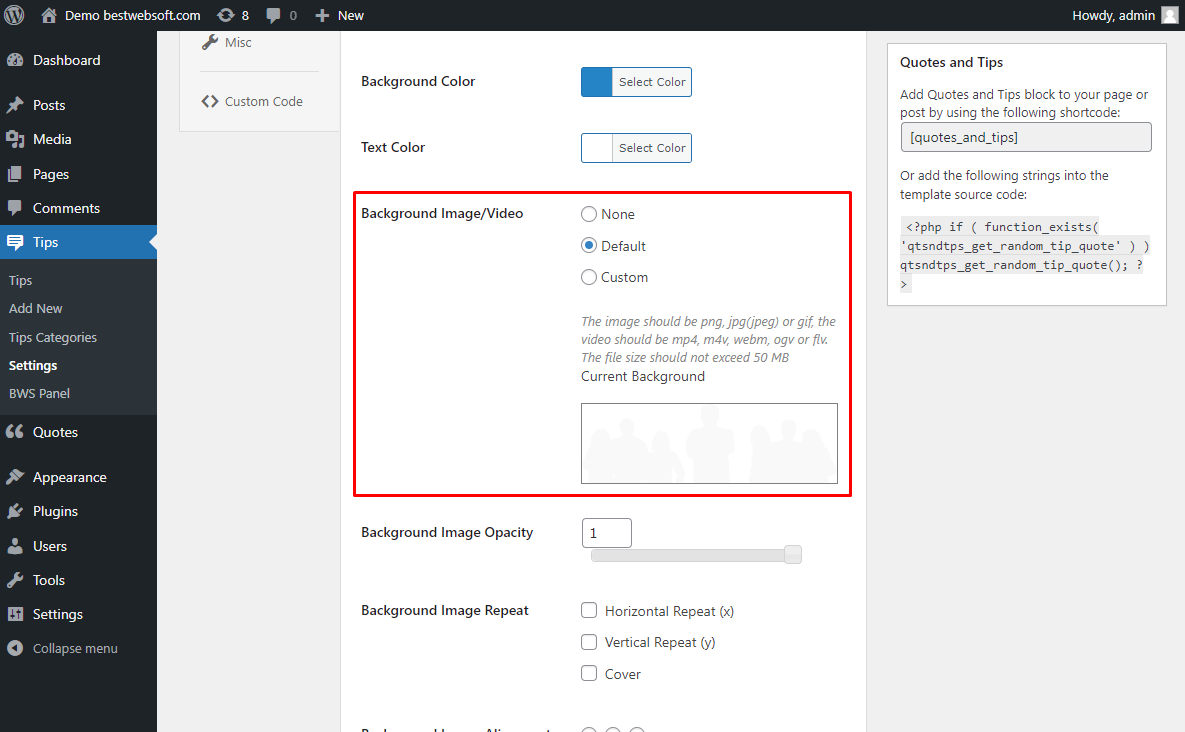
5.4. Background Image/Video
Use the ”Background Image/Video” to choose the background image or video. There is an option to choose none or make it custom.
Note: The image should be png, jpg(jpeg) or gif, the video should be mp4, m4v, webm, ogv or flv. The file size should not exceed 50 MB. |
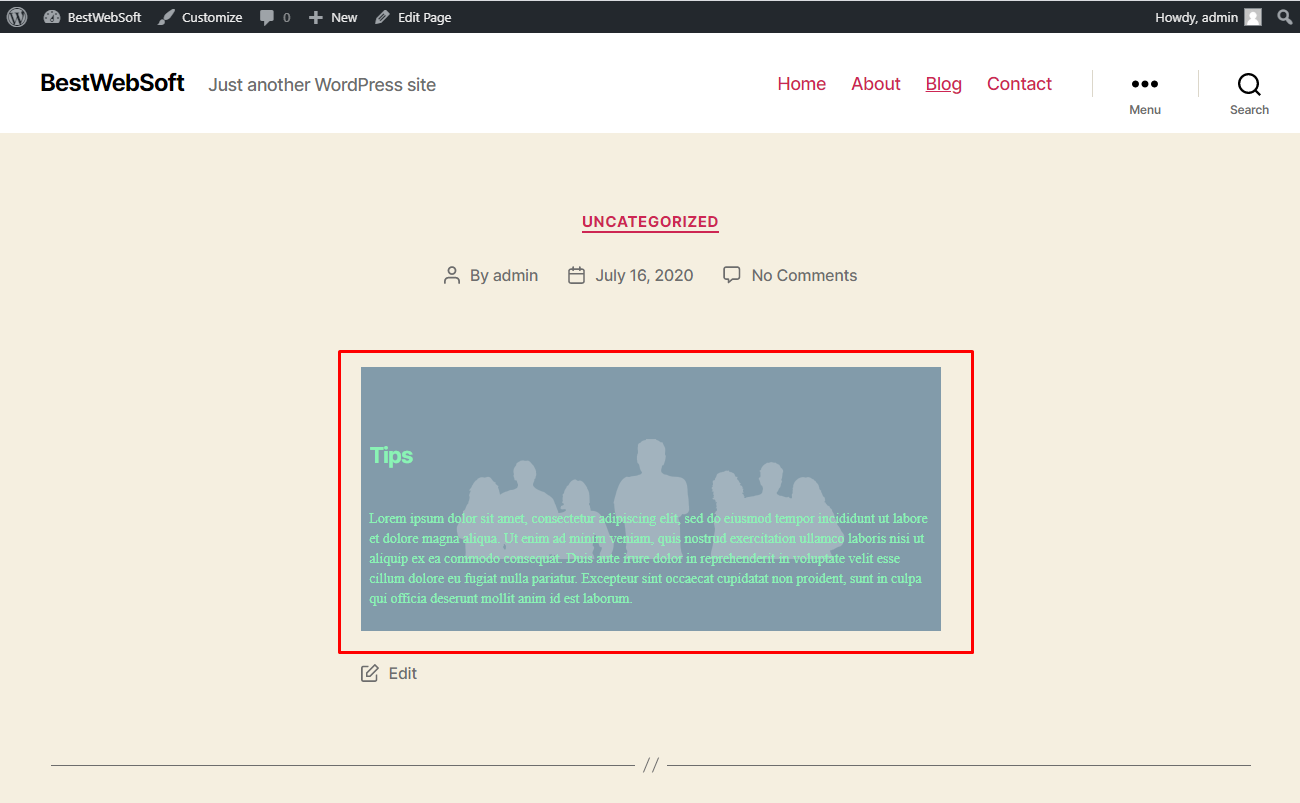
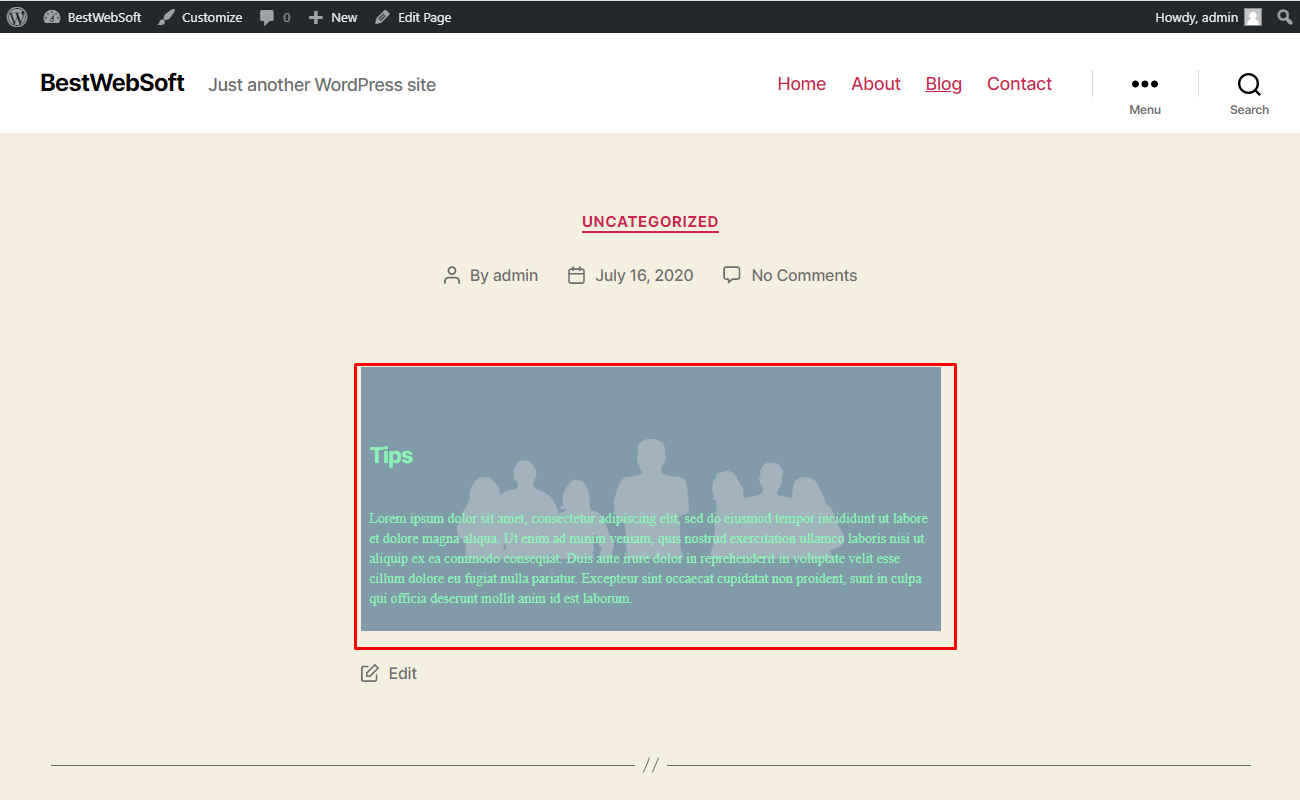
5.4.1. After publishing, “Default” background image may look on a page as follows:
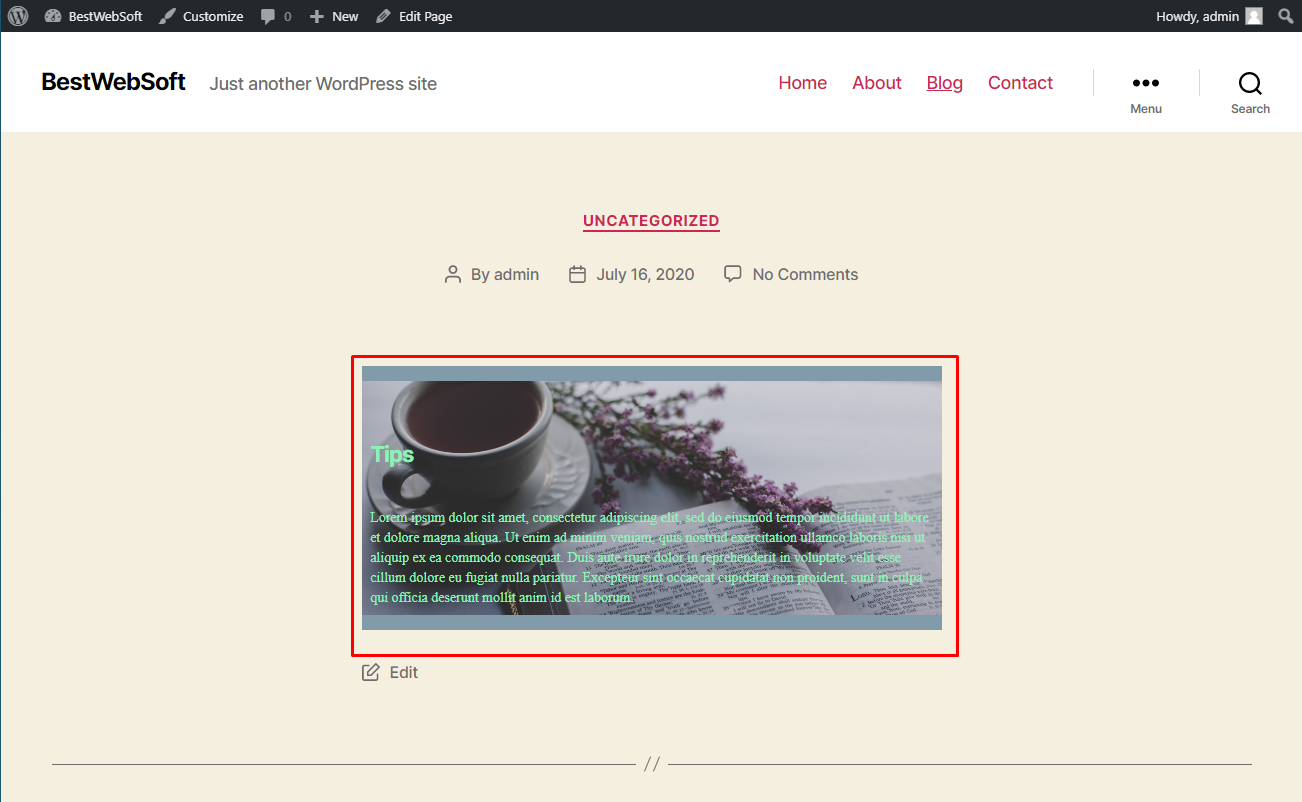
5.4.2. After publishing, “Custom” background image may look on a page as follows:
5.4.3. After publishing, “None” background image may look on a page as follows:

5.5. Background Image Opacity
Use the “Background Image Opacity” option to set the opacity for the background image.

5.5.1. Background Image with customized opacity may look on a page as follows.

5.6. Background Image Repeat
Use the ”Background Image Repeat” to choose in which direction the background image will be repeated or cover the block.

5.6.1. After choosing, “Horizontal Repeat” background image may look on a page as follows:
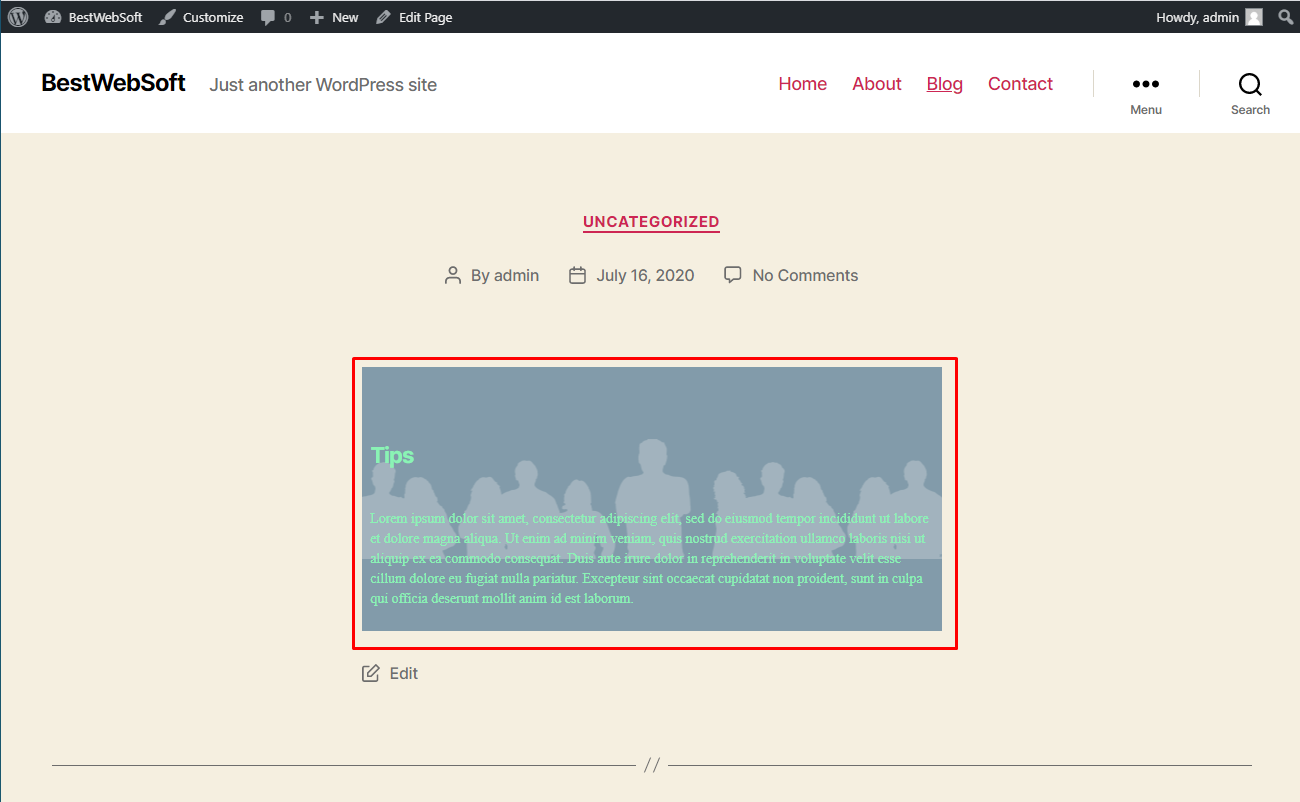
5.6.2. After choosing, “Vertical Repeat” background image may look on a page as follows:

5.6.3. After choosing both, “Vertical Repeat” and “Horizontal Repeat” background image may look on a page as follows:

5.6.4. After choosing, “Cover” background image may look on a page as follows:
5.7. Background Image Alignment
Use the “Background Image Alignment” option to choose the alignment of the background picture.

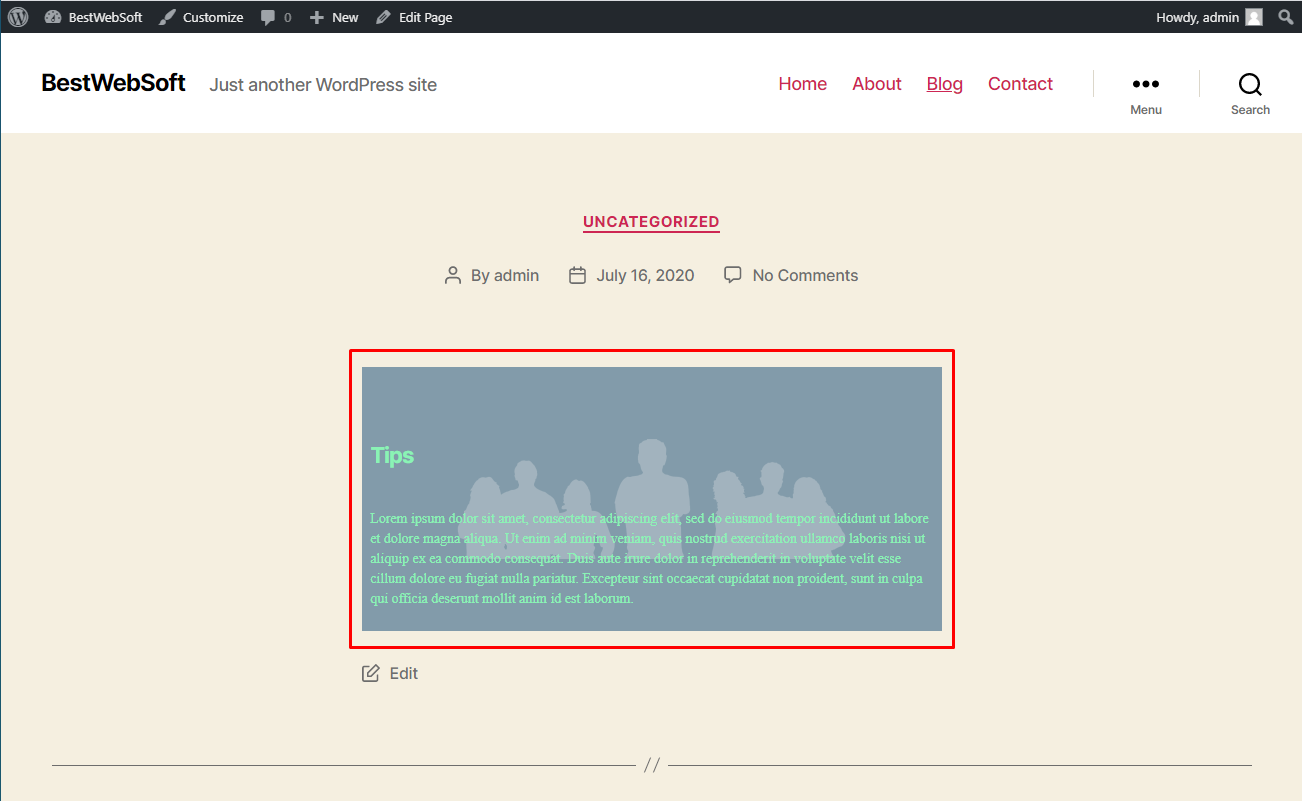
5.7.1. By choosing center-left background image alignment may look on a page as follows:

5.7.2. By choosing center-center background image alignment may look on a page as follows:
5.7.3. By choosing center-right background image alignment may look on a page as follows:

5.7.4. By choosing top-center background image alignment may look on a page as follows:

5.7.5. By choosing center-center background image alignment may look on a page as follows:
5.7.6. By choosing bottom-center background image may look on a page as follows:

6. Miscellaneous Settings
Use the options of the “Miscellaneous Settings” tab to make the settings regarding the track usage and default settings.
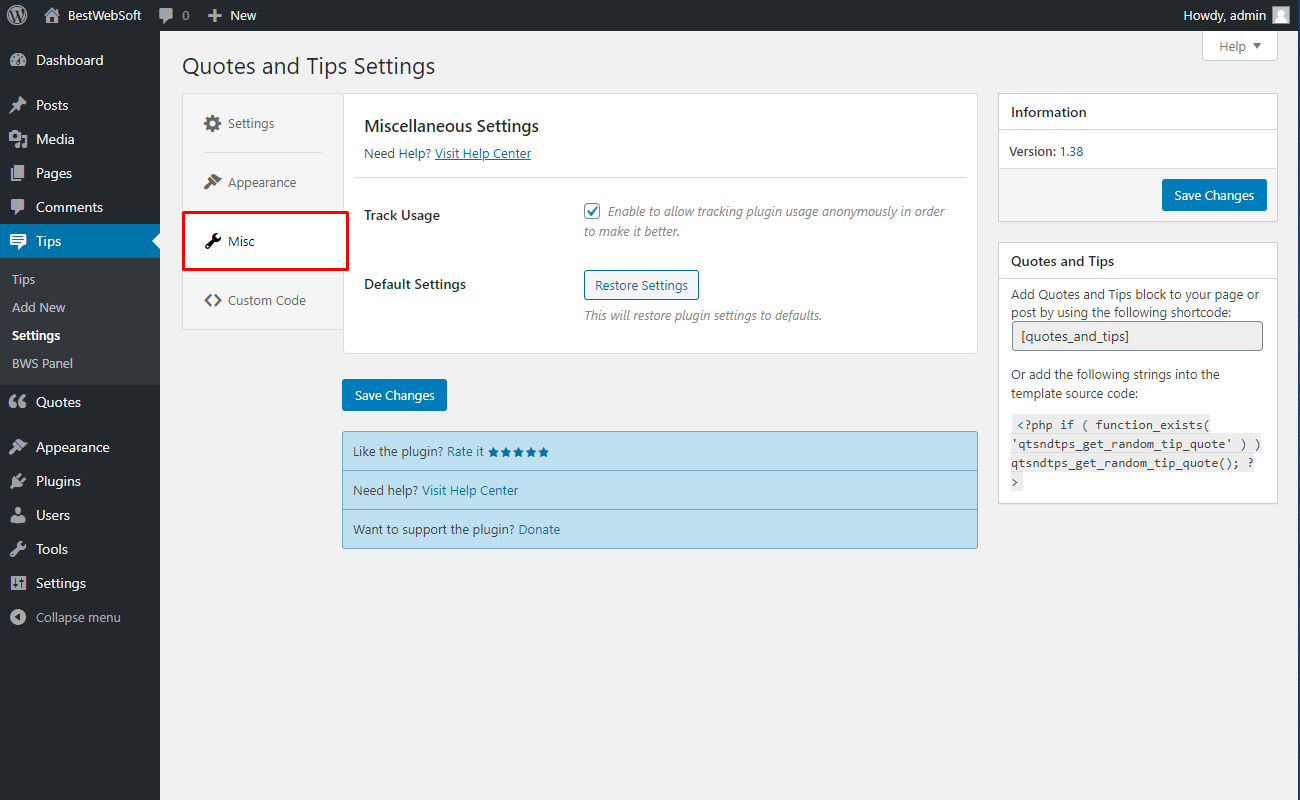
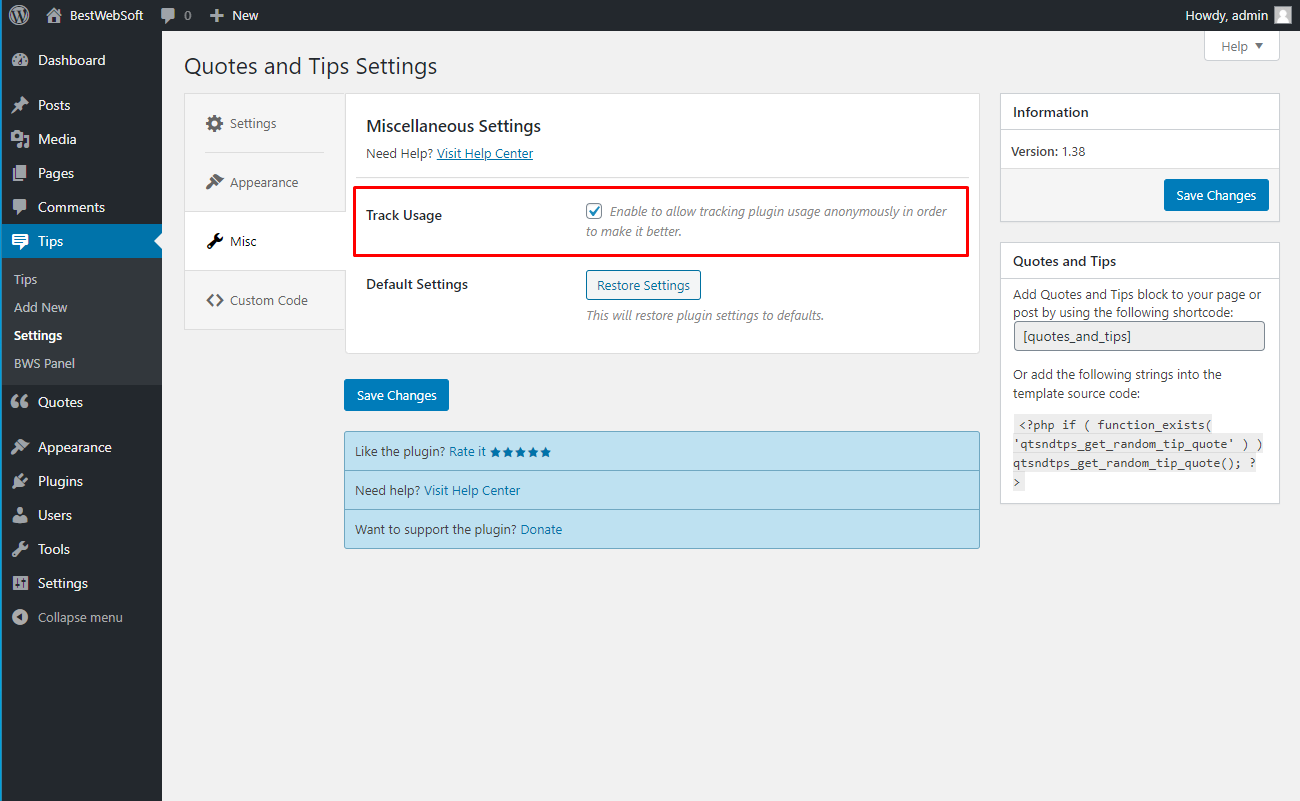
6.1. Track Usage
Enable the “Track Usage” option to allow tracking plugin usage anonymously.
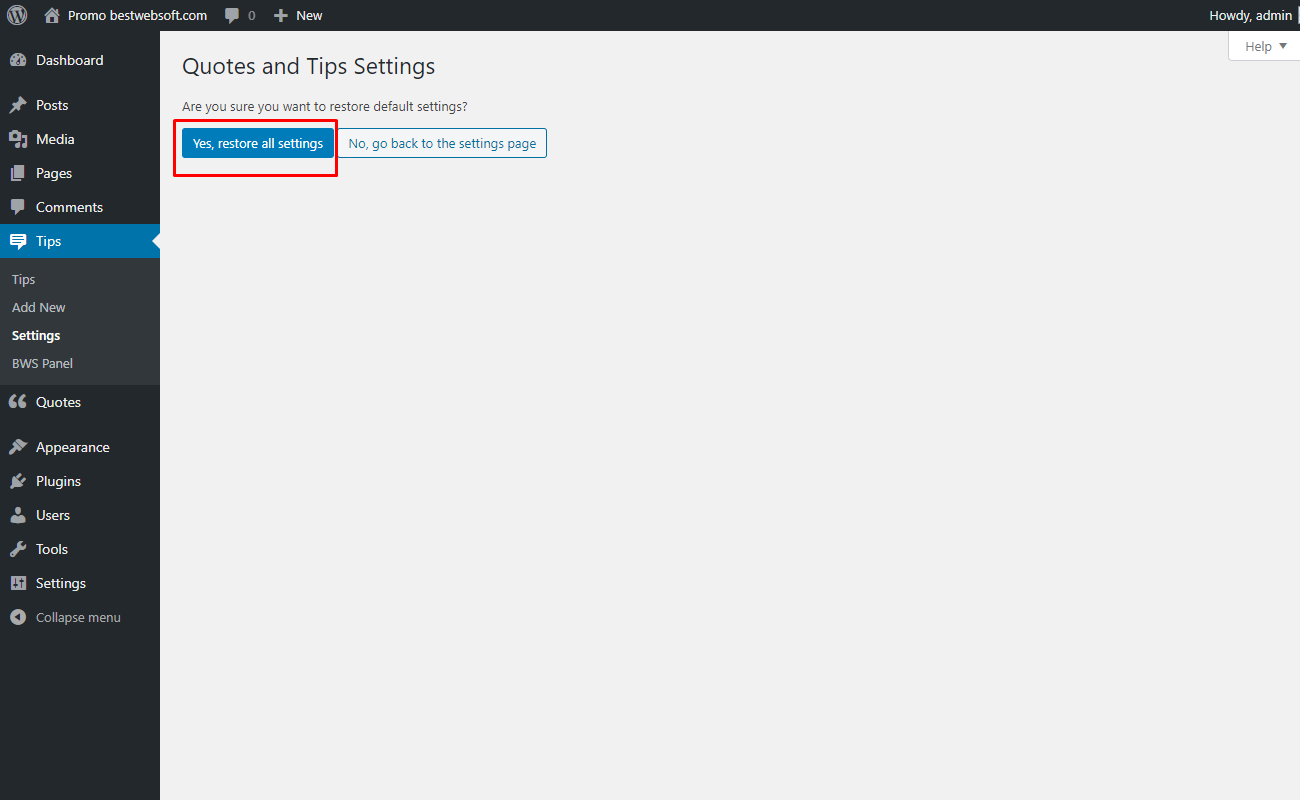
6.2. Default Settings
Click the “Restore settings” button to reset all the settings made previously and revert them to the default ones.

6.2.1 Click “Yes, restore all settings” button to confirm the procedure.
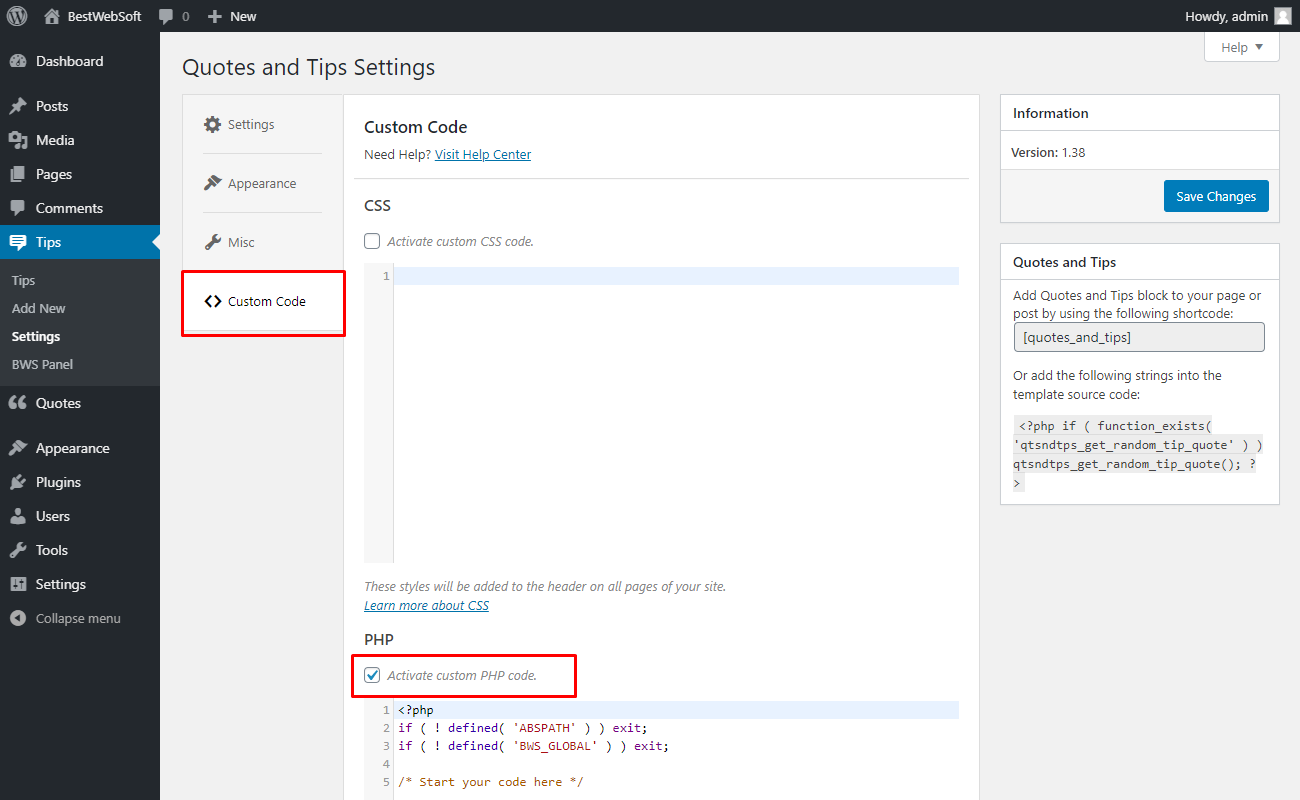
7. Custom Code
Use the “Custom Code” tab to insert a CSS, PHP or JavaScript code. To activate a custom code, enable the “Activate custom … code” option and save changes.
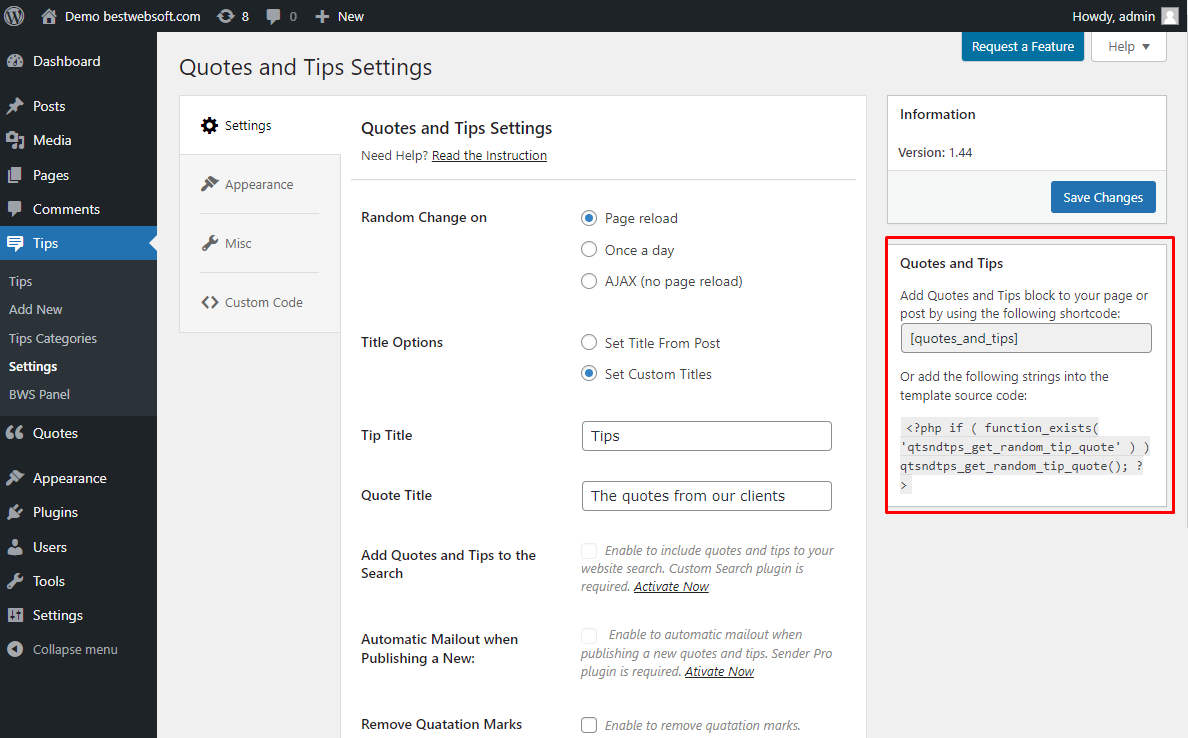
8. Shortcode
Use the “Shortcode” in order to post tips and quotes to your page.
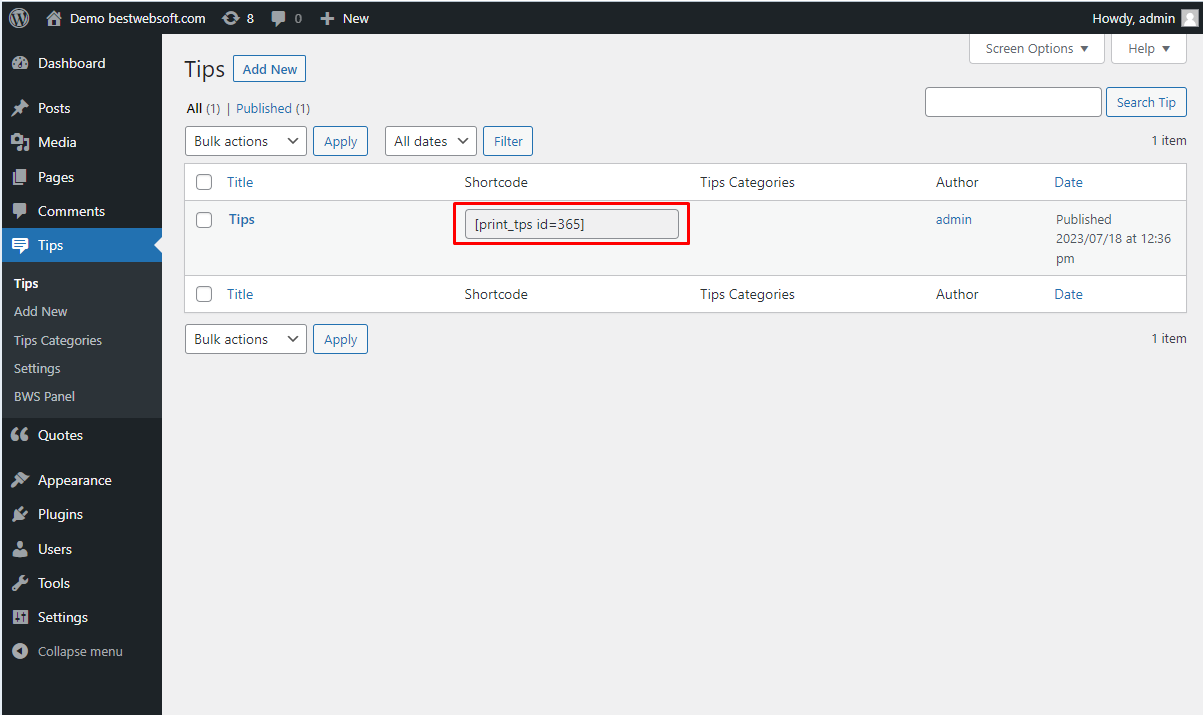
8.1. Use shortcodes on the “Quotes” or “Tips” pages to insert some exact quotes or tips to your page.
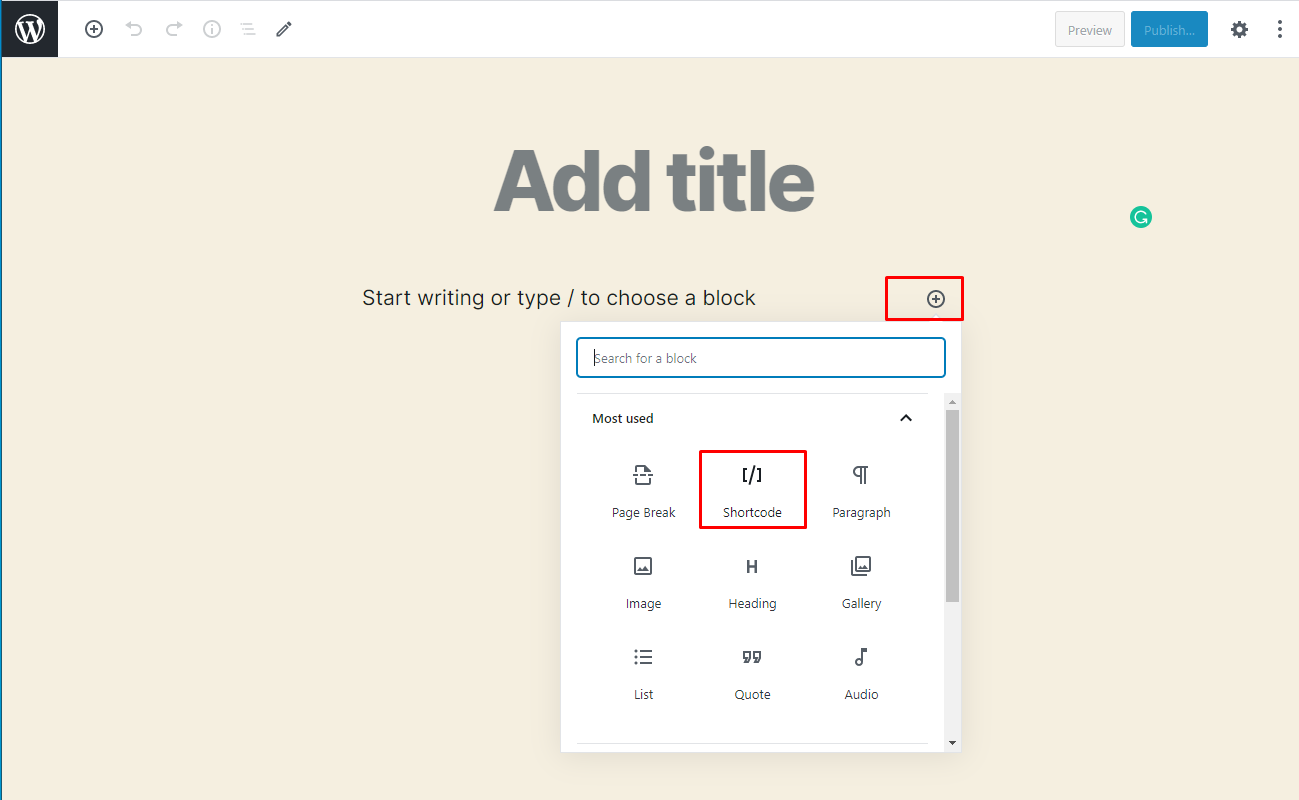
8.2. Copy the shortcode and click “Add new” to create a new post or page. Click on the “Plus” button and then on the “Shortcode” button.
8.3. Insert copied earlier shortcode. Click “Publish...” and then “Preview” buttons in order to see the post.
Note: To post exclusively tip enter [quotes_and_tips type="tips"] shortcode to post exclusively quote add [quotes_and_tips type="quotes"] shortcode. |

8.4. Tip and Quote may look on a page as follows.

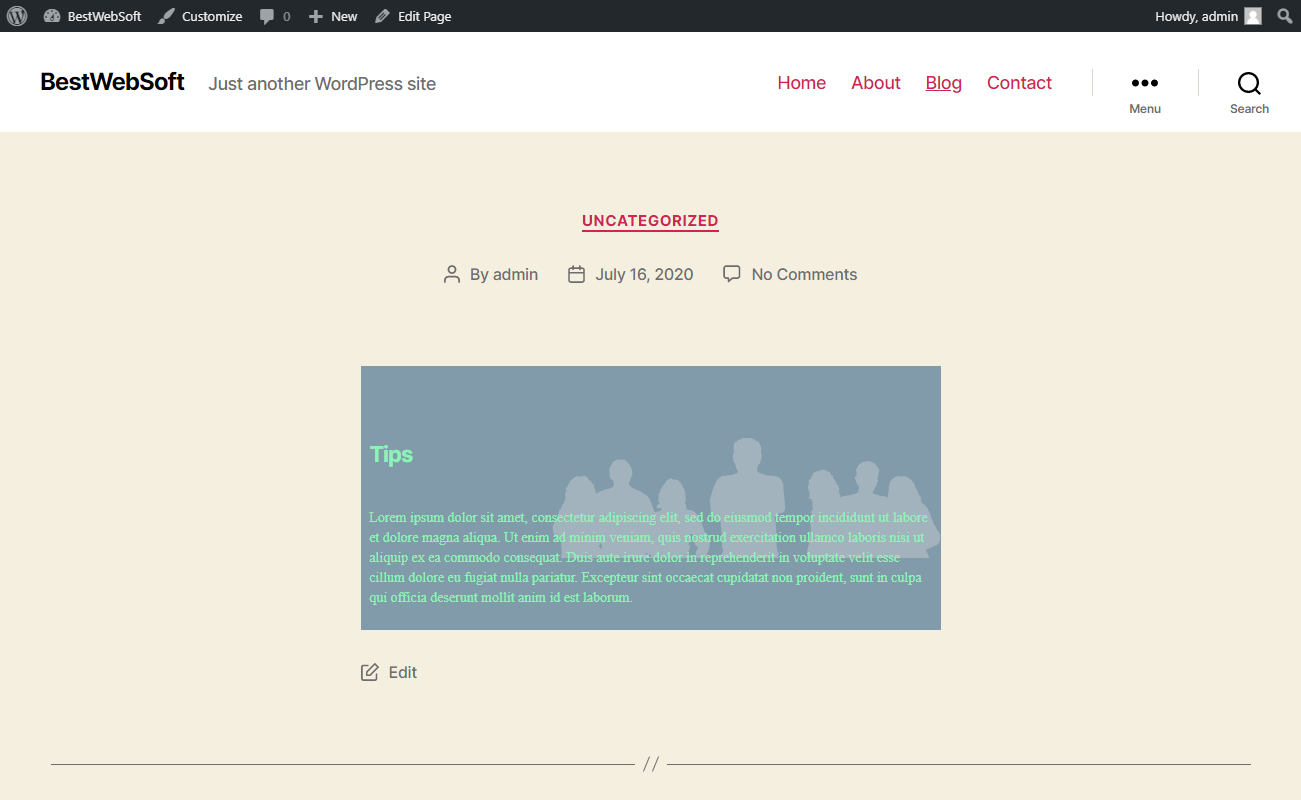
8.5. “Tip” may look on a page as follows:
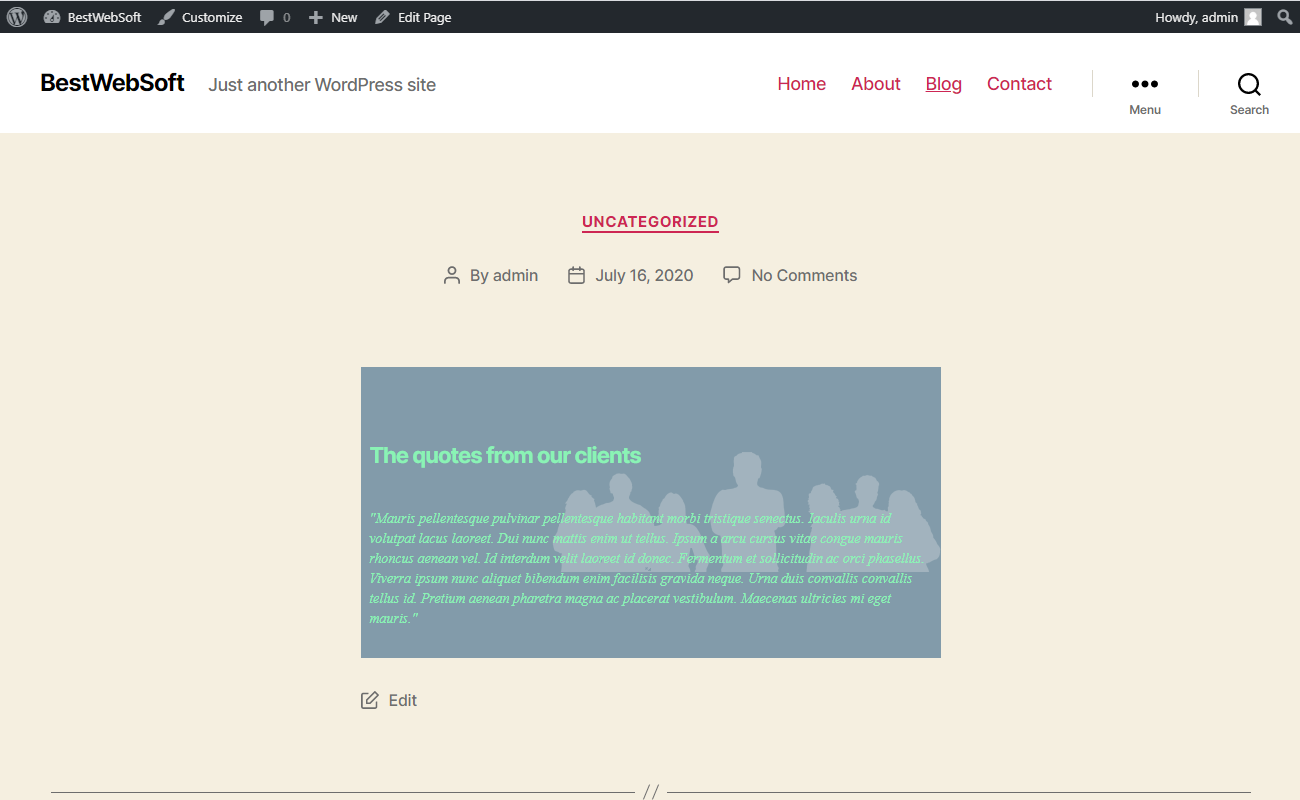
8.6. “Quote” may look on a page as follows:
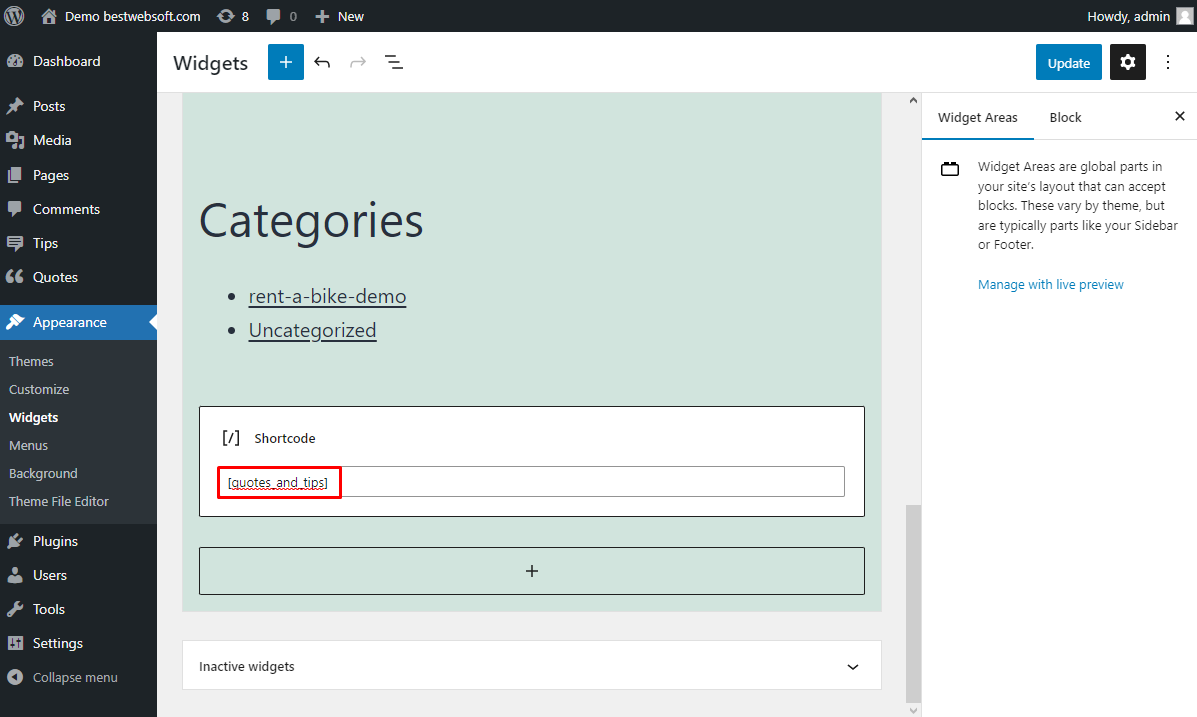
8.7. You can also post “Quotes and Tips” by using “Widgets”. Open the ”Appearance”> “Widgets” page.

8.8. Add new widget and insert the shortcode.
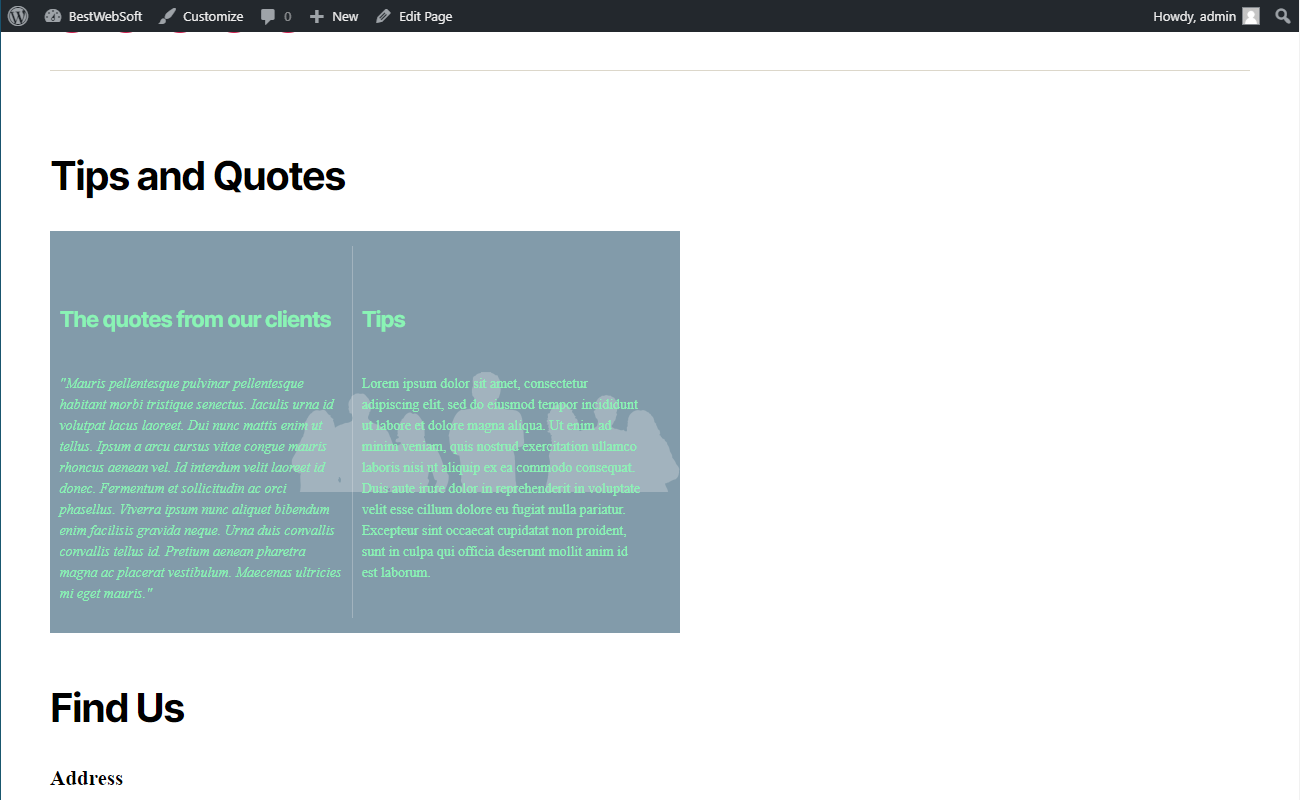
8.9. After publishing, “Tips and Quotes” may look on a page as follows:
Thank you!
Help & Support
Visit our Help Center if you have any questions — https://support.bestwebsoft.com/
Services
We provide additional services such as WordPress themes & plugins development,
graphic design, custom programming.
Contact us now to get a free quote — https://bestwebsoft.com/contacts/

