

Sitemap
User Guide
Sitemap | 3.2.9 * |
WordPress | 6.3 * |
*When using other versions some differences are possible to occur
** Screenshots were taken from a PC
Table of Contents
2.3. Title and Meta Description
2.4. Disable automatic canonical tag
2.5. Disable all canonical tag
2.9. External Sitemap Update Frequency
2.12. Manage Website with Google Webmaster Tools
2.13. Alternative Language Pages
You can download Sitemap by BestWebSoft Plugin here:
https://bestwebsoft.com/products/wordpress/plugins/google-sitemap/
1. Introduction
Note: Сlick the “Save Changes” button in order to apply any changes. |
1.1. Open your WordPress Admin Dashboard and find the menu on the left.

1.2. Open the ”Sitemap” > “Settings” page on the dashboard.
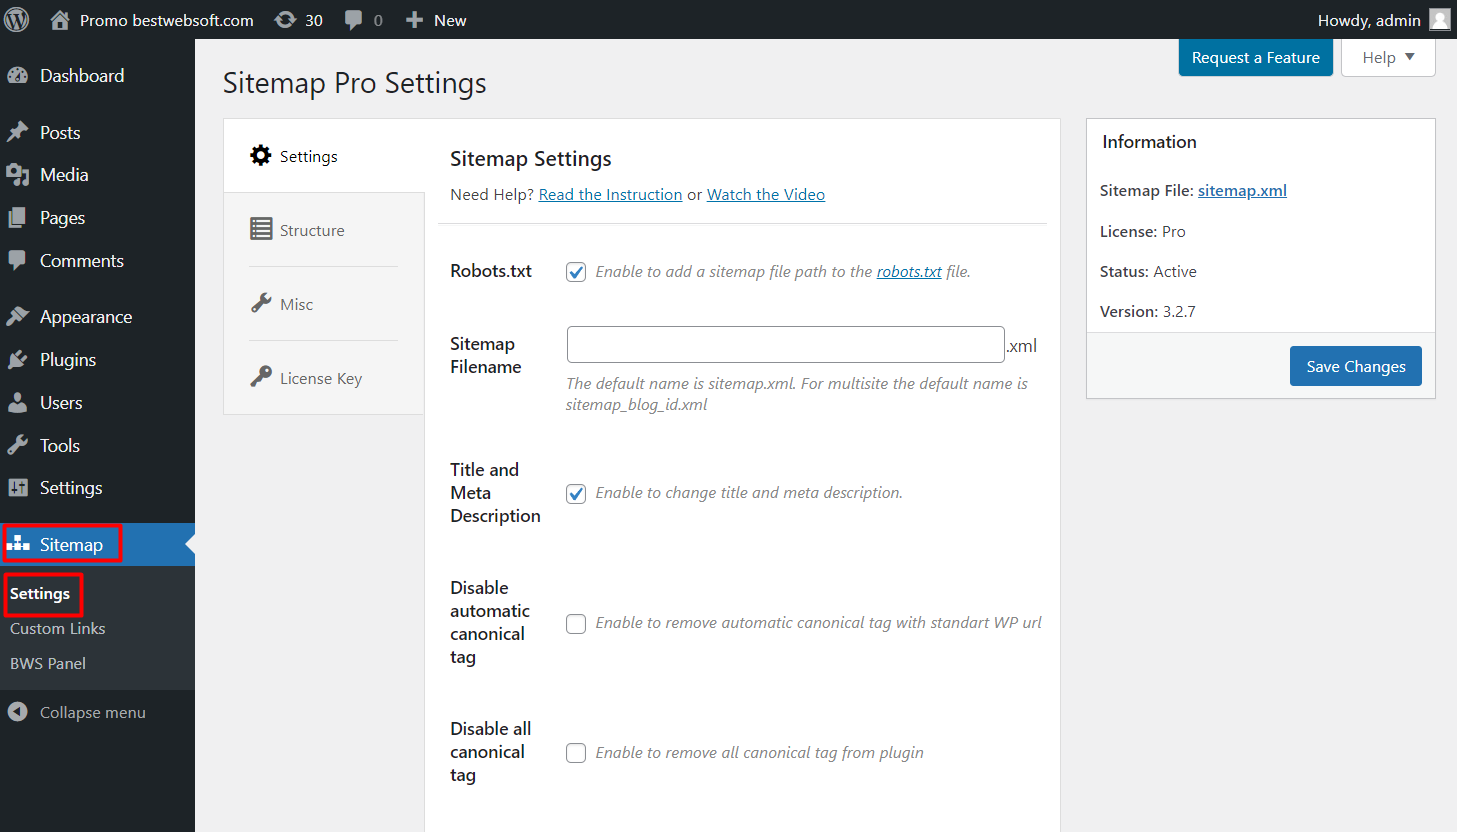
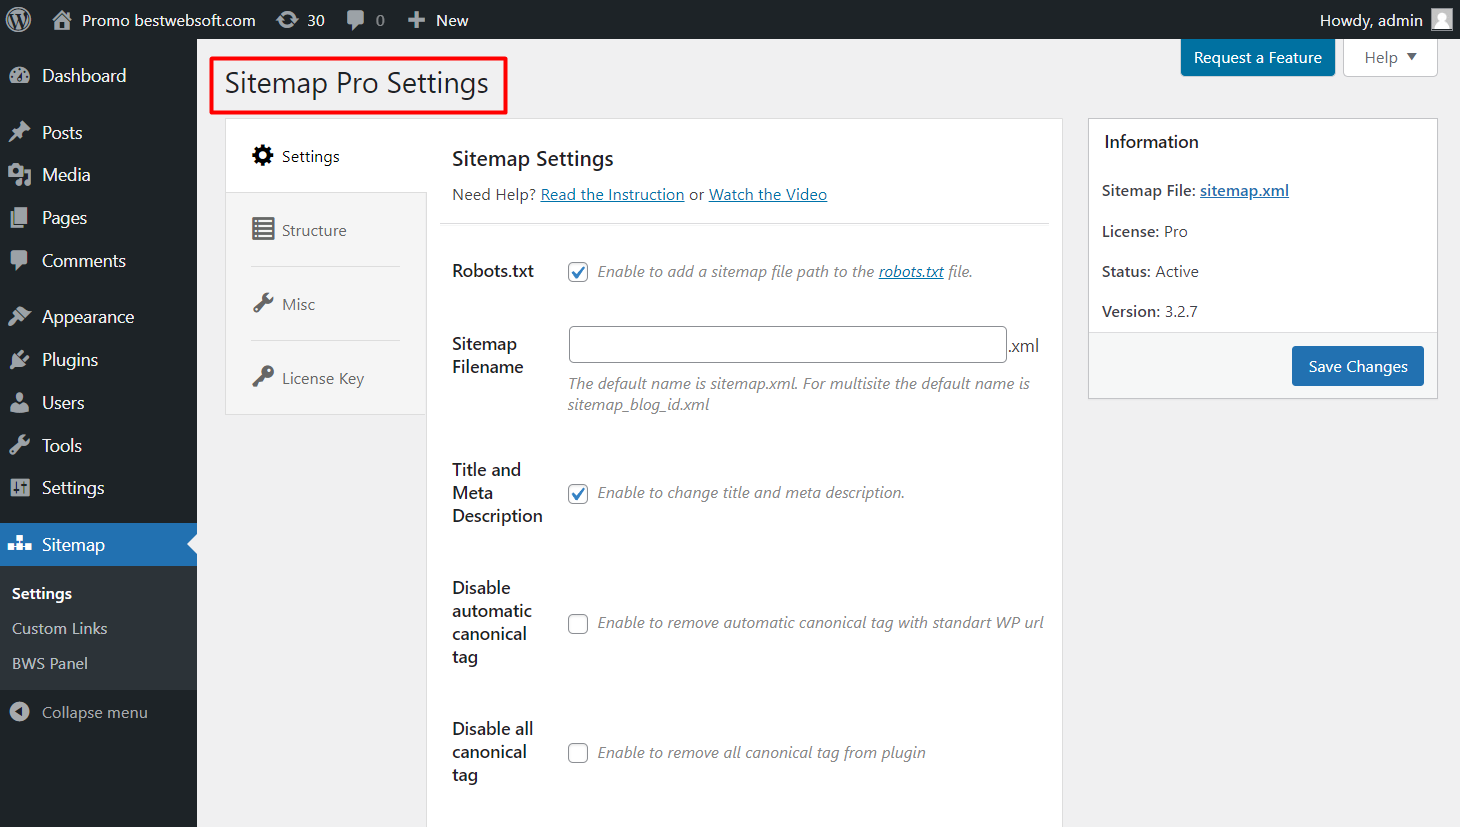
1.3. You will see the “Sitemap Settings” page.
2. Settings
Use the options of the “Settings” page to make the global settings for the plugin.
Note: Sitemap.xml file is added automatically after plugin installation. |
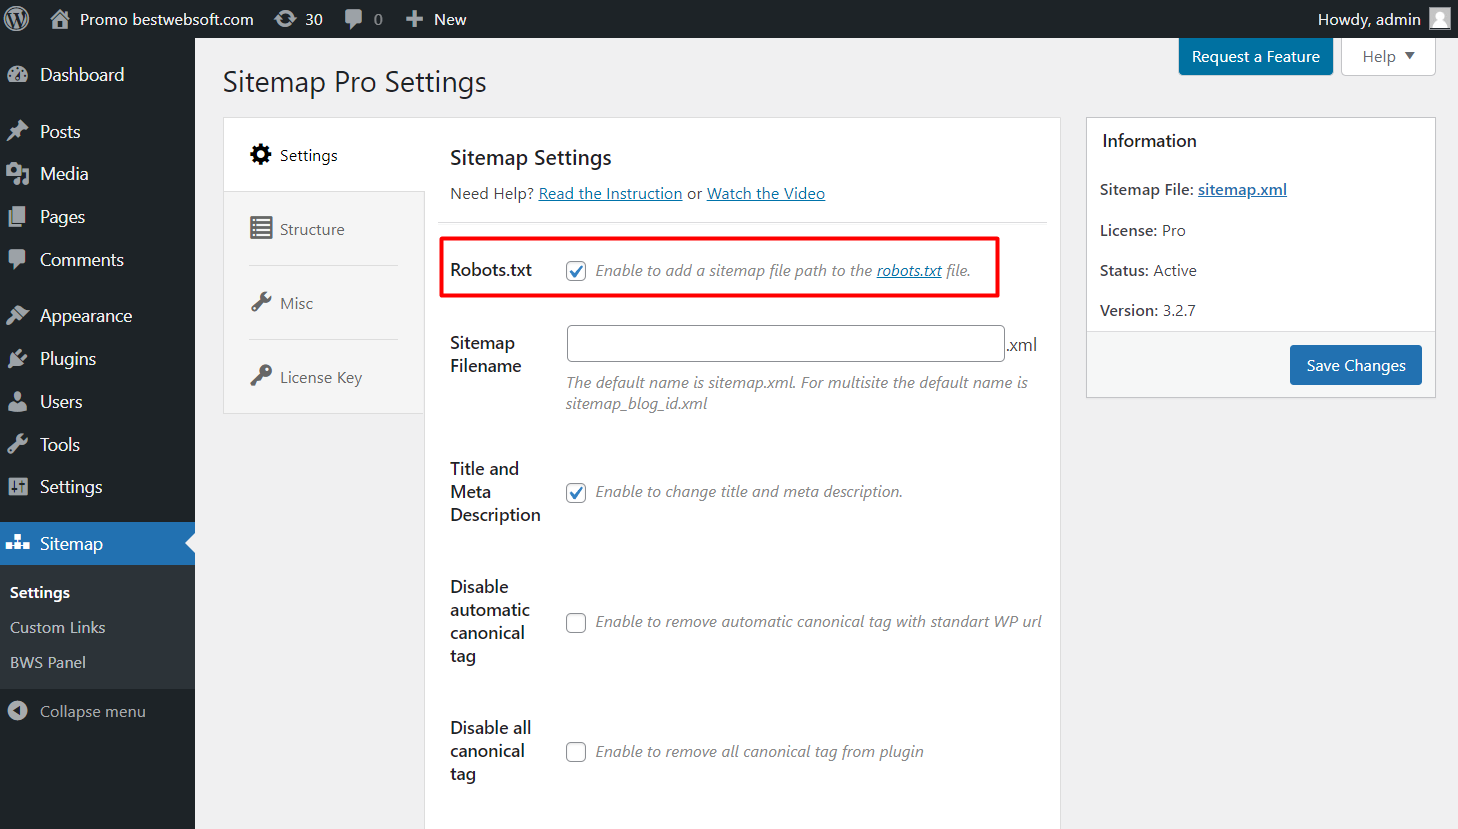
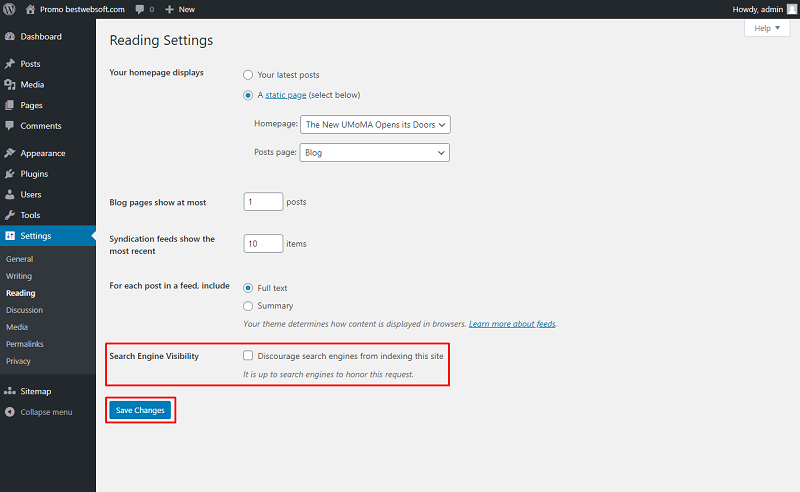
2.1. Robots.txt
Enable the “Robot.txt” option to make the sitemap XML file noticeable for search engines.
2.1.1. Open the “Settings” > “Reading Settings” page.
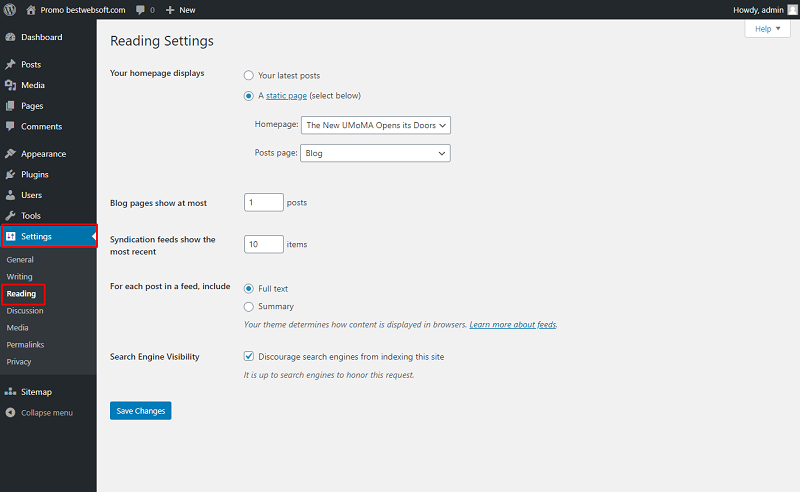
2.1.2. Disable the “Search Engine Visibility” option to discourage search engines from indexing the site. Click the “Save Changes” button.
2.2. Sitemap Filename
Use the “Sitemap Filename” to change the name of the sitemap file. The default name is sitemap.xml. For multisite the default name is sitemap_blog_id.xml.

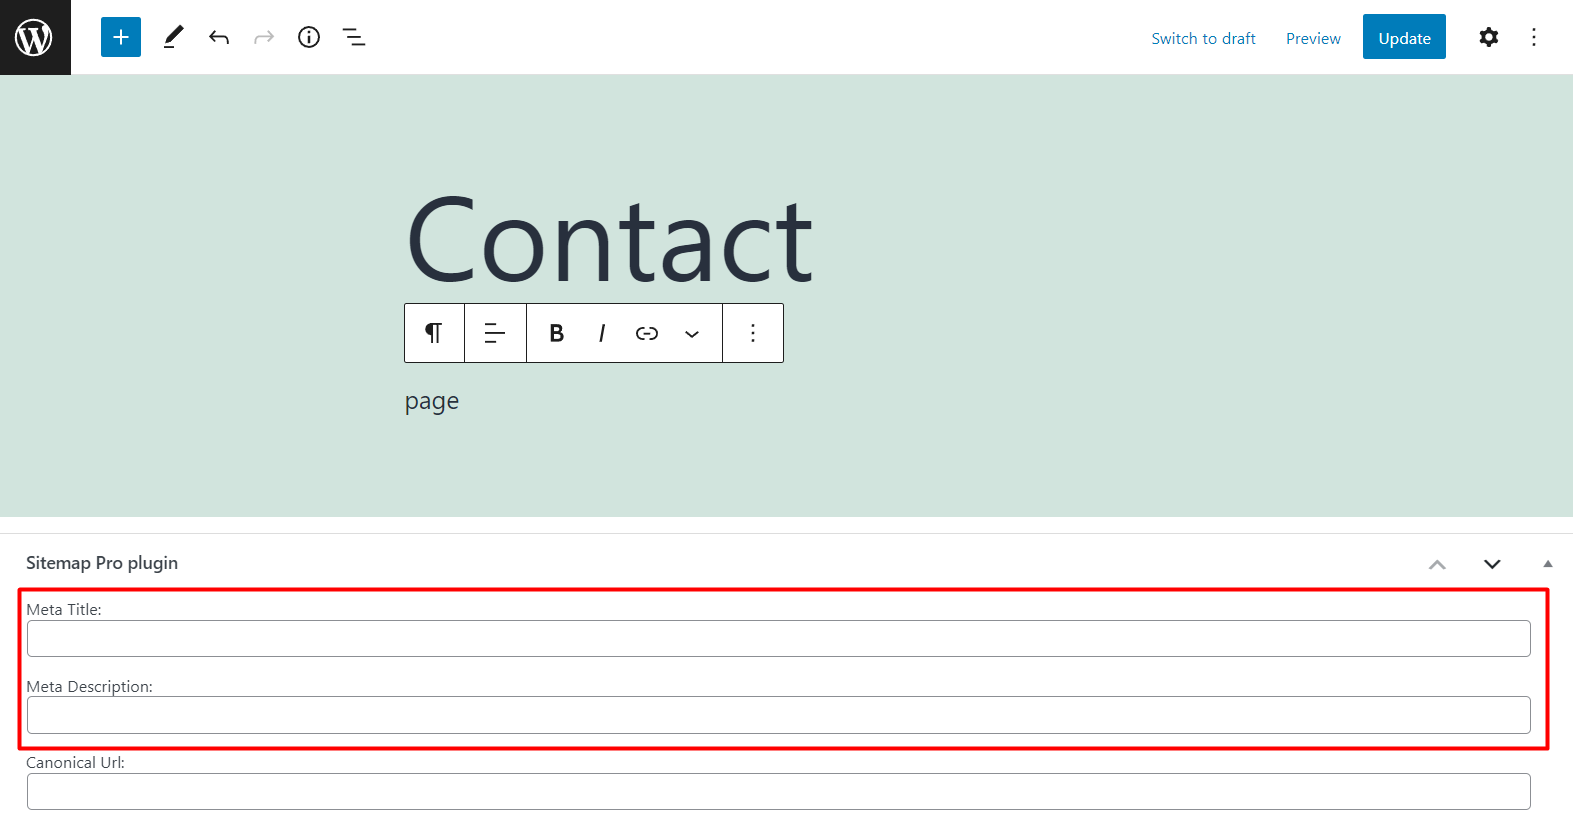
2.3. Title and Meta Description
Enable the “Title and Meta Description” to change the title and meta description for posts, pages, and custom post types.

2.3.1. To add a Title and Meta Description open any page or post in the edit mode and type the necessary text in the appropriate fields.
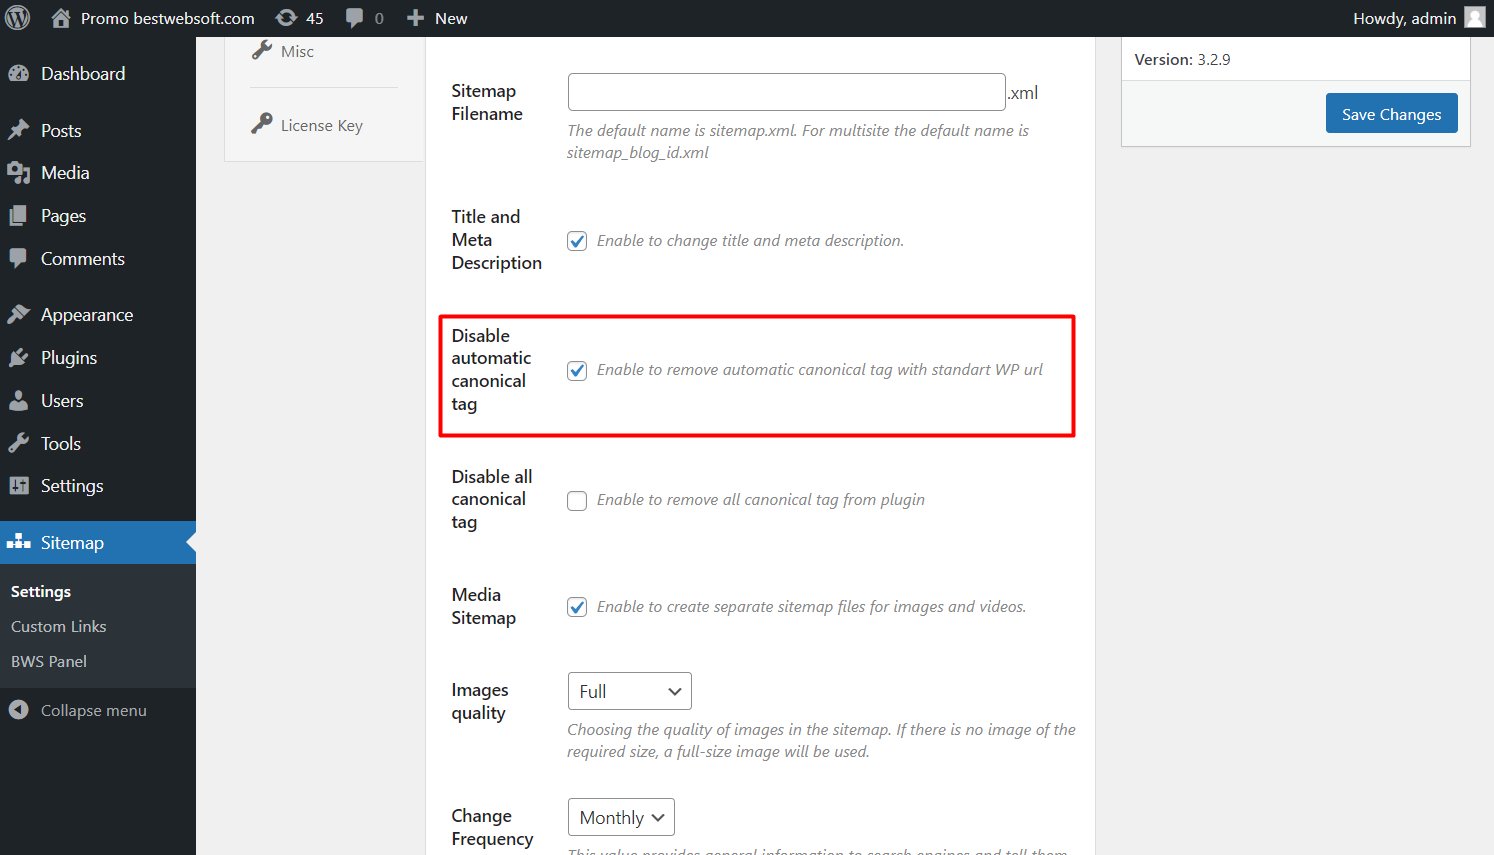
2.4. Disable automatic canonical tag
Use the “Disable automatic canonical tag” option to remove the automatic canonical tag with a standard WP URL.
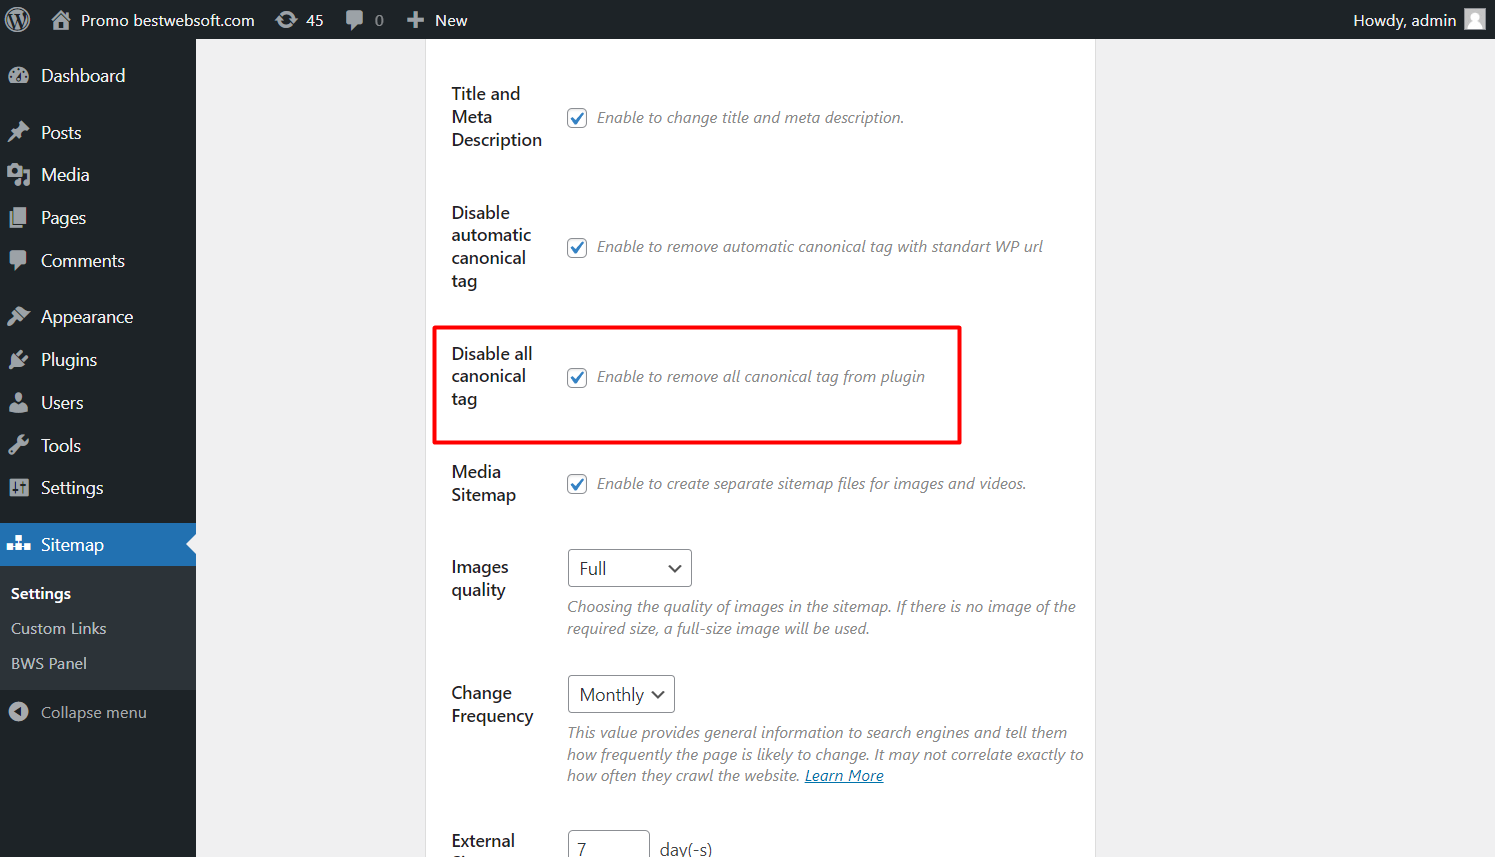
2.5. Disable all canonical tag
Use the “Disable all canonical tag” option to remove all canonical tags from the plugin.
2.6. Media sitemap
Enable the “Media Sitemap” option to make media files (images and videos) visible for search engines.

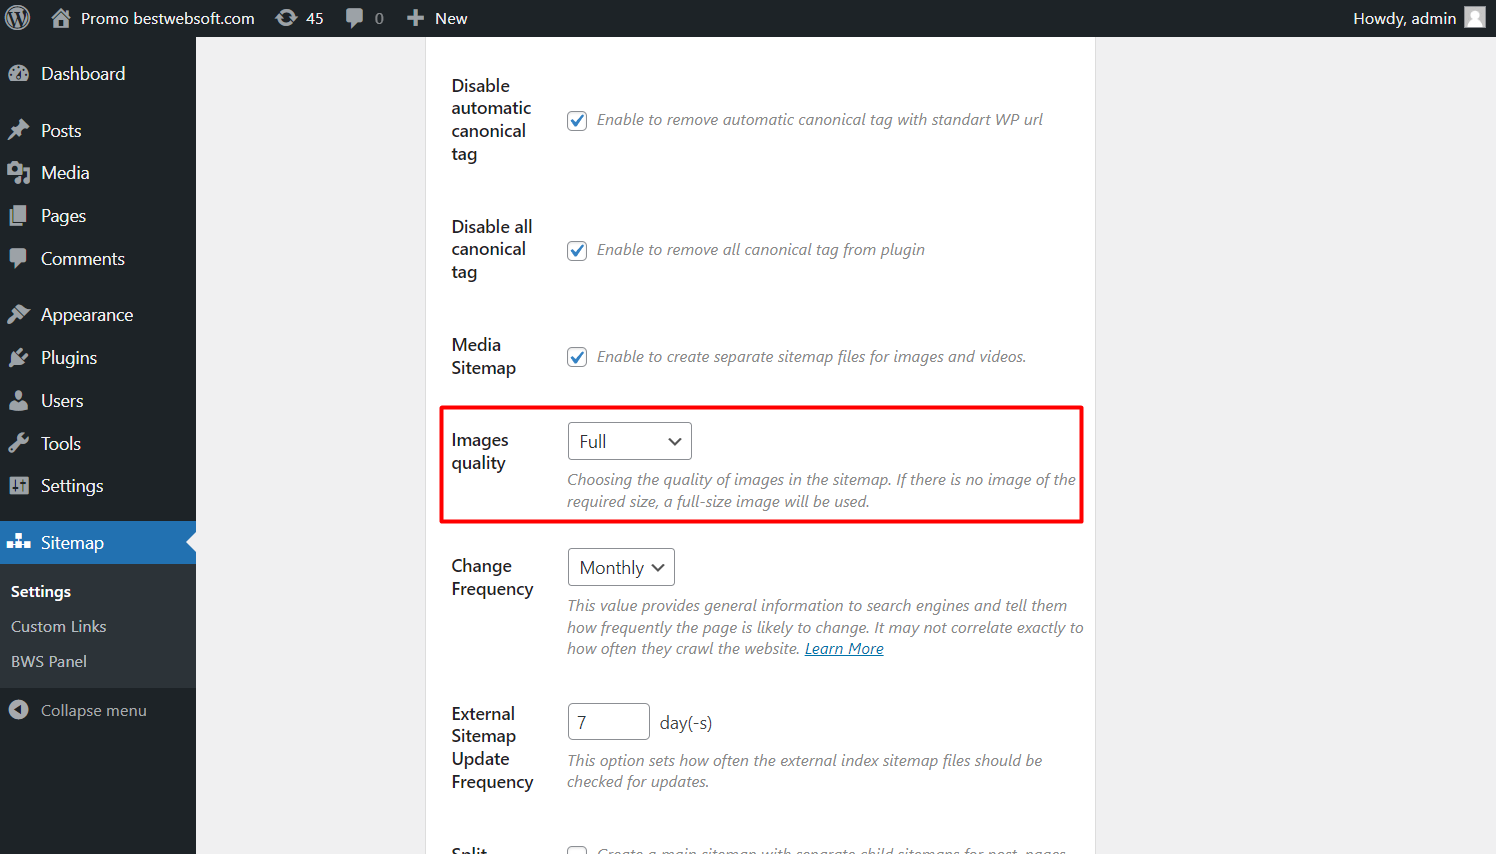
2.7. Images quality
Use the “Images quality” option to choose the quality of images in the sitemap. If there is no image of the required size, a full-size image will be used.
2.8. Change Frequency
Use the “Change Frequency” option to inform search engines about the content changing frequency on the website.

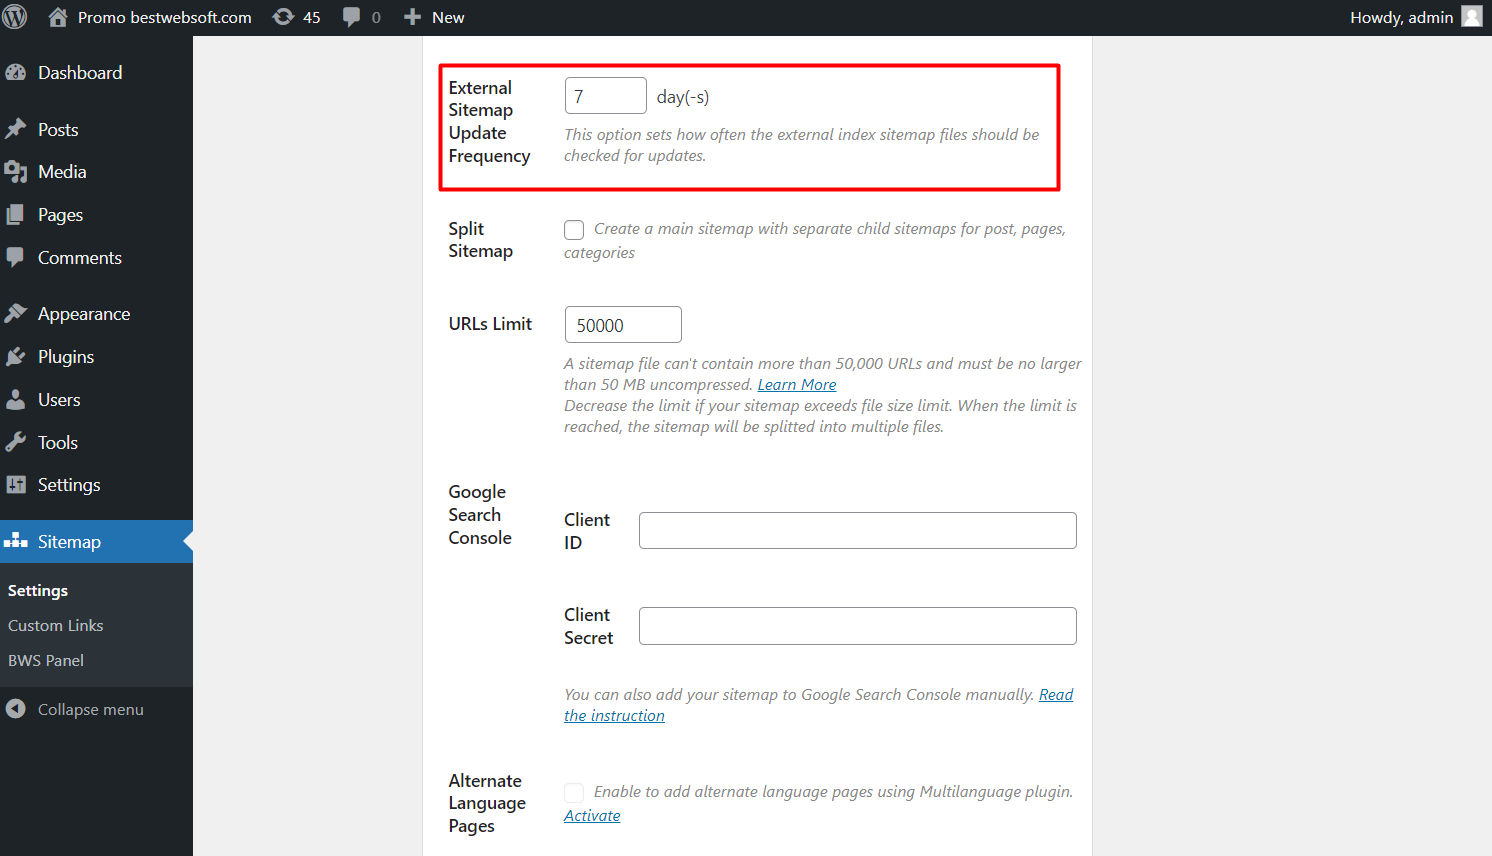
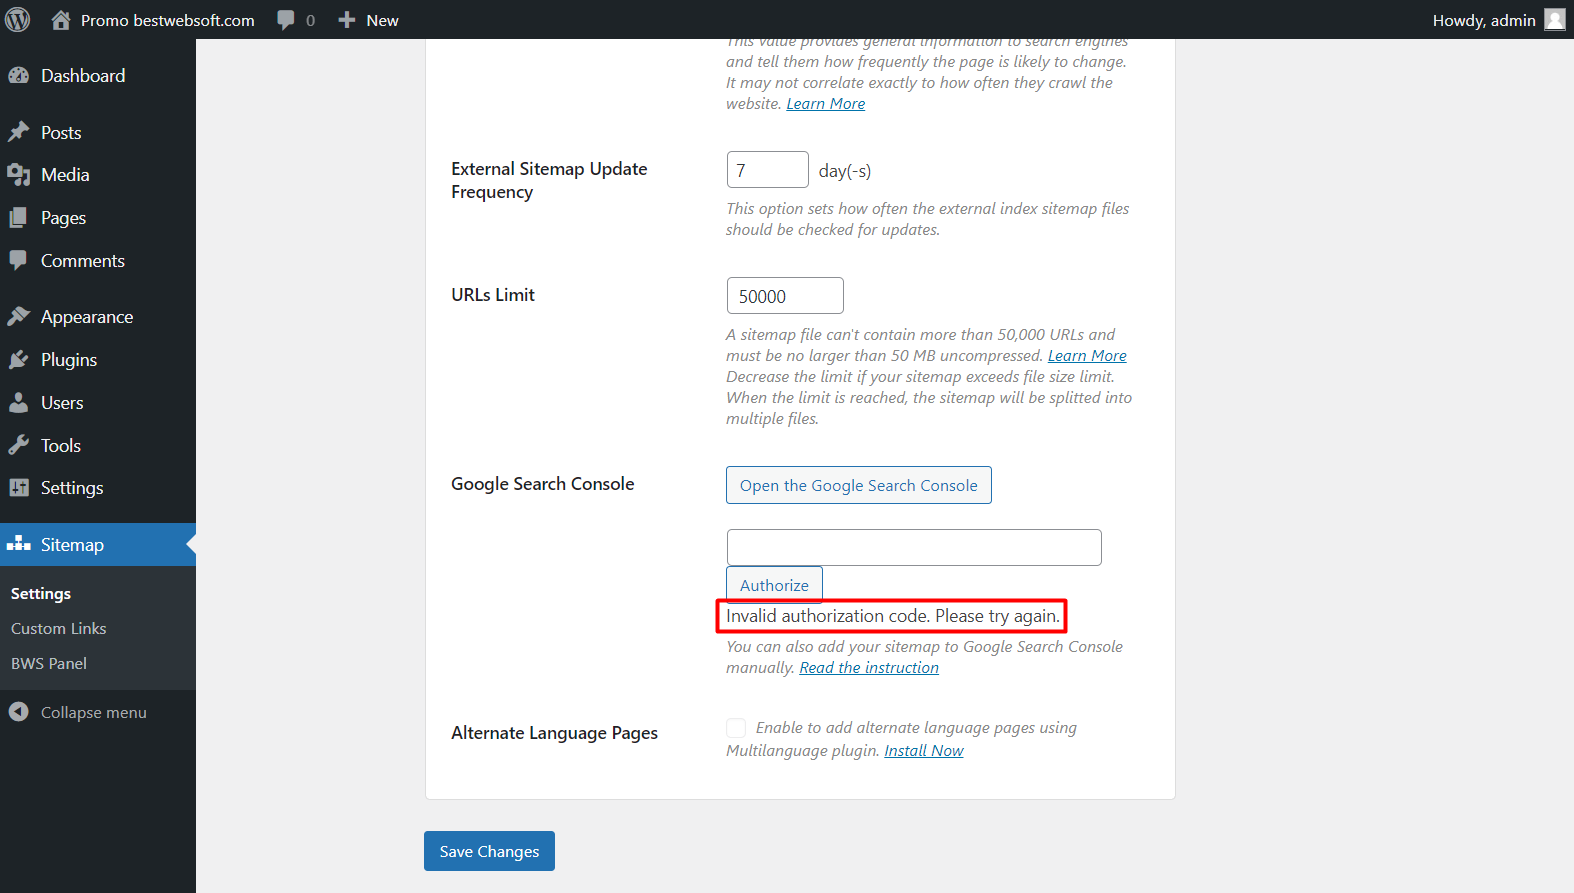
2.9. External Sitemap Update Frequency
Use the “External Sitemap Update Frequency” option to set the external sitemap update frequency in days.
2.10. URLs Limit
Use the “URLs Limit” option to set the maximum number of URLs available in a single sitemap file.

Note: As a rule, a sitemap file can't contain more than 50,000 URLs and must be no larger than 50 MB uncompressed. By reaching the URL limit the plugin will split the sitemap into multiple files. |
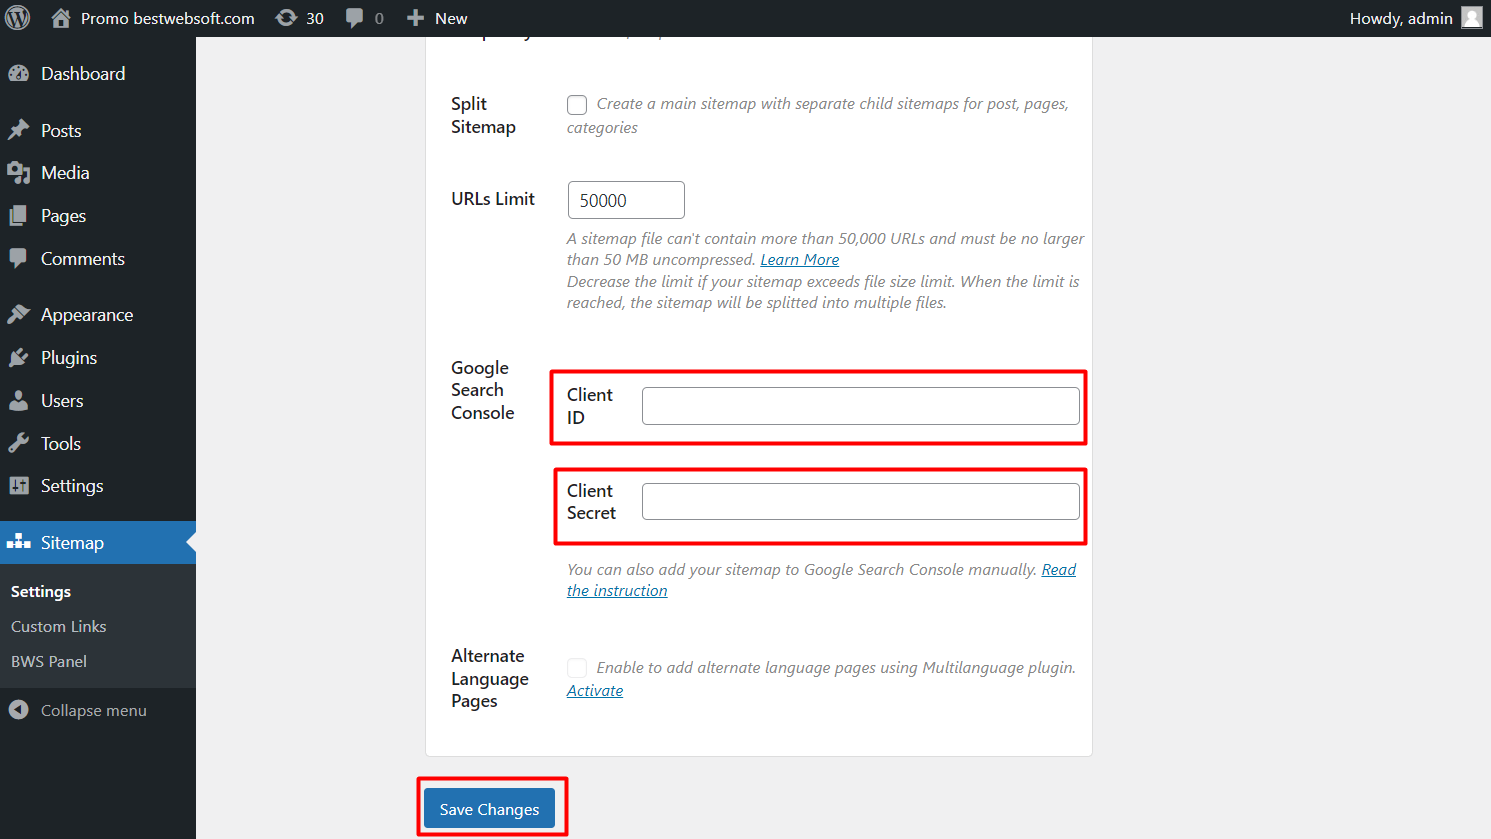
2.11. Google Search Console
Use the “Google Search Console” option to log in and authorize your website with Google Search Console.
Note: If the Sitemap.xml file already exists, it is highly recommended to complete this step! |

2.11.1. Open the Credentials page of the Google API Console.
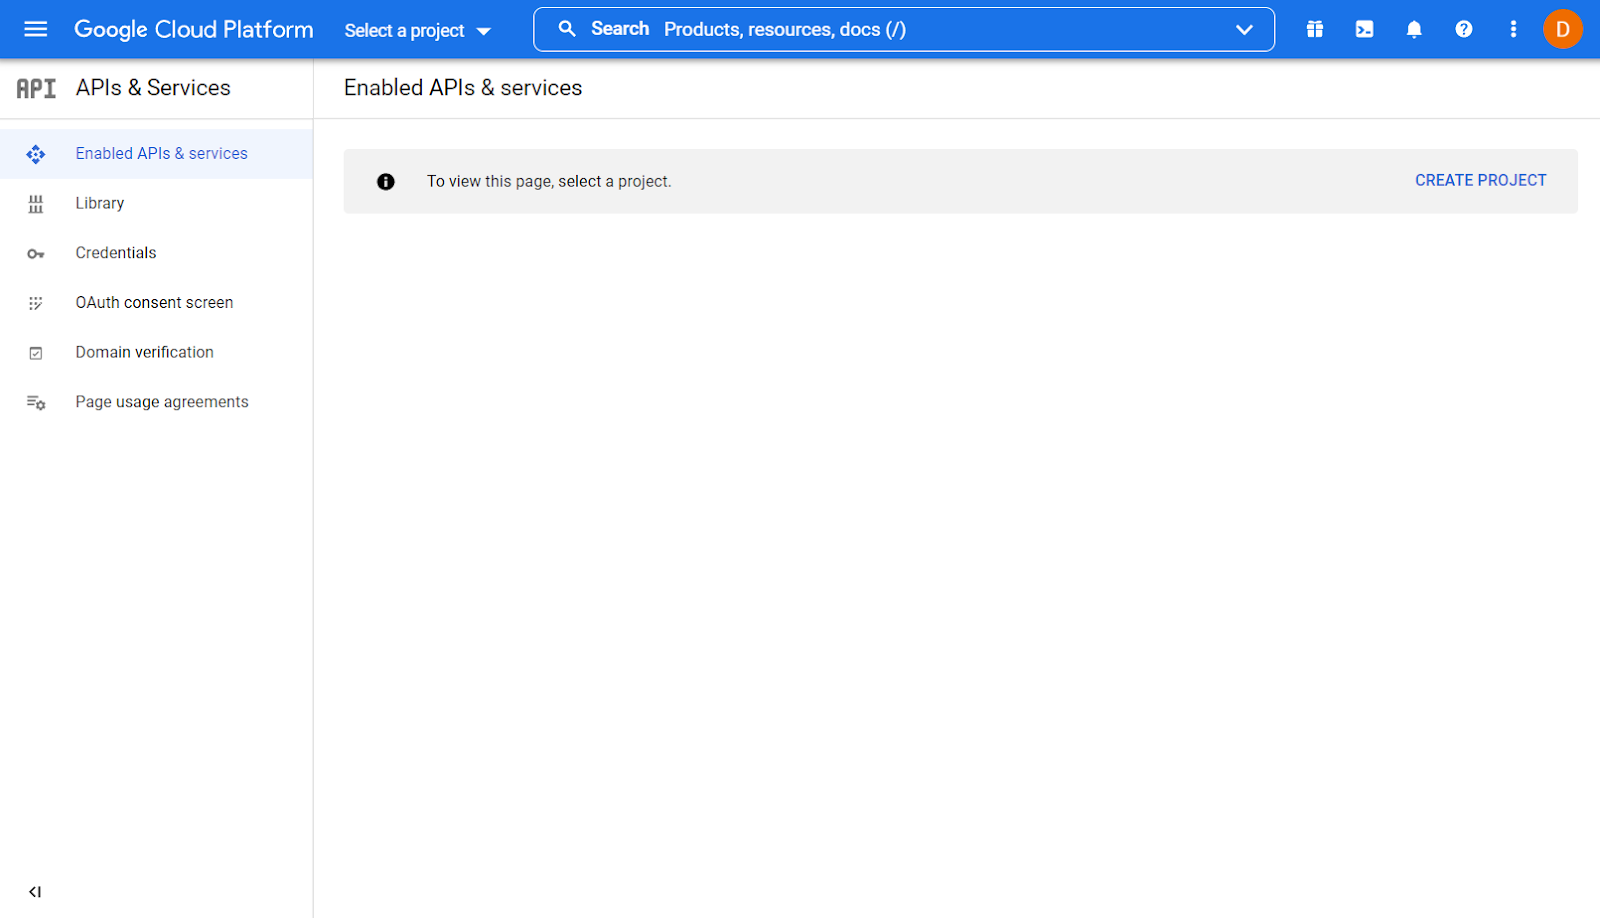
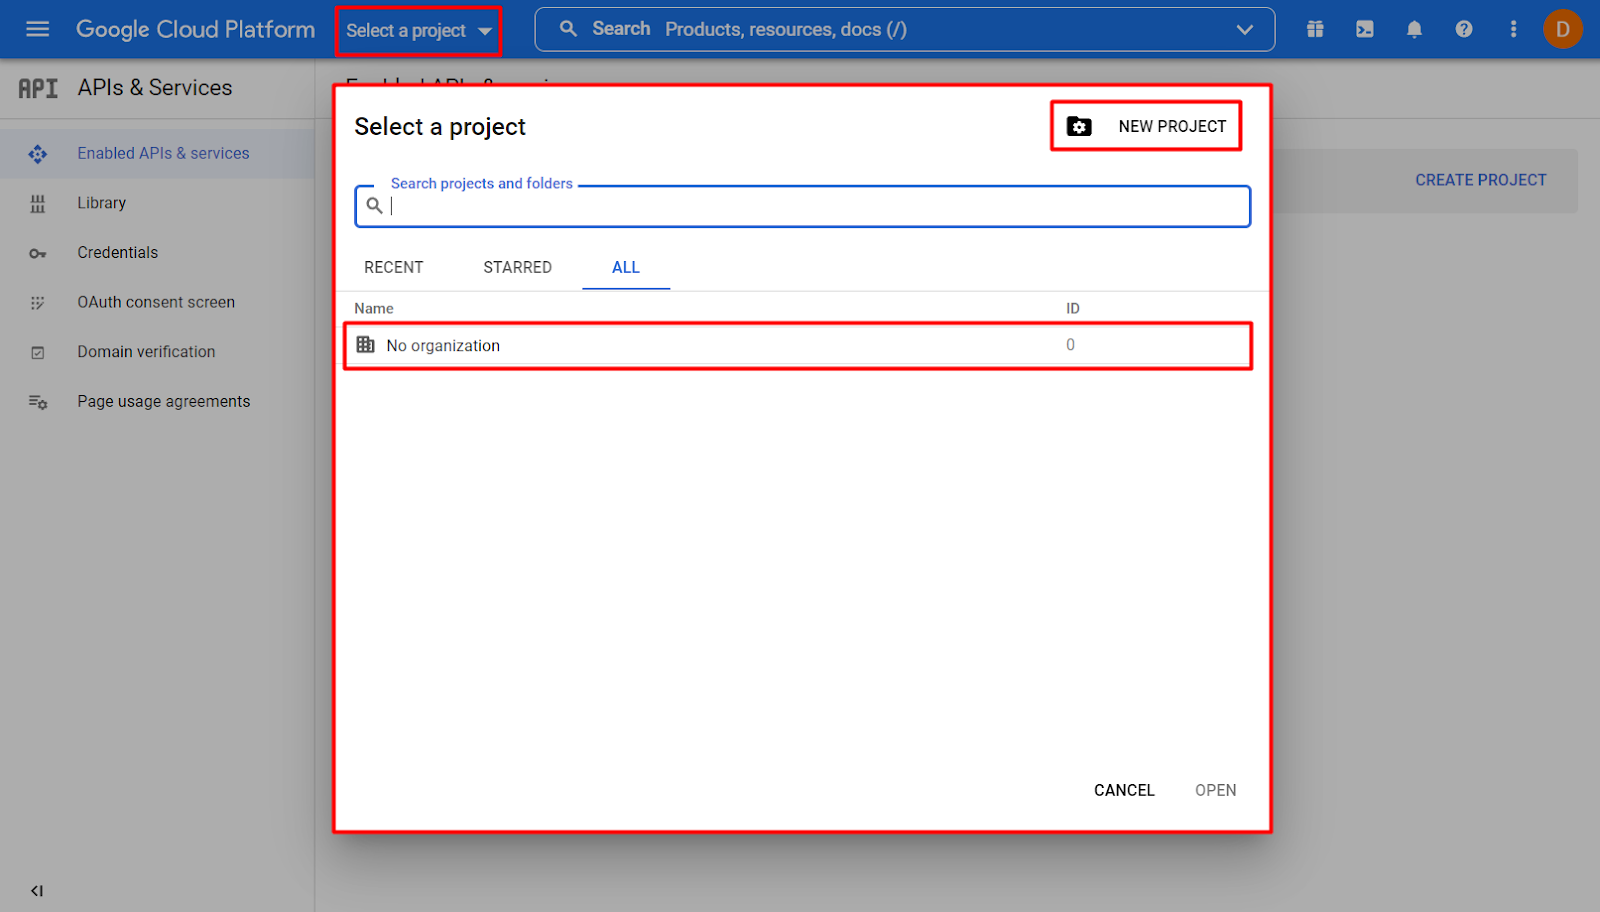
2.11.2. Create or select a Google APIs project.
2.11.3. Click the “Enable APIS and Services” button.

2.11.4. Make a search with “Google Search Console API” and click the “Enable” button.

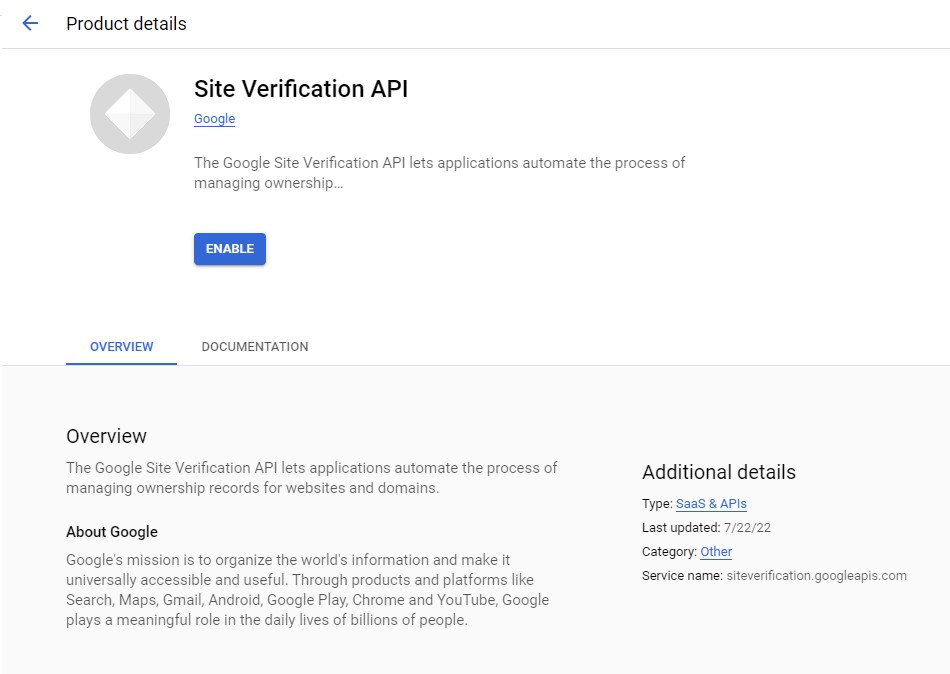
2.11.5. Next, make a search with “Site Verification API” and click the “Enable” button.
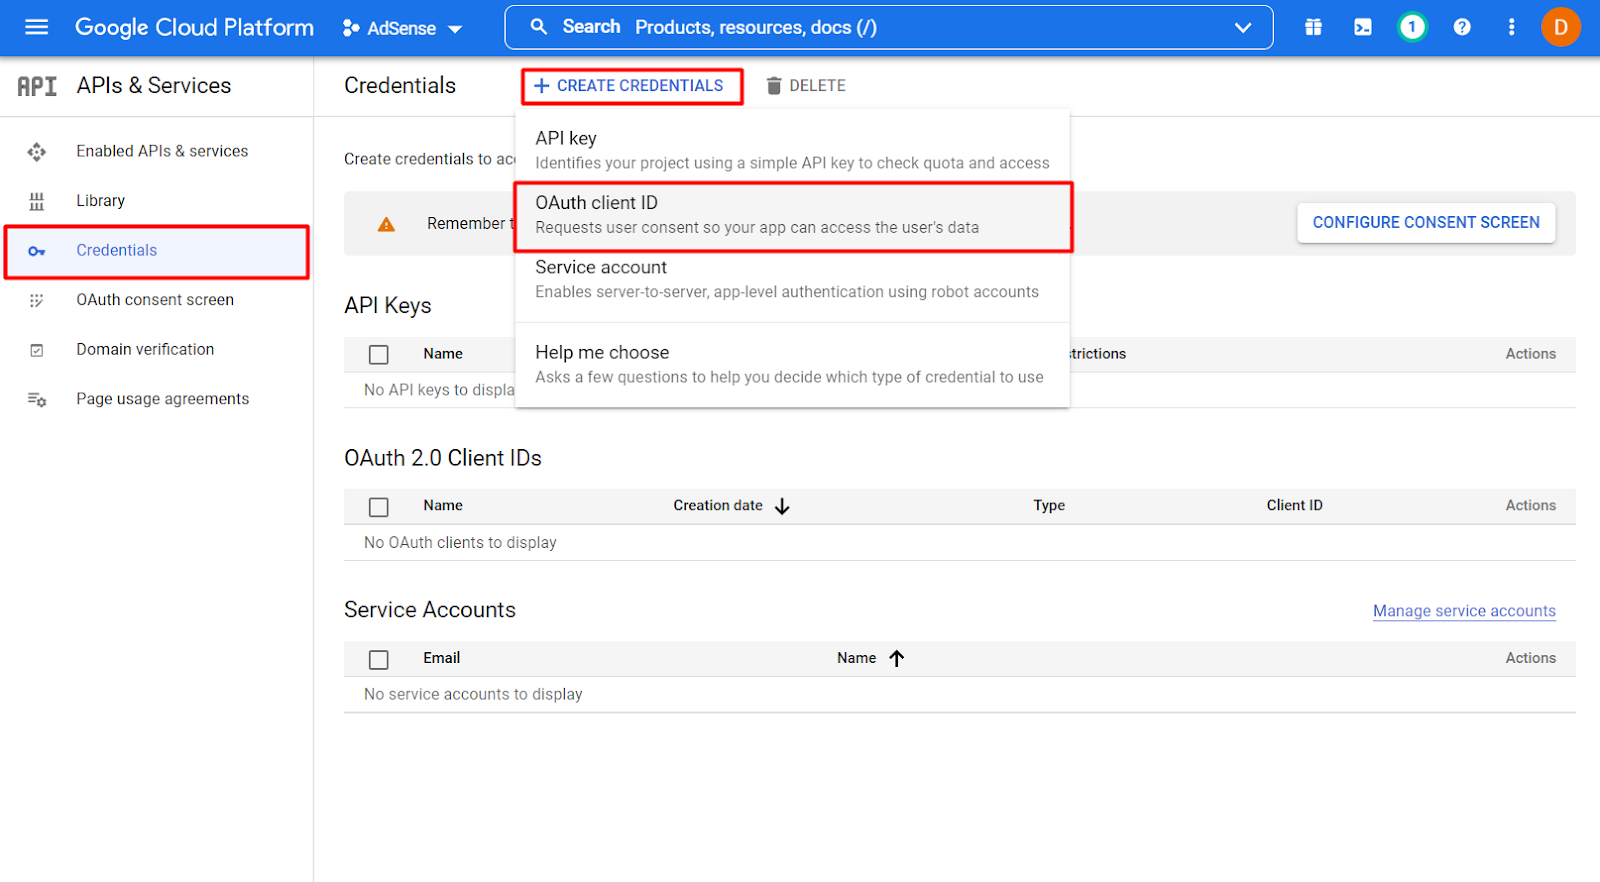
2.11.6. Open the “Credentials” tab, click the “Create Credentials” and select “OAuth client ID”.
2.11.7. Configure the OAuth consent screen and click the “Create” button.

2.11.8. Fill in the info in the fields and click the “Save and Continue” button.

2.11.9. Go back to the “Credentials” tab, click “Create Credentials” and select “OAuth client ID”.
2.11.10. Select the application type: Web Application, Enter the app name, and insert Authorized redirect URIs - URI of the Sitemap plugin setting page. Then click the “Create” button.

2.11.11. Save the Generated Client ID and Client Secret Keys.
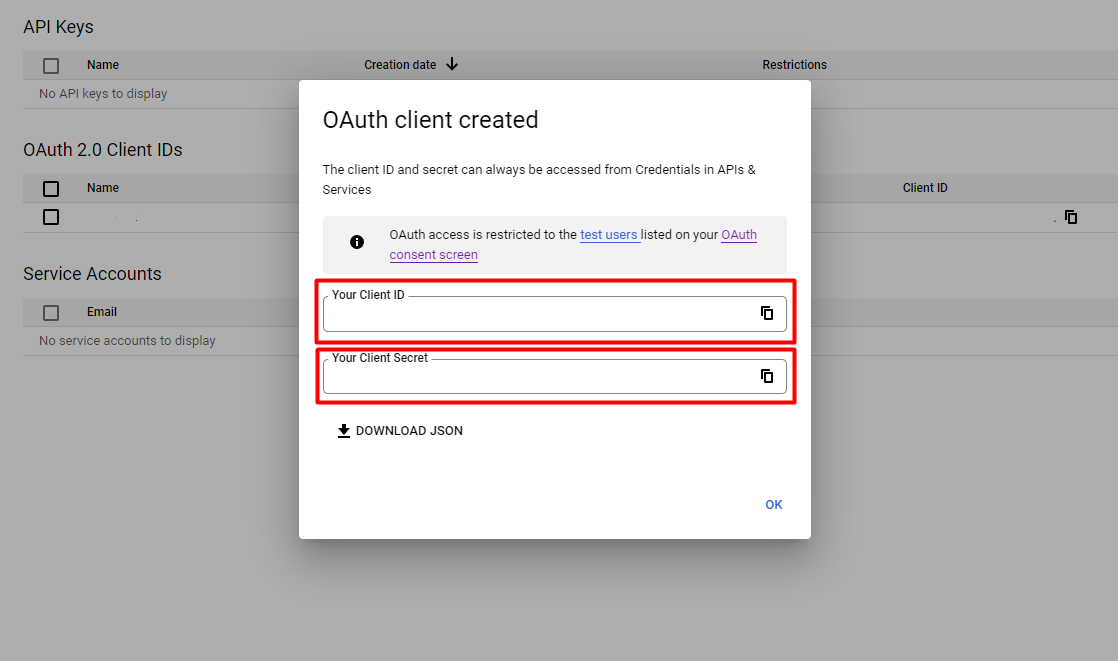
2.11.12. Paste the Client ID and Client secret keys that you saved earlier to the appropriate fields and click “Save Changes”.
2.11.13. If you have some problems with adding a sitemap to Google automatically using Google Sitemap by Bestwebsoft plugin (e.x. “Invalid authorization code”) it is possible to do it manually.
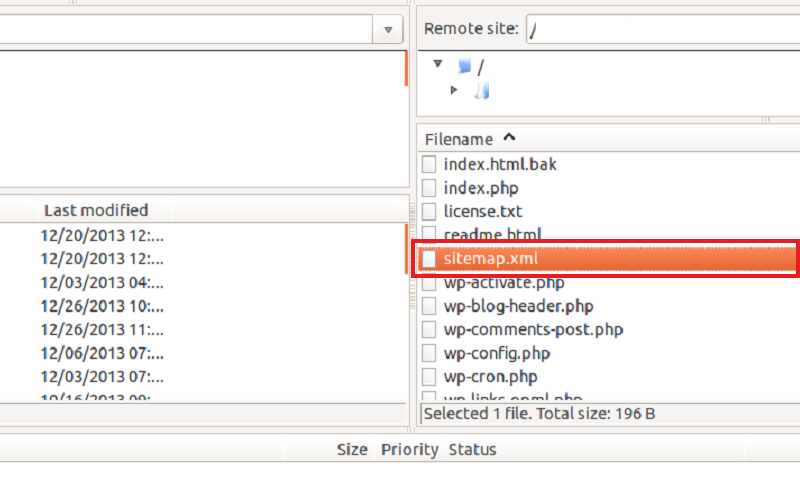
2.11.14. Make sure that the sitemap file is created by following the link in the information section.

2.11.15. Make sure, that the “Sitemap.xml” file is in the site, for example, using FileZilla, or using your hosting file manager.
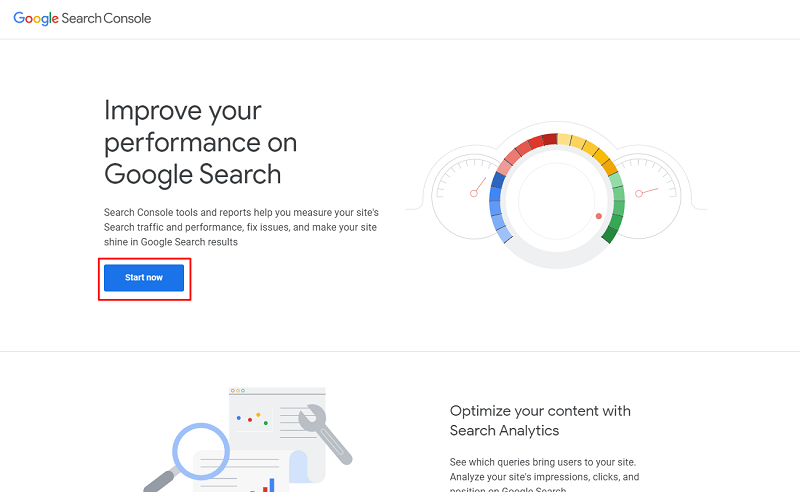
2.11.16. Go to https://search.google.com/search-console/ and click the “Start now” button. Login to your Google account if necessary
2.11.17. Enter the domain or URL of your website and click the “Continue” button.

2.11.18. In the next window click the “Download the file” button.

2.11.19. Select the folder for downloading and click the “Save” button.

2.11.20. Copy the obtained file with the name googlexxx.html (xxx – is the personal number assigned to your site by Google) to the root directory of your site, where the “sitemap.xml” file is also located.
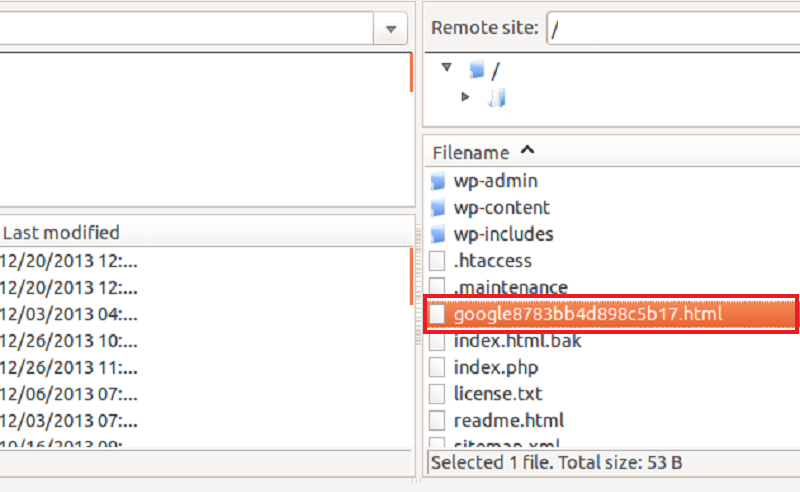
2.11.21. Go back to Google Search Console and click the “Verify” button.

Note: If you see a “Page not found” message it means that the googlexxx.html file is in the wrong folder. If you see an “Access denied” message it means that googlexxx.html doesn’t have enough permissions. Please make use of the following documentation provided by Wordpress.org - Changing File Permissions |
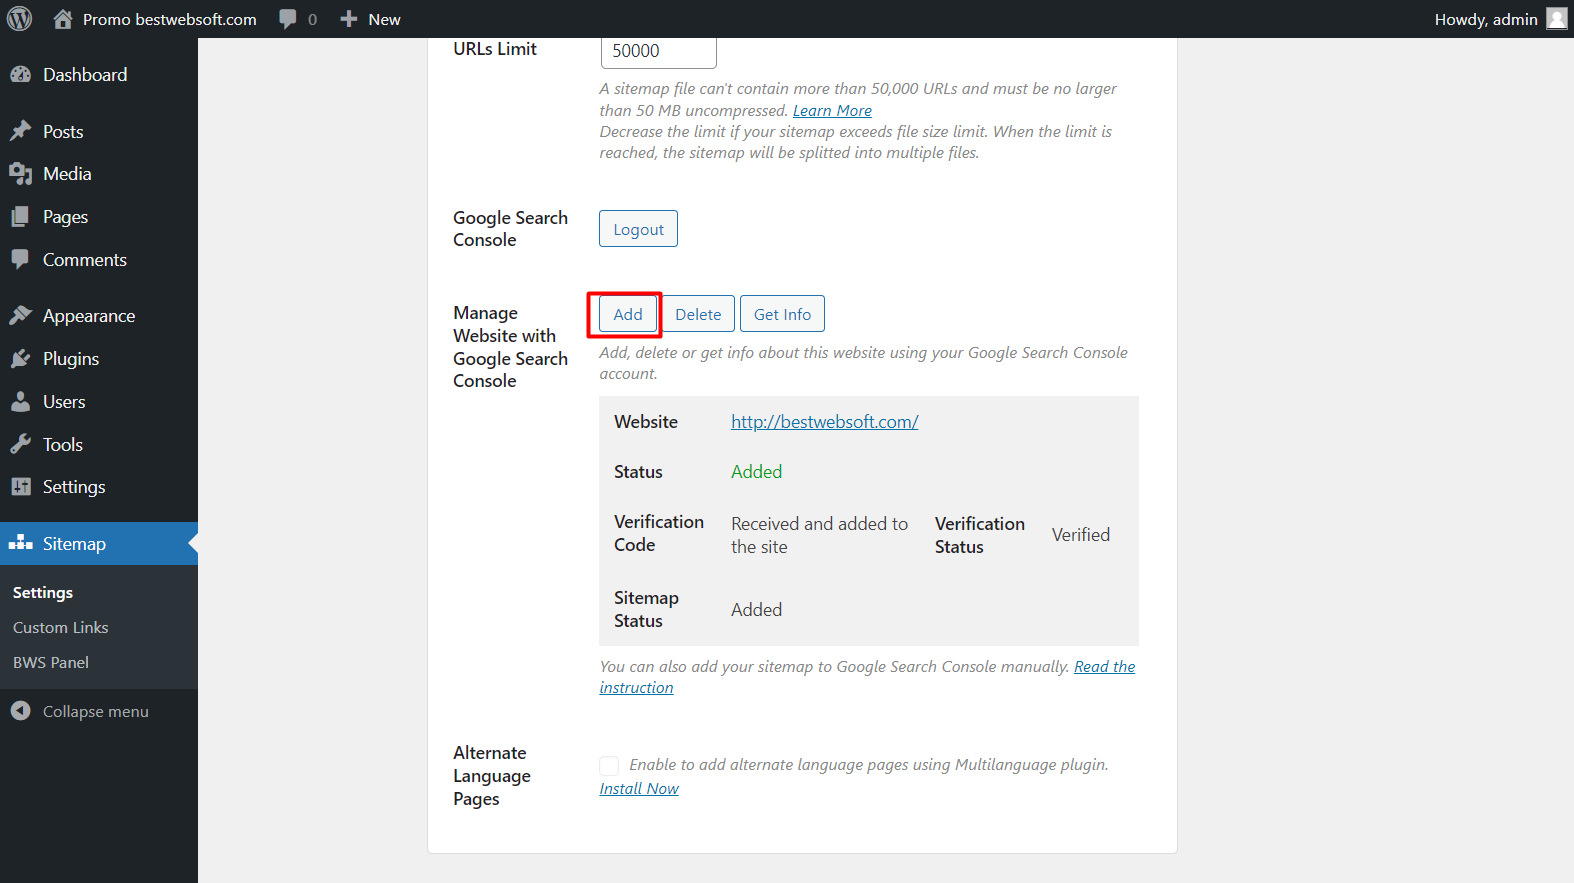
2.12. Manage Website with Google Webmaster Tools
After successful authorization, you will be able to add, delete and get information about your website from Google Webmaster Tools right from the “Settings” page.

2.12.1. Click the “Add” button to add your site to Google Webmaster Tools and verify it. The window with verification status will appear next to the option.
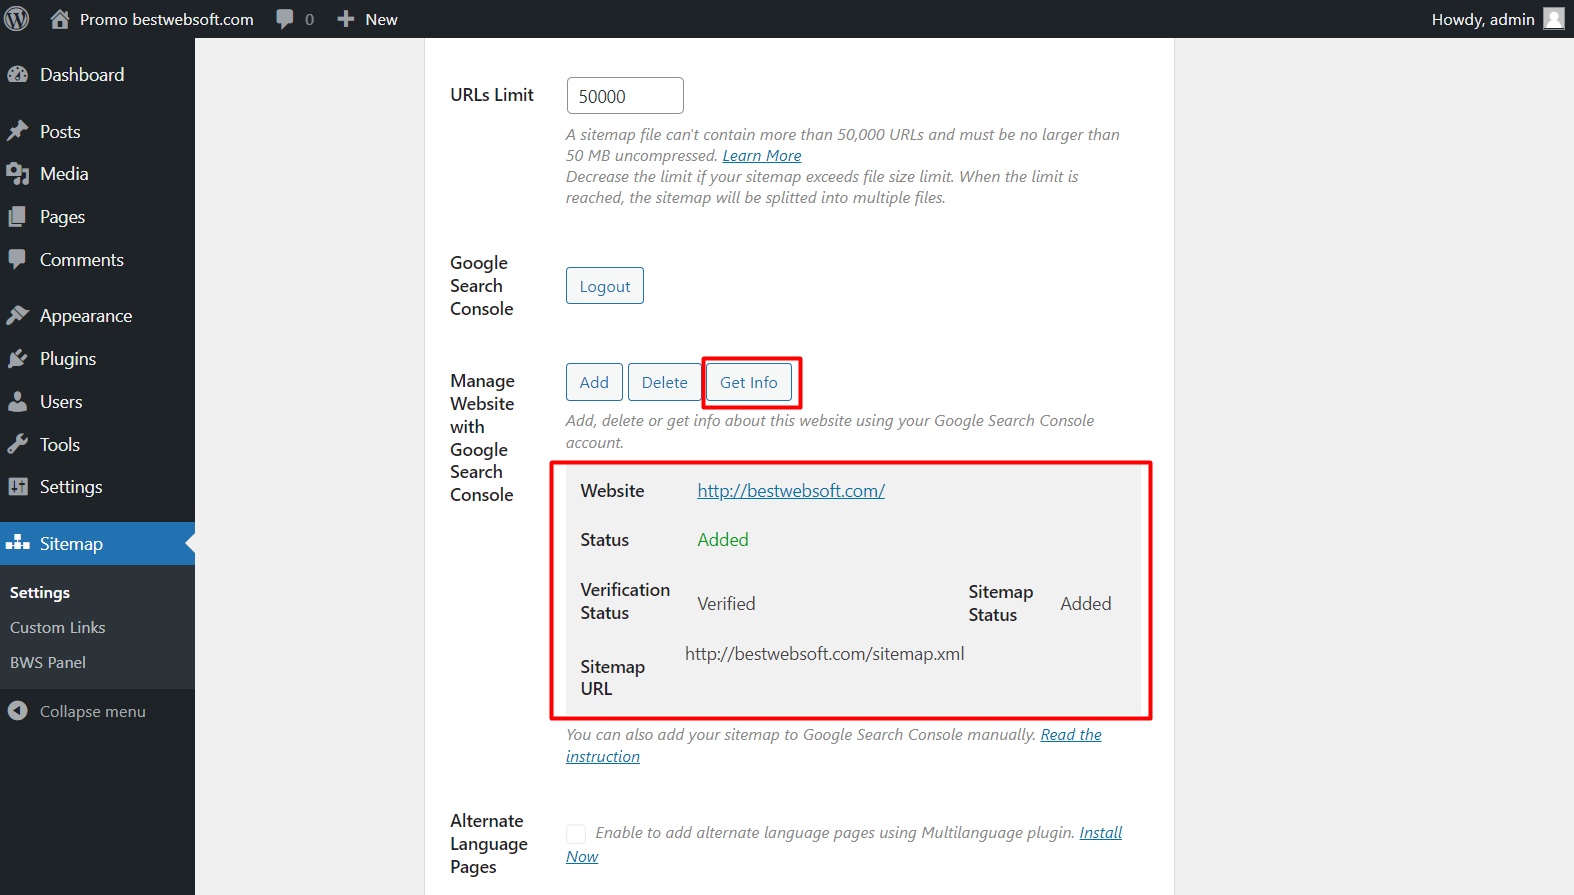
2.12.2. To display info from Google Webmaster Tools click the “Get info” button.
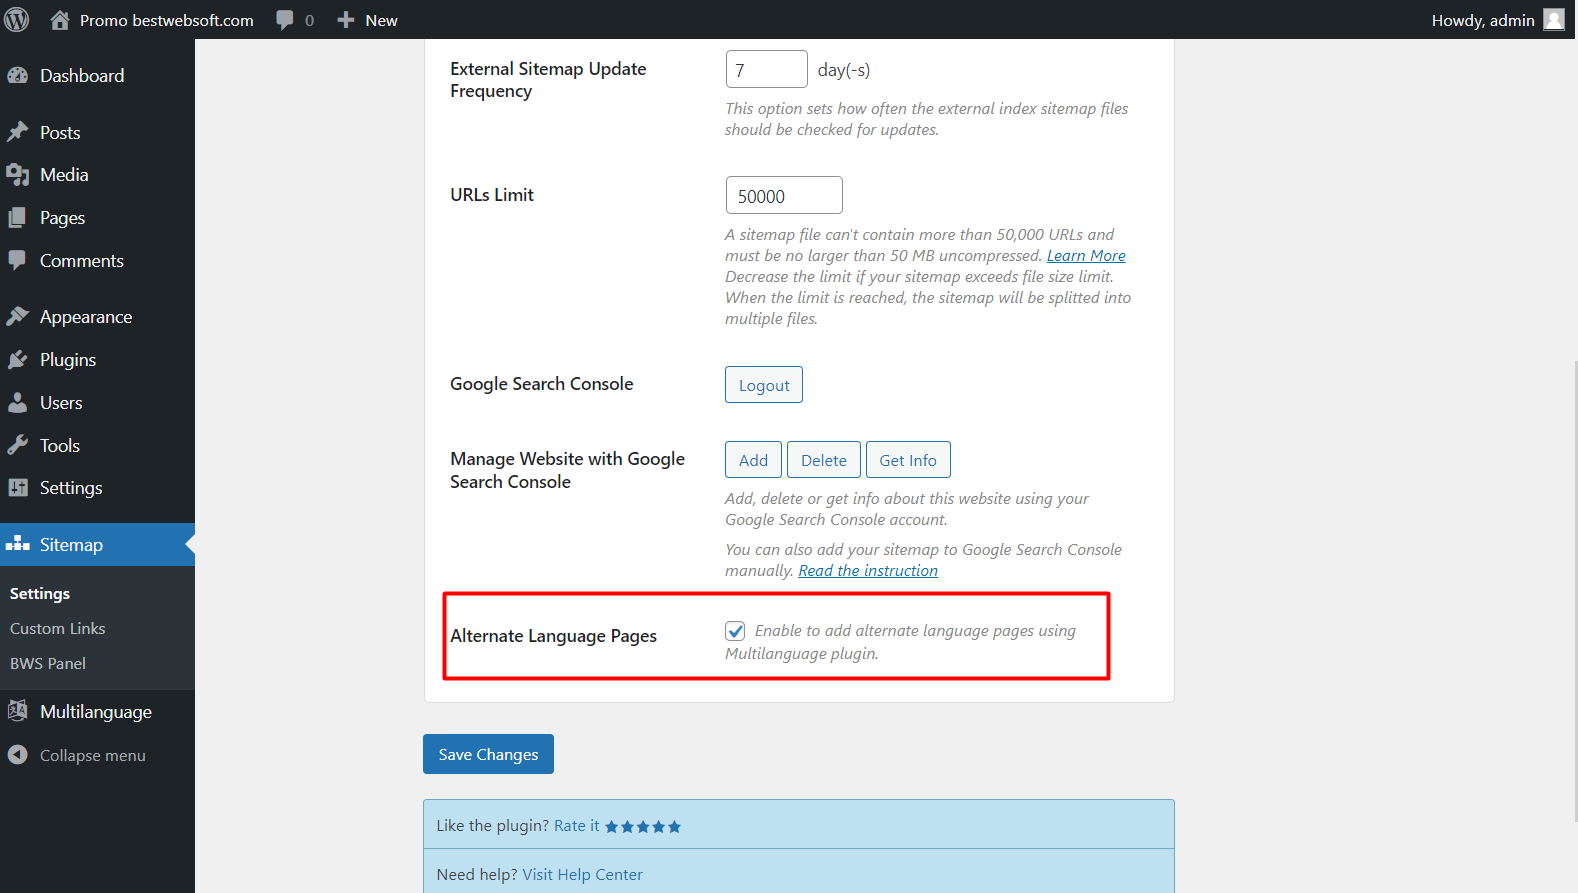
2.13. Alternative Language Pages
Enable the “Alternative Language Pages” option to add pages in other languages to the sitemap. You need to install the “Multilanguage by BestWebSoft” plugin first.
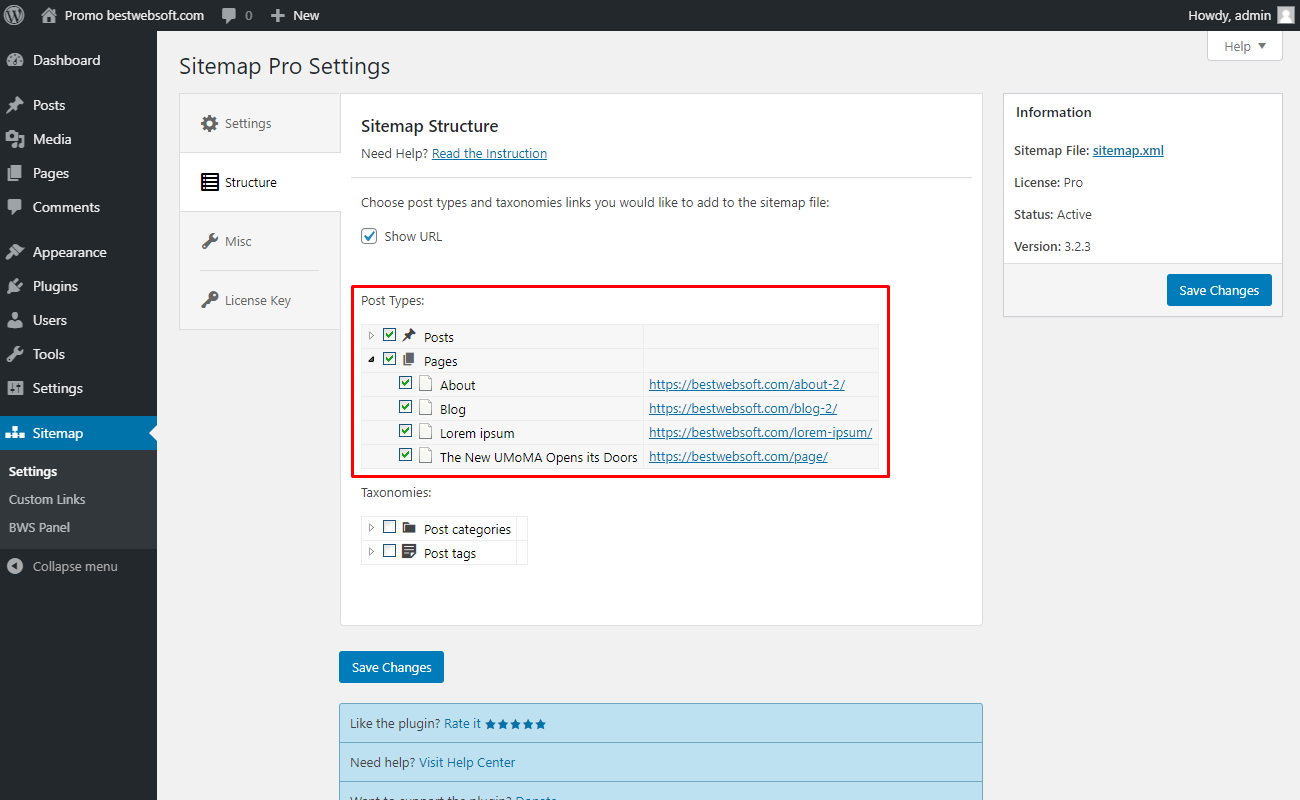
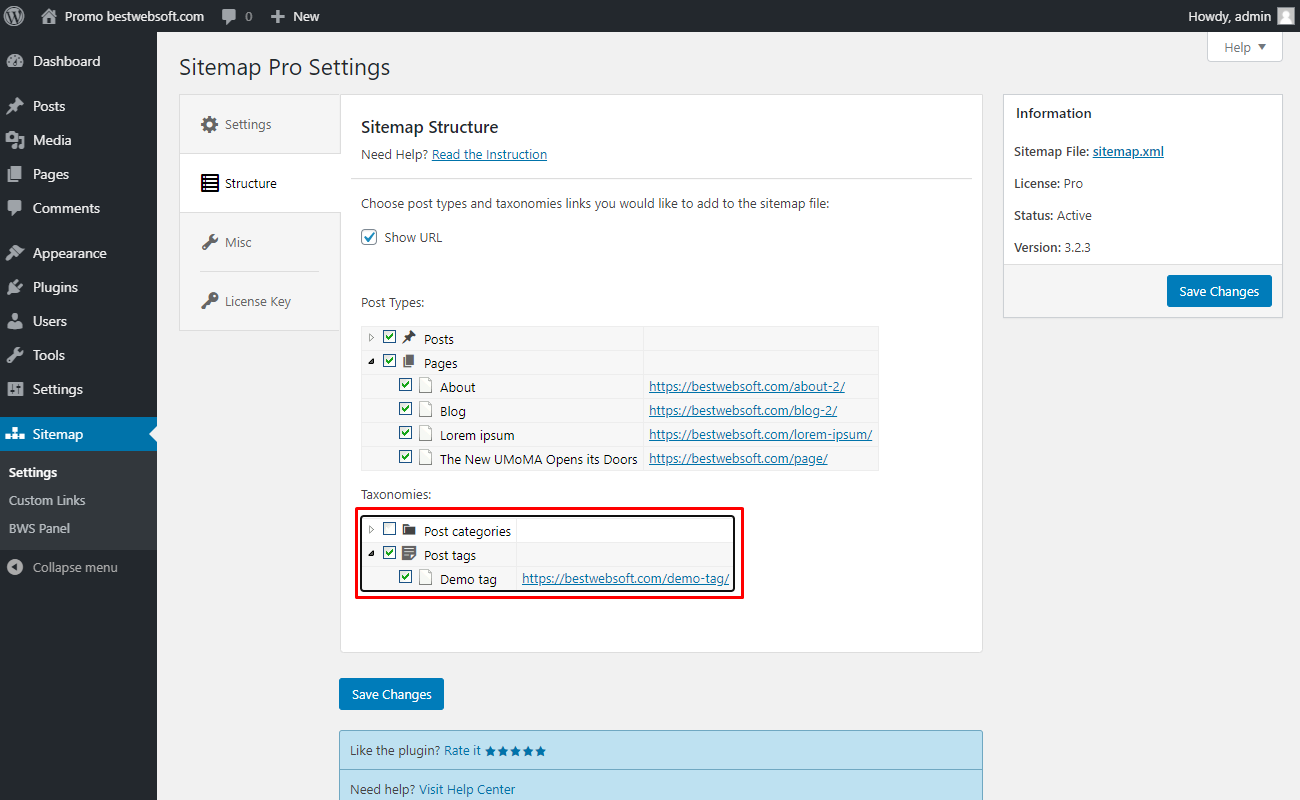
3. Structure
Use the “Sitemap Structure” tab to define pages and posts that you want to include or remove from the sitemap file.

3.1. Post Types
Enable default post types (such as posts and pages) to include them in the sitemap file.
3.2. Taxonomies
Enabling the taxonomies will provide an additional path to your posts, thus increasing the chances of your content being found by users.
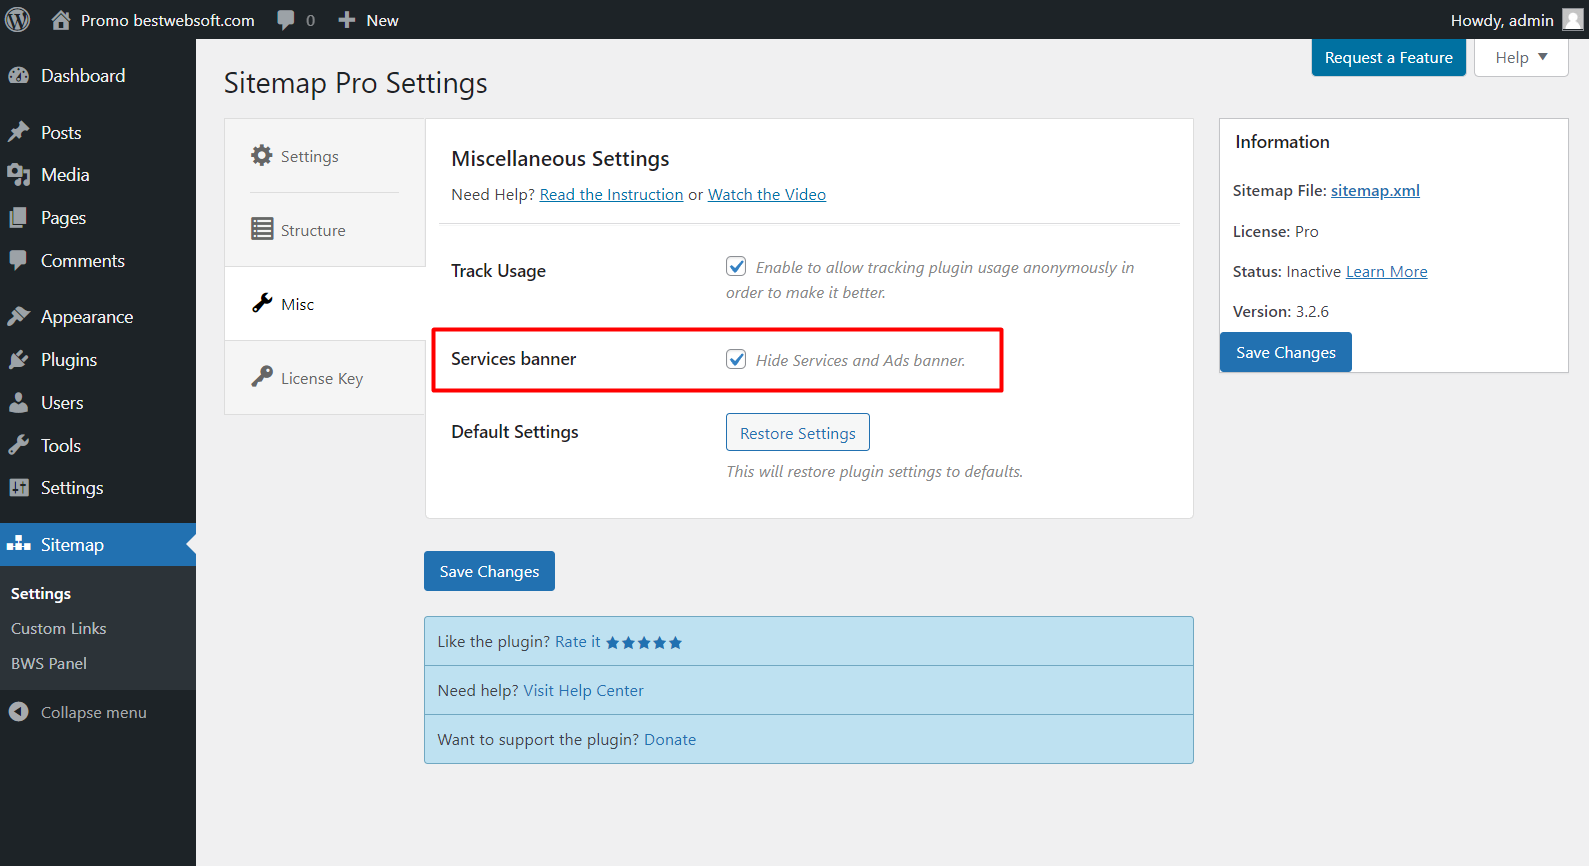
4. Miscellaneous Settings
Use the options of the “Miscellaneous Settings” tab to make the settings regarding the track usage and default settings.
4.1. Track usage
Enable the “Track Usage” option to allow tracking plugin usage anonymously.

4.2. Services Banner
Enable the “Services banner” option to hide services and Ads banner.
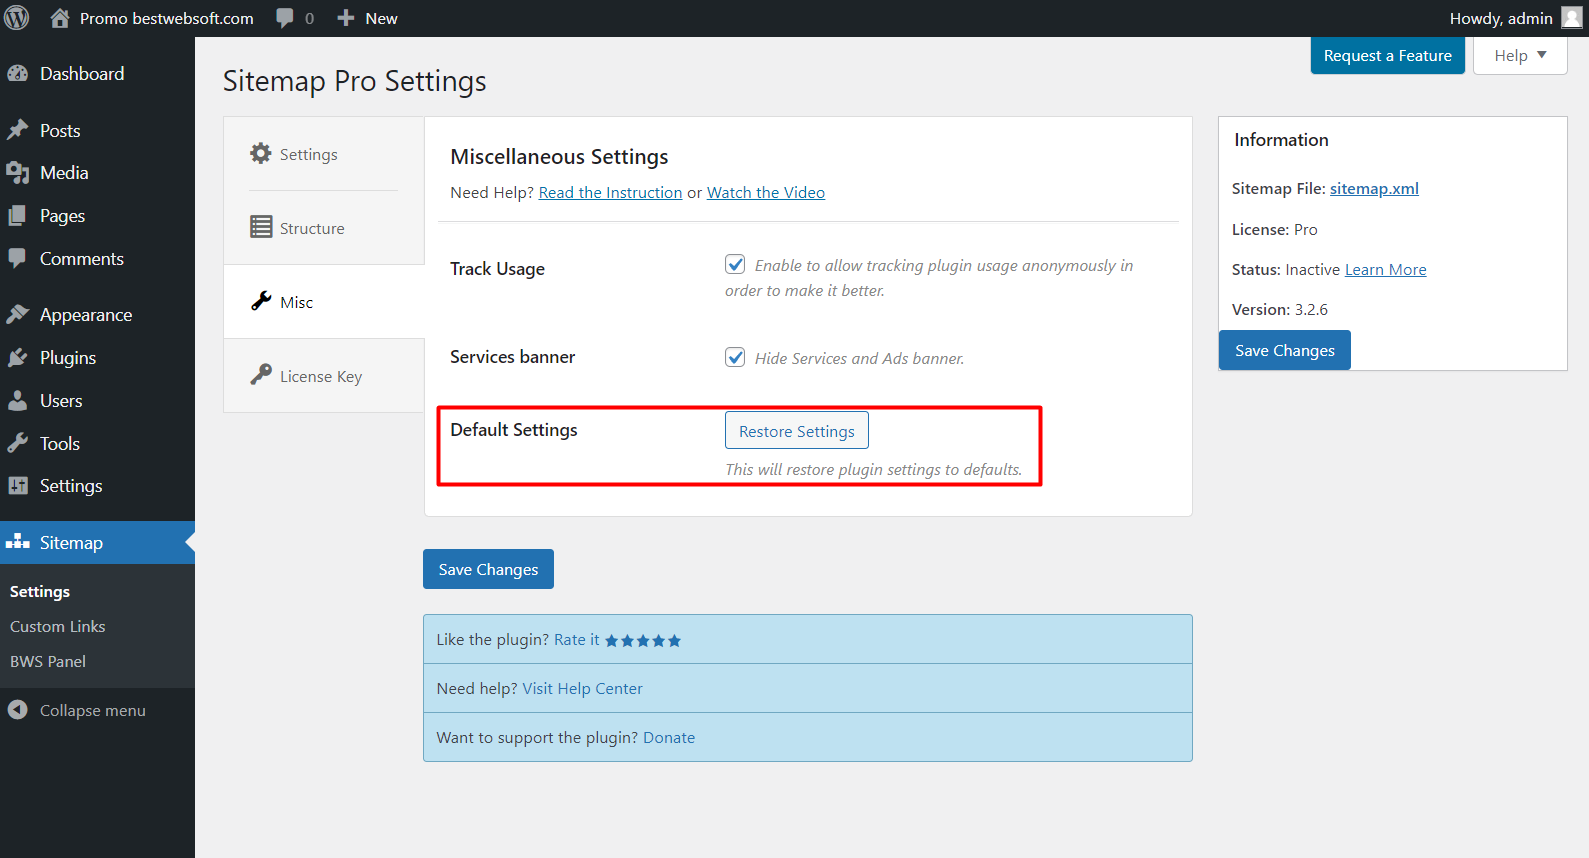
4.3. Default Settings
Click the “Restore Settings” button to cancel all the adjustments that have been made previously.
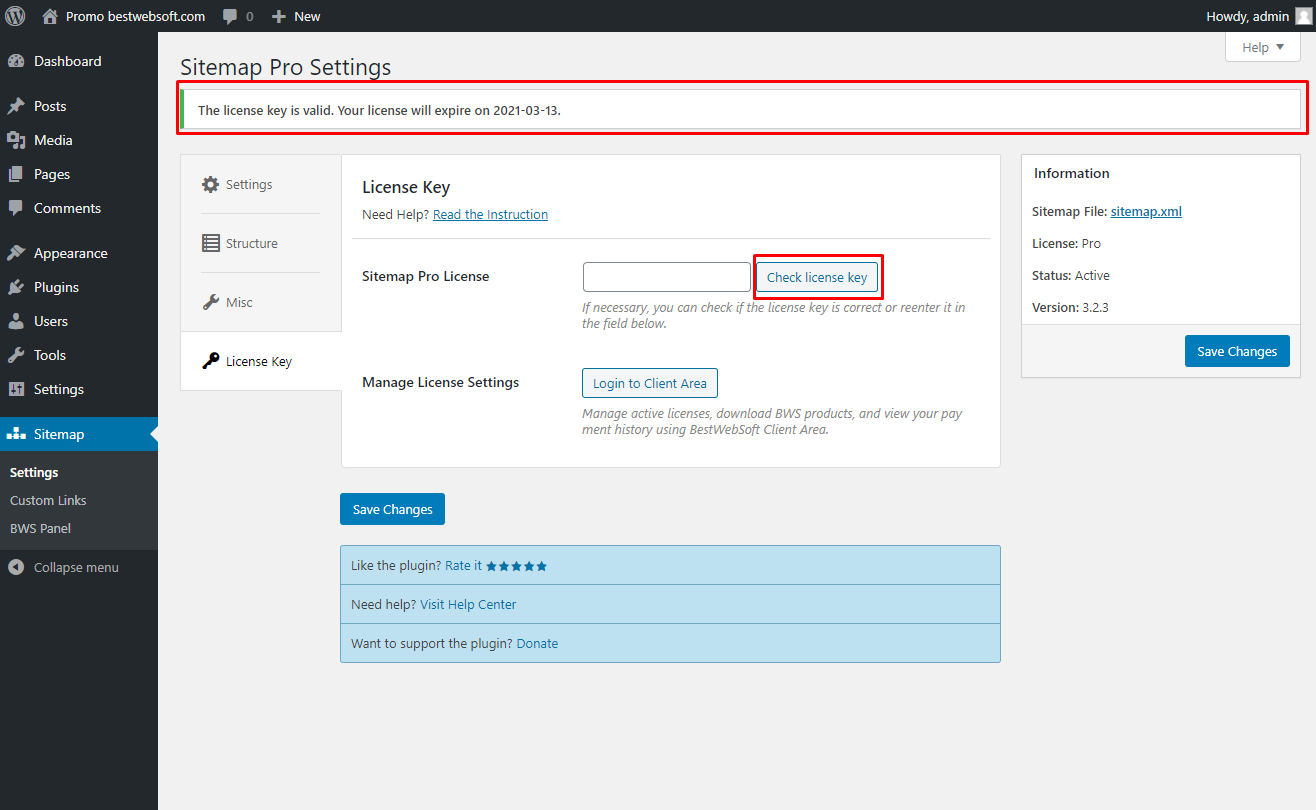
5. License Key
Use the “License Key” tab to activate or check the Pro plugin license.
5.1. Pro License
After a successful plugin purchase, you will receive an email notification with a download link and a license key. Activate Pro license by adding a license key into the field and click the “Save Changes” button.

5.2. Check License Key
To check the license key, click the “Check license key” button. If the key is valid the following message “The license key is valid. Your license will expire on XXXX-XX-XX”.
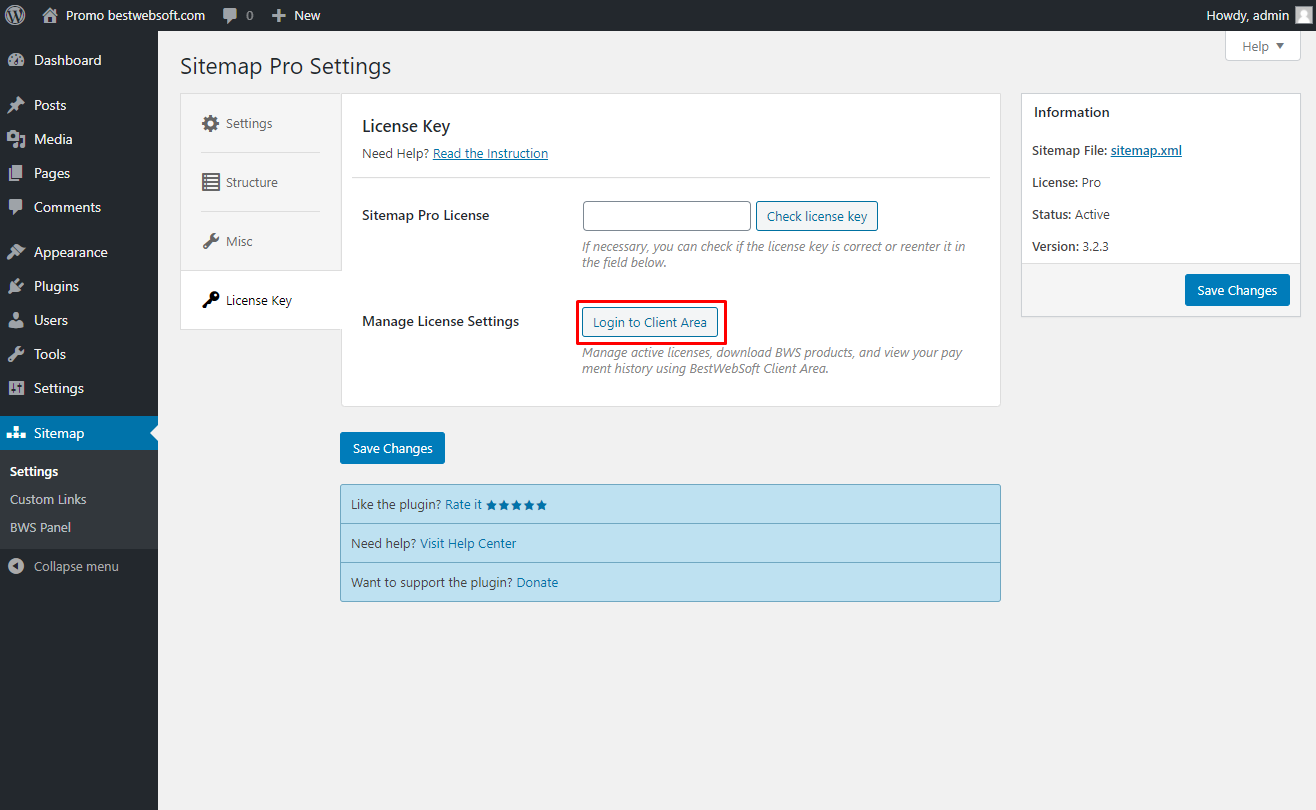
5.3. Manage License Settings
Use the “Manage License Settings” option to change your license settings. Click the “Login to Client Area” button to open your personal Client Area dashboard located on the https://bestwebsoft.com/ website. Browse and download purchased products, change the license domain and copy the license keys.
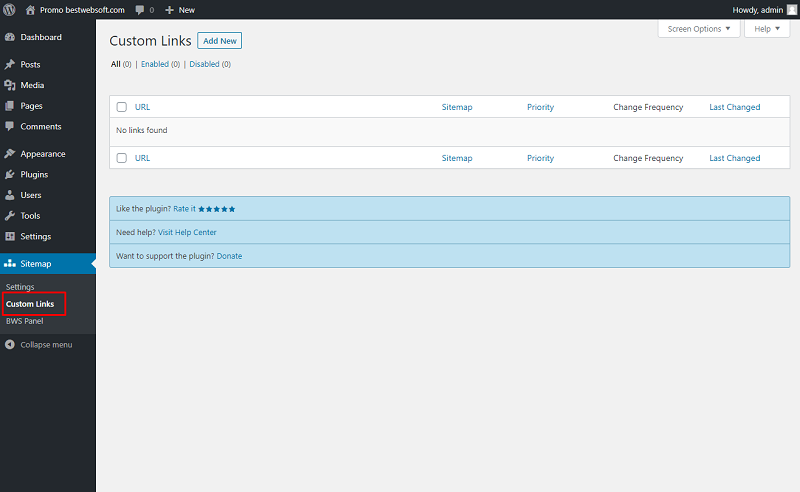
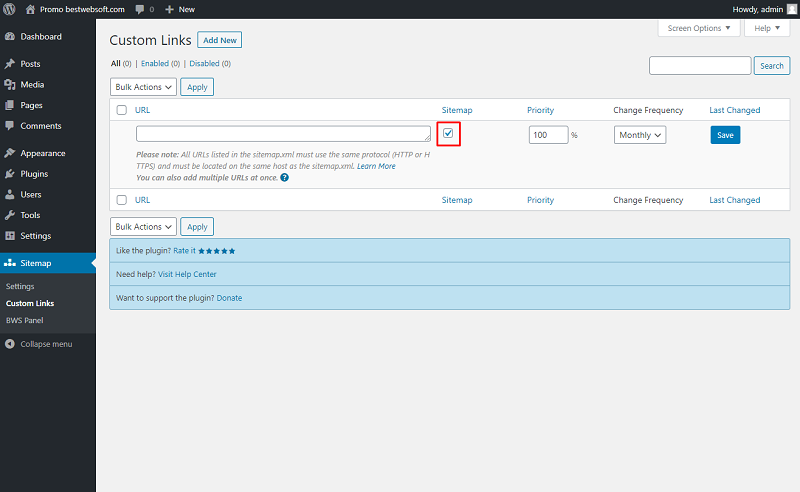
6. Custom Links
Use the “Custom links” page to add custom links to your sitemap, making them visible for search engines.
6.1. Open the “Custom Links” page.
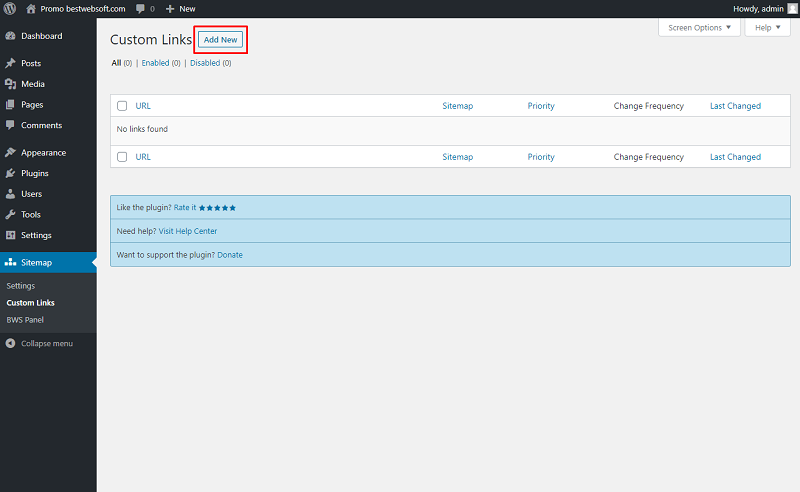
6.2. Click the “Add New” button.
6.3. Copy the necessary URL and paste it into the field.
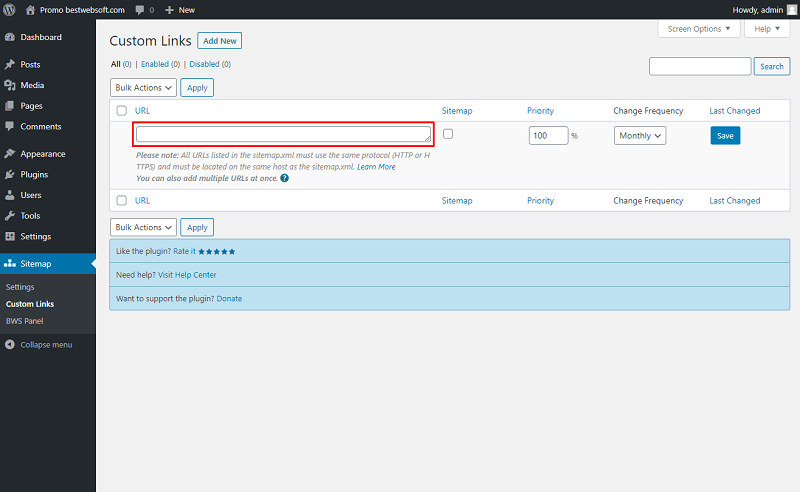
6.4. Enable the “Sitemap” option to include the custom URL into the sitemap.
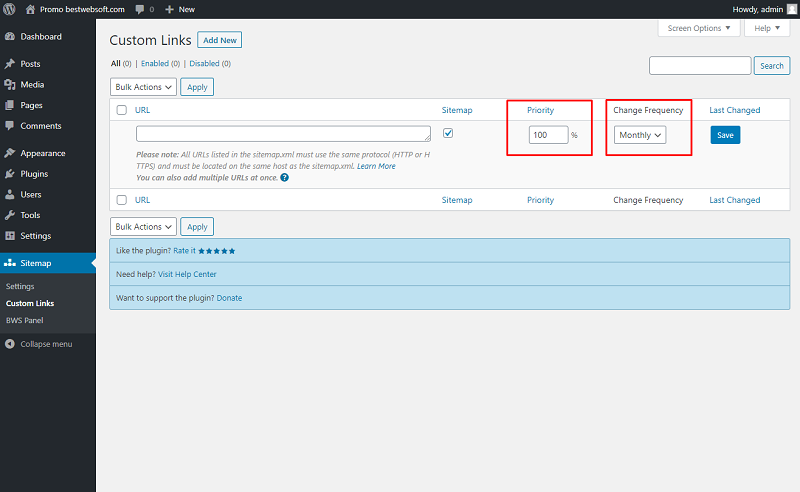
6.5. Set the priority and change the frequency of the custom URL.
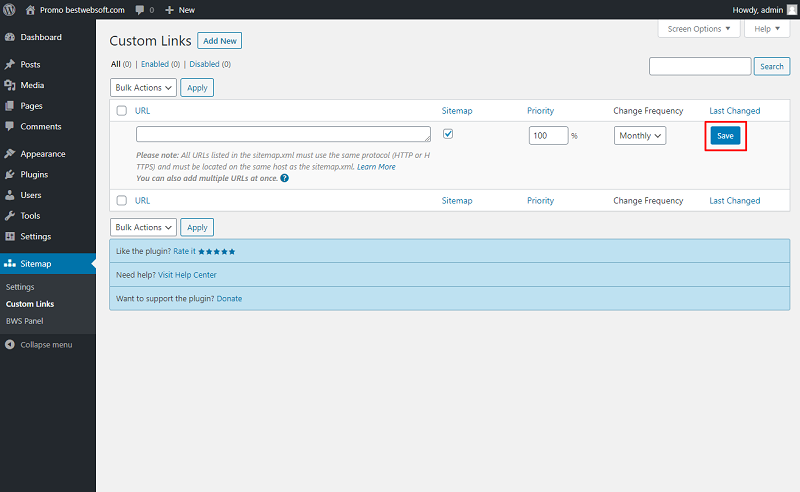
6.6. Click the “Save” button.
Help & Support
Visit our Help Center if you have any questions — https://support.bestwebsoft.com/
Services
We provide additional services such as WordPress themes & plugins development,
graphic design, custom programming.
Contact us now to get a free quote — https://bestwebsoft.com/contacts/

