

Slider
User Guide
WordPress | 5.6 * |
Slider | 1.0.6 * |
*When using other versions some differences are possible to occur
** Screenshots were taken from a PC
Table of Contents
2.3.6. Number of Visible Images
9. Slider Categories in Widgets
You can download the Slider Plugin here:
https://bestwebsoft.com/products/wordpress/plugins/slider/
1. Introduction
Note: Сlick the “Save Changes” button in order to apply any changes. |
1.1. Open your WordPress Admin Dashboard and find the menu on the left.

1.2. Open the ”Slider” > “Add New Slider” page to start working with the plugin.

2. Add New Slider
Use the “Add New Slider” page options to create new sliders.

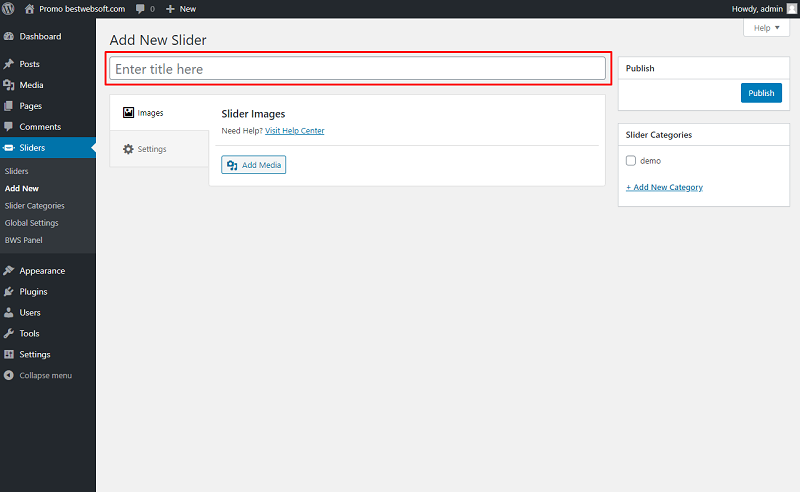
2.1. Title
Enter the title of the slider in the corresponding field.
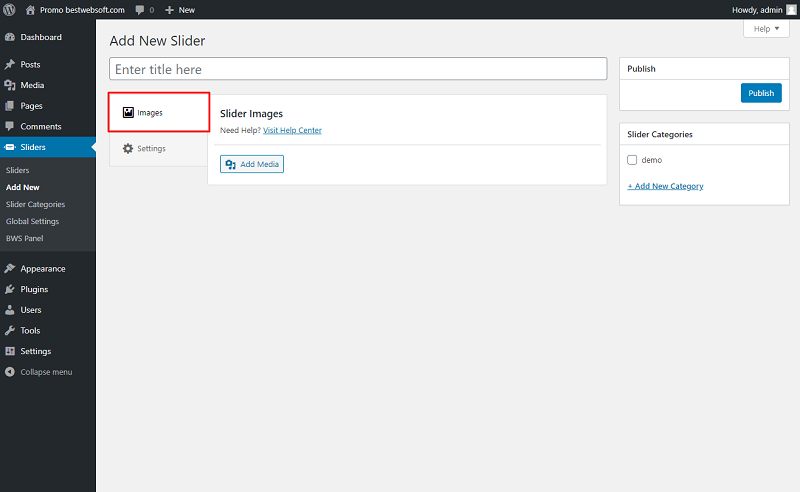
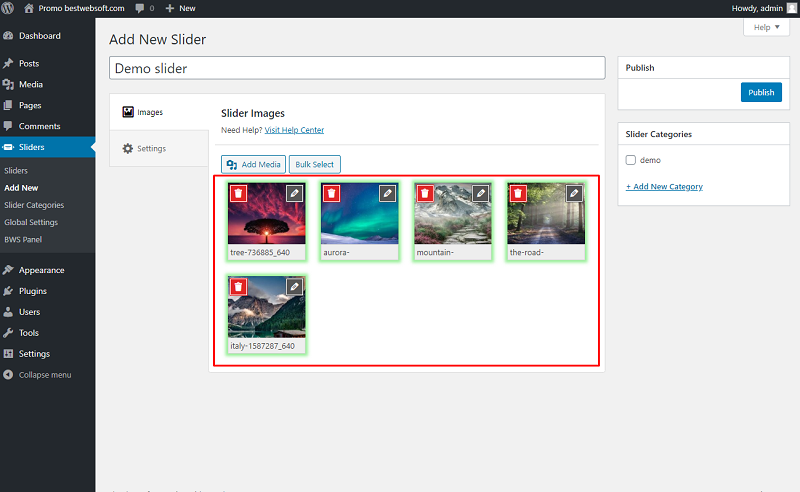
2.2. Images
Use the “Images” tab to add images and videos to the slider. Choose the necessary images or videos from the “Media Library” or upload them from a PC.
2.2.1. Click the “Add Media” button to choose the necessary images from the “Media library” or upload them from a PC.

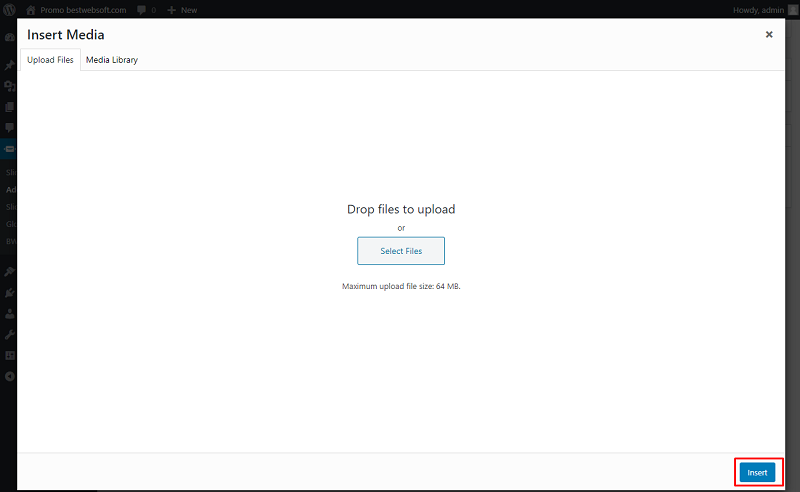
2.2.2. To upload images from the PC select the “Upload files” tab, drag and drop the necessary images into a white space or click the “Select Files” button.
Note: If the image size exceeds the maximum upload size, you will see an error and it won’t be uploaded. Change the size or select other images. |

2.2.3. After the images are uploaded click the “Insert” button.
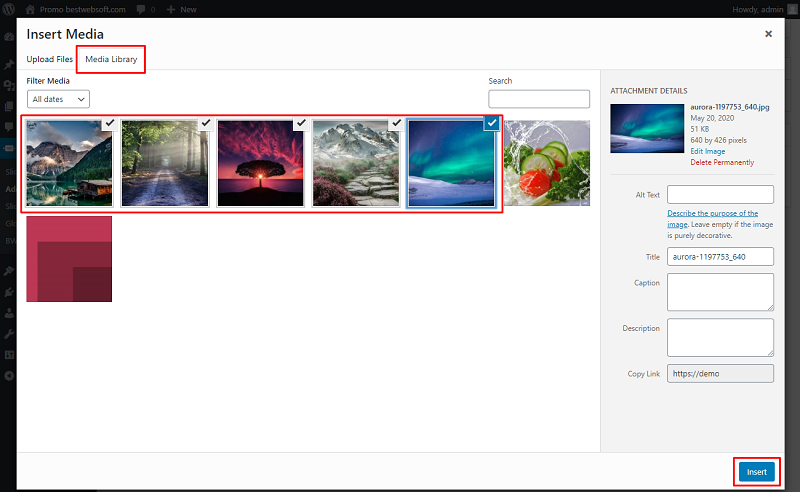
2.2.4. To select images from the “Media Library” select the appropriate tab, select the images, and click the “Insert” button. To select several images press and hold the “CTRL” button on the keyboard and click on images.
2.2.5. Selected images will be displayed in the “Images” tab.
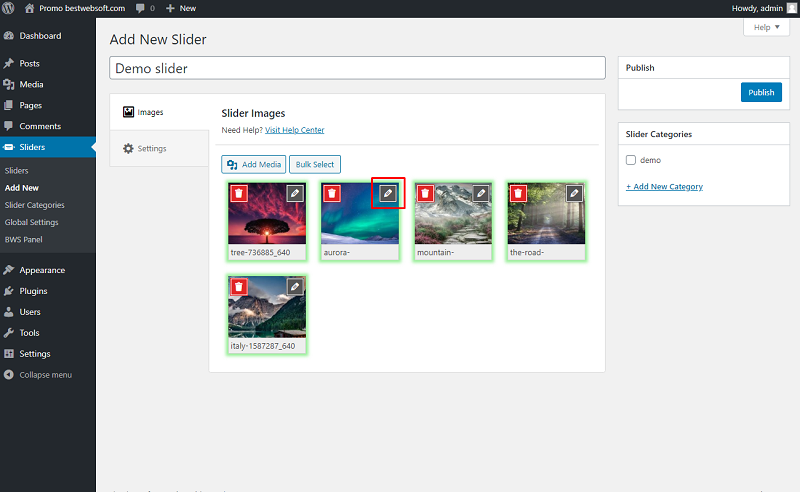
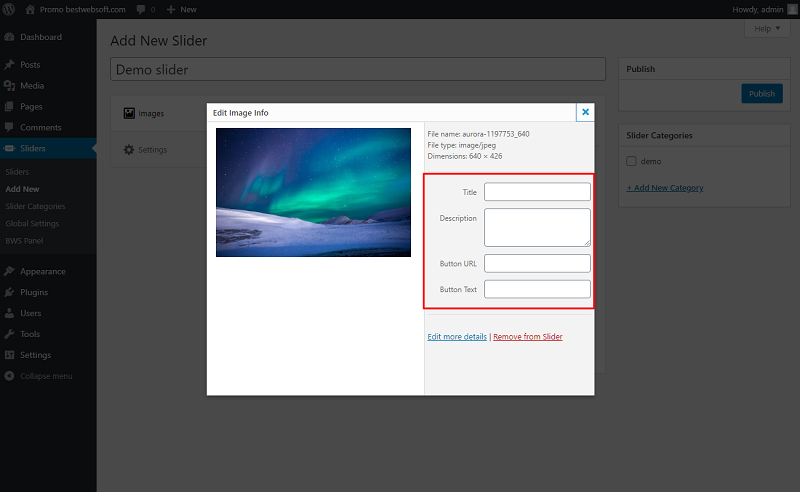
2.2.6. To edit or add additional information to the image click the “Pencil” button in the upper right corner of the image.
2.2.7. Enter the information in the appropriate fields.
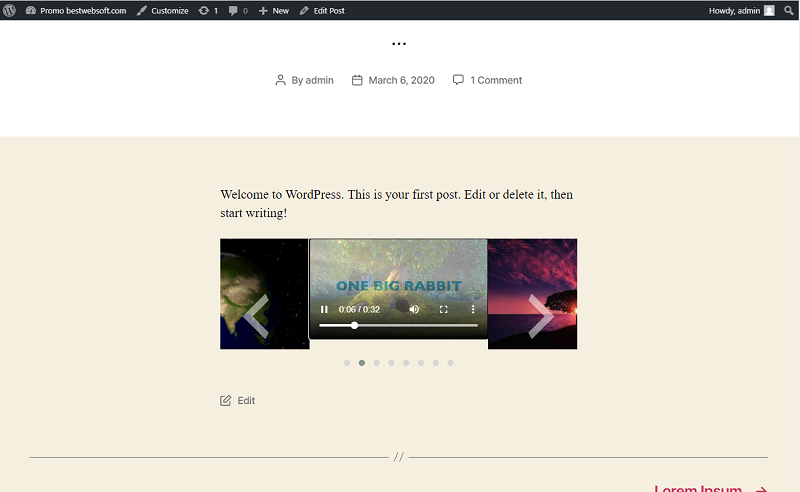
2.2.8. To add a video to the slider click the “Add Media” button and upload a video or select it from the “Media Library” and click the “Insert” button.
Note: Slider plugin supports only the following formats for video uploading: WebM, MP4, Ogg. |

2.2.9. The result of adding video to the slider may look on a page as follows.
2.3. Settings
Use the options of the “Settings” tab to configure the added slider.
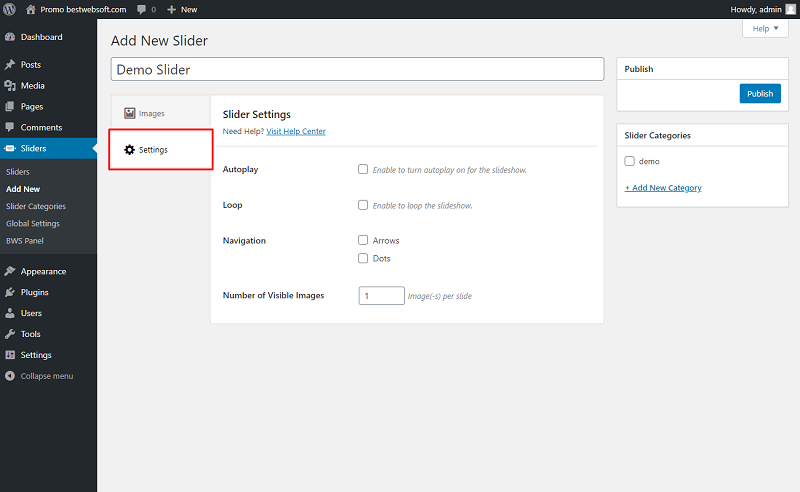
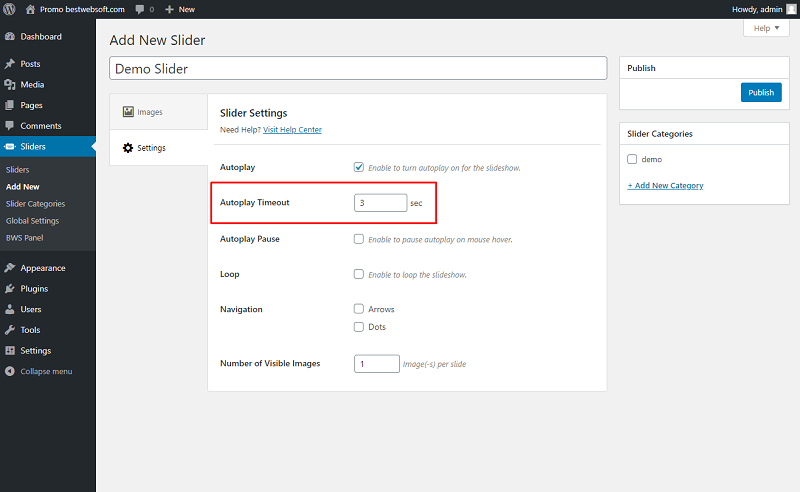
2.3.1. Autoplay
Use the “Autoplay” option to enable to turn autoplay for the slideshow.

2.3.2. Autoplay Timeout
Use the “Autoplay Timeout” option to set the timeout in seconds.
Note: Value must be less or equal to 1000. |
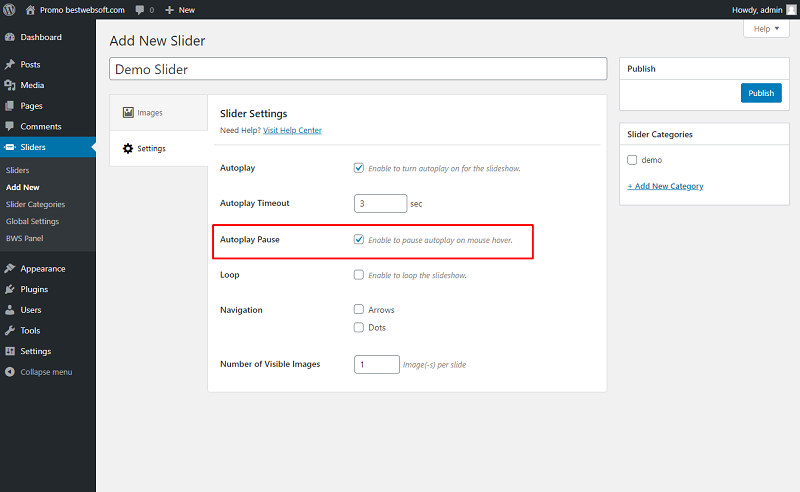
2.3.3. Autoplay Pause
Enable the “Autoplay Pause” option to pause autoplay on mouse hover.
2.3.4. Loop
Enable the “Loop” option to repeat the slideshow after the last slide.

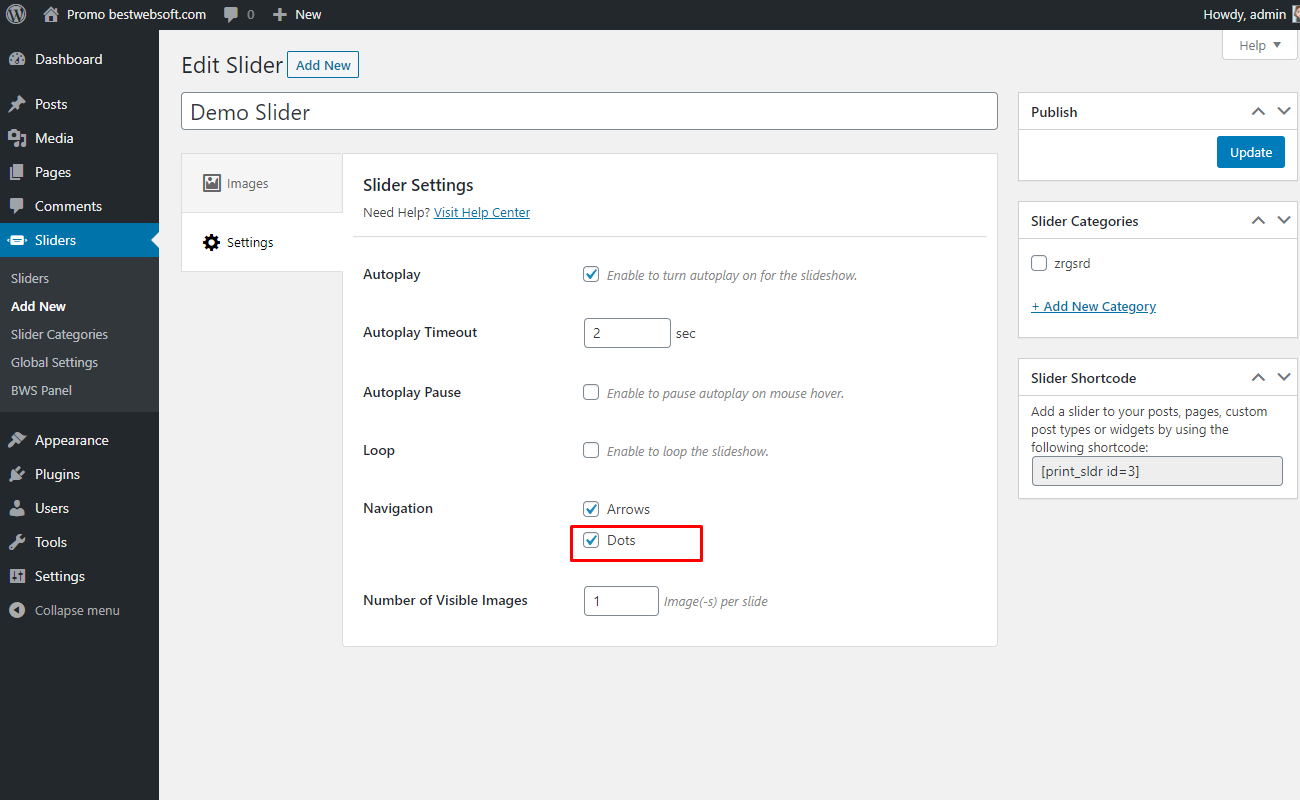
2.3.5. Navigation
Use the “Navigation” option to set navigation elements for the slider.
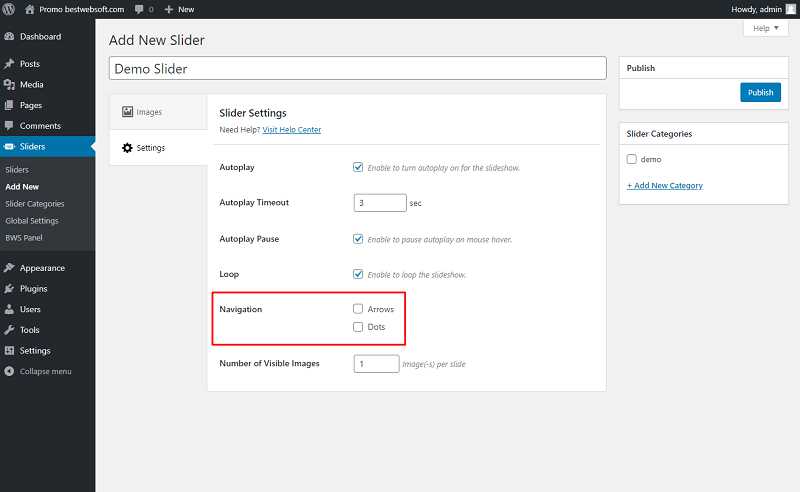
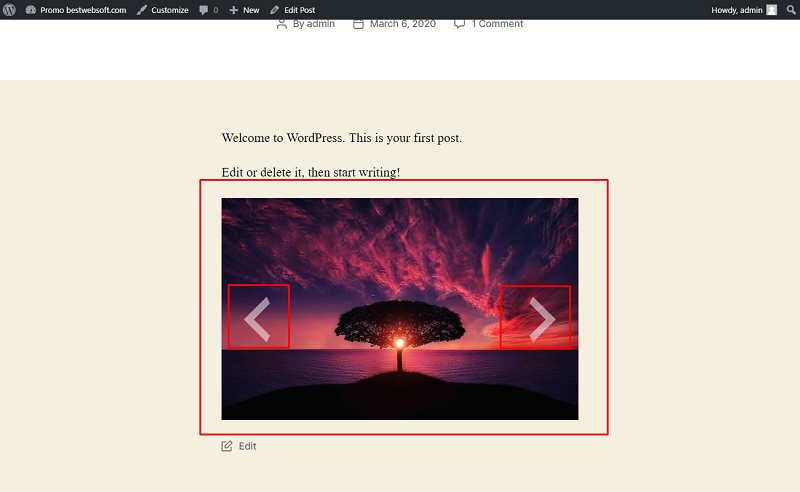
2.3.5.1. Enable “Arrows” to set the arrows-styled navigation elements.

2.3.5.2. Slider with the “Arrows” navigation element may look on a page as follows.
2.3.5.3. Enable “Dots” to set the dots-styled navigation elements.
2.3.5.4. Slider with the “Dots” navigation element may look on a page as follows.

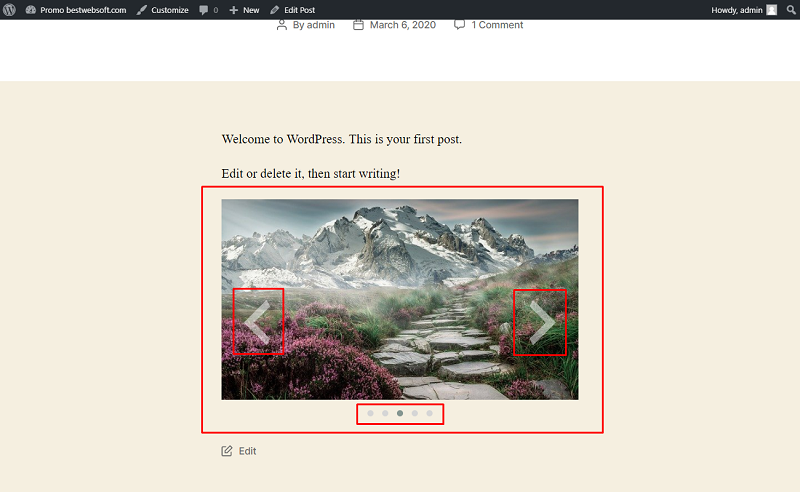
2.3.5.5. Slider with both “Arrows” and “Dots” navigation elements may look on a page as follows.
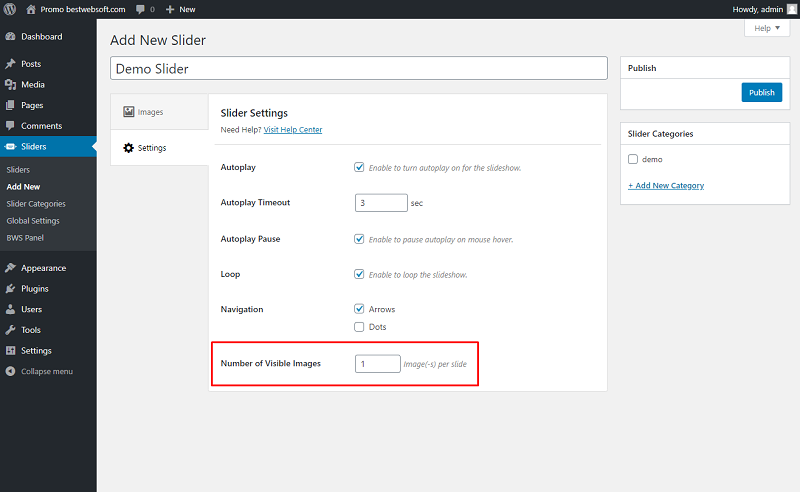
2.3.6. Number of Visible Images
Use the “Number of Visible Images” option to set the number of images that will be displayed on a single slide.
2.3.6.1. The result of displaying several images at the same time may look on a page as follows.
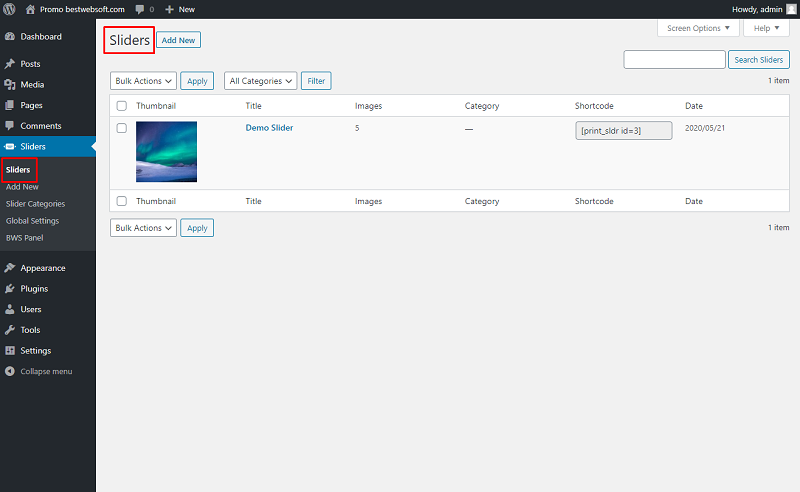
3. Sliders
Use the “Sliders” page to edit, delete and manage all the previously added sliders.
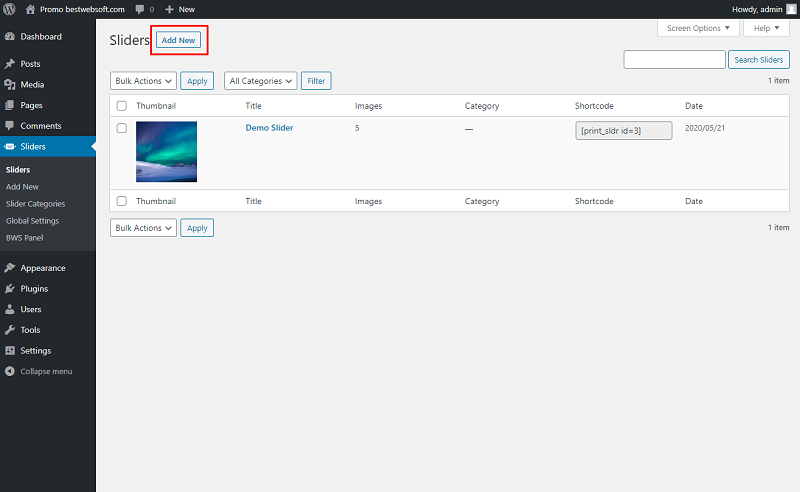
3.1. Click the “Add New” button to create a new slider.
3.2. Use the “Screen Options” tab to set the number of sliders per page. Enter the necessary number and click the “Apply” button.

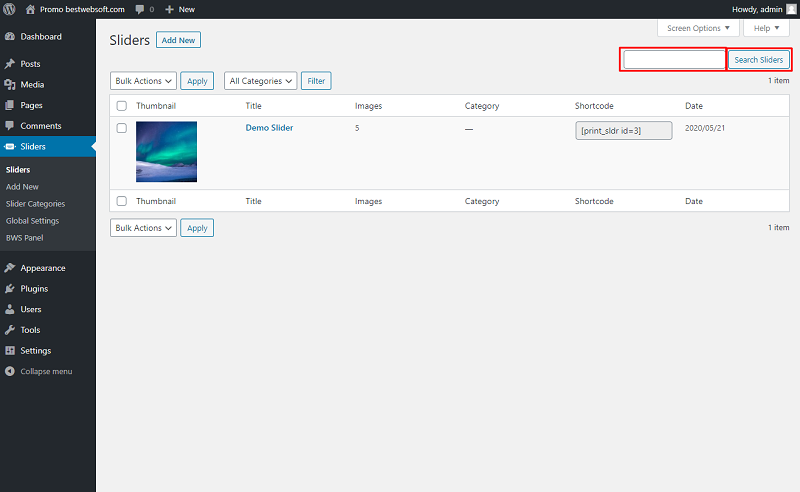
3.3. Use the search field to find the necessary sliders by title. Enter the necessary value and click the “Search Sliders” button.
3.4. To show sliders from a particular category select the necessary category and click the “Filter” button.

3.5. To edit the slider click on its title or hover the cursor on it and click the “Edit” button.
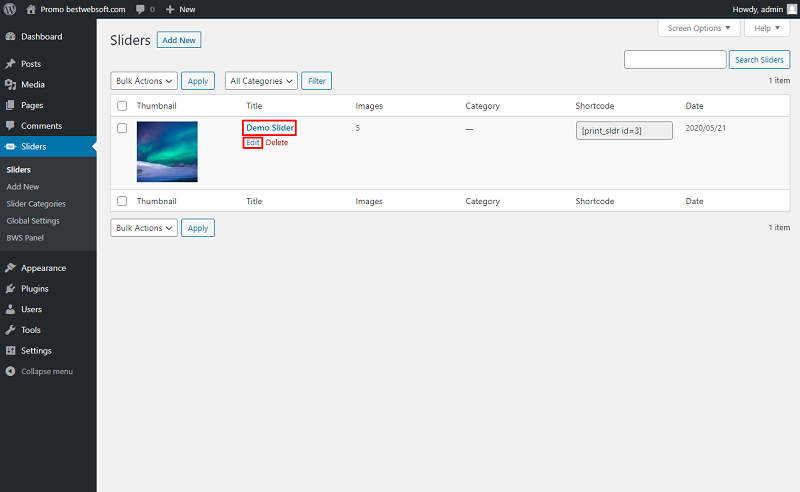
3.6. To delete the slider hover the cursor on it and click the “Delete” button. To delete several sliders at the same time select the necessary sliders, select “Delete” bulk action and click the “Apply” button

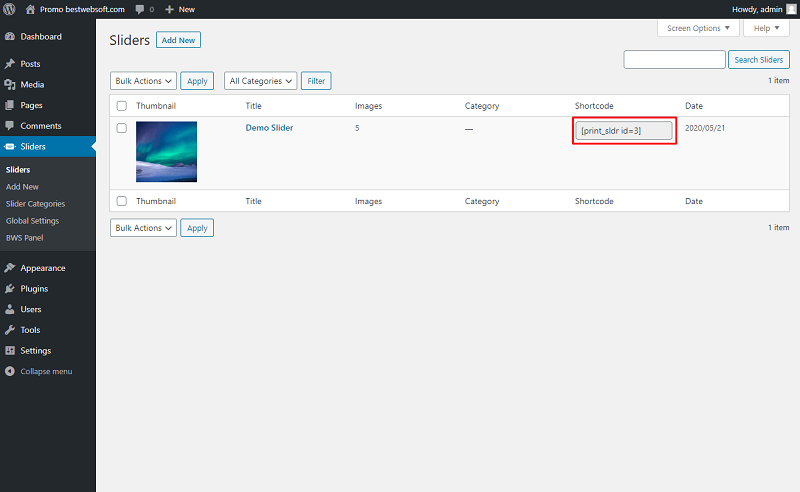
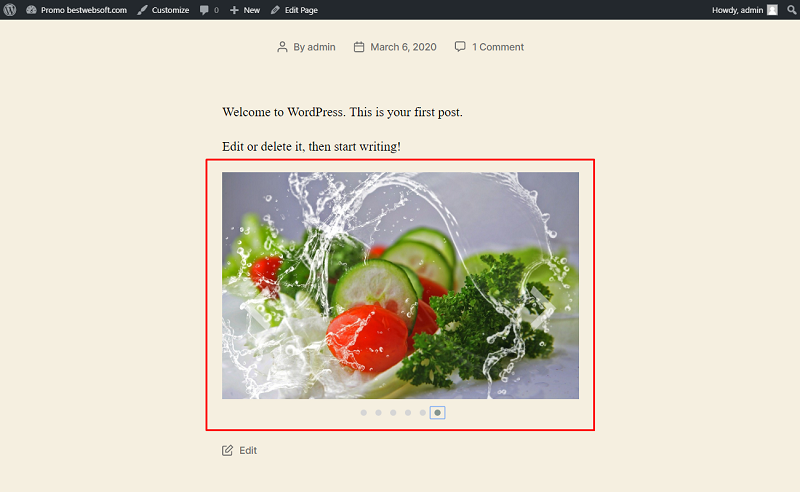
3.7. To insert the created slider copy its shortcode and insert it to the necessary place of page or post.
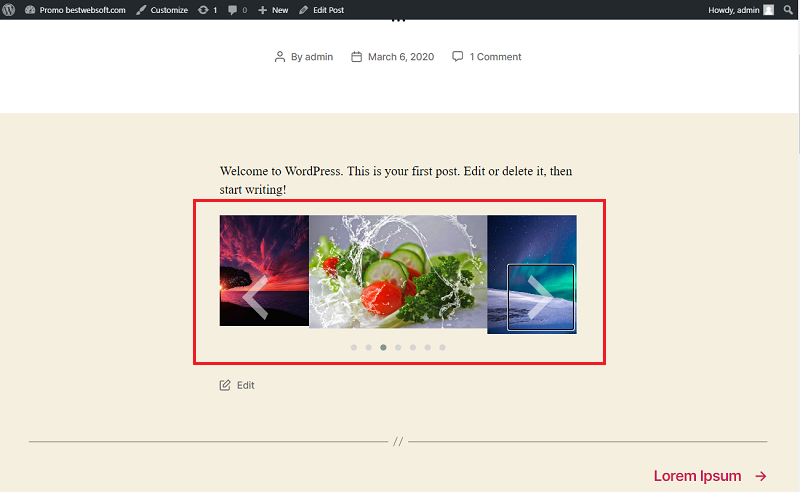
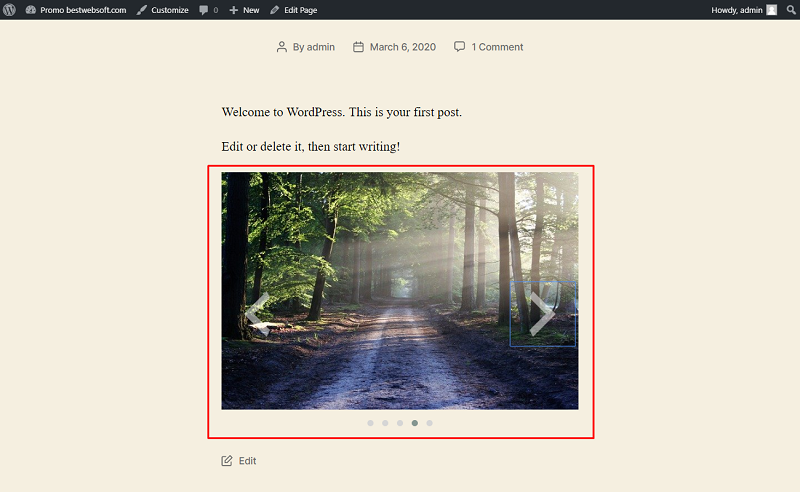
3.8. The slider on a page will look as follows.
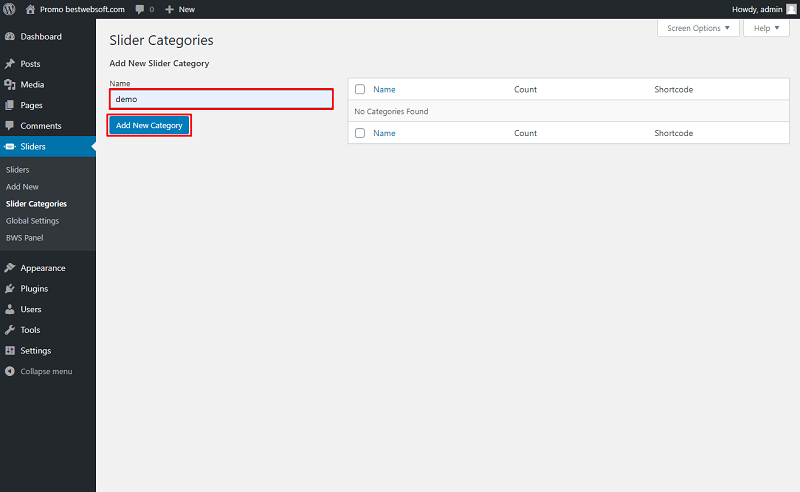
4. Slider Categories
Use the “Slider Categories” page to create and manage categories for the sliders.
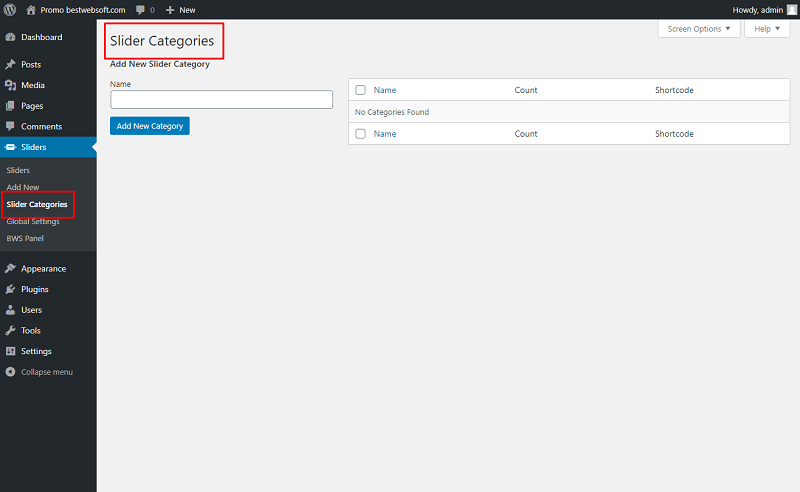
4.1. To add a new category enter a name in the field and click the “Add New Category” button.
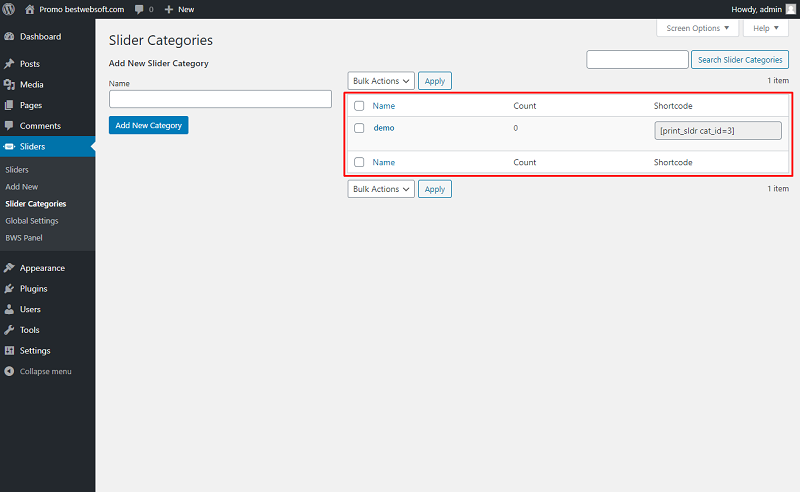
4.2. The created categories will be displayed at the table on the right side of the page.
4.3. Use the “Screen Options” tab to set the number of categories per page. Enter the necessary number and click the “Apply” button.

4.4. Use the search field to find the necessary categories by title. Enter the request and click the “Search Slider Categories” button.

4.5. To edit the name of the category click on its title or hover the cursor on it and click the “Edit” button.
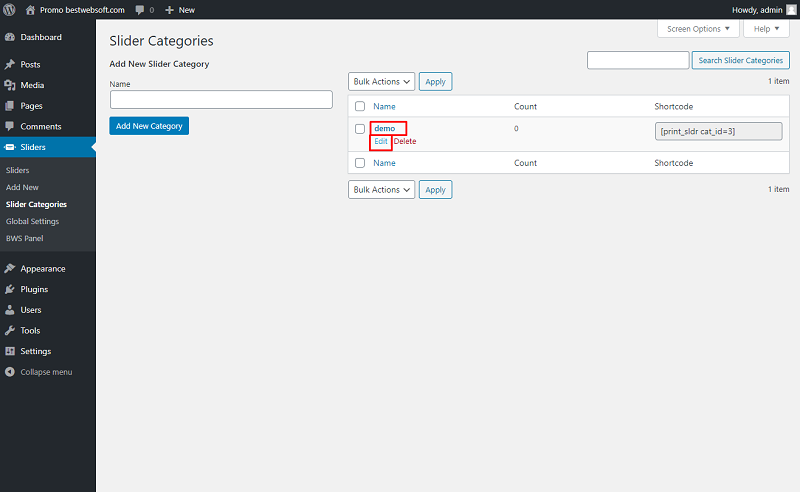
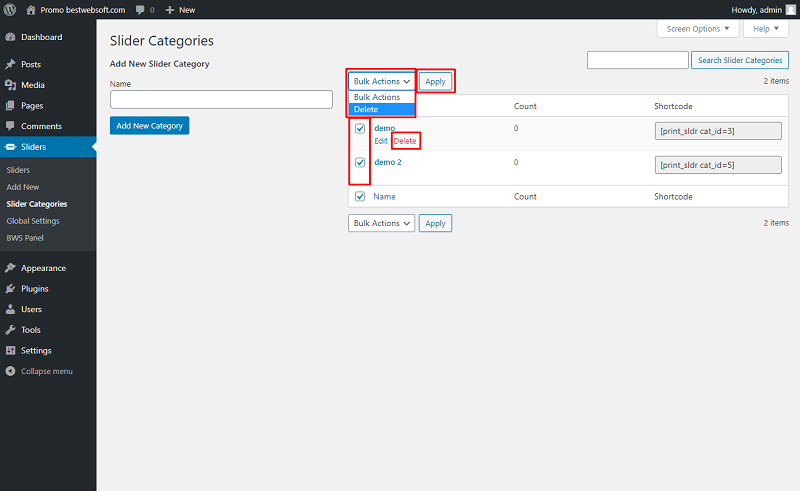
4.6. To delete the category hover the cursor on it and click the “Delete” button. To delete several categories at the same time select the necessary categories, select “Delete” bulk action and click the “Apply” button.
4.7. To add sliders to the categories open the slider in the “Edit” mode, find the “Slider Categories” section, and enable the appropriate slider categories. Then click the “Publish”/“Update” button.
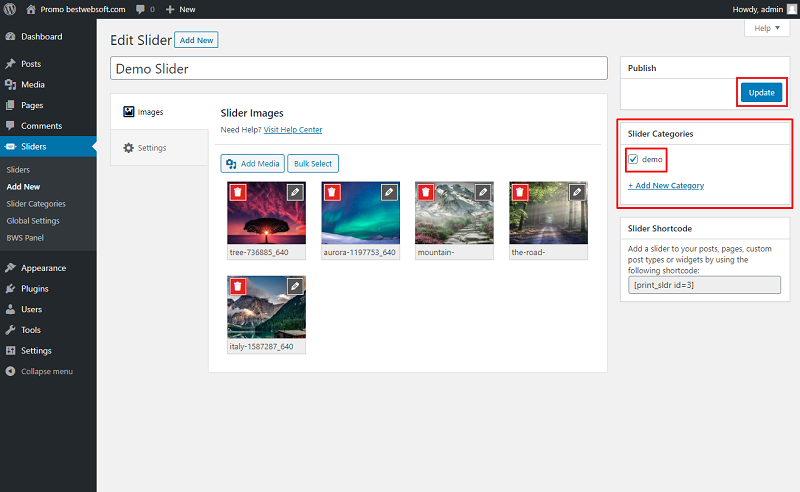
4.8. To display the “Slider Category” copy its shortcode and insert it to the necessary place of page or post. The inserted category will contain all the added sliders.

4.9. The “Slider Category” may look on a page as follows.
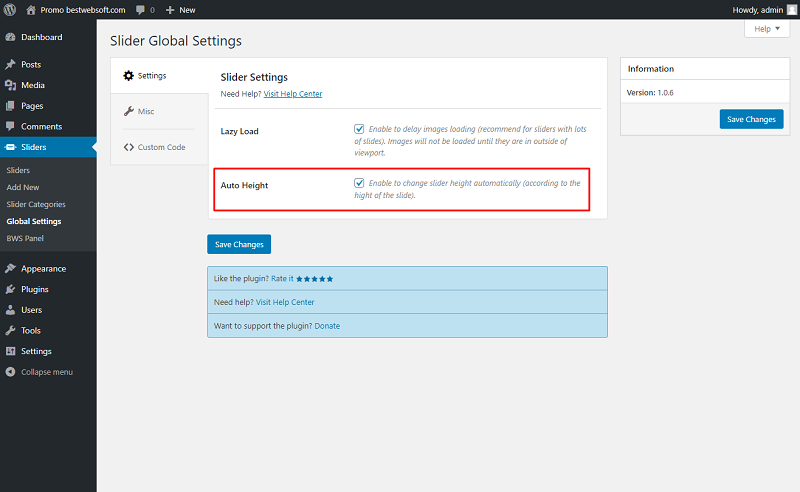
5. Slider Global Settings
Use the “Slider Global Settings” page to make the global settings for the plugin.
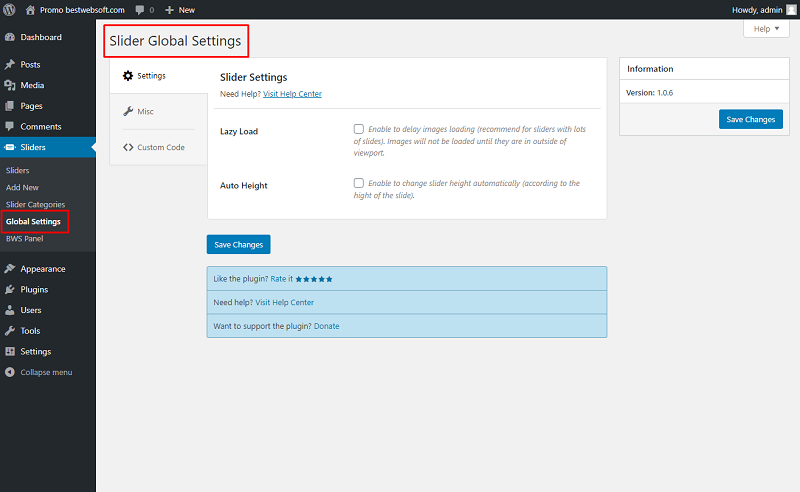
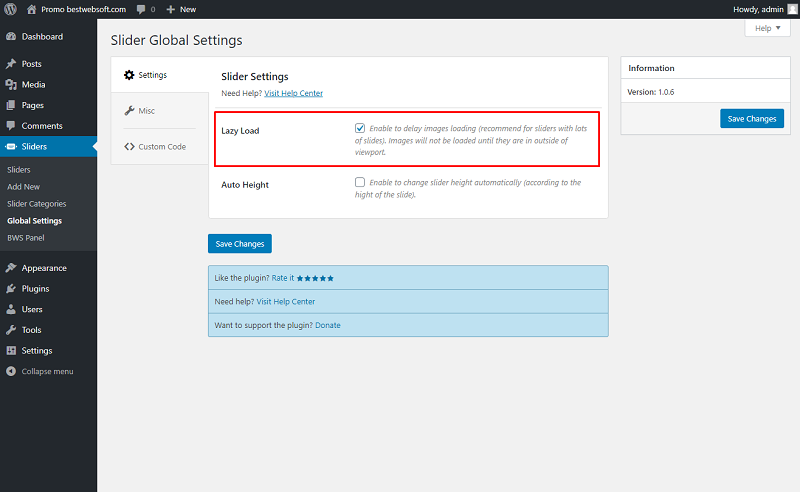
5.1. Lazy Load
Enable the “Lazy Load” option to delay images loading (recommended for sliders with lots of slides). Images will not be loaded until they are outside of the viewport.
5.2. Auto Height
Enable the “Auto Height” option to change slider height automatically (according to the height of the slide). If this option is disabled the height of the slider will be determined by the highest image.
6. Miscellaneous Settings
Use the options of the “Miscellaneous Settings” tab to make the settings regarding the track usage and default settings.
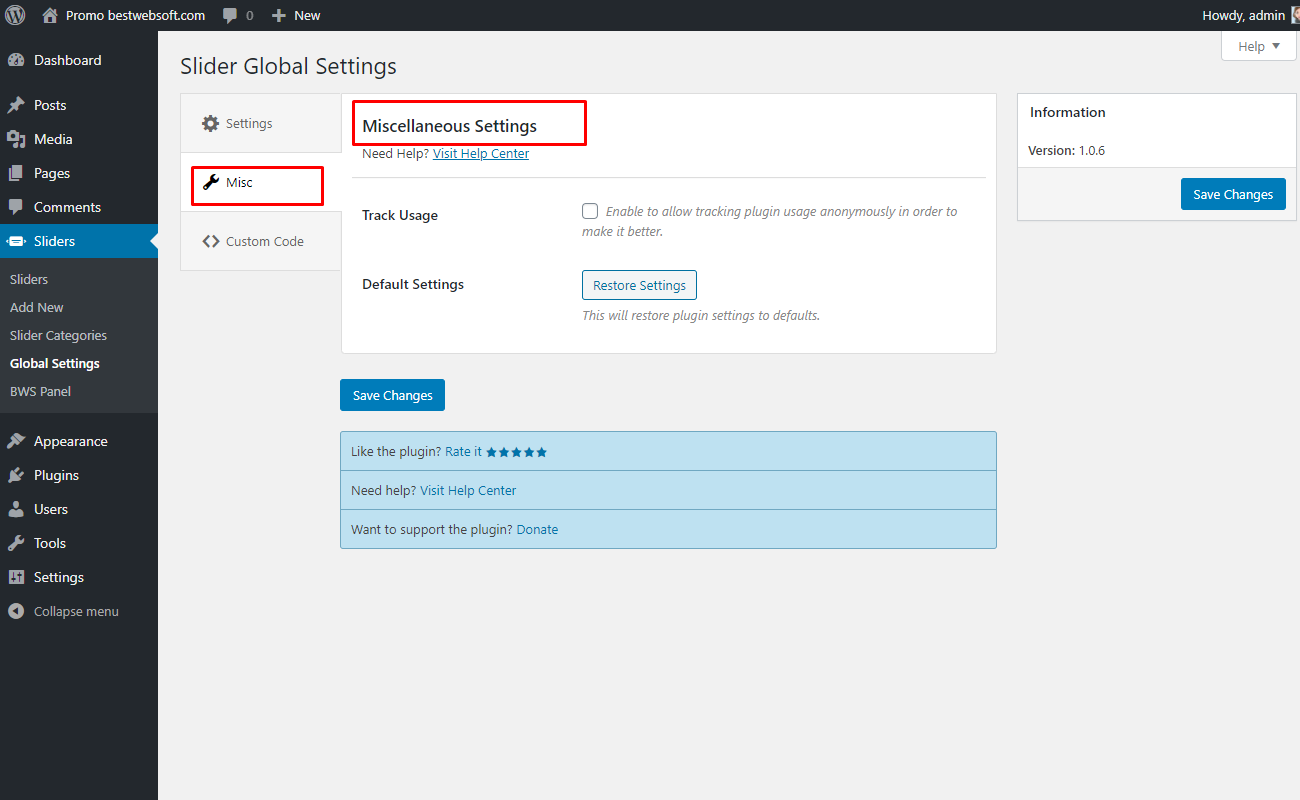
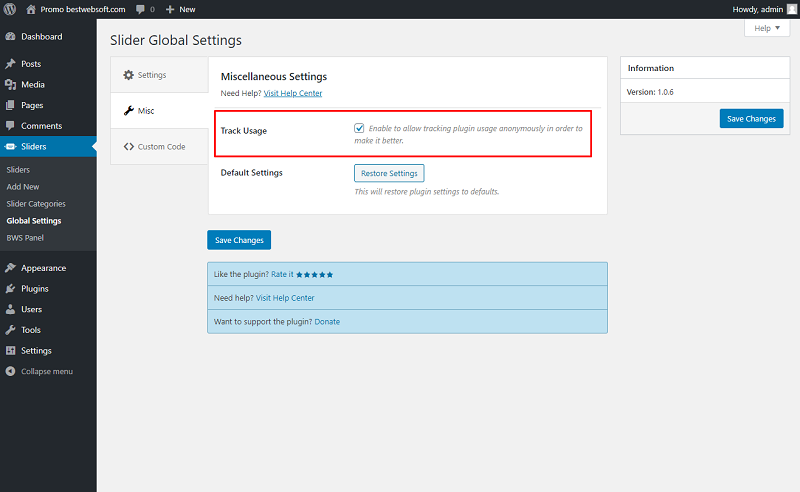
6.1. Track Usage
Enable the “Track Usage” option to allow tracking plugin usage anonymously.
6.2. Default Settings
Click the “Restore Settings” button to reset all the settings made previously and revert them to the default ones.

6.2.1. Click “Yes, restore all settings” button to confirm the procedure.

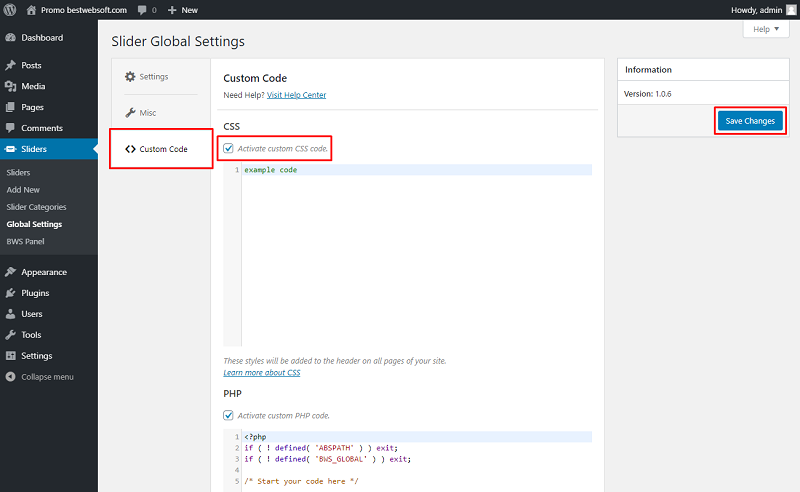
7. Custom Code
Use the “Custom Code” tab to insert a CSS, PHP or JavaScript code. To activate the inserted code, enable the “Activate custom … code” option and save changes.
8. Slider in Widgets
Add the slider and slider categories to widgets.
8.1. Sider in Widgets
To add the slider to the widget area open the “Sliders” page and copy a shortcode of the desired slider.

8.1.1. Open the “Appearance” > “Widgets” page.
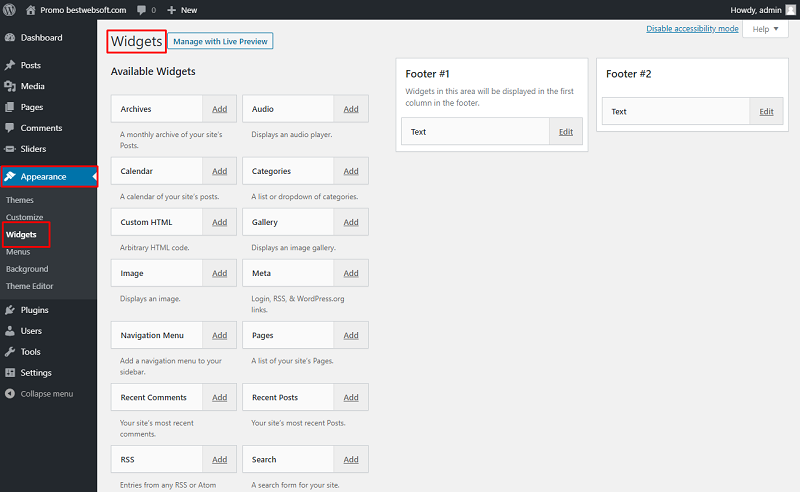
8.1.2. Add a new “Text” widget or edit the previously added “Text” widget.

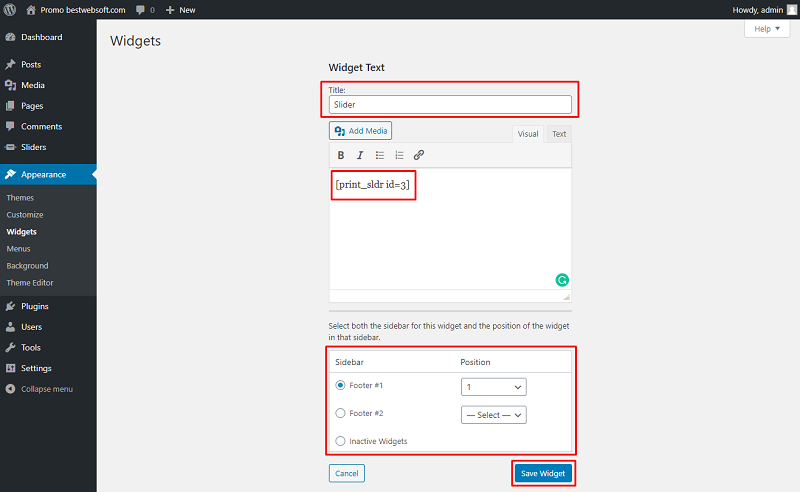
8.1.3. Enter the title, insert the slider shortcode, choose the sidebar and position of the widget, and click the “Save Widget” button.
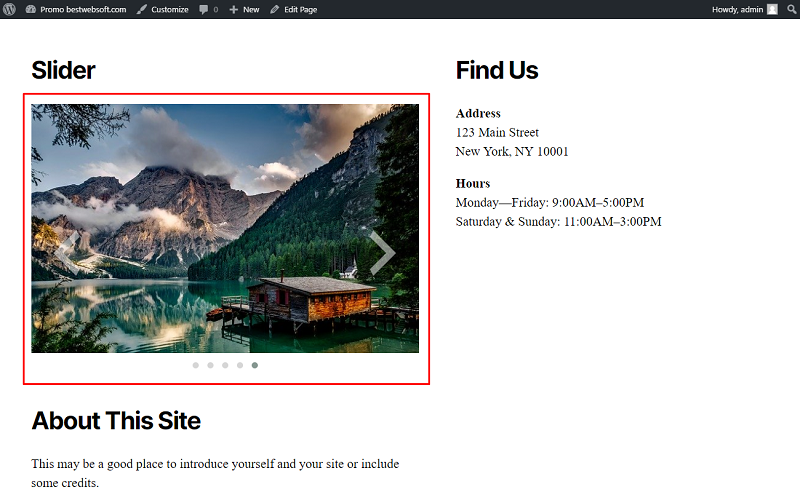
8.1.4. The “Slider” in a widget may look as follows.
8.2 Slider Categories in Widgets
To add the slider category to the widget area open the “Slider Categories” page and copy a shortcode of the desired category

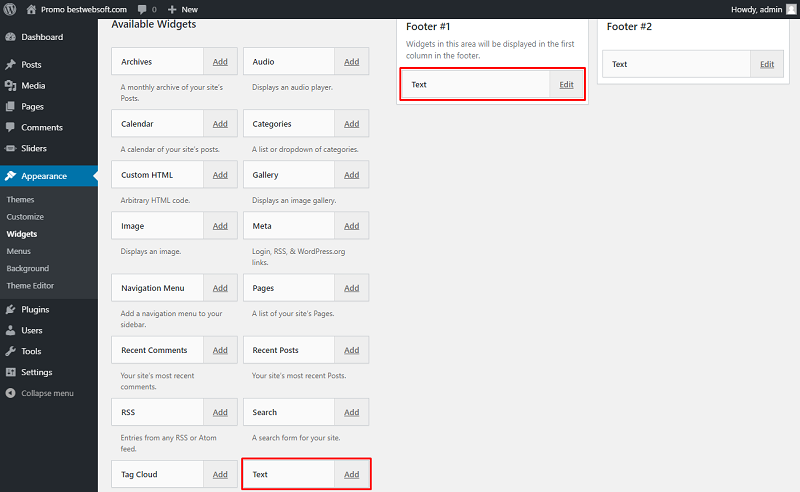
8.2.1. Open the “Appearance” > “Widgets” page.

8.2.1. Add a new “Text” widget or edit the previously added “Text” widget.
8.2.2. Enter the title, insert the slider category shortcode, choose the sidebar and position of the widget and click the “Save Widget” button.

8.2.3. The slider category in a widget may look as follows.

Thank you!
Help & Support
Visit our Help Center if you have any questions — https://support.bestwebsoft.com/
Services
We provide additional services such as WordPress themes & plugins development,
graphic design, custom programming.
Contact us now to get a free quote — https://bestwebsoft.com/contacts/

