

Portfolio
User Guide
WordPress | 6.2 * |
Portfolio | 2.54 * |
Custom Search Sender | 1.48 * 1.3.5 * |
*When using other versions some differences are possible to occur;
** Screenshots were taken from a PC
Table of Contents
3.13 Automatic Mailout When Publishing
5.2. Search Portfolio Projects
10.2. Edit the Technologies list
You can download Portfolio plugin here:
https://bestwebsoft.com/products/wordpress/plugins/portfolio/
1. Introduction
Note: Click the “Save Changes” button in order to apply any changes. |
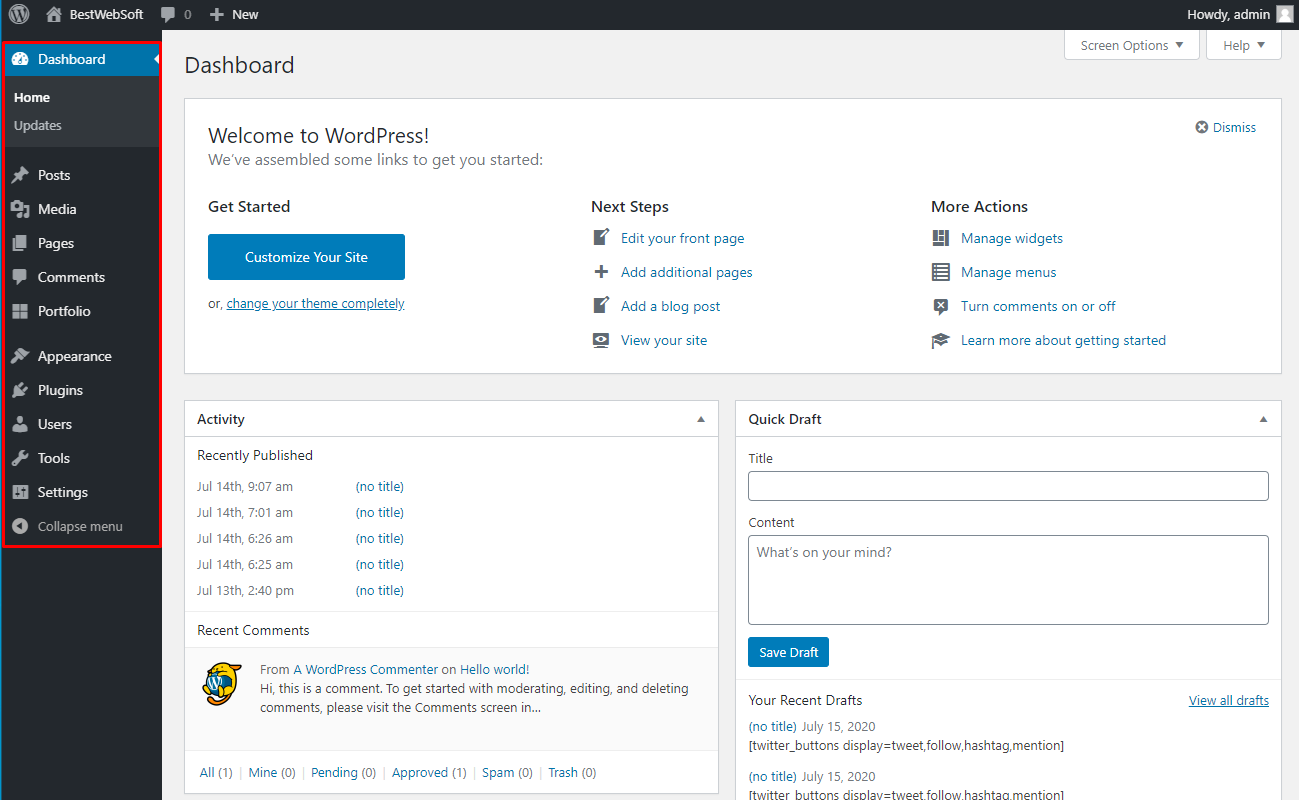
1.1. Open your WordPress Admin Dashboard and find the menu on the left.
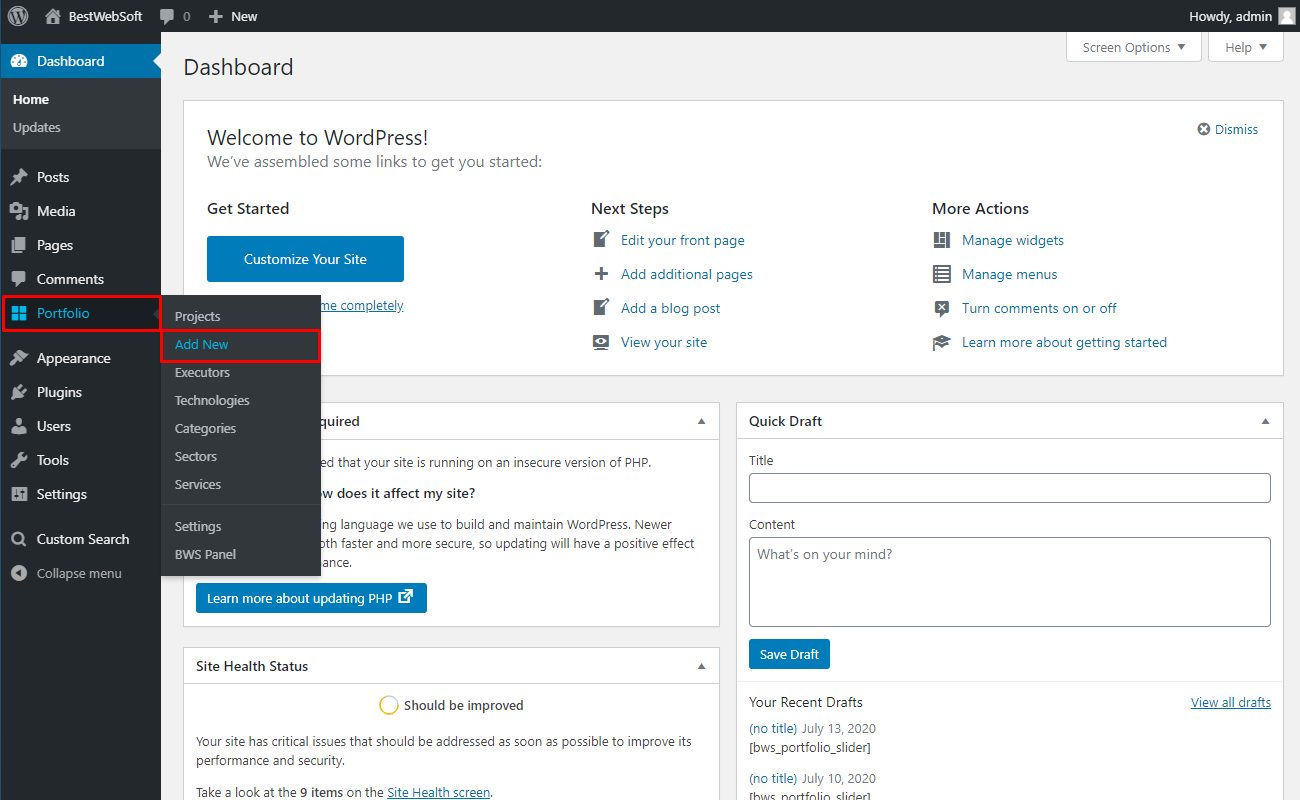
1.2. Open the ”Portfolio” > “Add new” page.
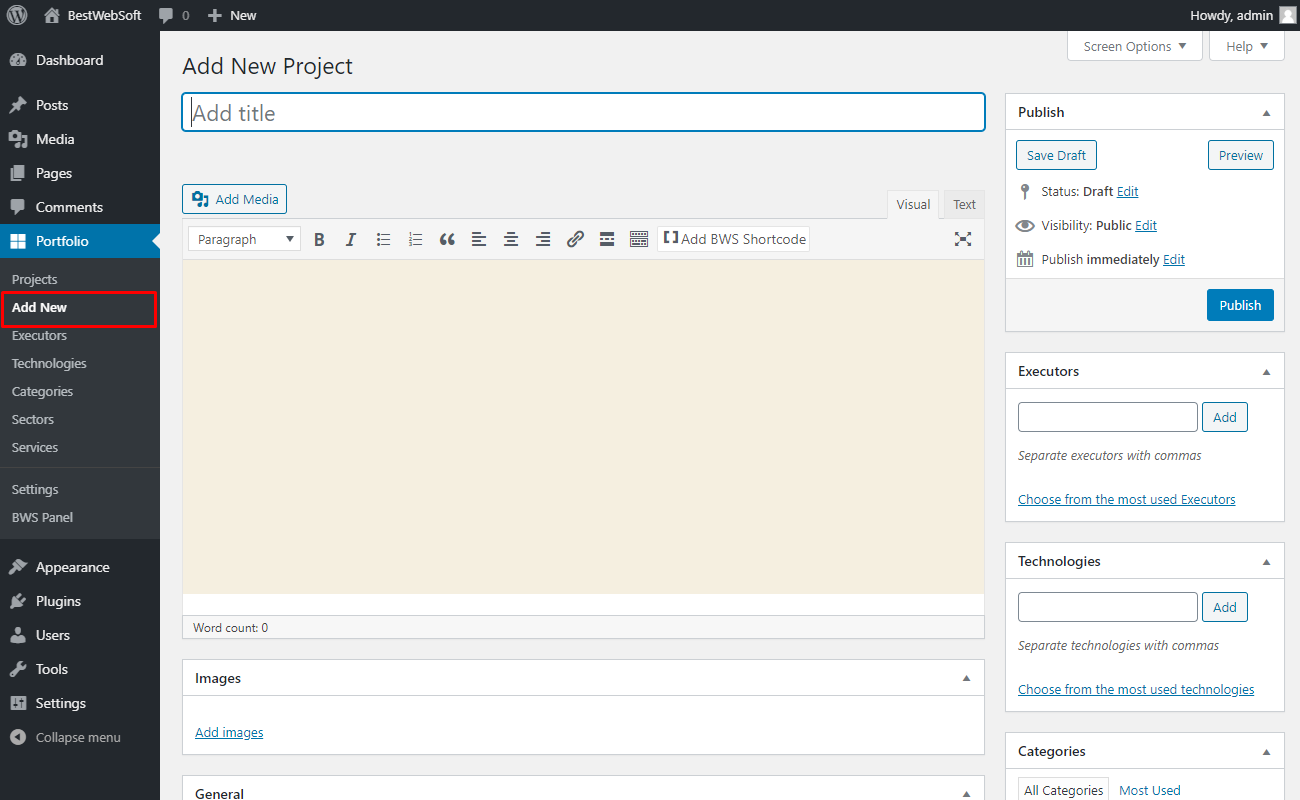
1.3. The “Portfolio Add New” page will appear.
2. Add new
Open the “Add new” page to create a new portfolio.
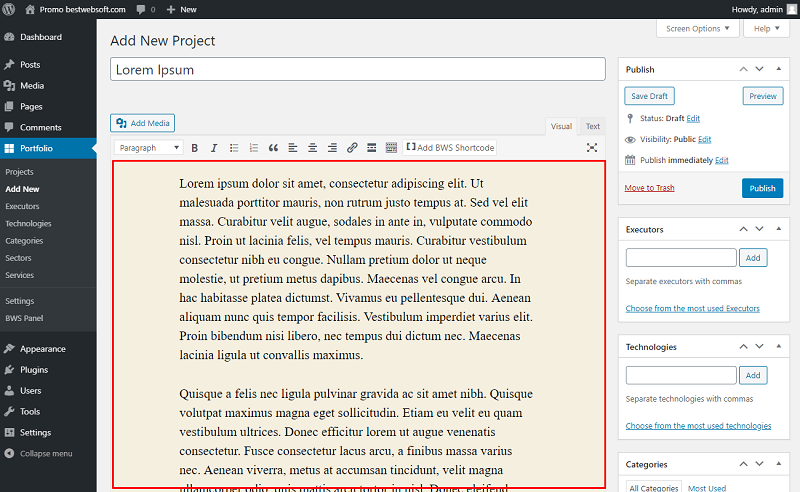
2.1. Add Title
Use the “Add Title” field to enter the title of the project.

2.2. Add text
Use the “Add text” section to enter the text that will be displayed.
2.3. Images
Use the “Images” section to add media to your project.

2.3.1. Click add images and choose them from the existing media.
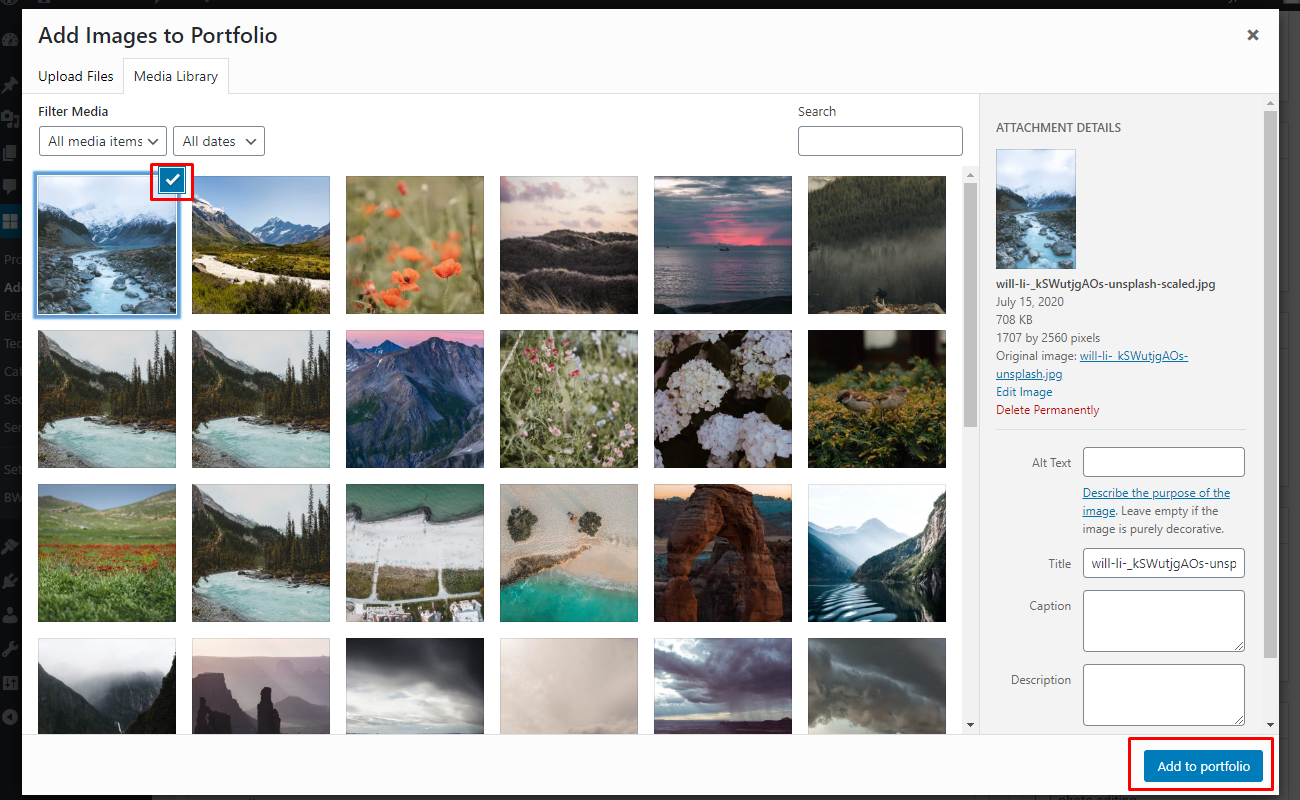
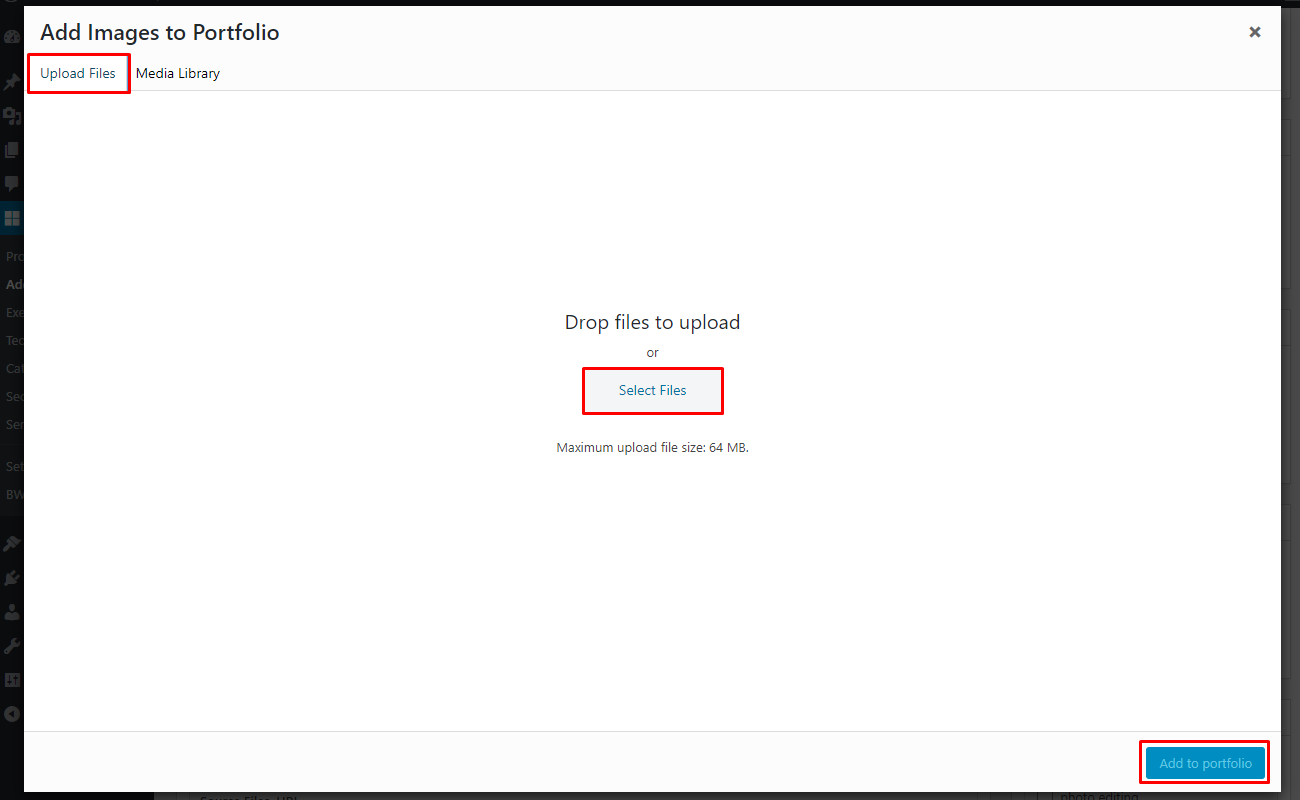
2.3.2. To upload an image click “Upload Files” and then “Select Files” button choose media and click “Add to post”.
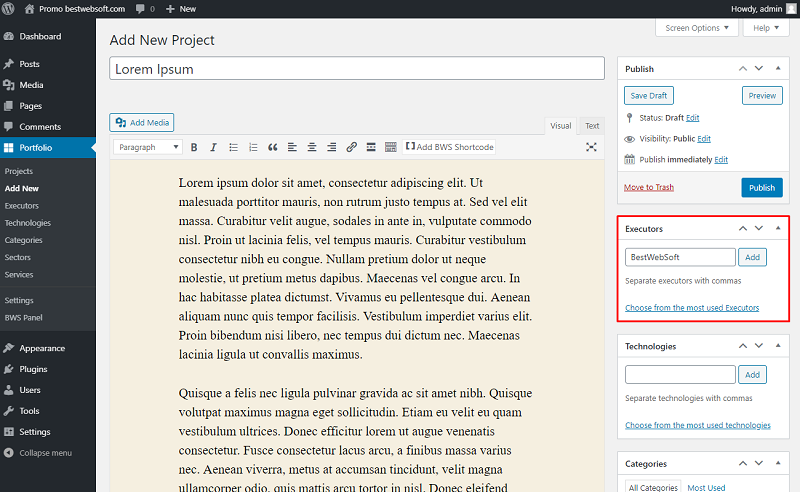
2.4. Executor
Use the “Executor” section to acknowledge who provided the content.
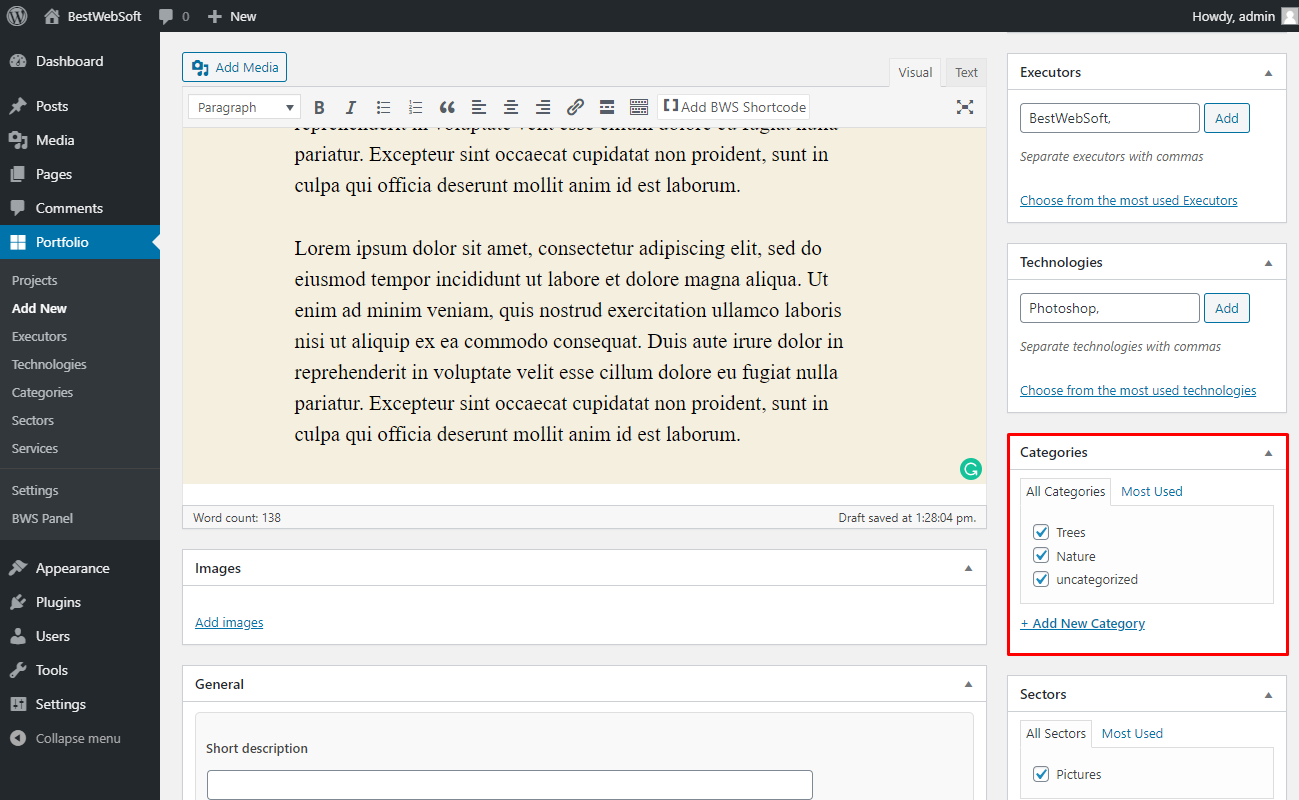
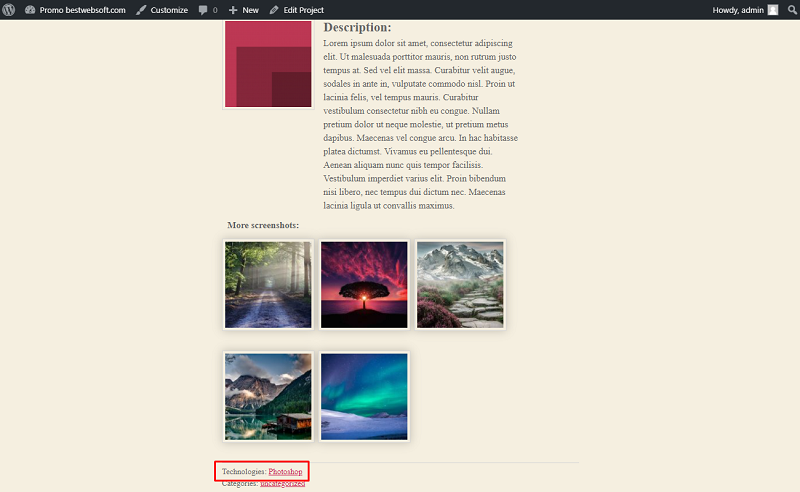
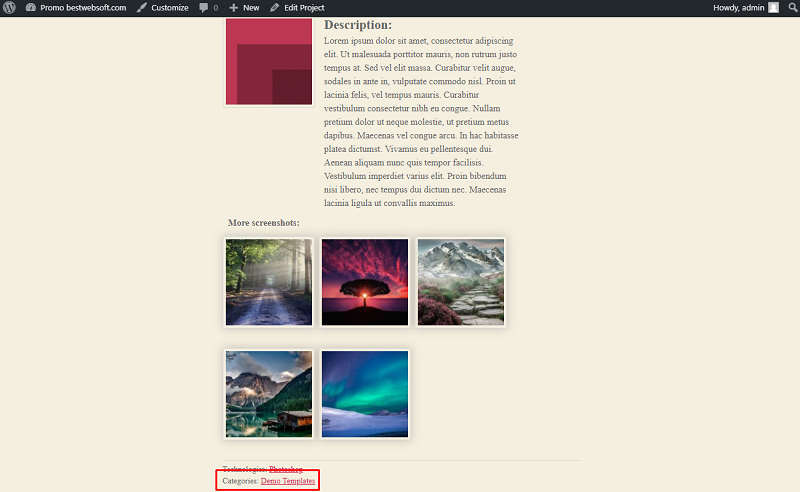
2.5. Categories
Use the “Categories” section to select the category of the project. To be able to identify it later.
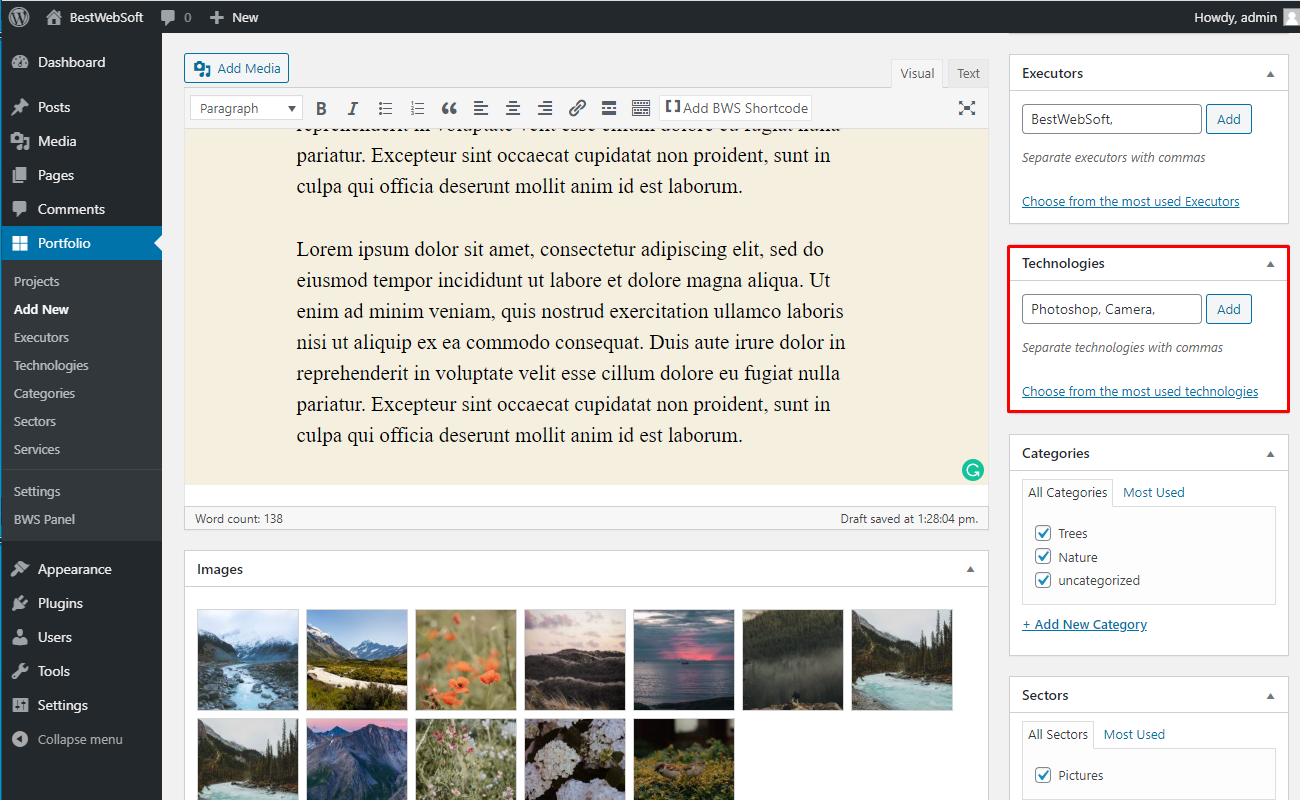
2.6. Technologies
Use the “Technologies” section to add tools that were used for creating the content.
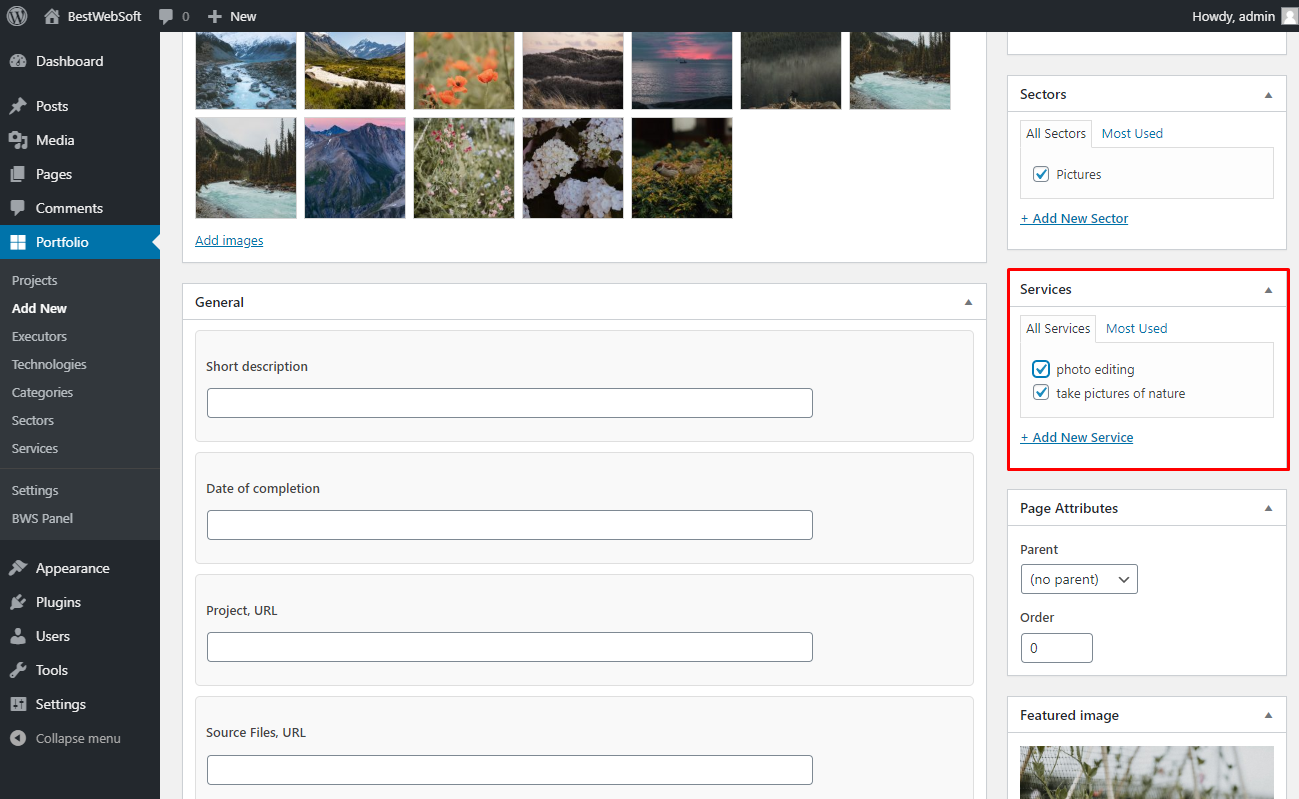
2.7. Services
Use the “Services” section to display services that were provided.
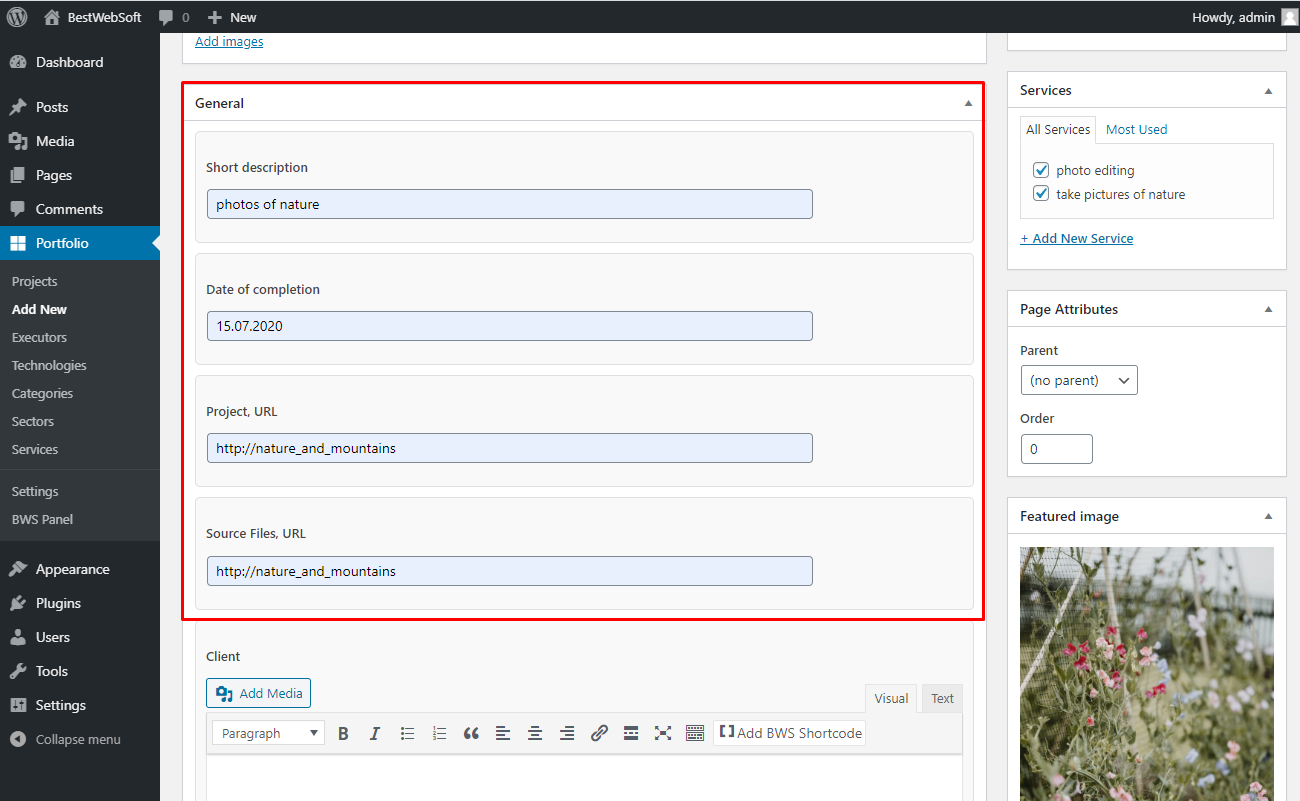
2.8. General
Use the “General” section to write details about the project. Things like Short Description, Date of completion, URL of a project, URL of source Files can be written.
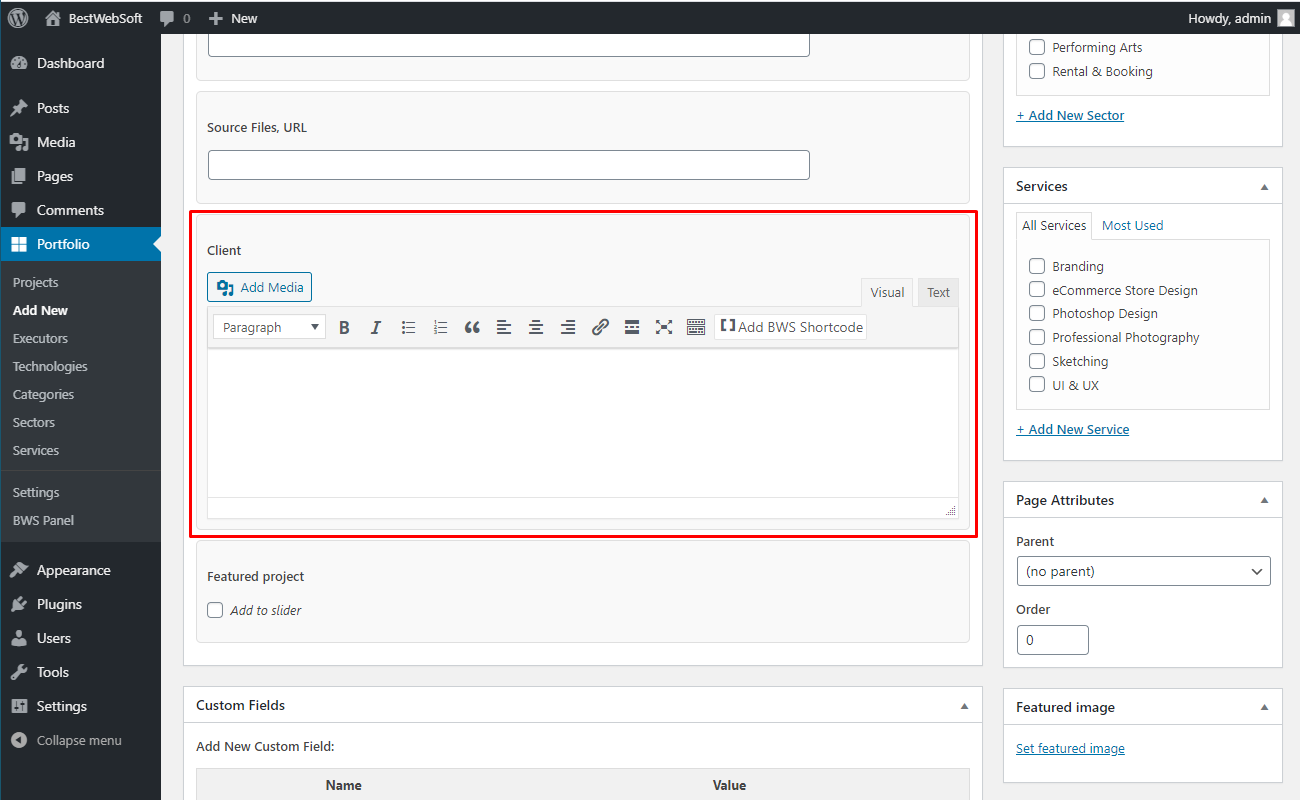
2.9. Client
Use the “Client” section to add information in terms of text and media about the customer.
2.10. Page attributes
Use the “Page attributes” section to add a parent project if needed and select the order in which the current project will be shown.

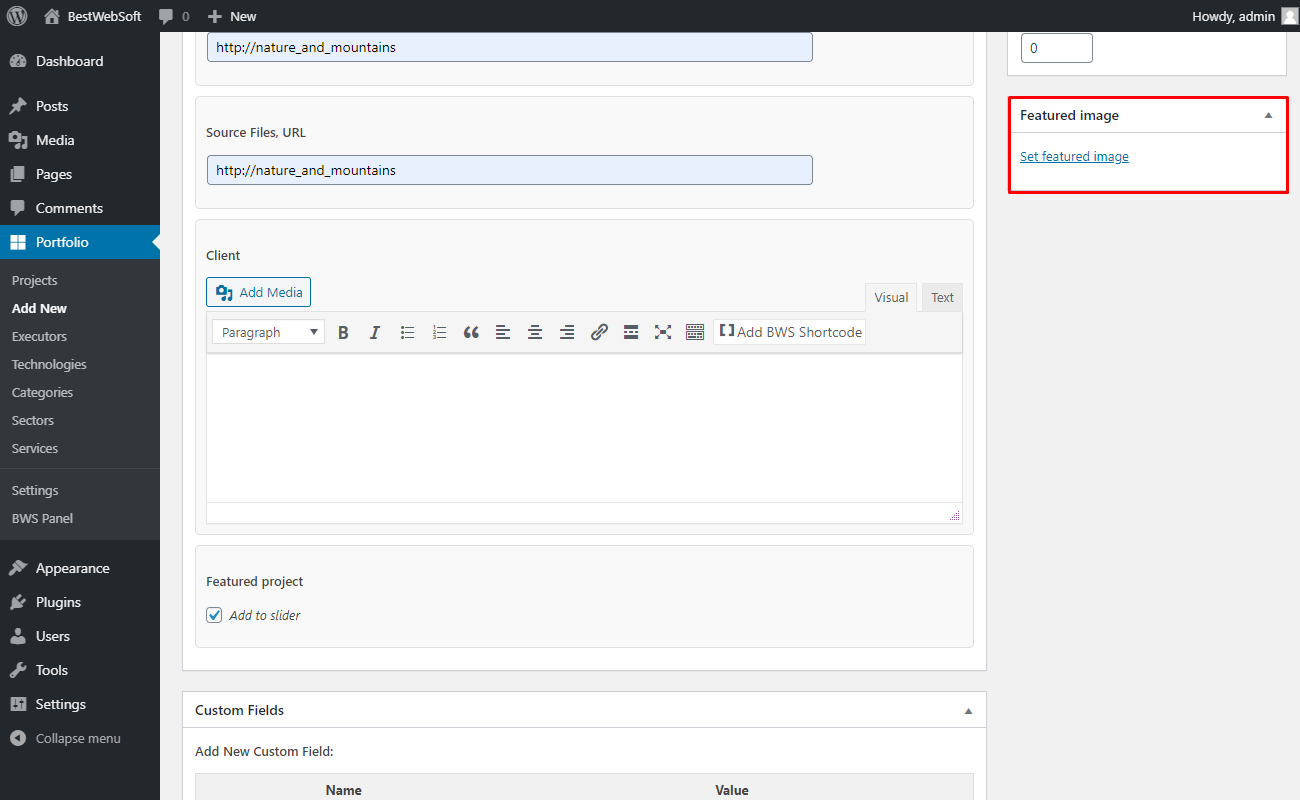
2.11. Featured Image
Use the “Featured Image” section to add a picture that will be used as a thumbnail.
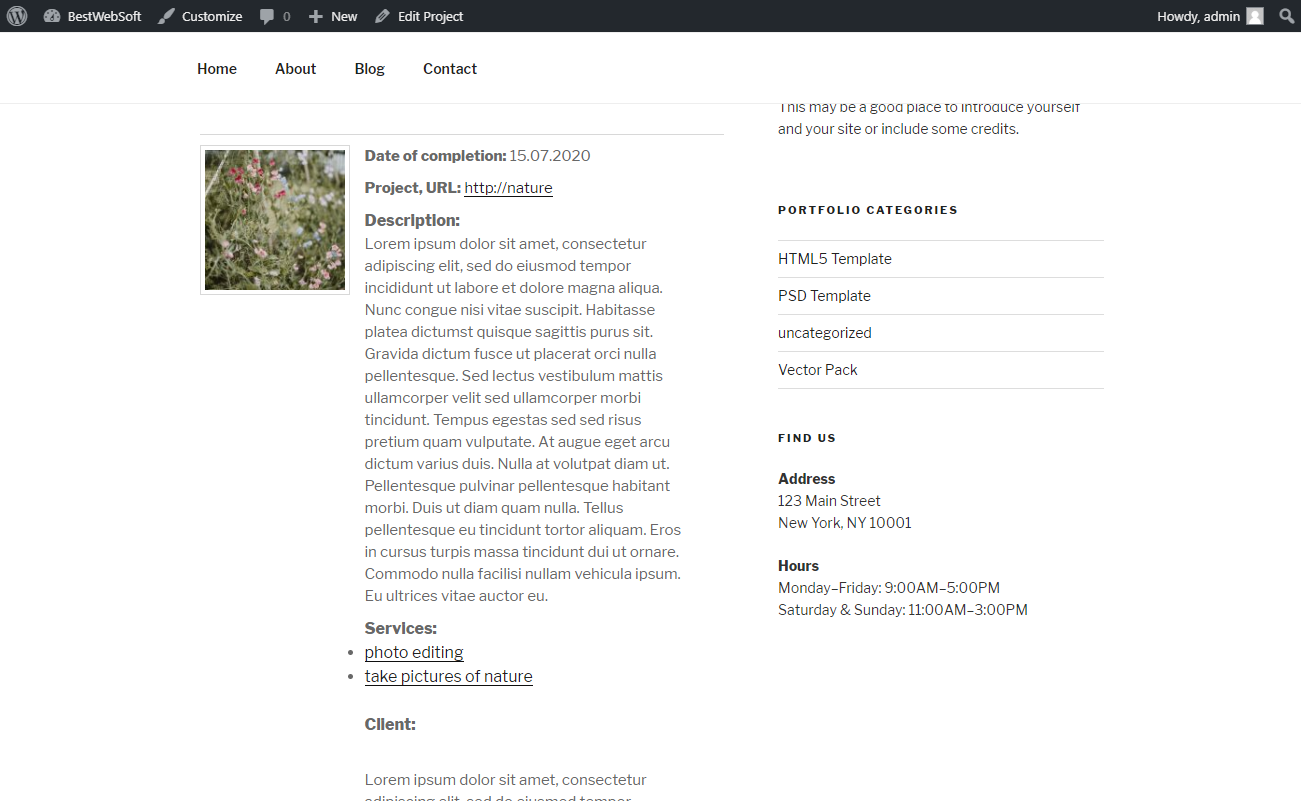
2.11.1. After publishing, the portfolio may look on a page as follows:
3. Settings
Use the options of the “Settings” page to make the global settings for the plugin.
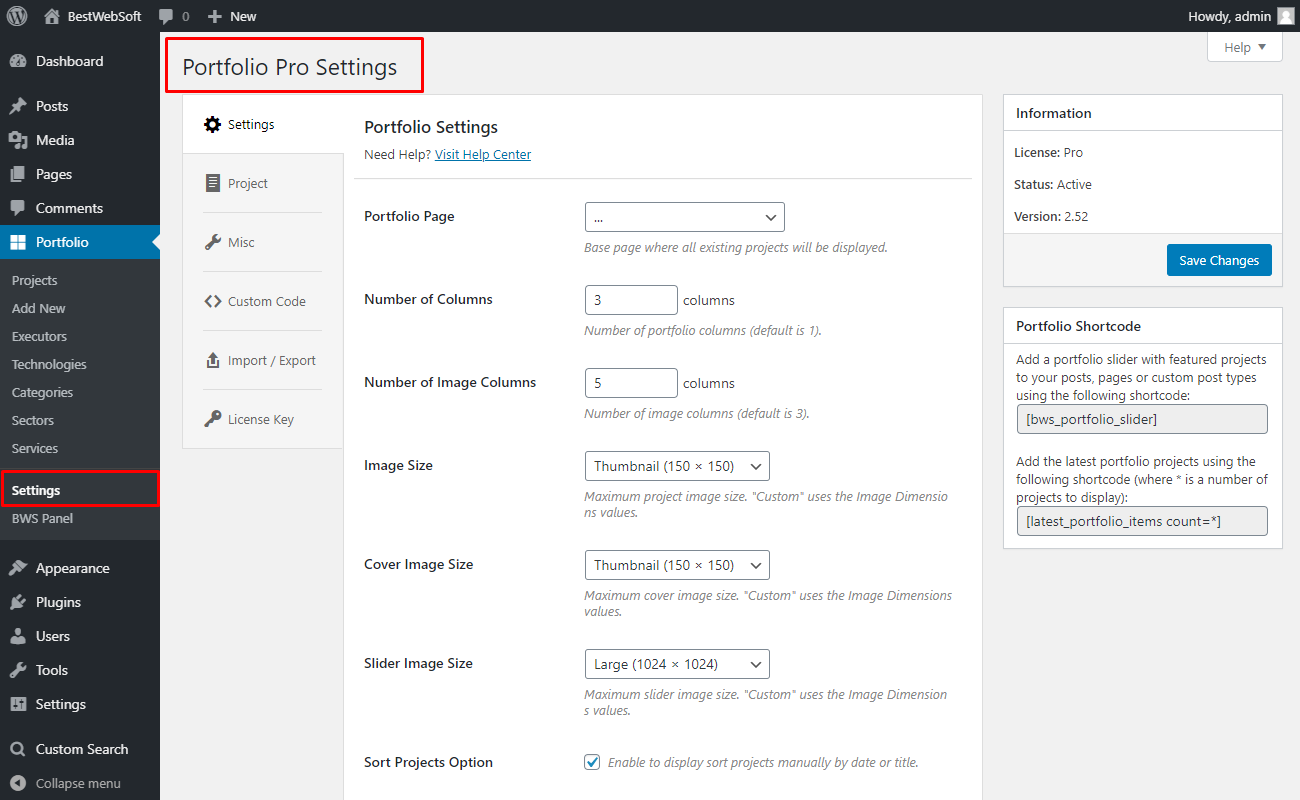
3.1. Portfolio Page
Use the “Portfolio Page” option to choose a page on which all existing projects will be displayed.

3.2. Number of Columns
Use the “Number of Columns” option to set the necessary number of portfolio columns.
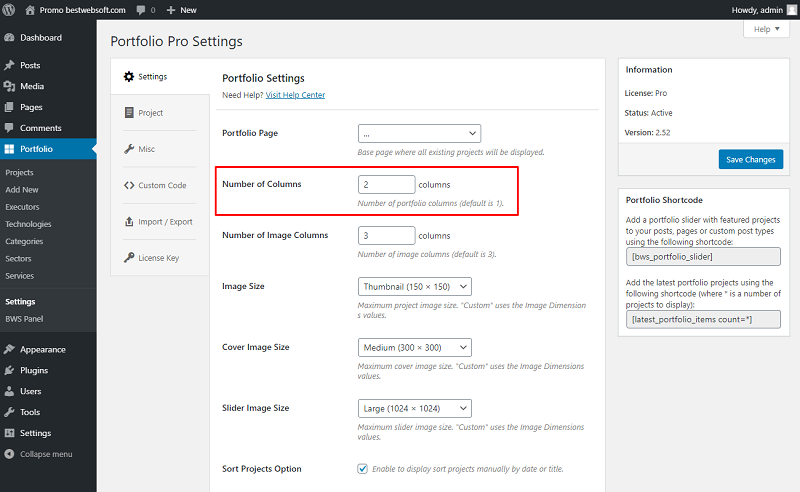
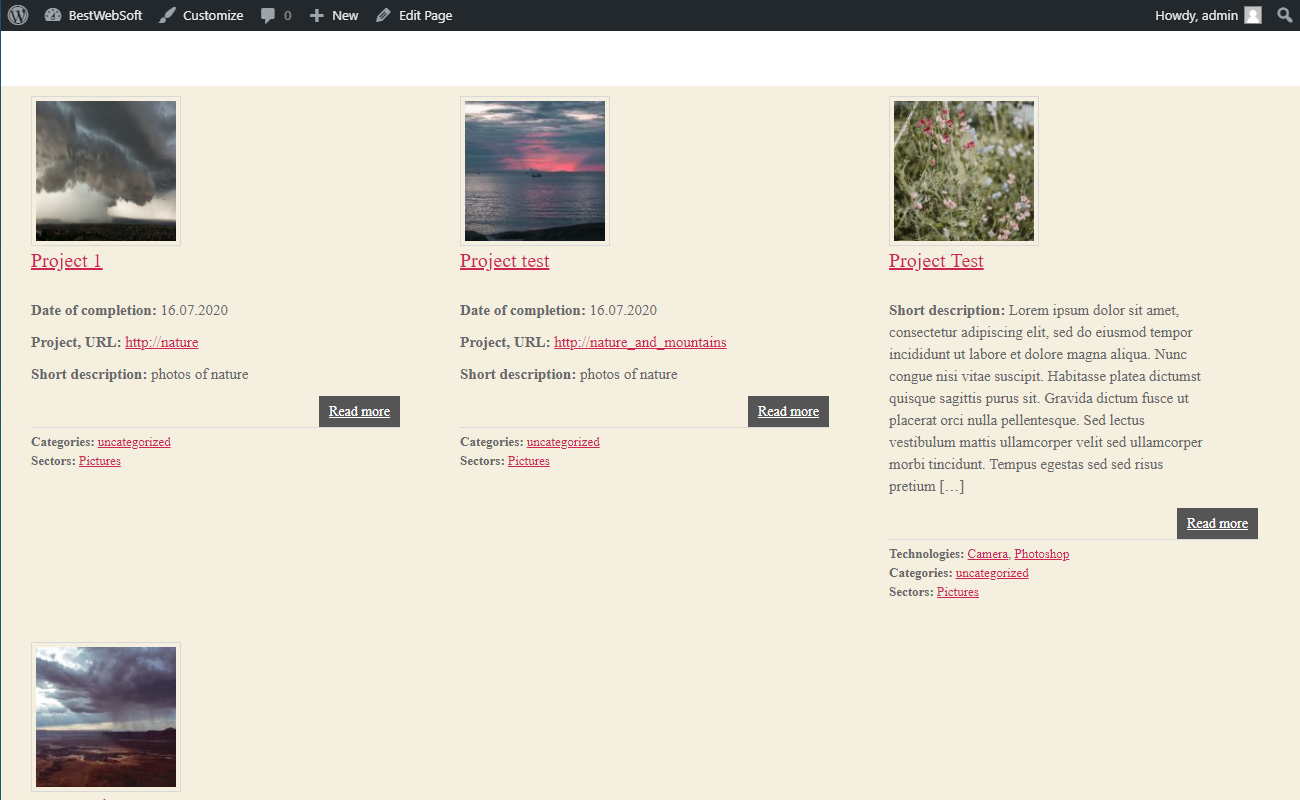
3.2.1. After publishing, portfolios may look on a page as follows:
3.3. Number of Image Columns
Use the “Number of Image Columns” to set a number of image columns that will appear on the project`s page.

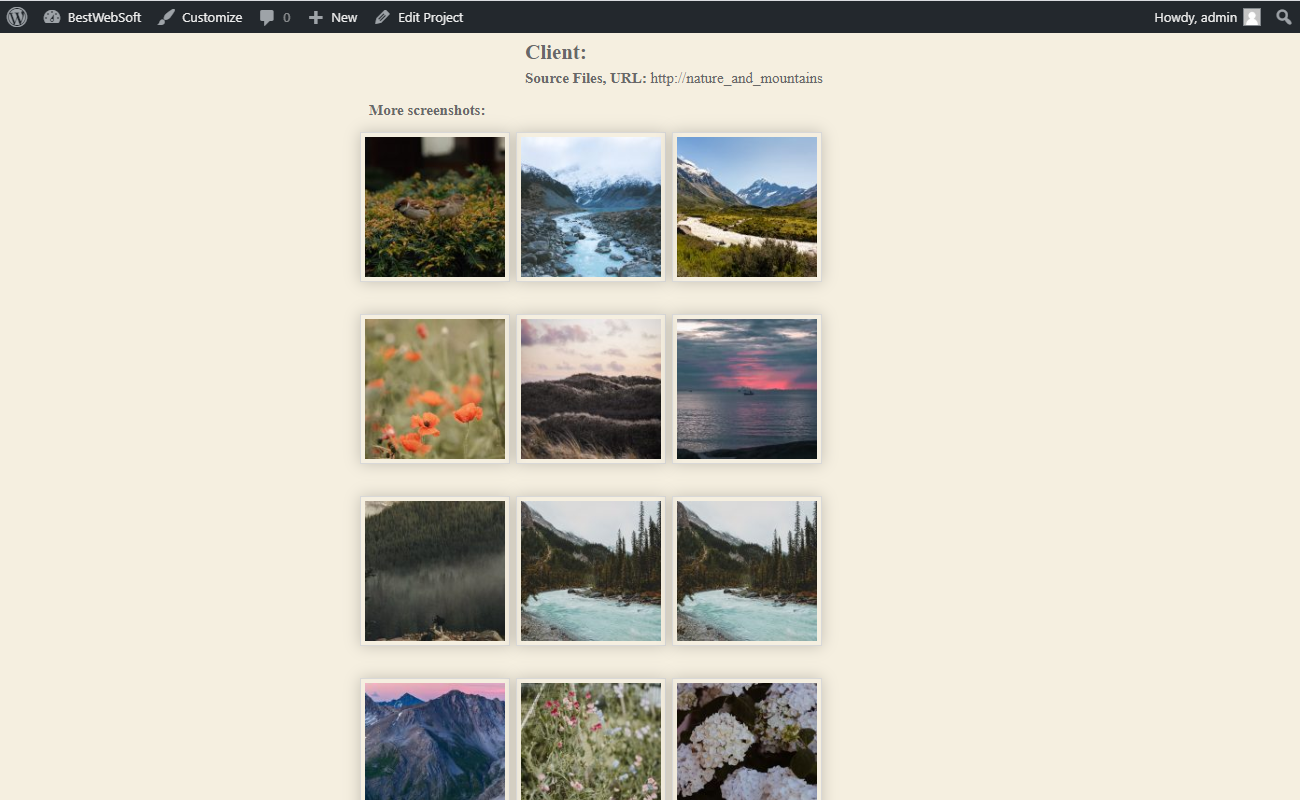
3.3.1. After publishing, portfolio images may look on a page as follows:

3.4. Image Size
Use the “Image Size” option to select the size of images in your portfolio. “Custom” uses image Dimension values.

3.4.1. After publishing, portfolio images may look on a page as follows:
3.5. Cover Image Size
Use the “Cover Image Size” option to select the size of the cover image of the portfolio.

3.5.1. After publishing, the portfolio cover image may look on a page as follows:

3.6. Slider Image Size
Use the “Slider Image Size” option to select the size of images in the slider.
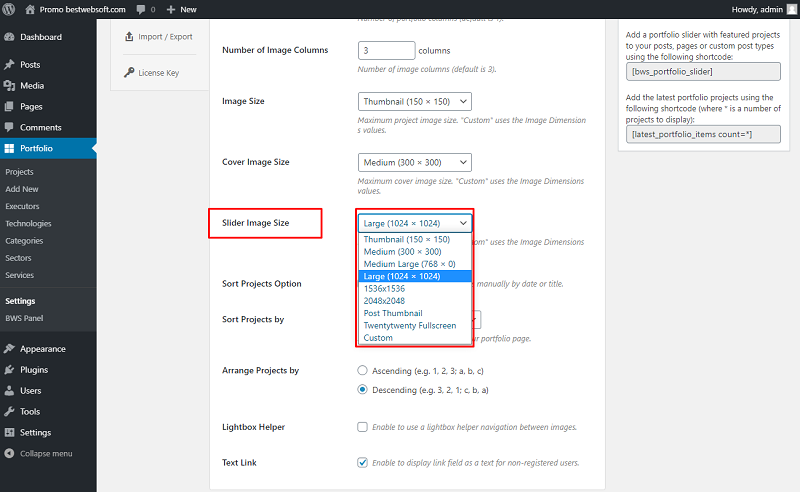
3.6.1. After publishing, the portfolio slider image may look on a page as follows:
3.7. Sort Projects Option
Enable the “Sort Projects Option'' to display sort projects manually by date or title.
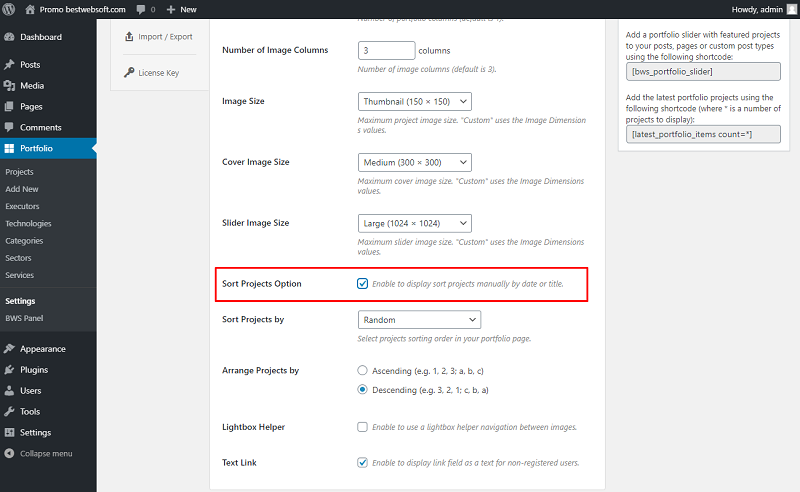
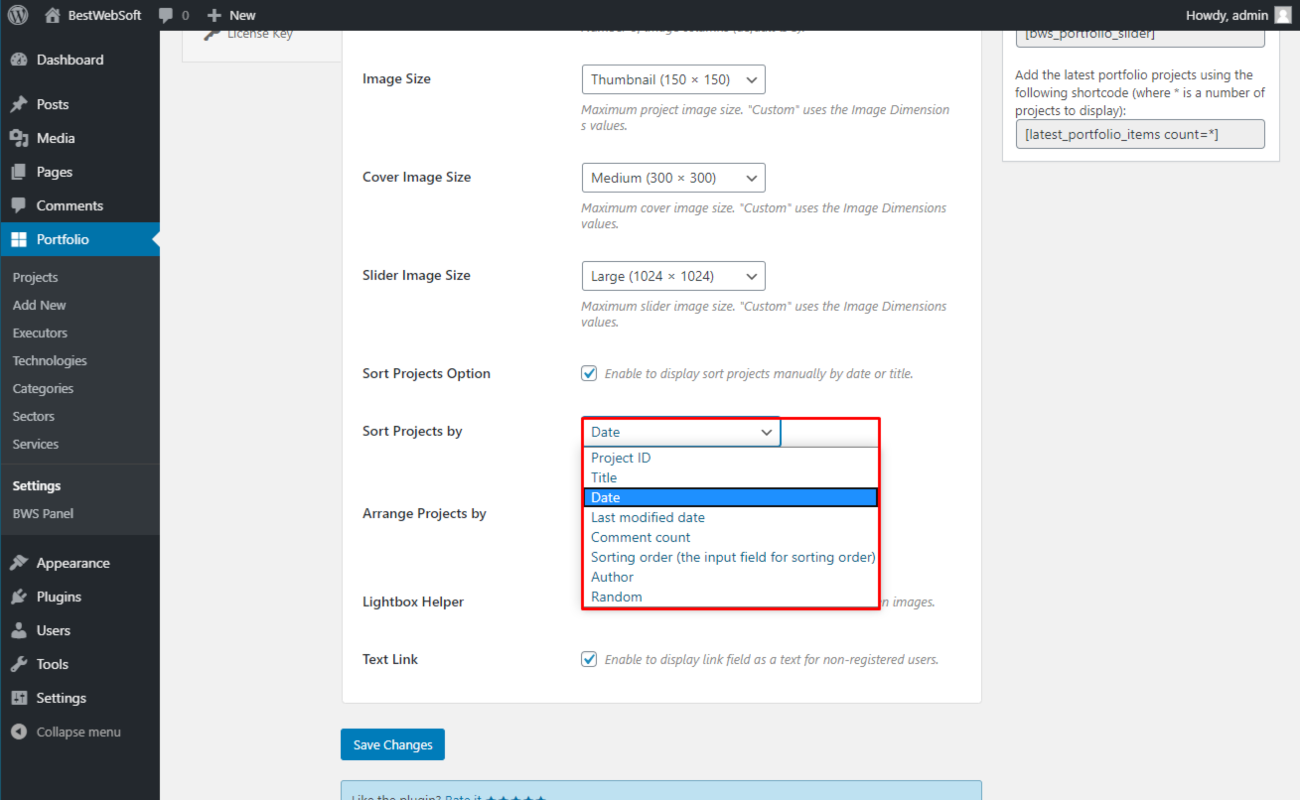
3.8. Sort Projects by
Use the “Sort Projects By” option to select projects sorting order on your portfolio page.
3.8.1. Projects sorted by title may look on a page as follows.

3.9. Arrange Projects by
Use the “Arrange Projects by” option to choose in which order the projects will be arranged.

3.9.1. Choose the “Ascending” to organize projects in ascending order.
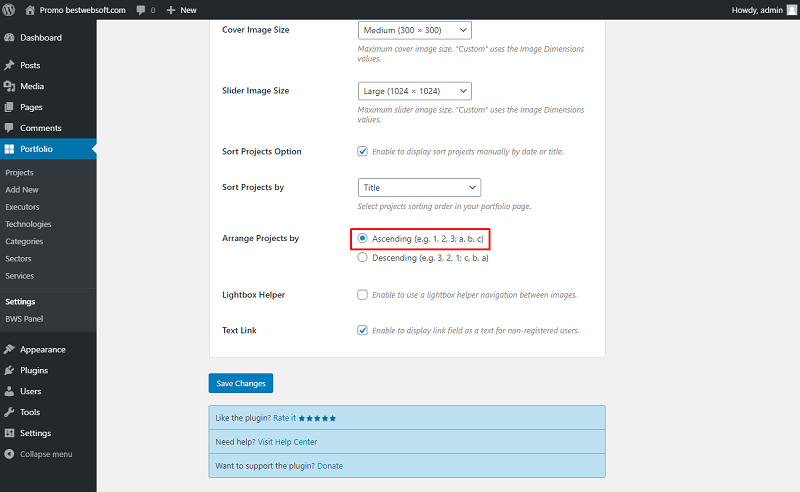
3.9.2. Choose the “Descending” to organize projects in descending order.

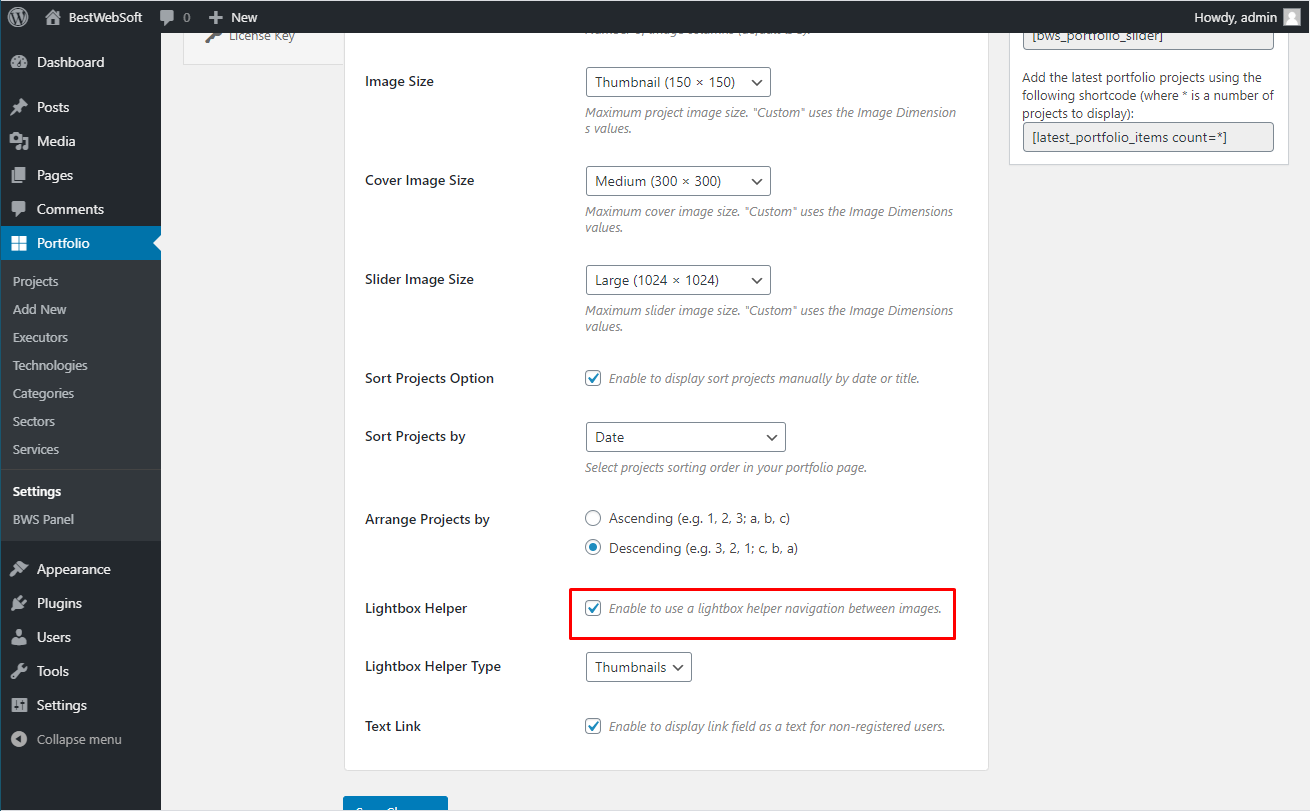
3.10. Lightbox Helper
Use the “Lightbox Helper” option in order to get help in navigating between images.
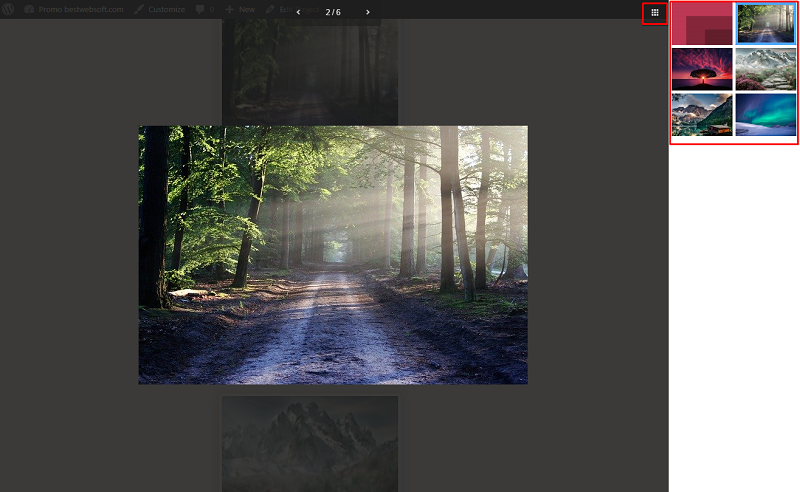
3.10.1. the lightbox helper may look on a page as follows:
3.11. Lightbox Helper Type
Use the “Lightbox Helper Type” option to select the type of the lightbox helper.
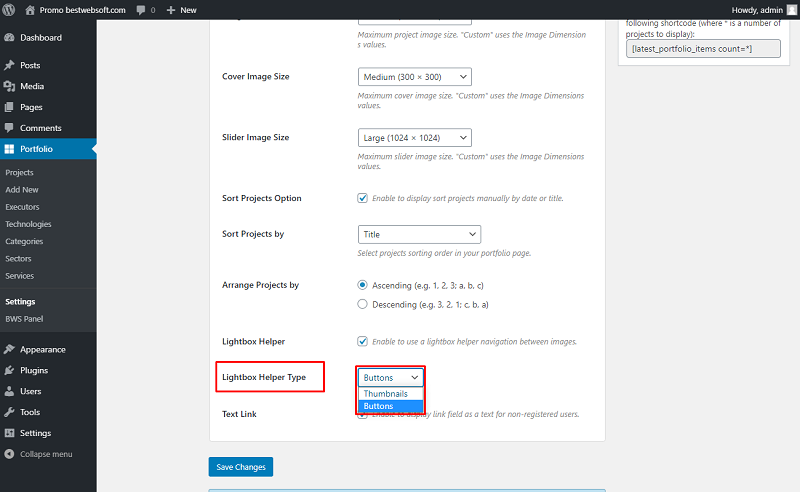
3.11.1. The “Buttons” type will look on a page as follows:

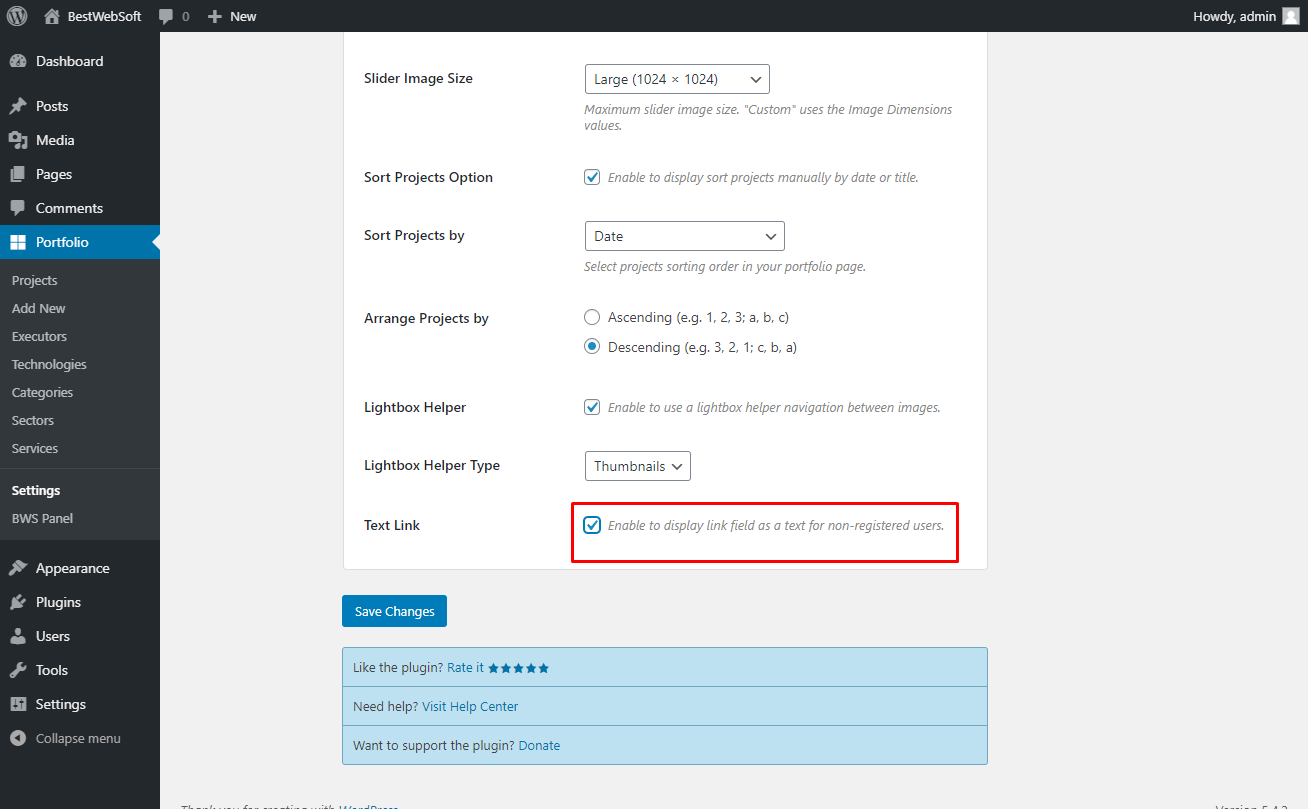
3.11.2. The “Thumbnails” type will look on a page as follows.

3.12. Text Link
Use the “Text Link” option in order to display the link as a text for non-registered users.
3.13. Automatic Mailout When Publishing
Portfolio by BestWebSoft is compatible with the “Sender” plugin by BestWebSoft. You can download the plugin by clicking the “Install Now” link.
3.13.1 After a successful download, activation and configuration of Sender, enable the Project option to activate the automatic mailout. You can choose the mailing list, the letter and the priority for the mailout. Each mailing list can be set up separately.

4. Project Settings
Use the “Project Settings” tab to add enable or disable project fields and change their titles.

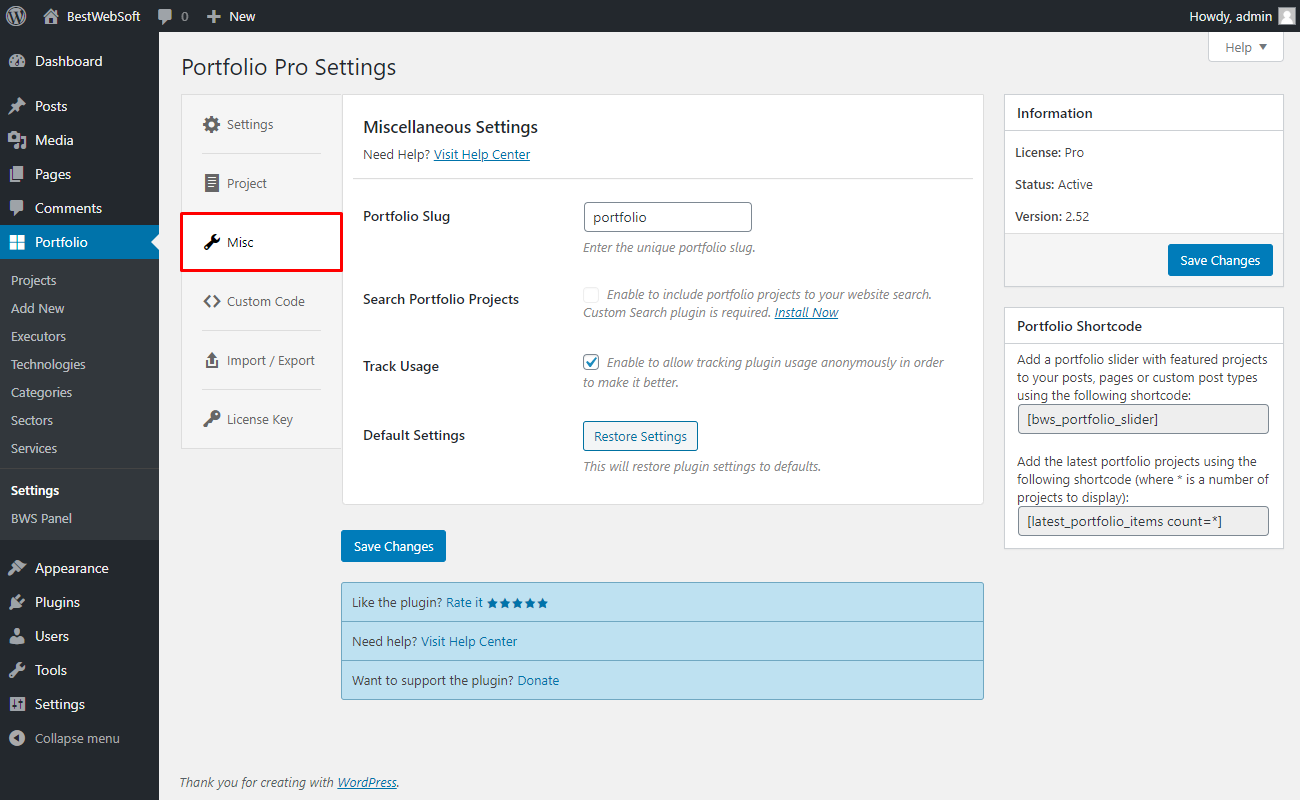
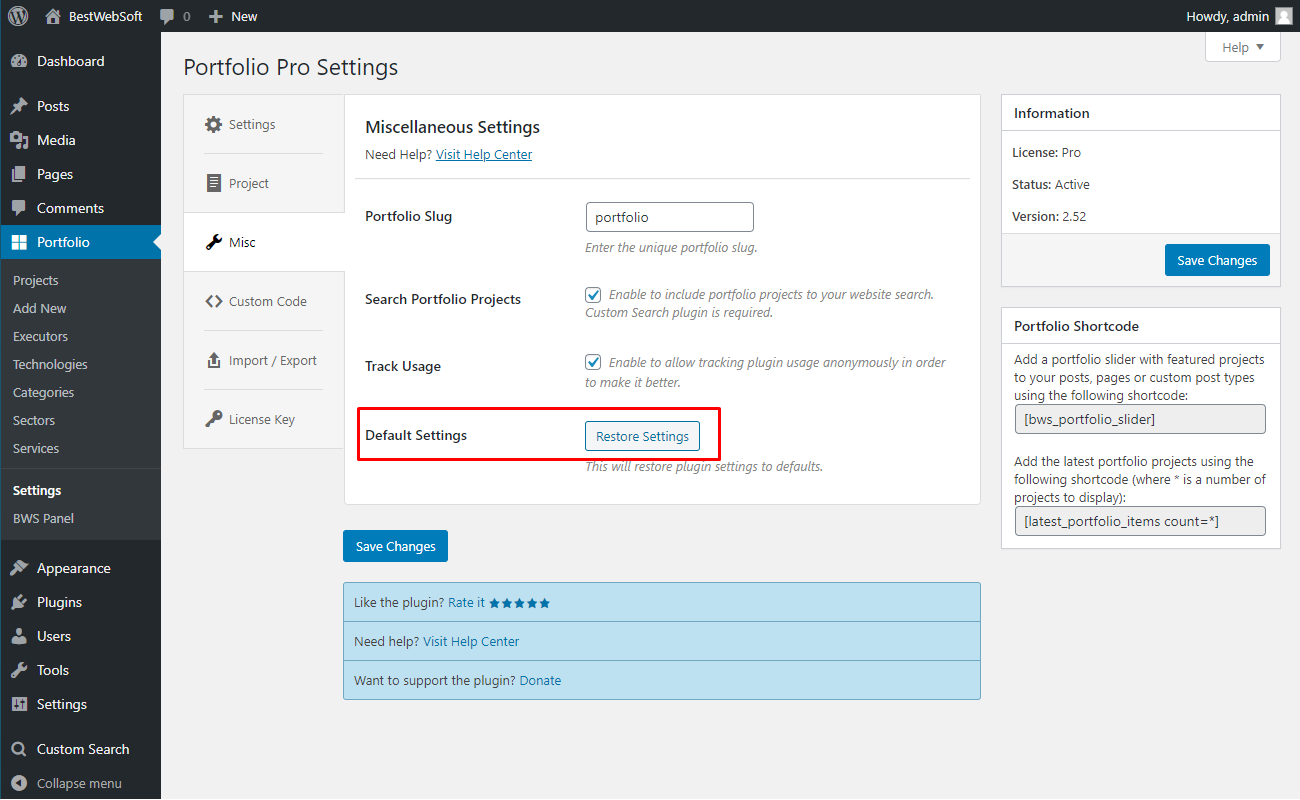
5. Miscellaneous Settings
Use the “Miscellaneous Settings” tab to change portfolio slug, track usage of the plugin or restore settings.
5.1. Portfolio Slug
Use the “Portfolio Slug” option to create a URL prefix of the portfolio to make it easier to find.
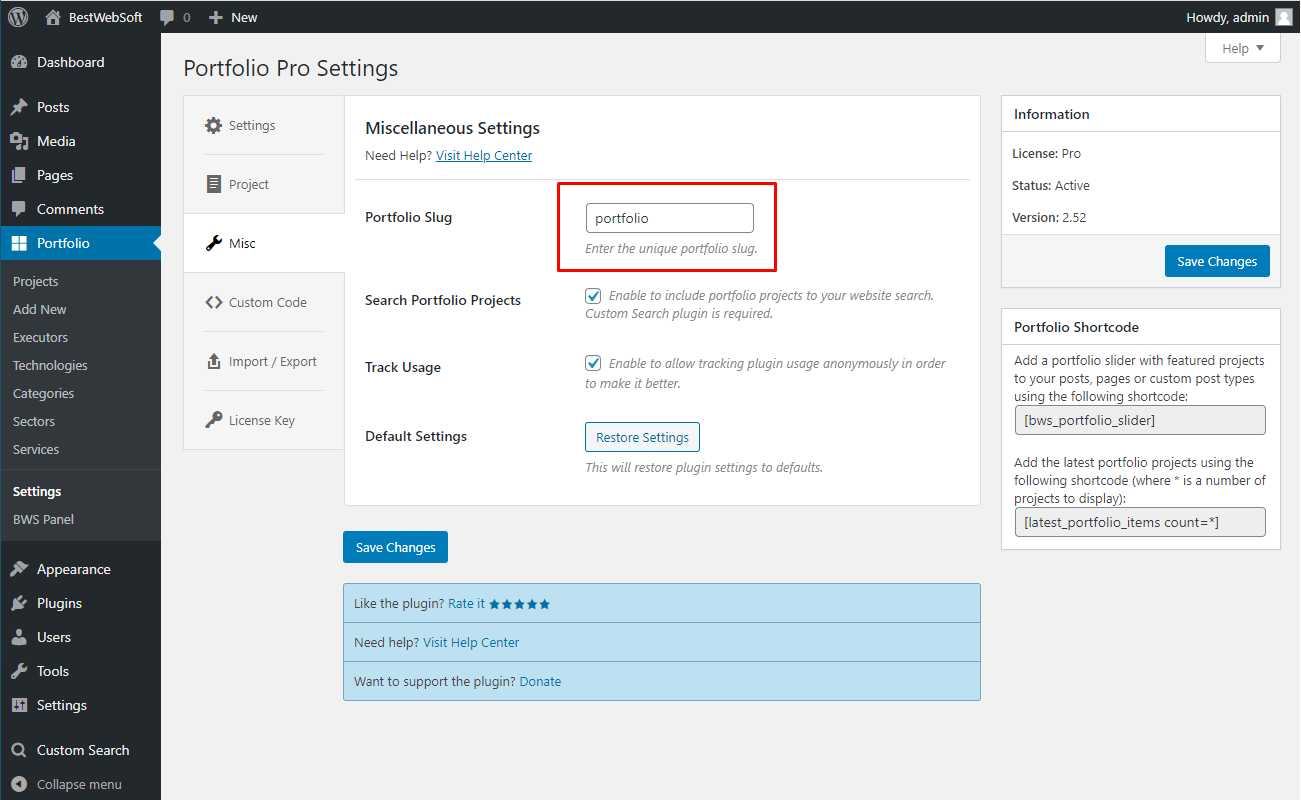
5.1.1. Customized portfolio slug will be displayed in the URL field of your web browser.

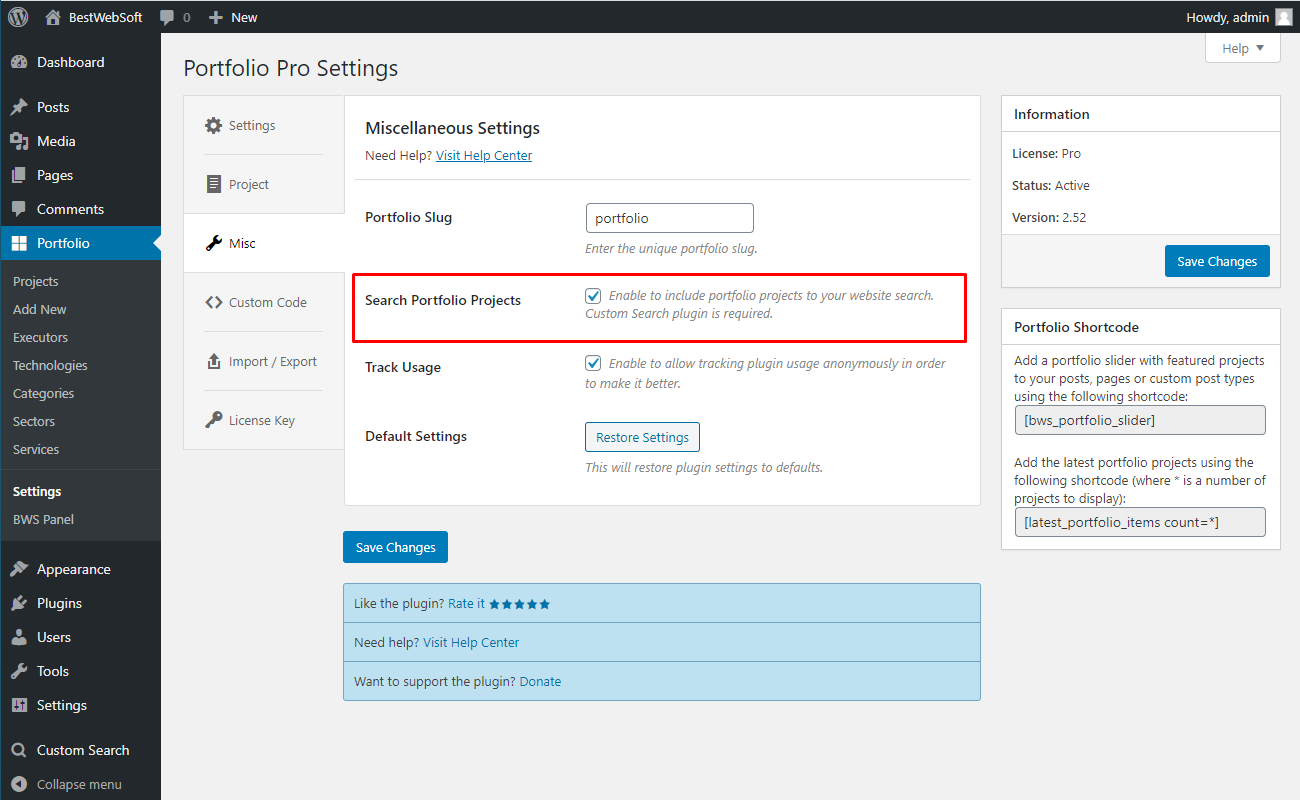
5.2. Search Portfolio Projects
Use the “Search Portfolio Projects” option to enable search of your projects on the website. Download the Custom Search plugin by clicking the “Install Now” link.
You can download the Custom Search plugin here:
https://bestwebsoft.com/products/wordpress/plugins/custom-search/
5.2.1. Portfolio in the search results may look as follows:

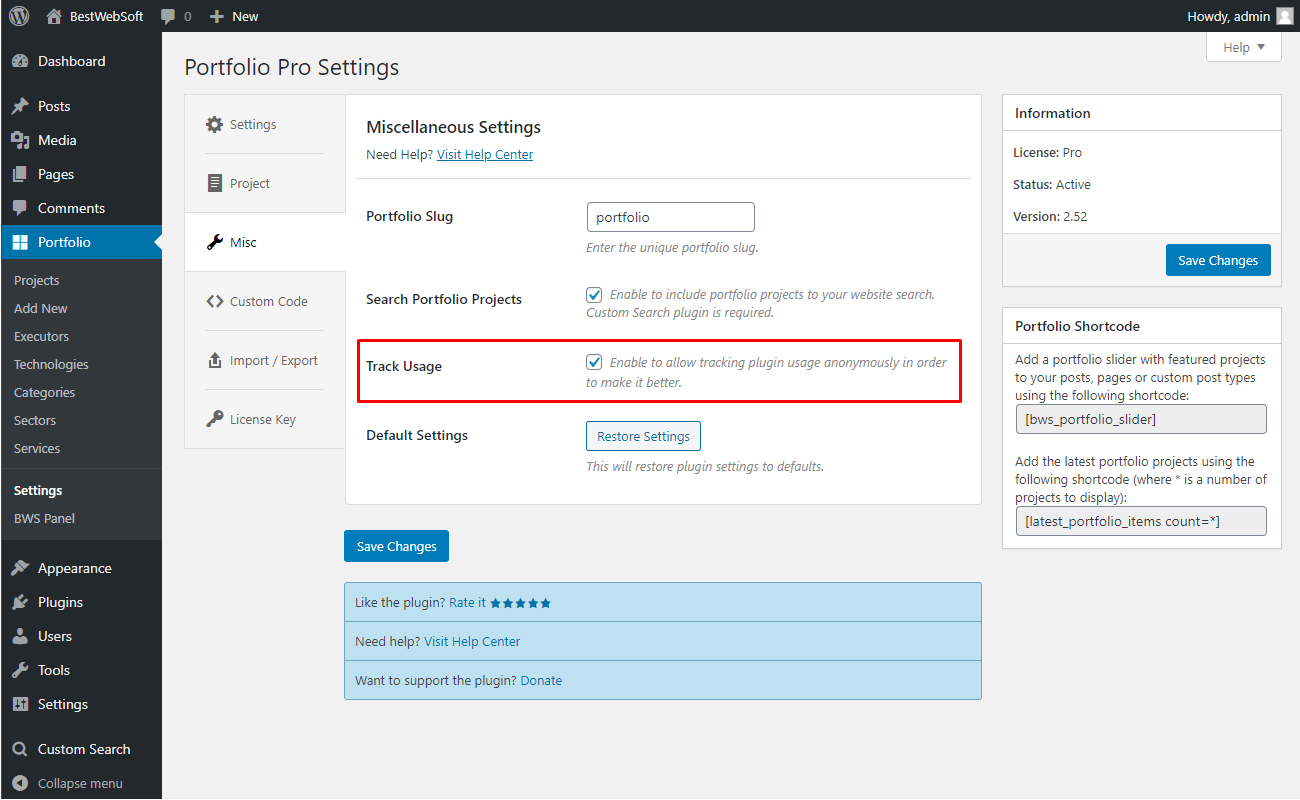
5.3. Track Usage
Use the “Track Usage” option in order to track plugin usage anonymously.
5.4. Default Settings
Use the “Default Settings” button to return all the changes back to default state.
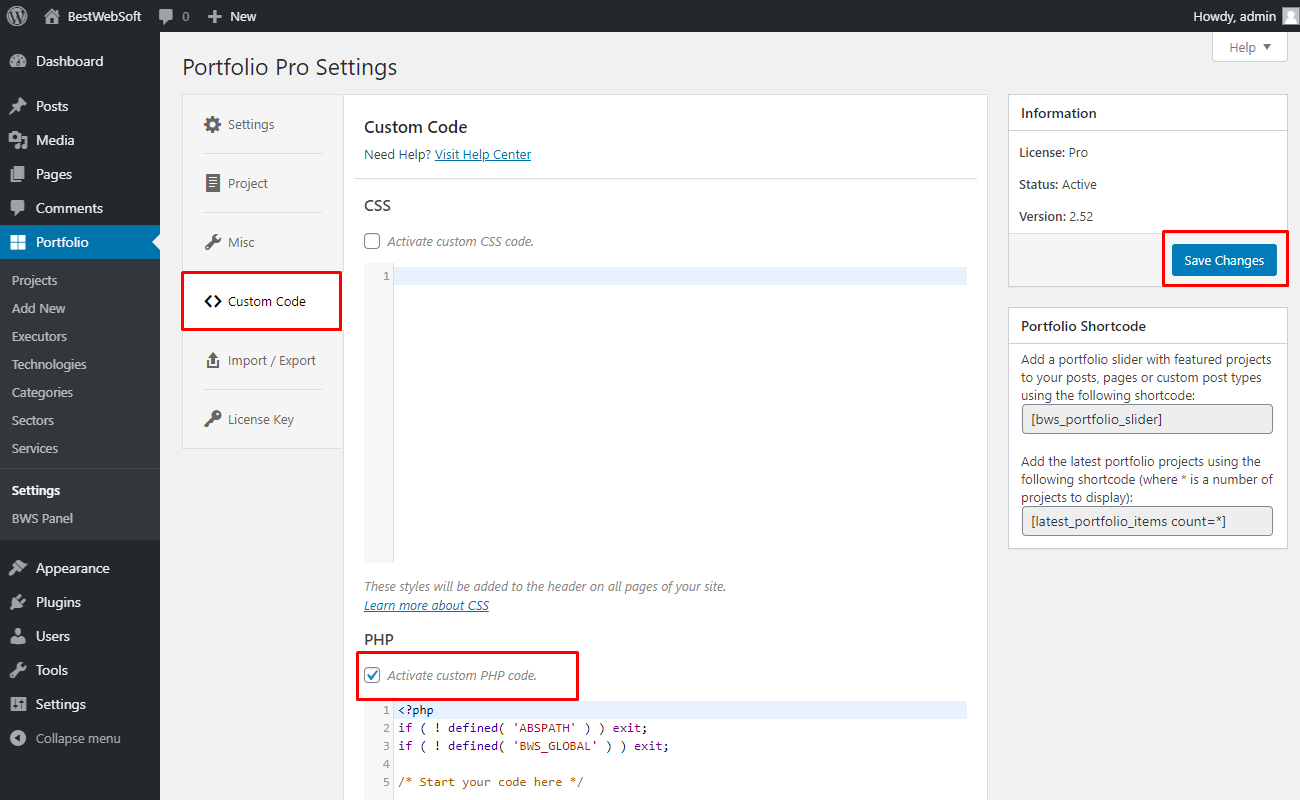
6. Custom Code
Use the “Custom Code” tab to insert a CSS, PHP or JavaScript code. To activate a custom code, enable the “Activate custom … code” option and save changes.
7. Import/Export
Use the “Import/Export” tab to install demo data.
7.1. Demo Data
Use the “Demo Data” option to install demo data to create portfolio projects with images, post with shortcodes and a page with a list of all portfolio projects. Click the “Install Demo Data” button to make the appropriate action.

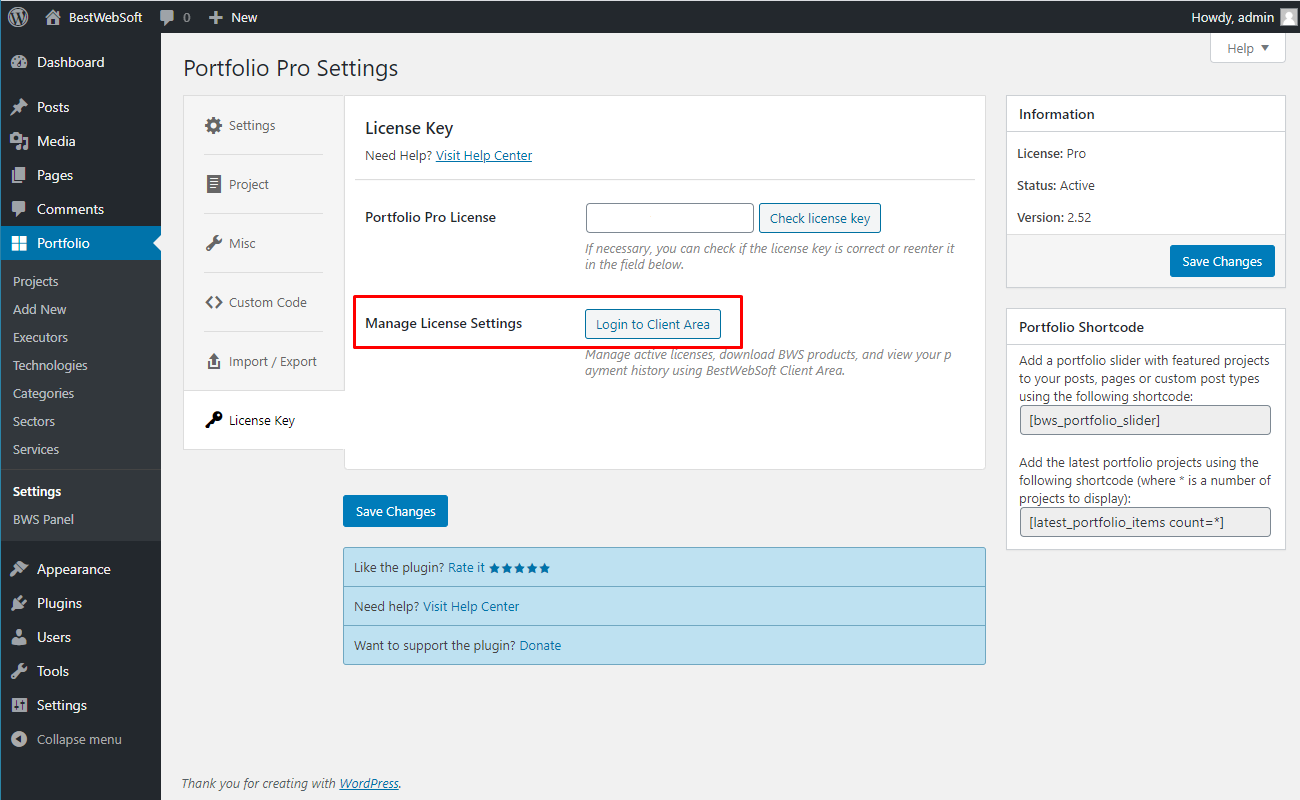
8. License Key
Use the “License Key” tab to activate or check the Pro plugin license.

8.1. Portfolio Pro License
After a successful plugin purchase, you will receive an email notification with a download link and a license key. Activate Pro license by pasting a license key into the “Portfolio Pro License” field and clicking the “Save Changes” button.

8.2. Check License Key
To check the license key, click the “Check license key” button. If the entered key is correct, the notification “The license key is valid. Your license will expire on XXXX-XX-XX” will be displayed in the upper left corner of the page.

8.3. Manage License Settings
Use the “Manage License Settings” option to change your license settings. Click the “Login to Client Area” button to open your personal Client Area dashboard found on the https://bestwebsoft.com/ website. Browse and download purchased products, change the license domain and copy the license keys.
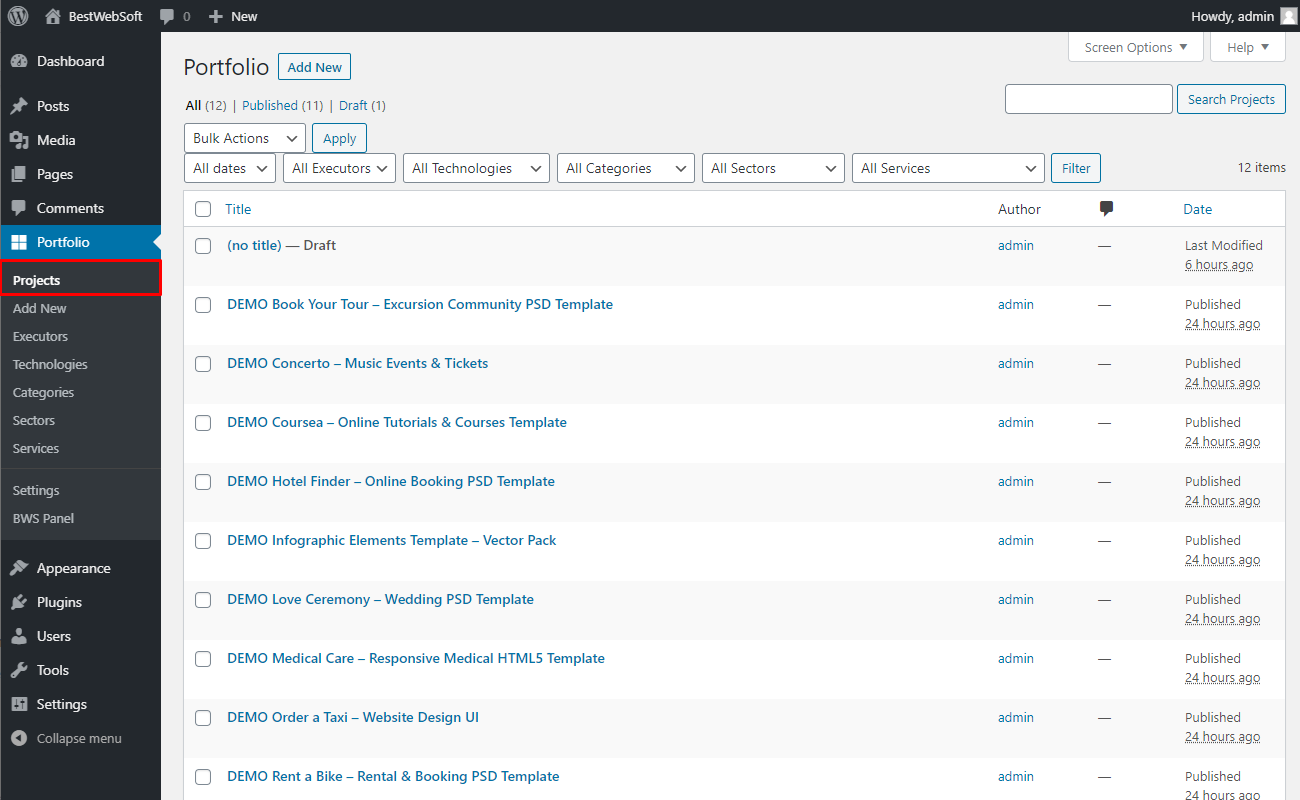
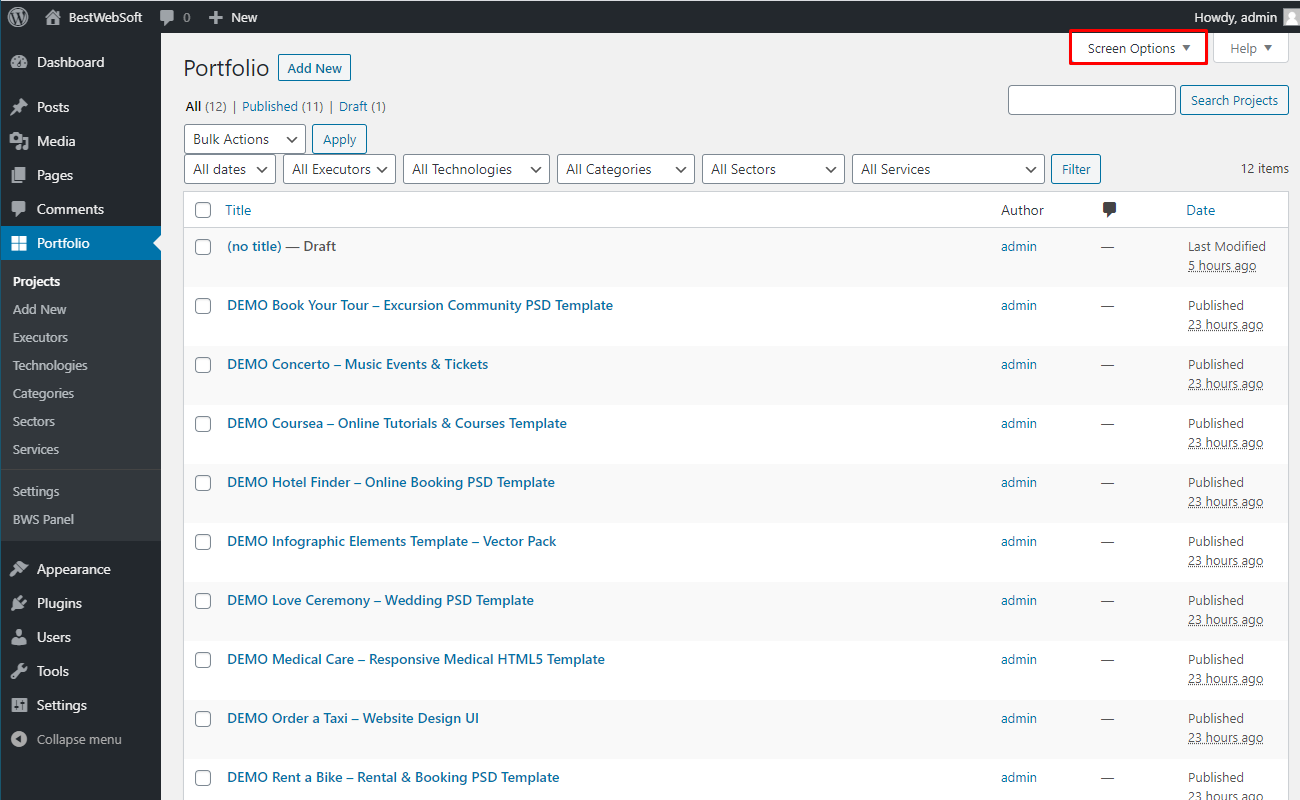
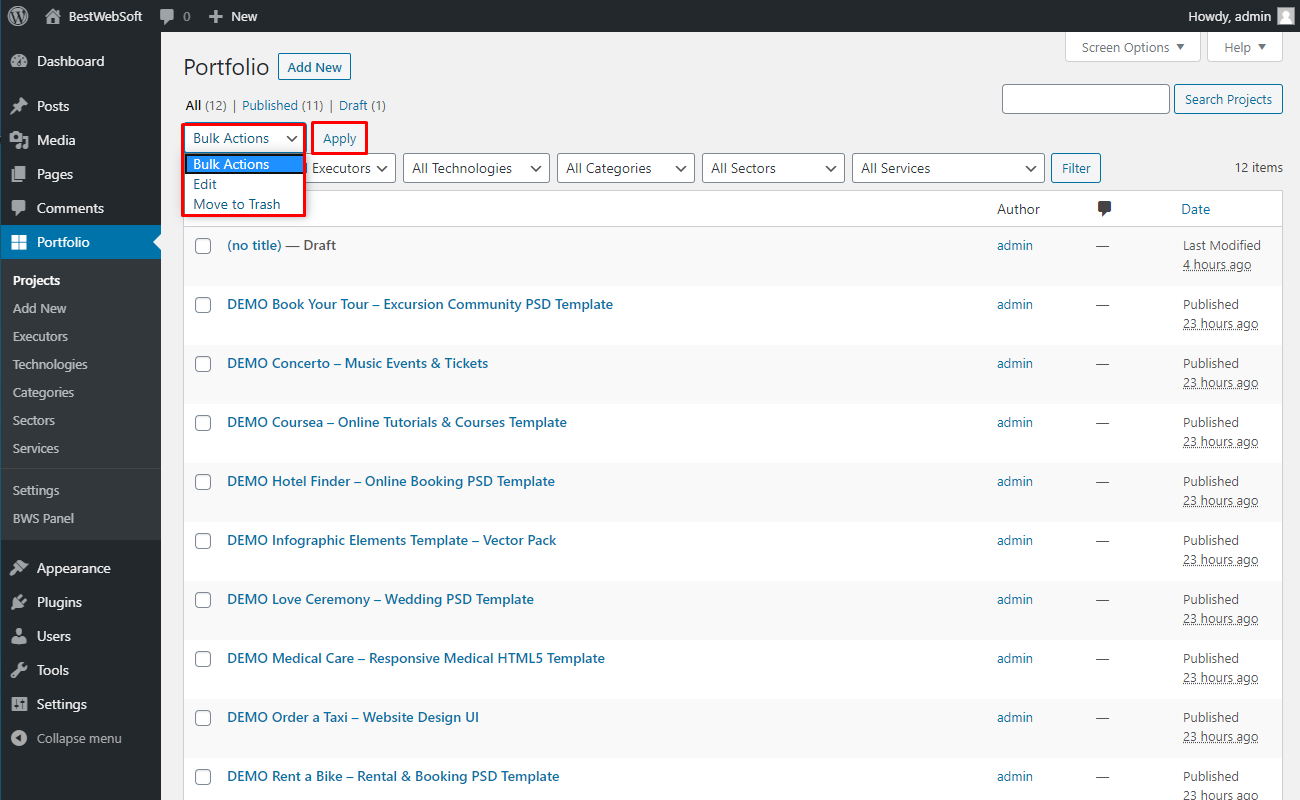
9. Projects
Open the “Projects” page to be able to search, edit, add and manage projects.
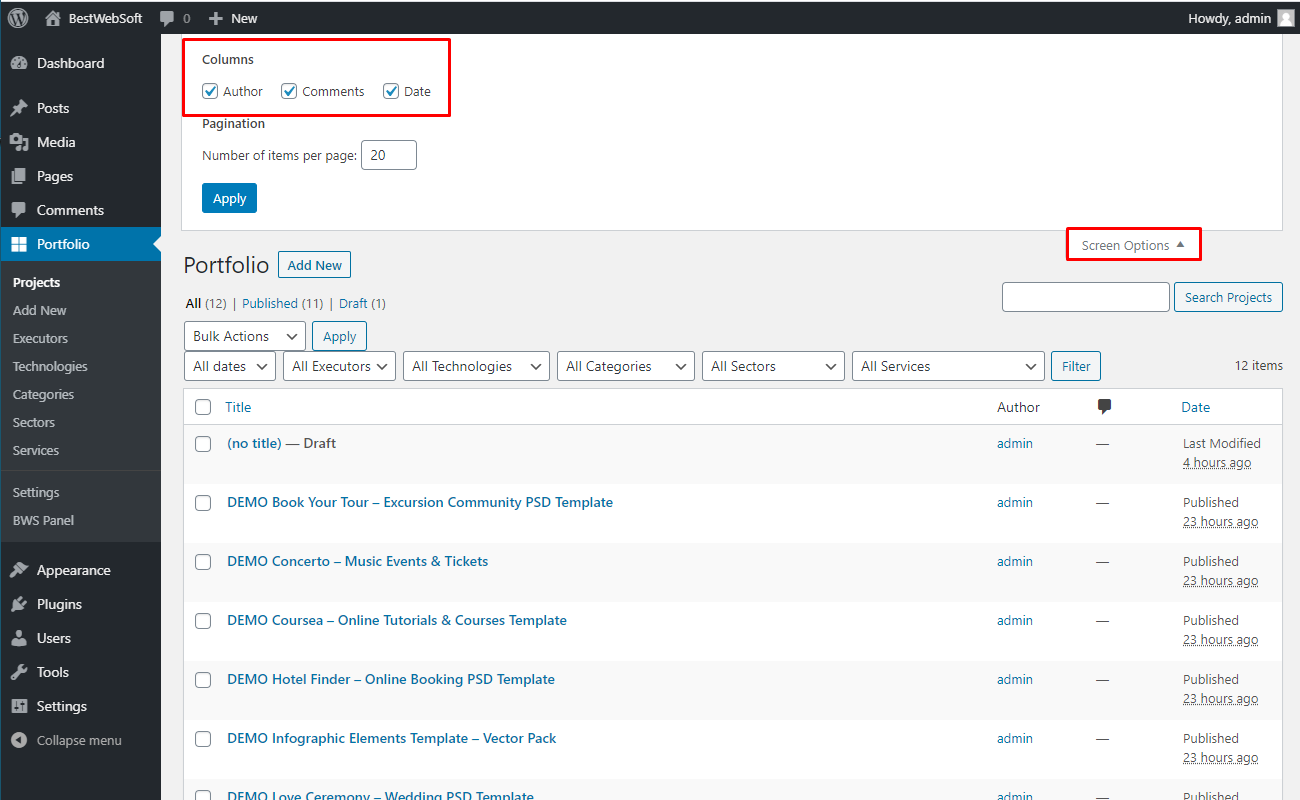
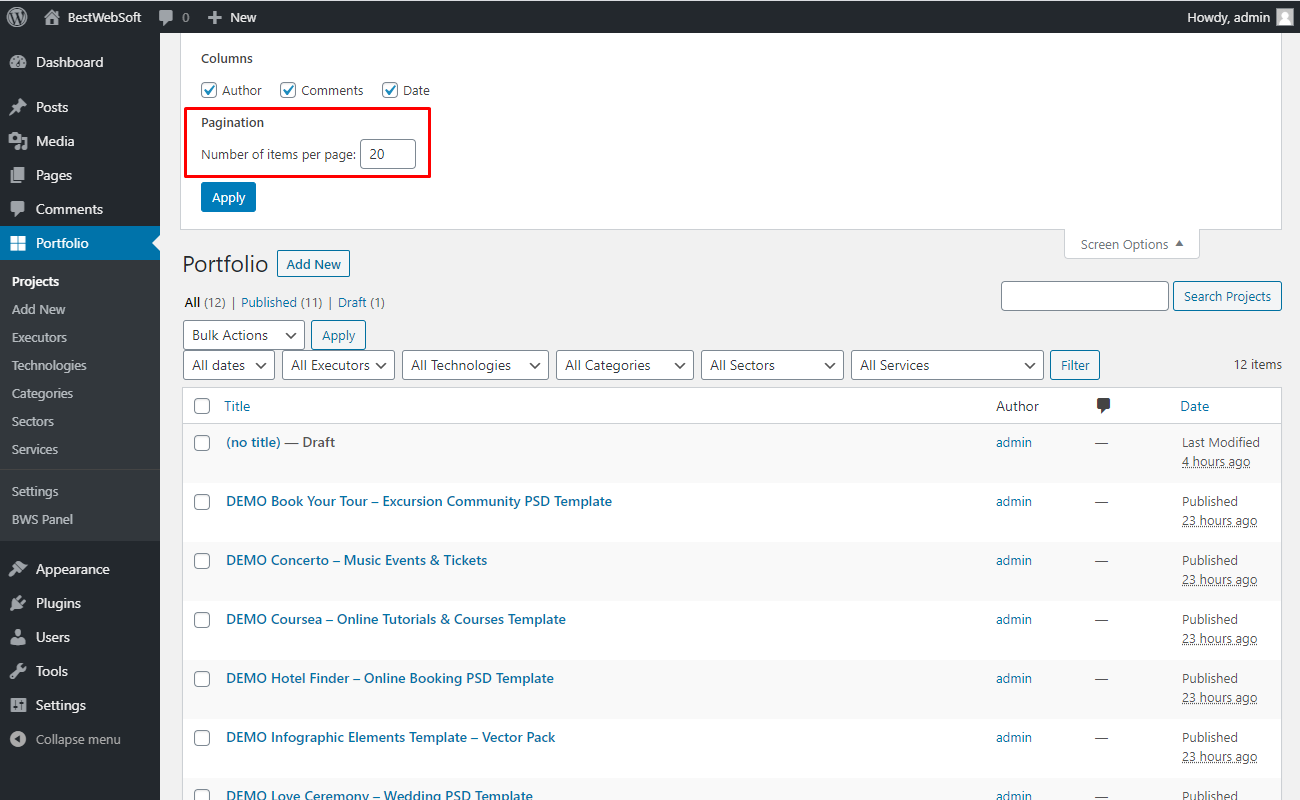
9.1. Screen Options
Open the “Screen Options” tab to change columns and pagination.
9.1.1. Columns
Select the “Columns” to enable which data will be seen.
9.1.2. Pagination
Use “Pagination” to indicate the number of items per page.
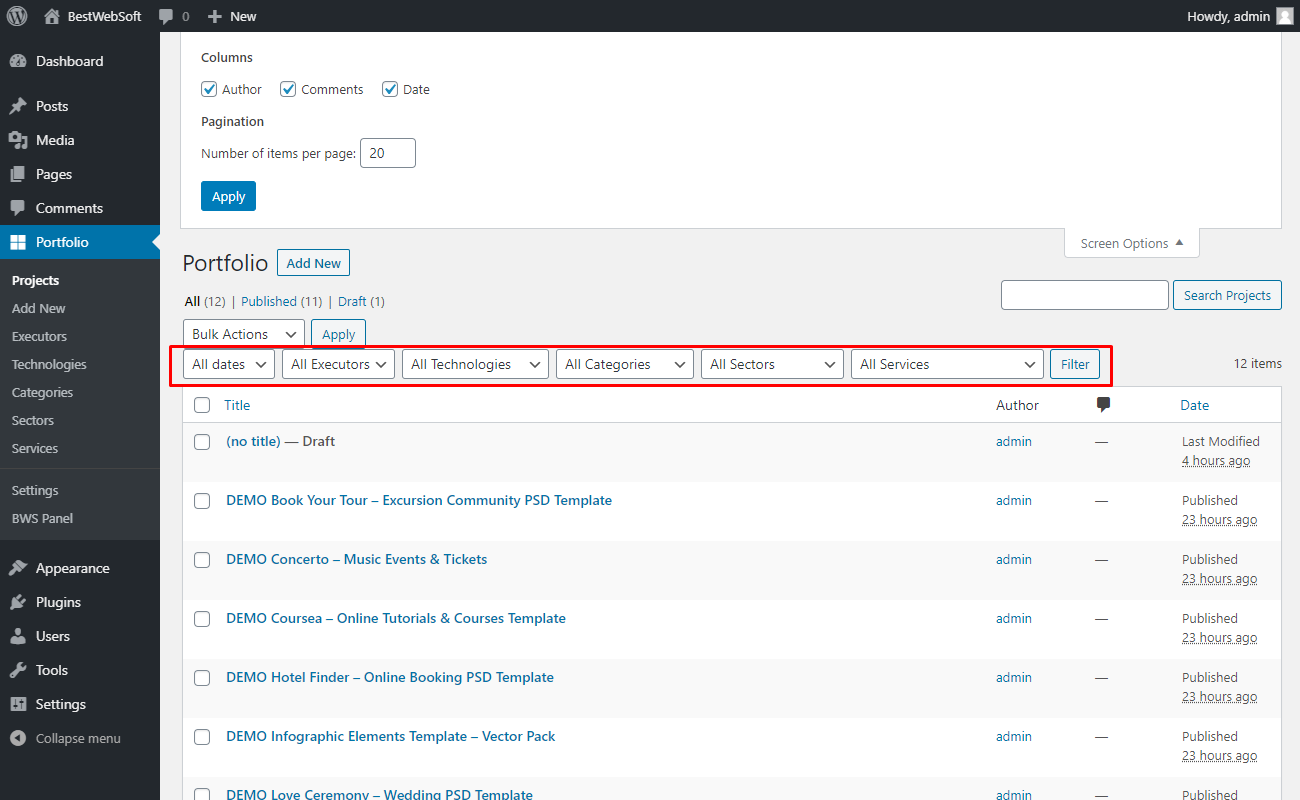
9.2. Filter
Use “Filter” to sort all the projects by different parameters.
9.3. Bulk Actions
Use the “Bulk Actions” to, “Edit” or “Move to trash” to multiple projects.
10. Executors
Use the options of the “Executors” page to add information about the executor and add them to the list.
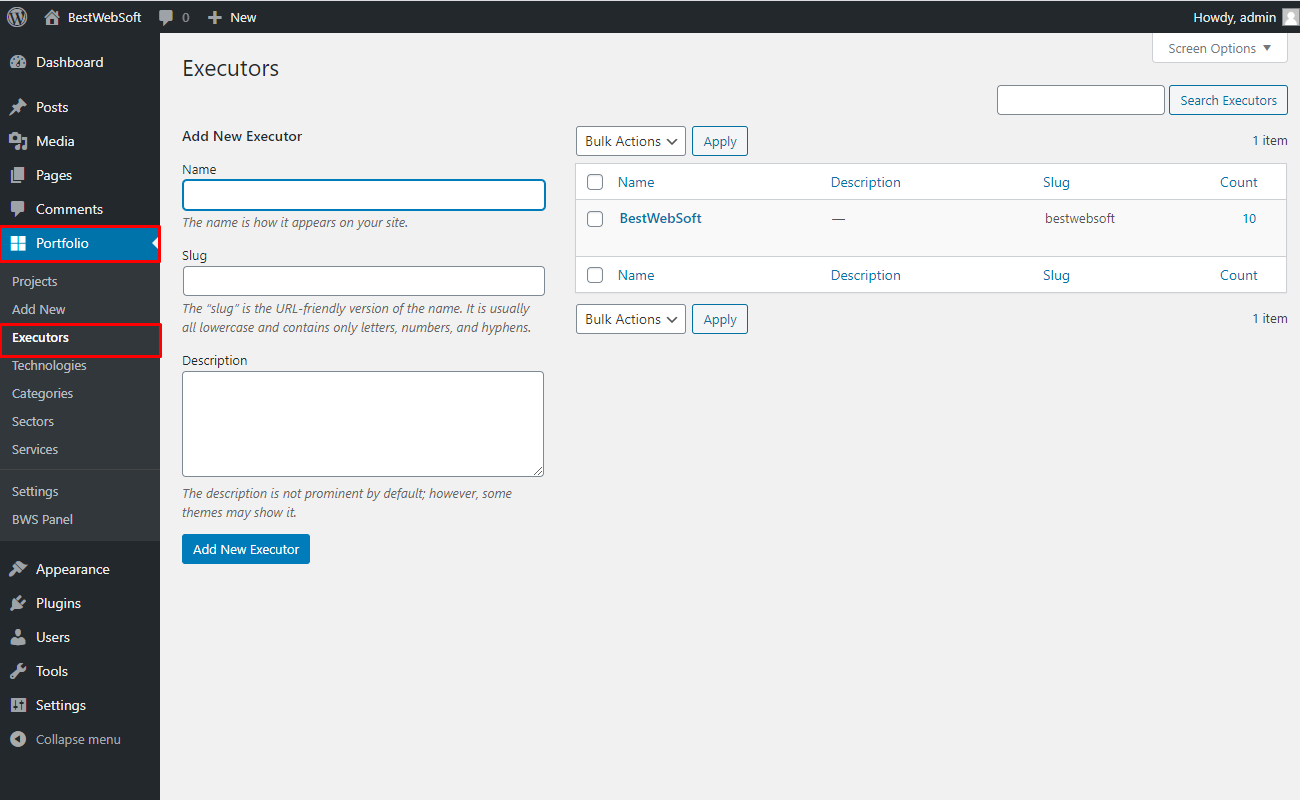
10.1. Add New Executor
Fill the fields of “Add New Executors” to add information about the new Executor. Enter the Name, Slug and Description.

10.1.1. After publishing, executors may look on a page as follows:

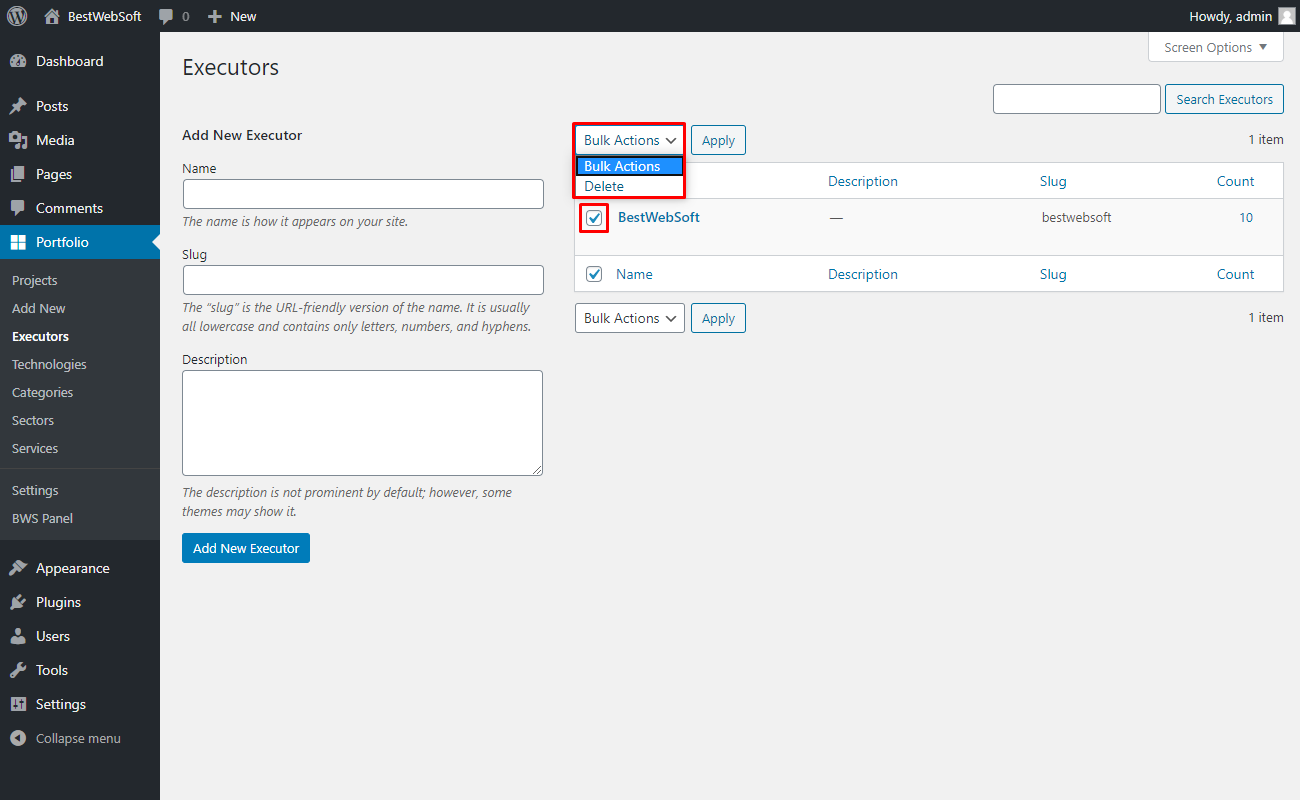
10.2. Edit the Executors list
Select any executor from the list to apply “Bulk Actions” or “Edit”.
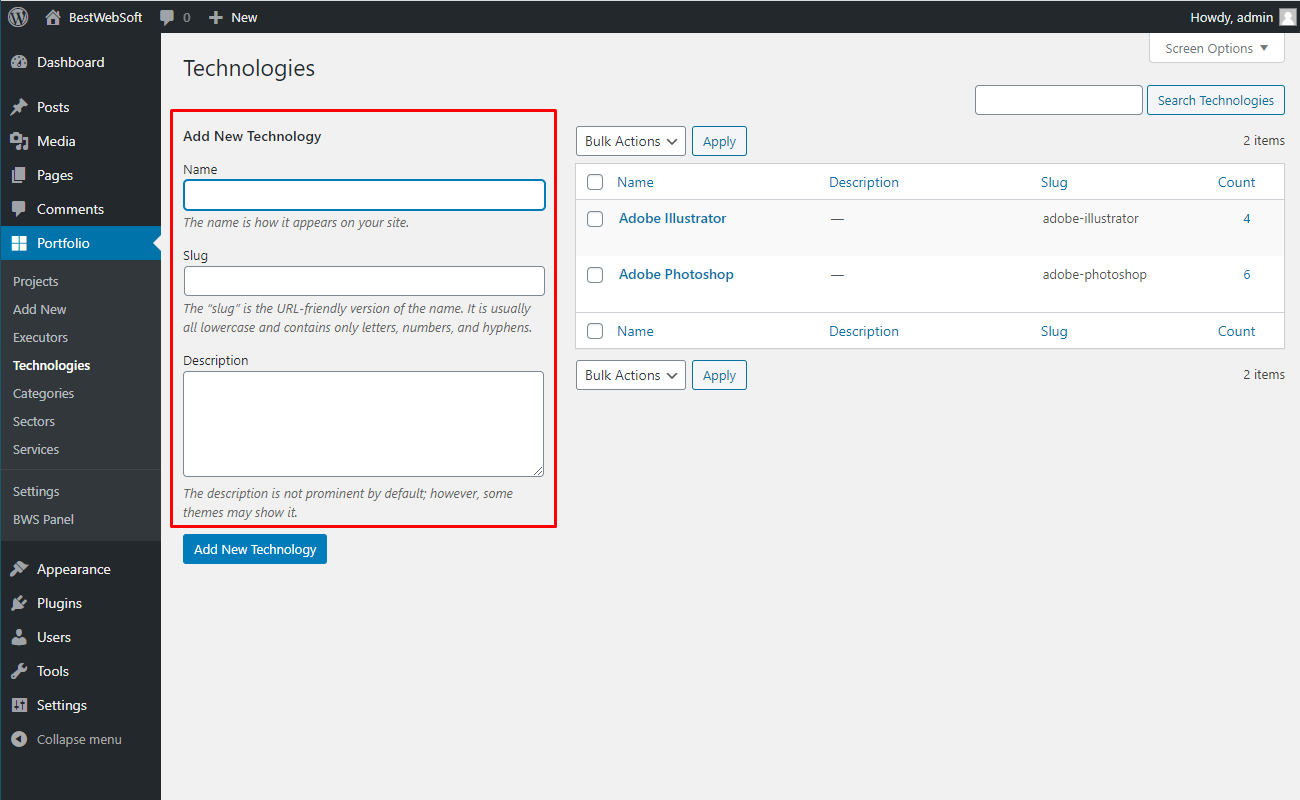
11. Technologies
Use the options of the “Technologies” page to add information about the tools that were used.
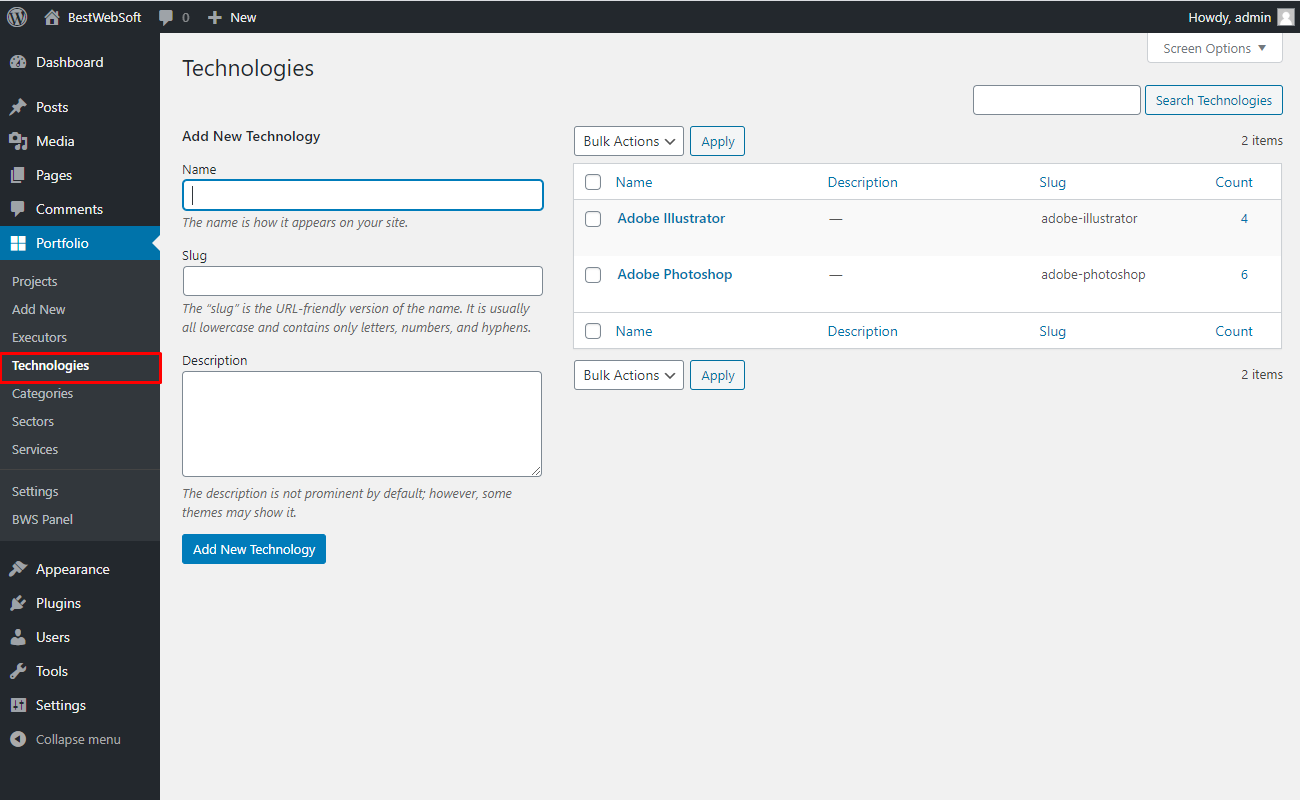
11.1. Add New Technology
Fill the fields of “Add New Technology” to add information about the new technology. Enter the Name, Slug and Description.

11.1.1. After publishing, technologies may look on a page as follows:
11.2. Edit the Technologies list
Select any executor from the list to apply “Bulk Actions” or “Edit”.

12. Categories
Use the options of the “Categories” page to create a new category for easier sorting options.
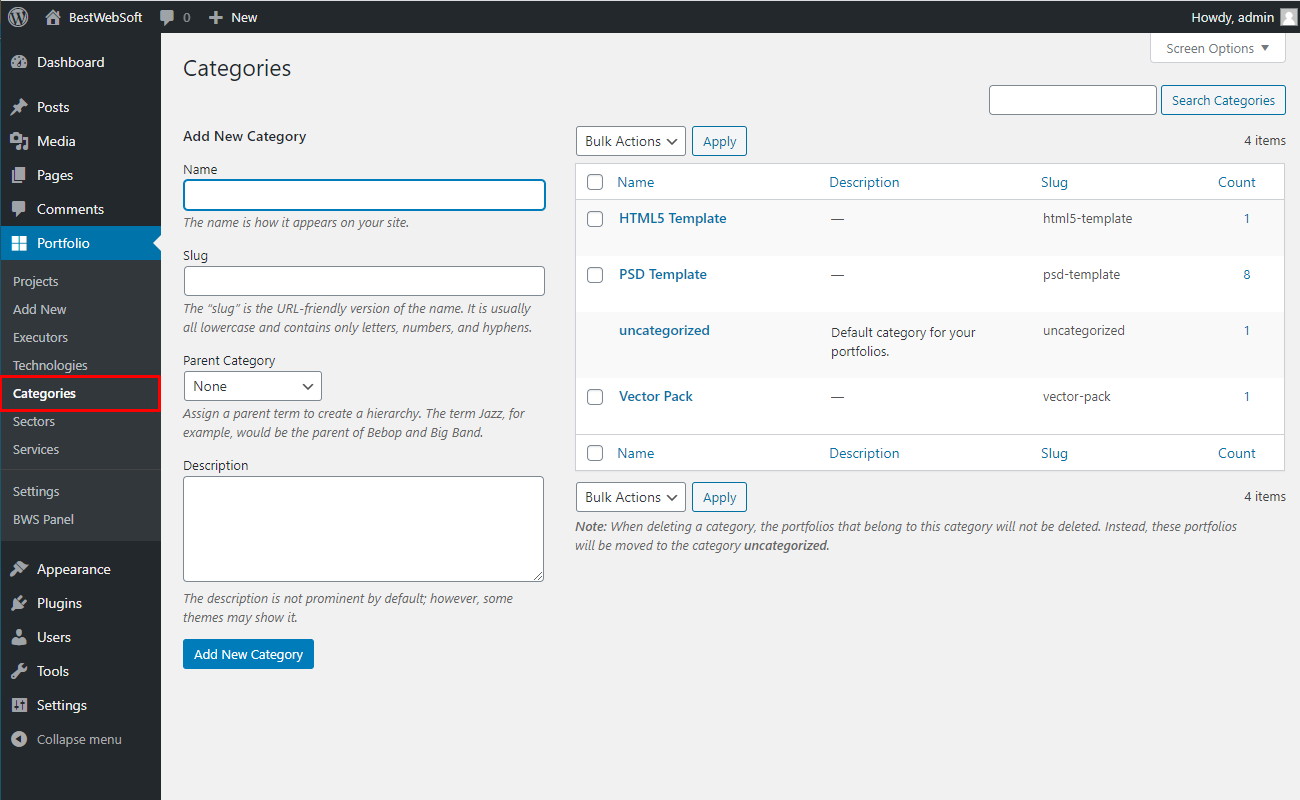
12.1. Add New Category
Fill the fields of “Add New Category” to add information about the new Category. Enter the Name, Slug and Description.
12.1.1. After publishing, categories may look on a page as follows:
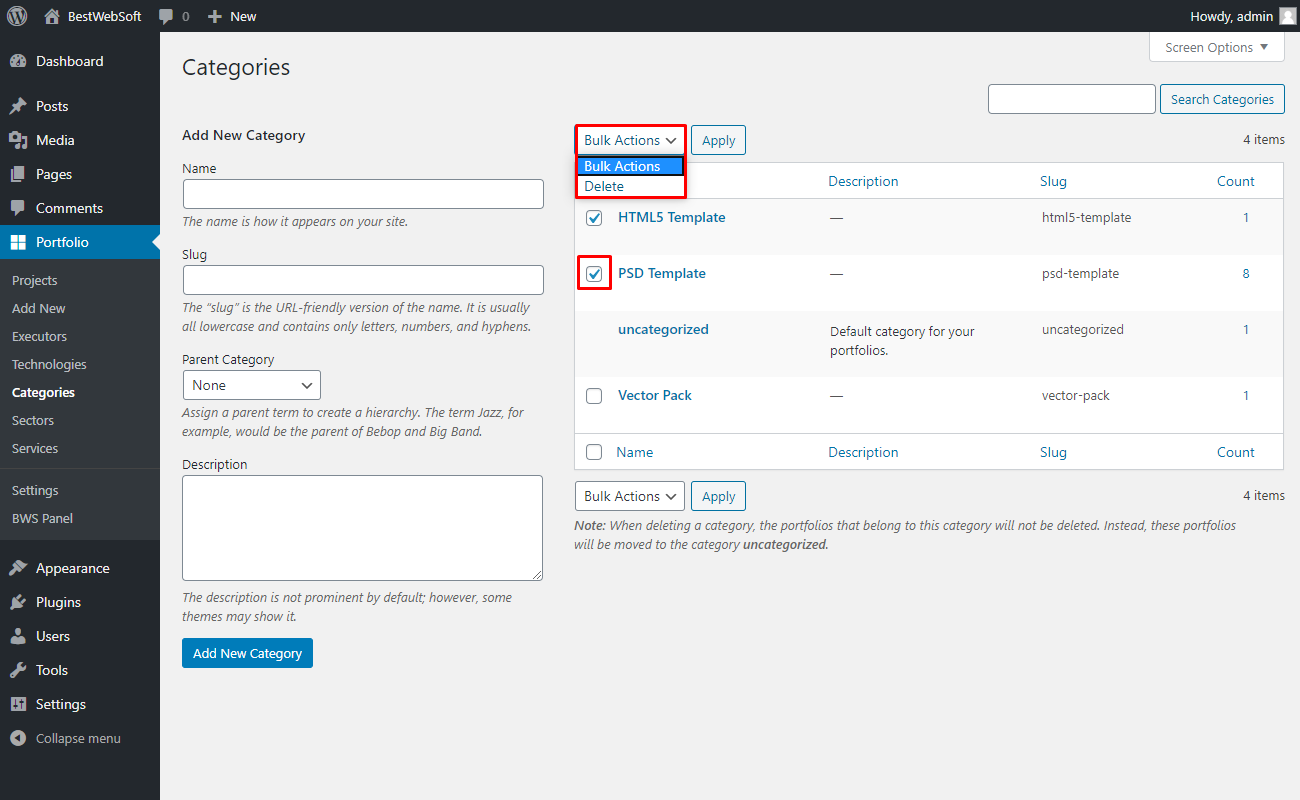
12.2. Edit the Category List
Select any category from the list to apply “Bulk Actions” or “Edit”.
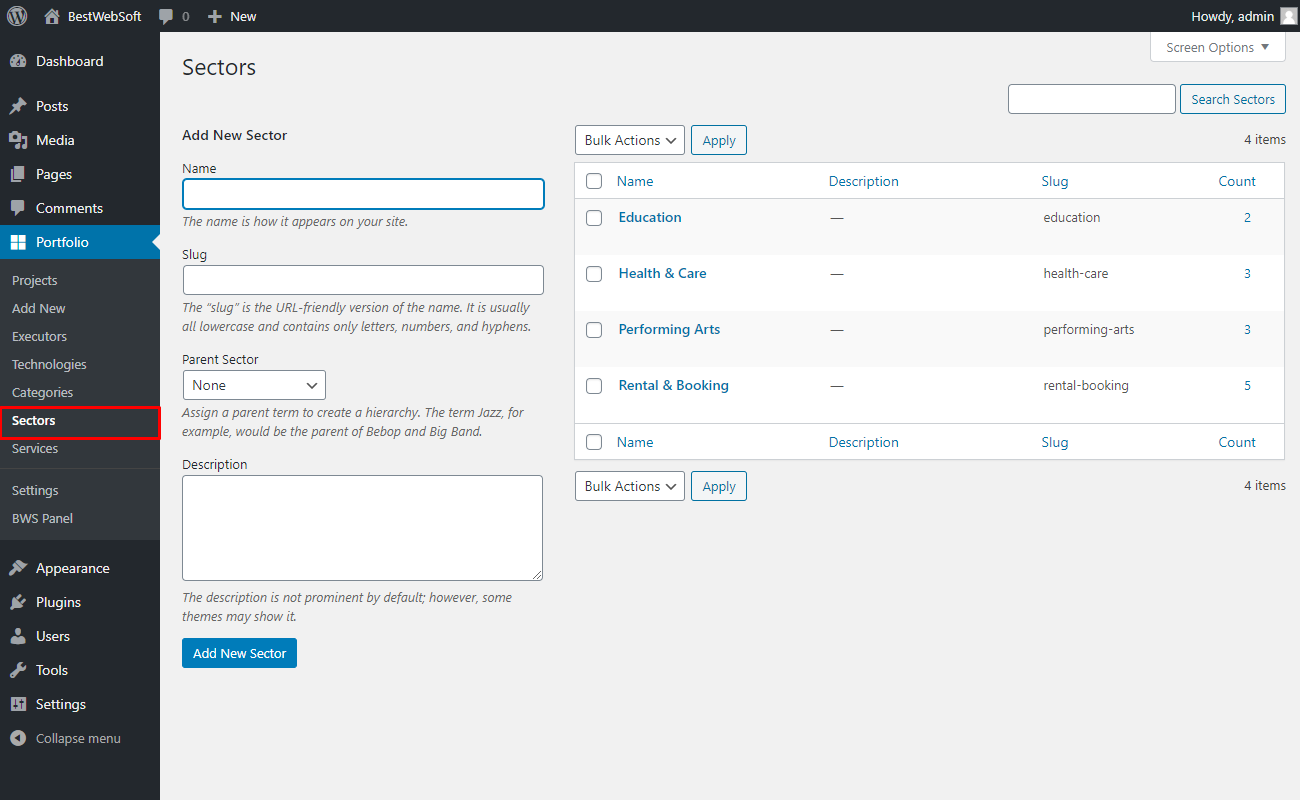
13. Sectors
Use the options of the “Sectors” page to create and add a new sector for easier sorting options.
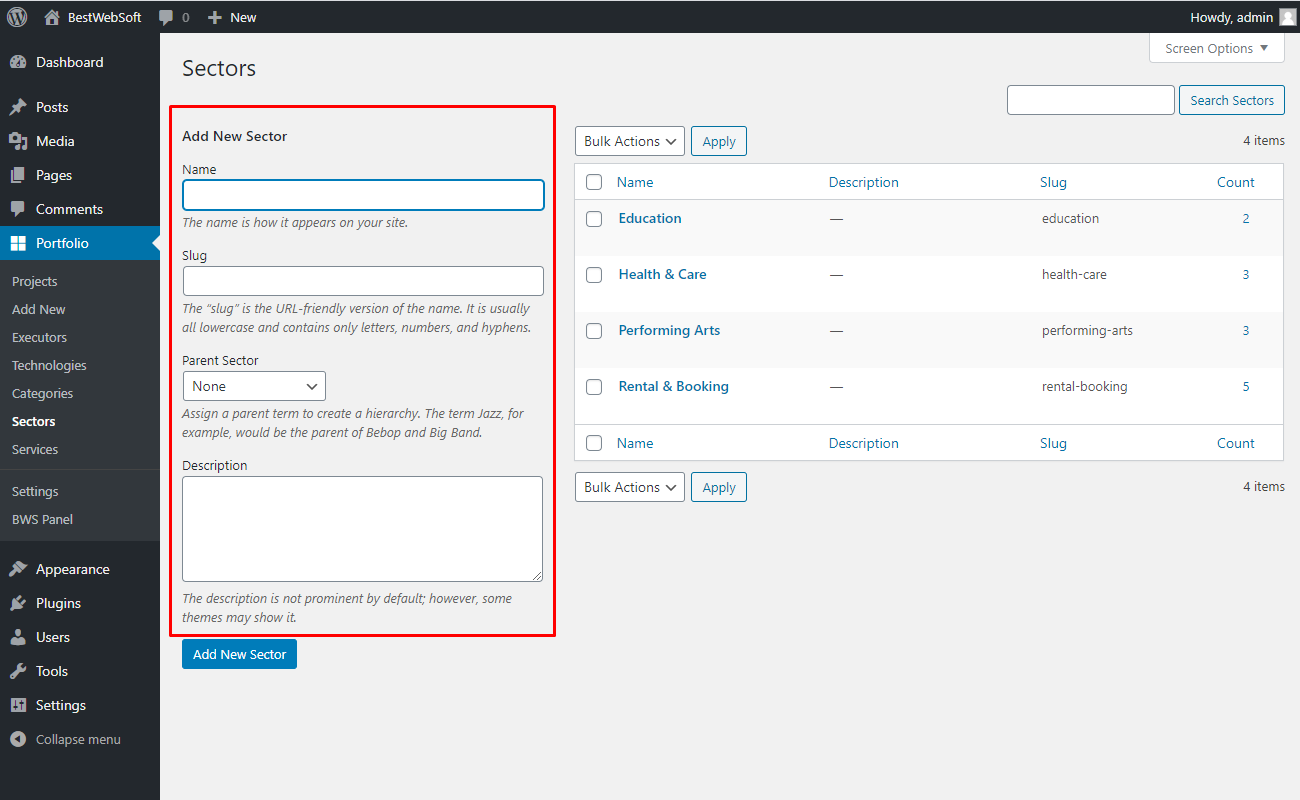
13.1. Add New Sectors
Fill the fields of “Add New Sectors” to add information about the new Sectors. Enter the Name, Slug and Description.
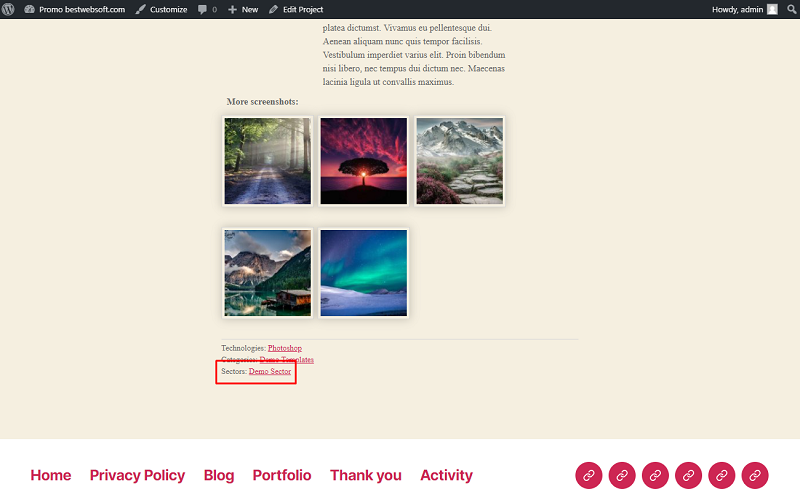
13.1.1. After publishing, sectors may look on a page as follows:
13.2. Edit the Sectors List
Select any Sector from the list to apply “Bulk Actions” or “Edit”.

14. Services
Use the options of the “Services” page to add services performed by the company.
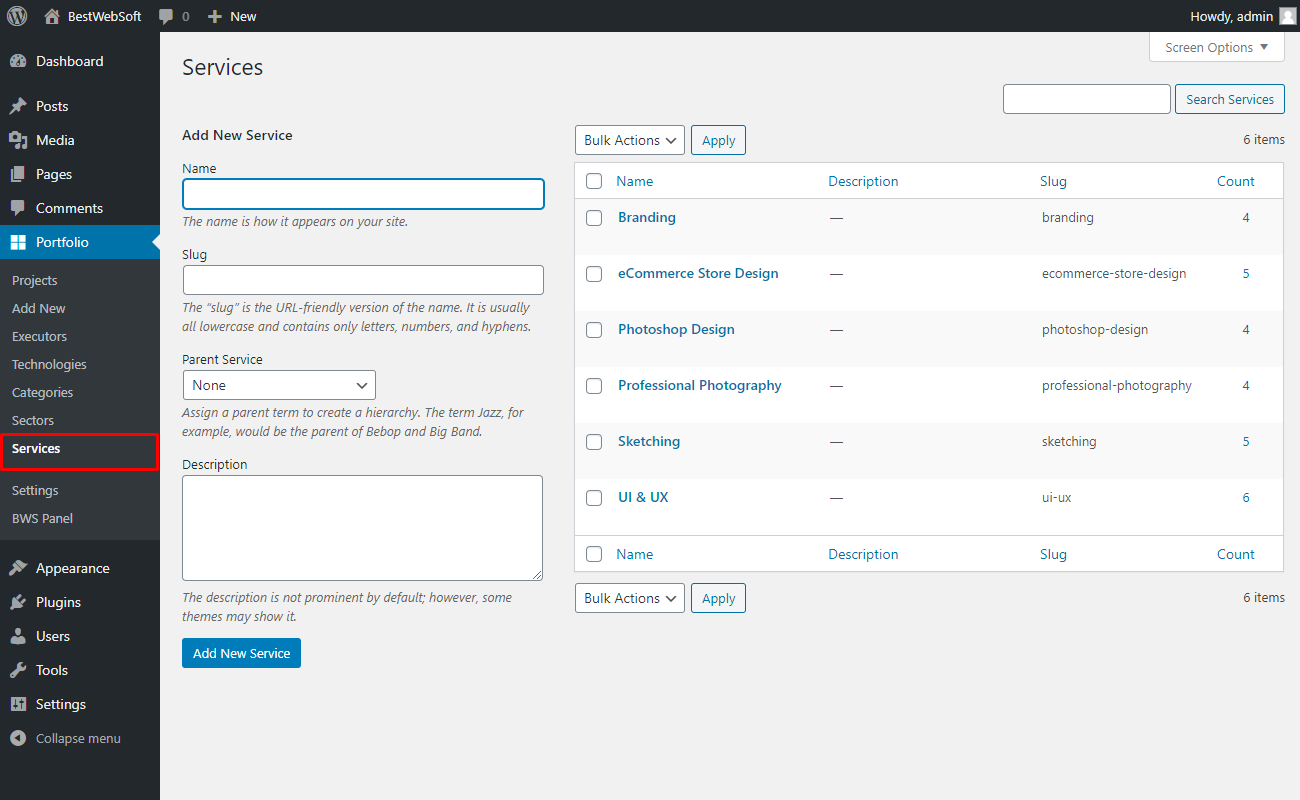
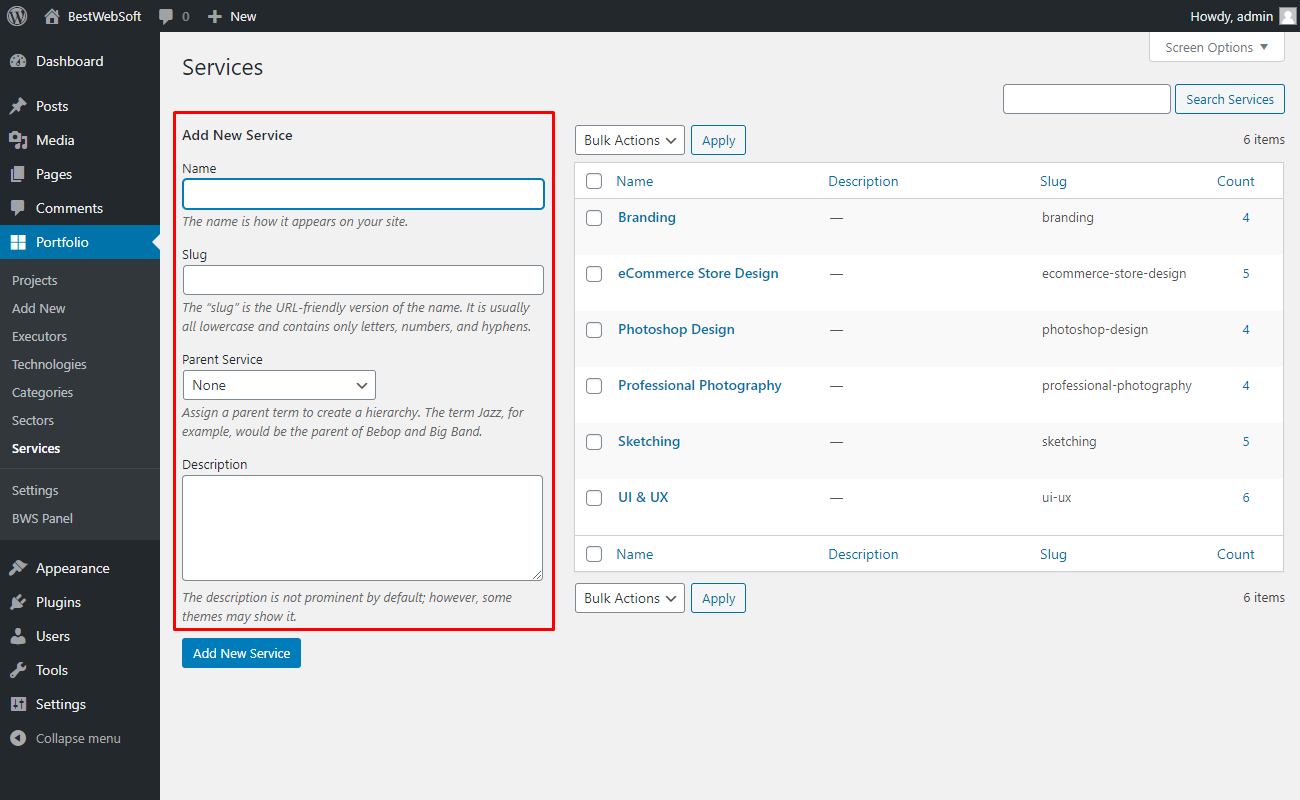
14.1. Add New Service
Fill the fields of “Add New Services” to add information about the new Service. Enter the Name, Slug and Description.
14.1.1. After publishing, services may look on a page as follows:

14.2. Edit the Service List
Select any Service from the list to apply “Bulk Actions” or “Edit”.

15. Shortcode
Use the “Shortcode” in order to post the portfolio to your page.

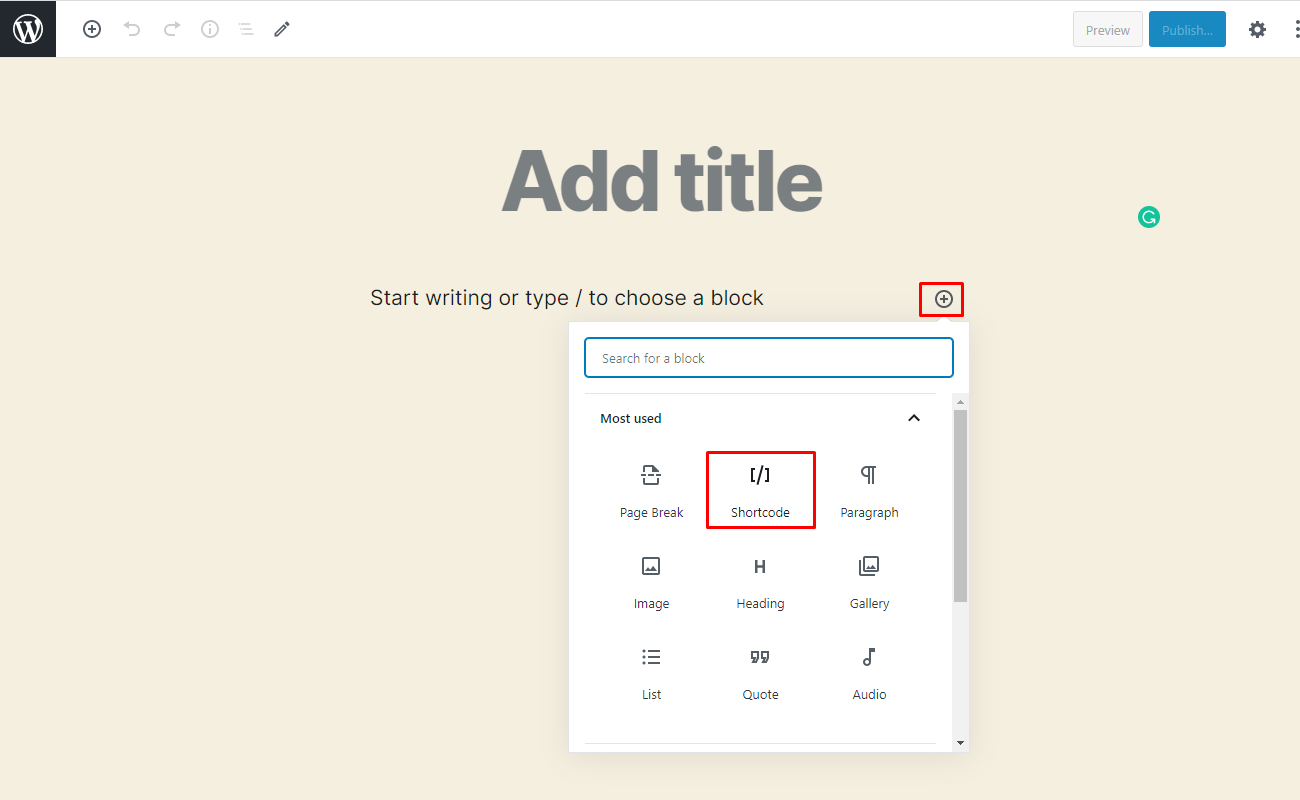
15.1.Copy the necessary shortcode, create a new post or page or open the existing in the “Edit” mode, click on the “Plus” button and then on the “Shortcode” button.
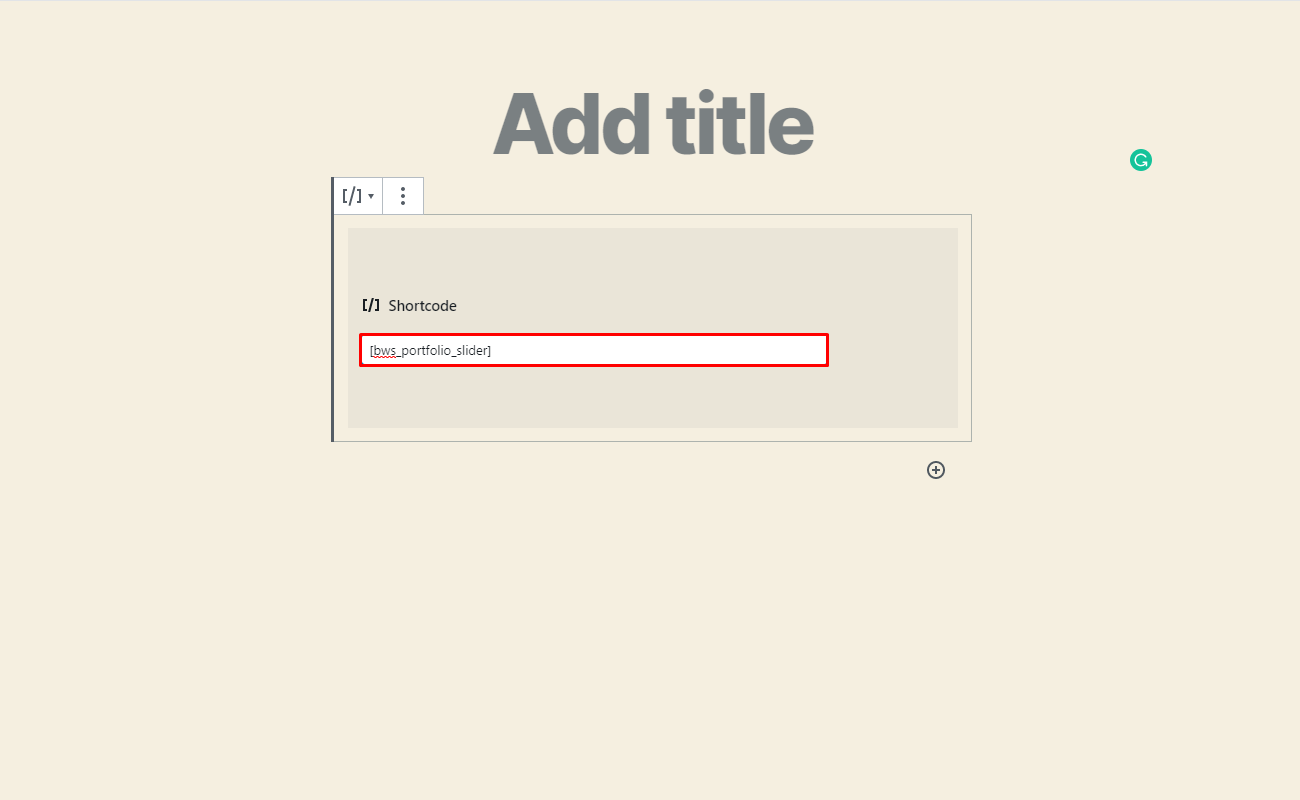
15.2. Insert copied earlier shortcode into the appropriate field.
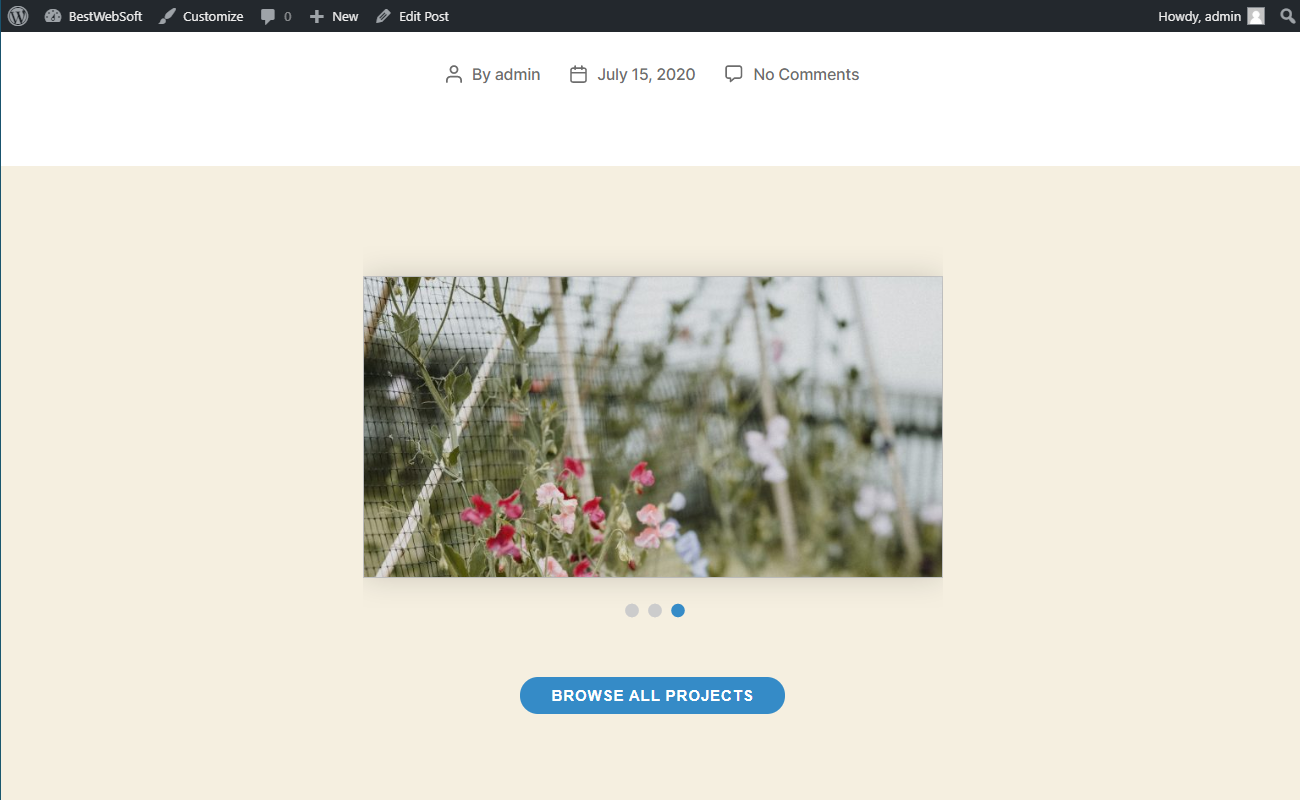
15.3. Click “Publish...” and then “Preview” buttons in order to see the post. The portfolio slider will look on the page in the following way.

15.4. The latest portfolio projects will look on the page in the following way.

Thank you!
Help & Support
Visit our Help Center if you have any questions — https://support.bestwebsoft.com/
Services
We provide additional services such as WordPress themes & plugins development,
graphic design, custom programming.
Contact us now to get a free quote — https://bestwebsoft.com/contacts/

