User Guide Realty Plugin


Realty
User Guide
Realty WordPress | 1.1.5 * 5.6 * |
*When using other versions some differences are possible to occur
** Screenshots were taken from a PC
Table of Contents
2.5.3. Manage License Settings
You can download the Realty plugin here https://bestwebsoft.com/products/wordpress/plugins/realty/
1. Introduction
Note: Сlick the “Save Changes” button to apply any changes. |
1.1. Open your WordPress Admin Dashboard and find the menu on the left.
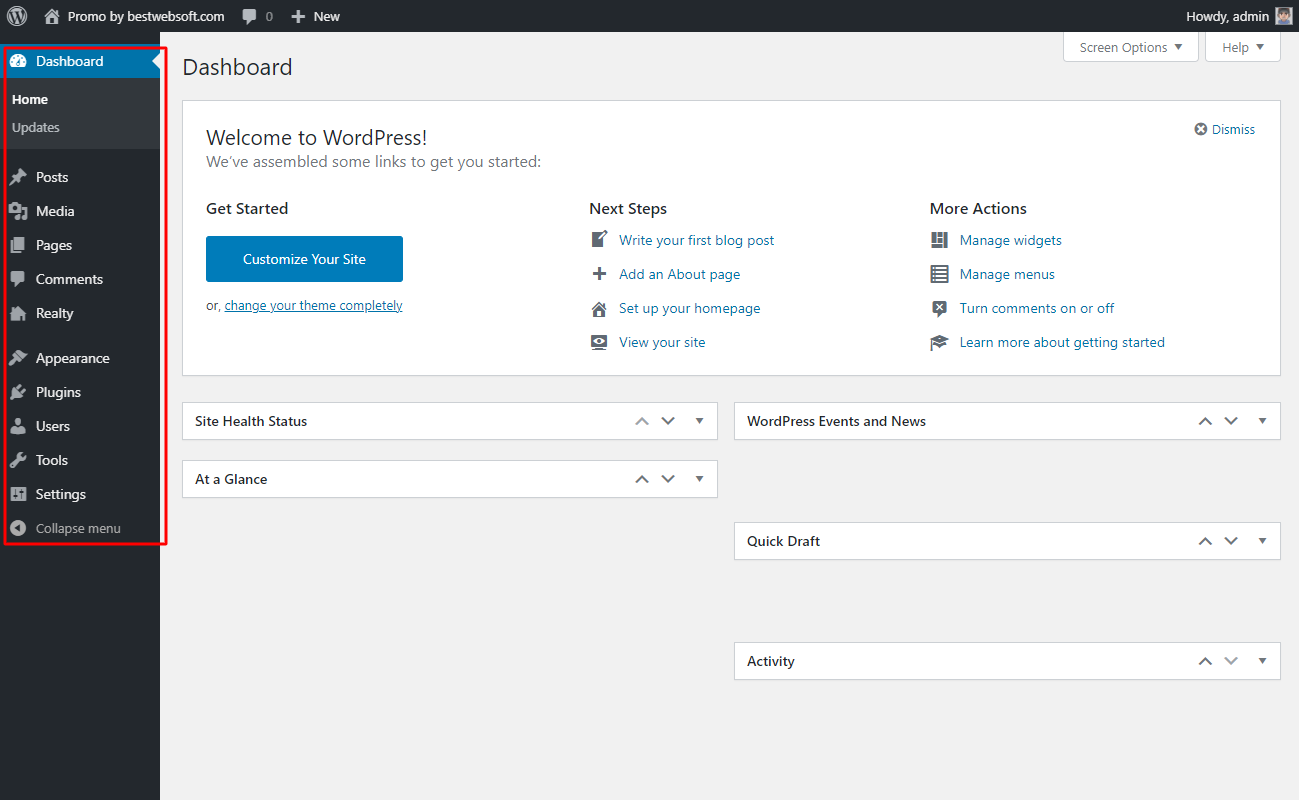
1.2. Go to the “Realty” > “Settings” on your dashboard.

1.3. The “Settings” page will open.

2. Settings
Use the options of the “Settings” page to make the global settings for the plugin.

2.1. Realty Settings
Use the options of the “Realty Settings” tab to customize the appearance of the realty pages.
2.1.1. Display Price
Use the “Display Price” option to enable to display the price on the property pages.

2.1.2. Currency
Use the “Currency” option to select the currency for the price tags.
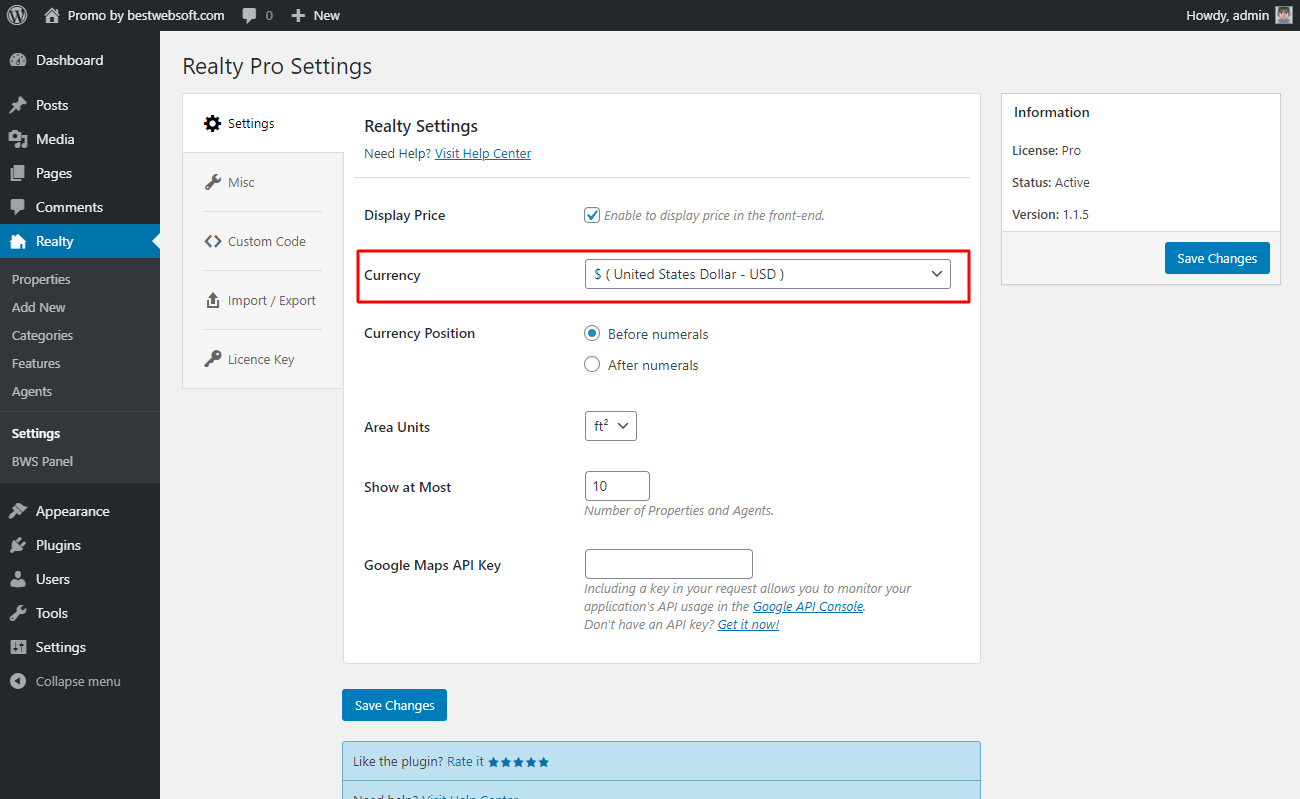
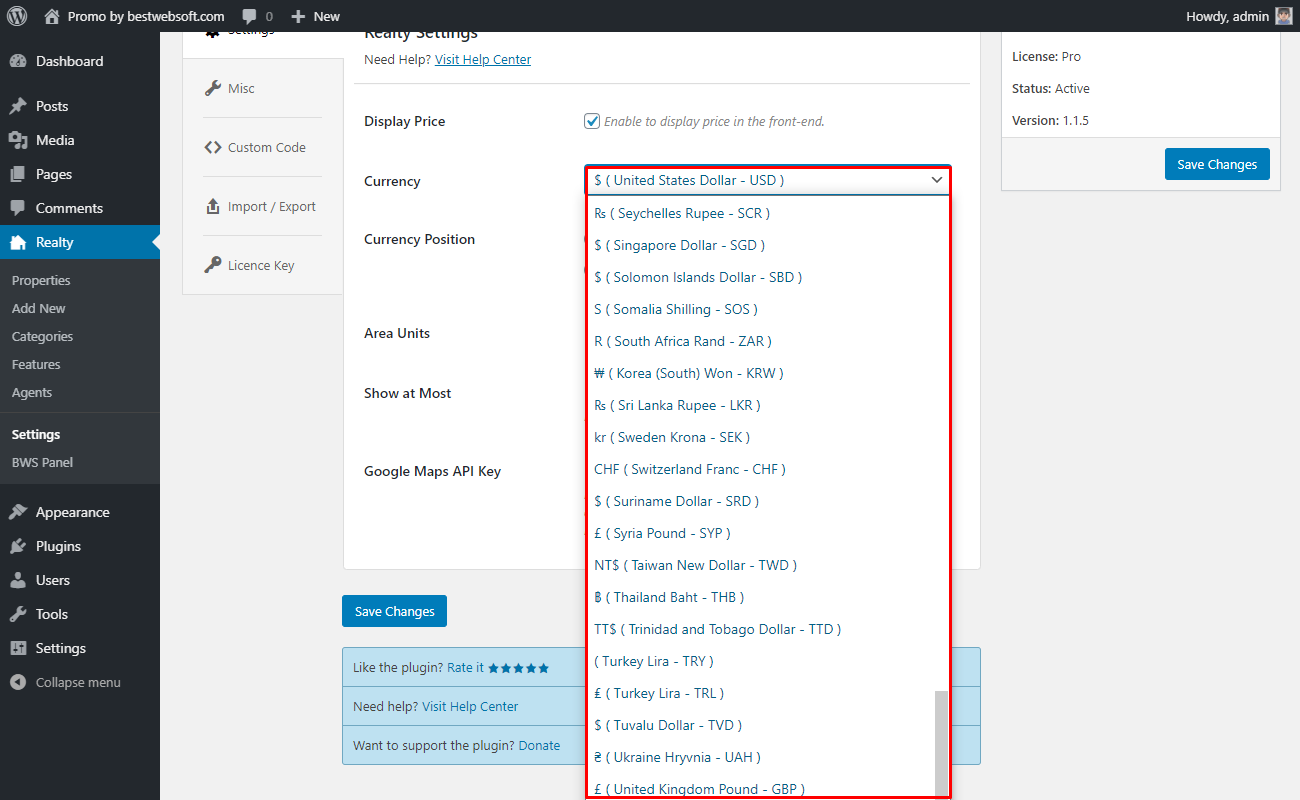
2.1.2.1. Select the necessary currency in the dropdown menu.
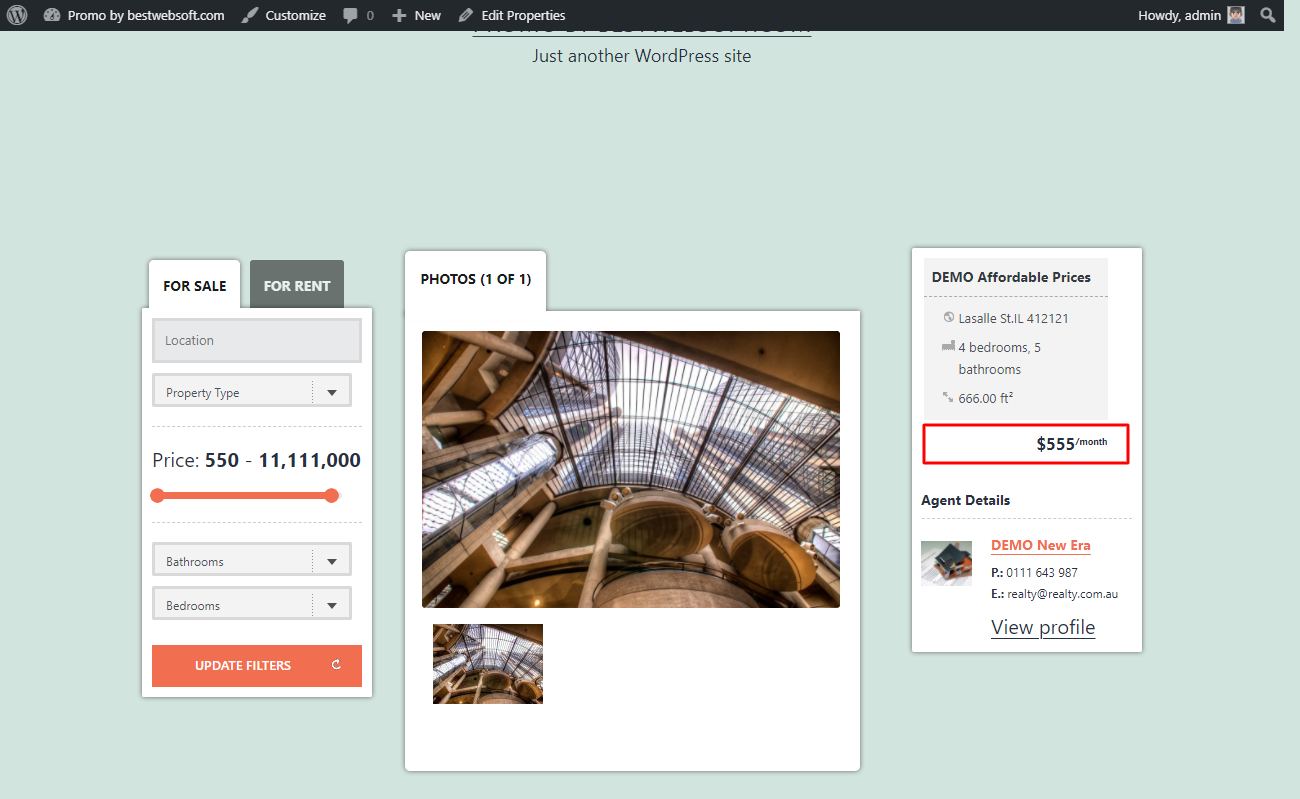
2.1.2.2. The selected currency may look on a page as follows.
2.1.3. Currency Position
Use the “Currency Position” option to choose the position of a currency near the numerals.

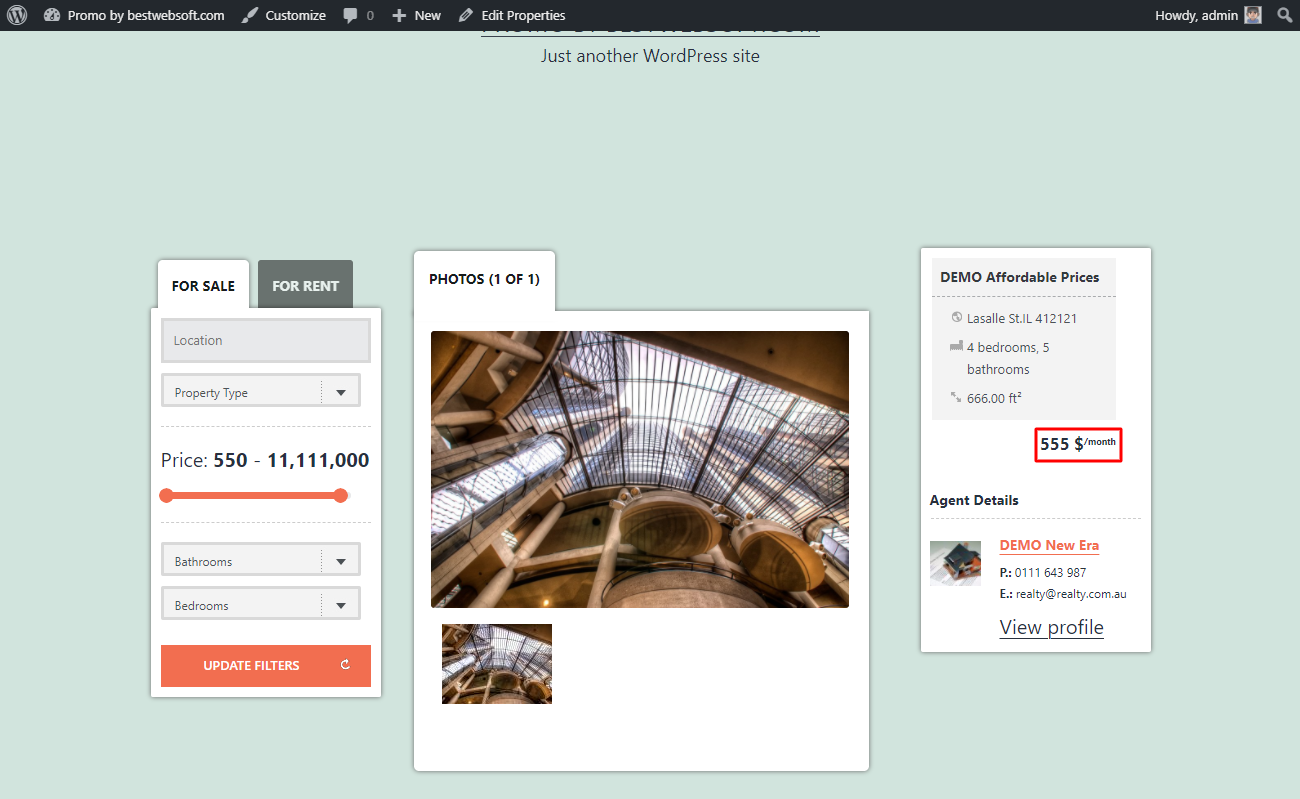
2.1.3.1. Choose “Before numerals” to display currency position as follows.

2.1.3.2. Choose “After numerals” to display currency position as follows.
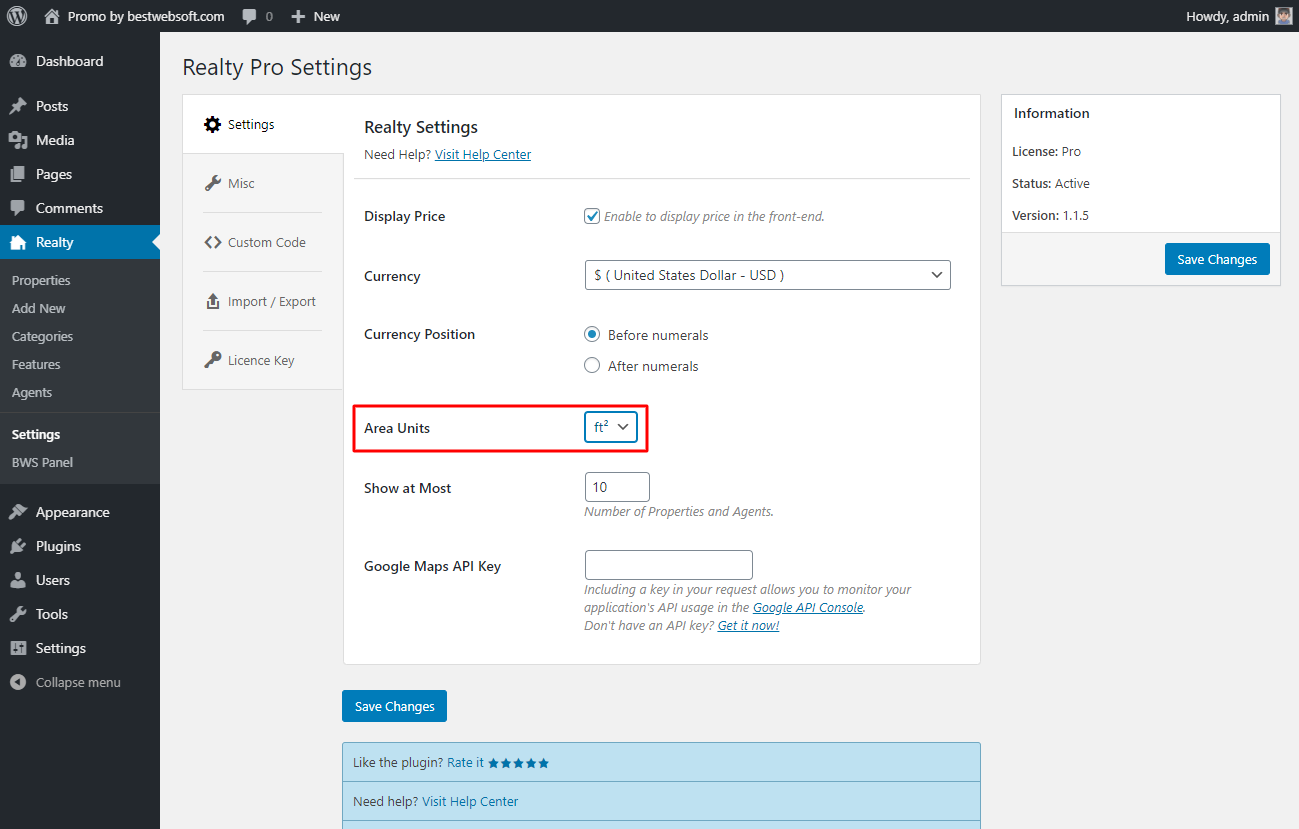
2.1.4. Area Units
Use the “Area Units” option to choose the type of area unit selection.
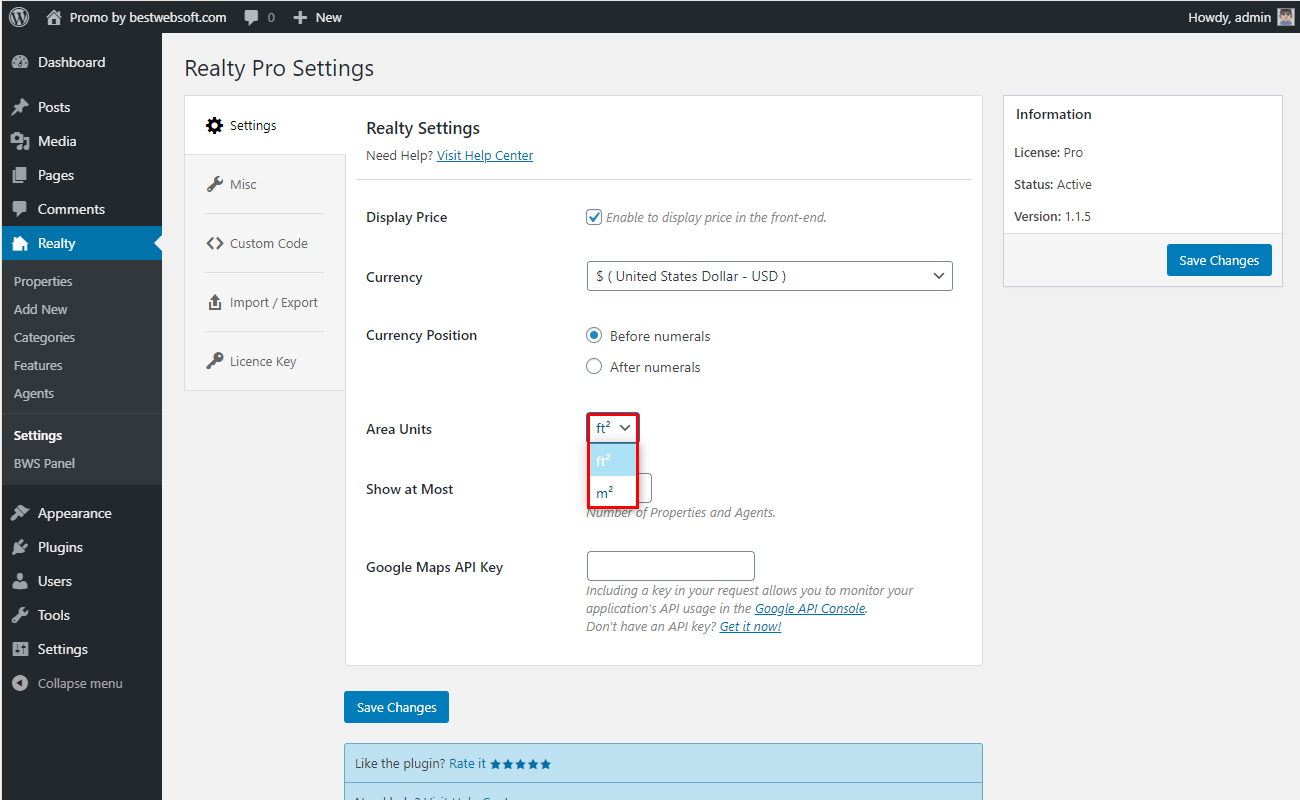
2.1.4.1. Select the necessary units in the dropdown menu.
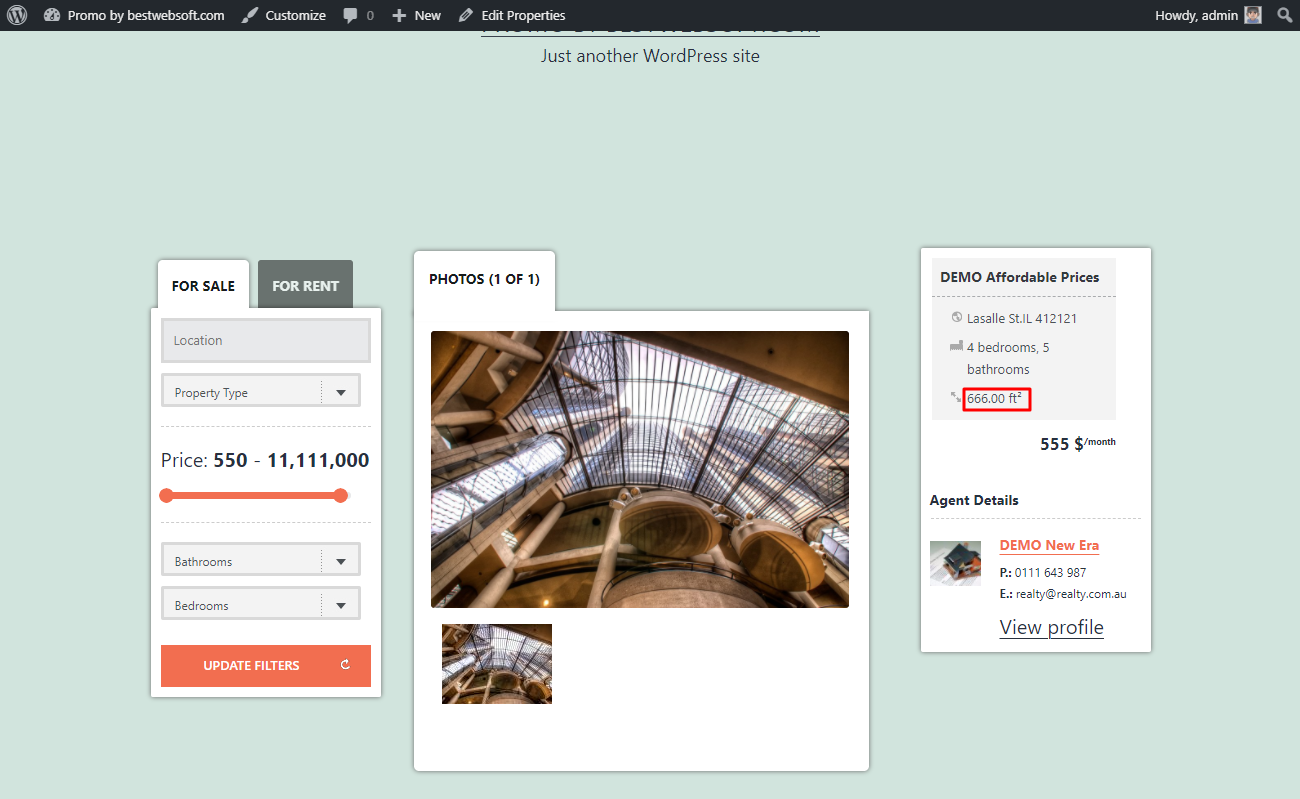
2.1.4.2. The selected “ft²” may look on a page as follows.
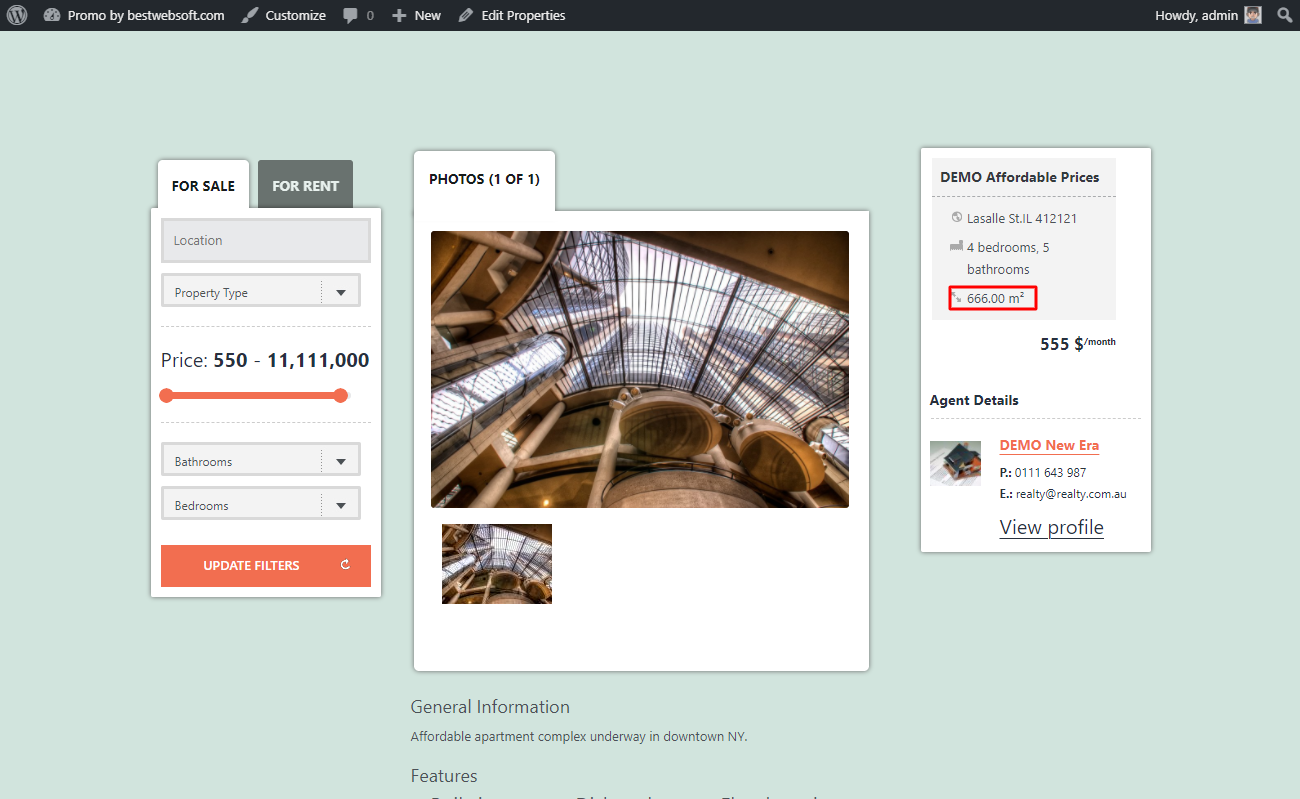
2.1.4.3. The selected “m²” may look on a page as follows.
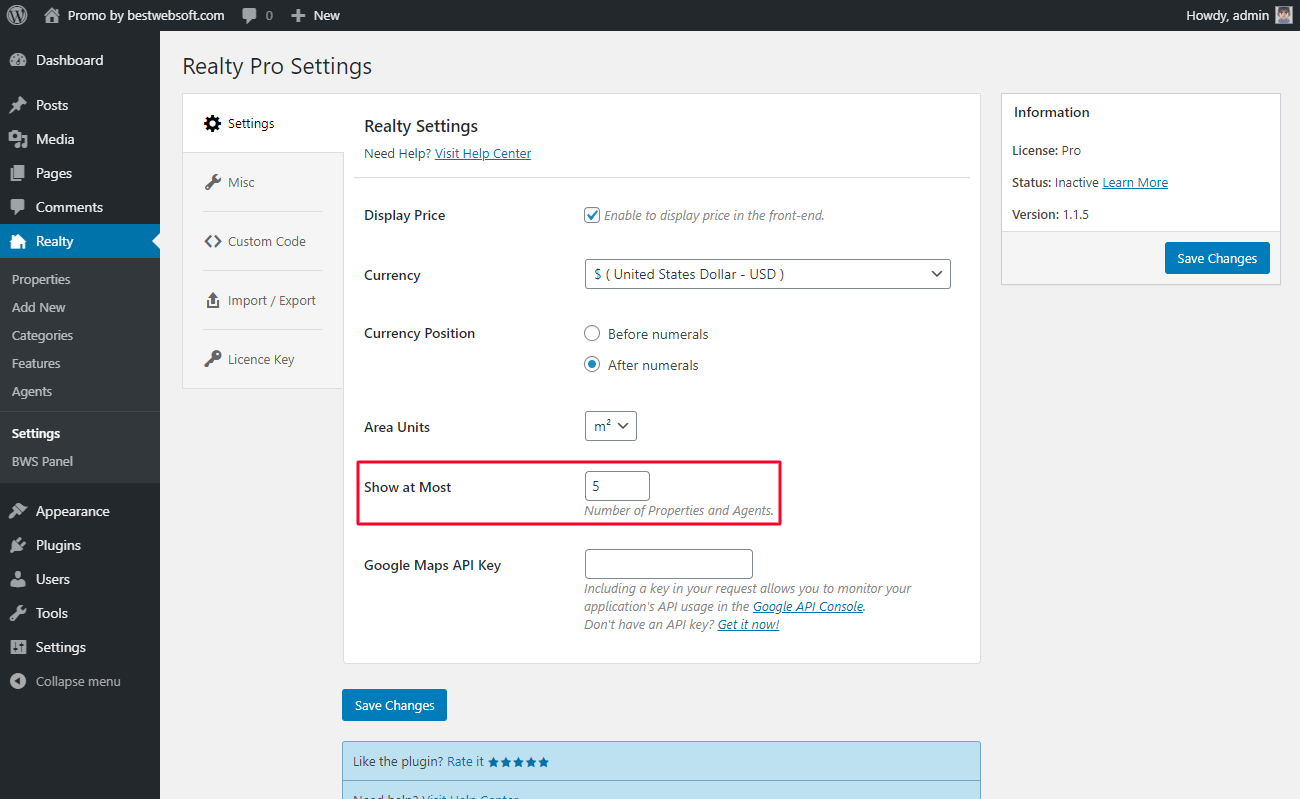
2.1.5. Show at Most
Use the “Show at Most” option to set the display of the maximum number of properties and agents.
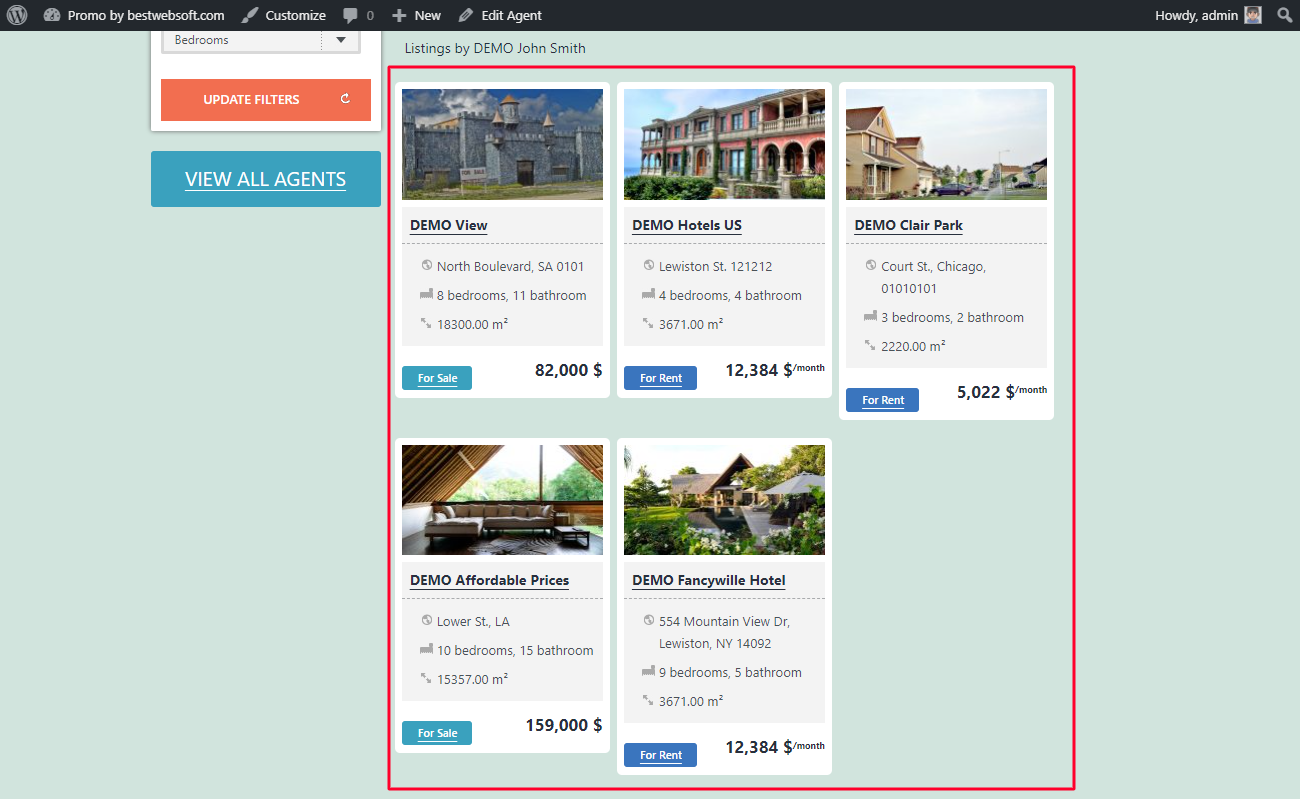
2.1.5.1. The “Show at Most” set to 5 will look on a page as follows.
2.1.6. Google Maps API Key
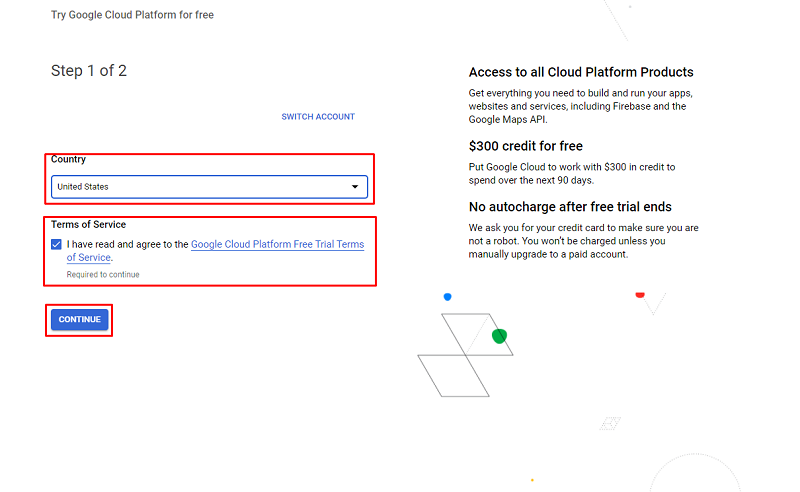
To receive the Google Maps API key go to https://cloud.google.com/maps-platform/, click the “Get Started” button, and sign in to your google account.

2.1.6.1. To use the Google Maps platform you need to add the billing info. Choose your country, accept terms of service, and click the “Continue” button.
2.1.6.2. Enter your personal info and click the “Start My Free Trial” button.

2.1.6.3. Go to https://cloud.google.com/maps-platform/ and click the “Console” button.

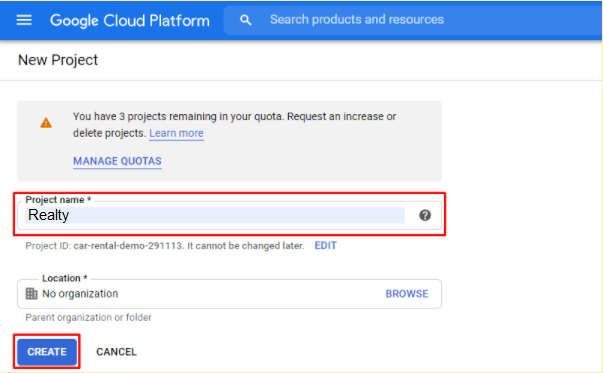
2.1.6.4. Enter the projects’ names and click the “Create” button.
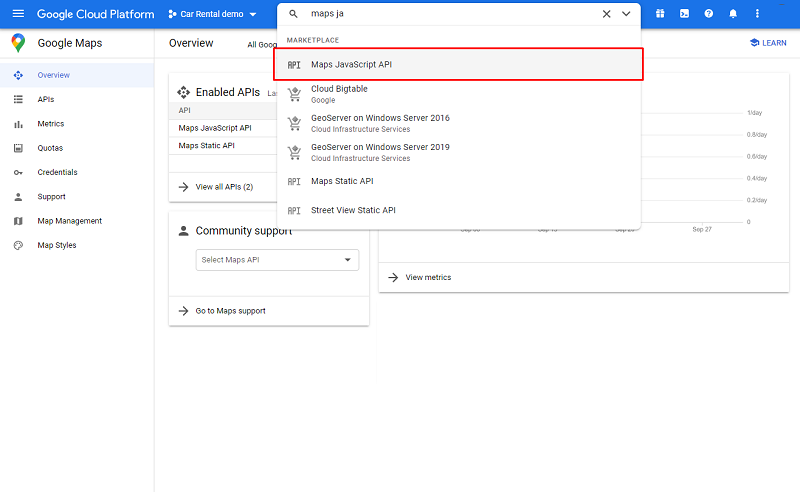
2.1.6.5. On the next page, use the search field and enter “Maps JavaScript API” and click on the title.
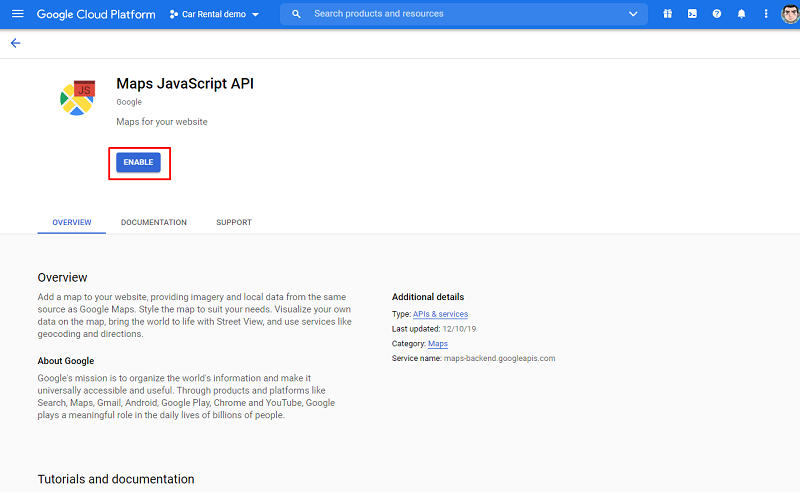
2.1.6.6. Maps JavaScript API page will open. Click the “Enable” button.
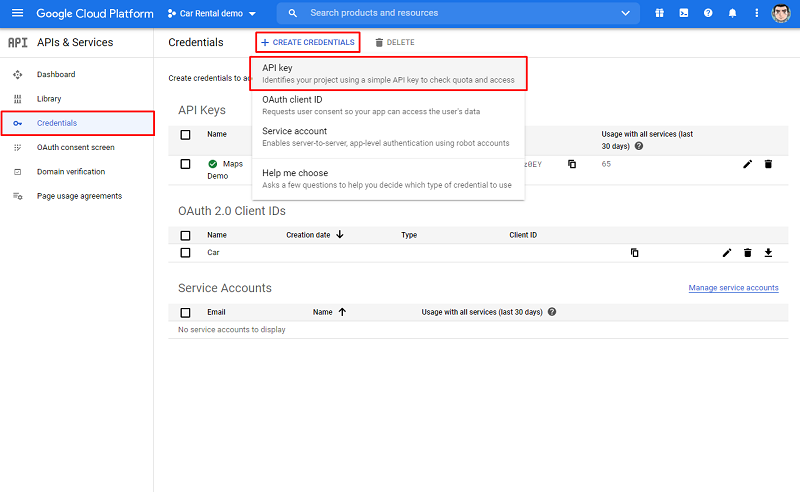
2.1.6.7. Open the “Credentials” tab click the “Create Credentials” button and select “API key”.
2.1.6.8. Copy the created API key.
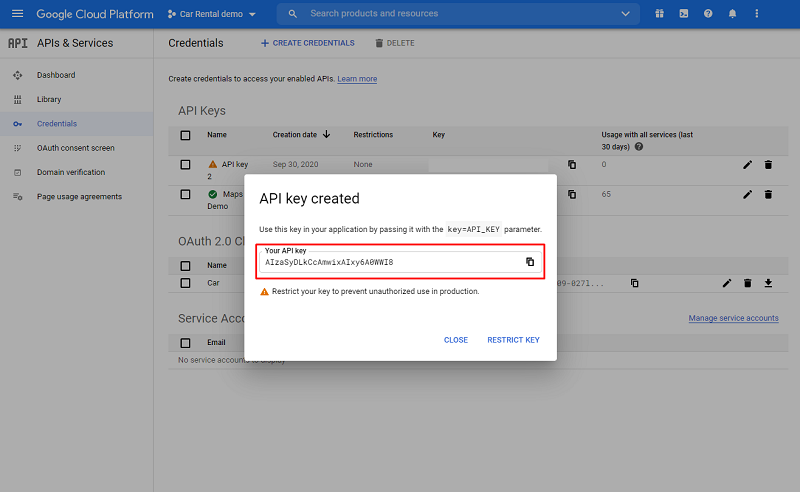
2.1.6.9. Paste the key to the “Google Maps API Key” option field on the “Maps” > “Settings” page. After those actions, Google Maps will be available.

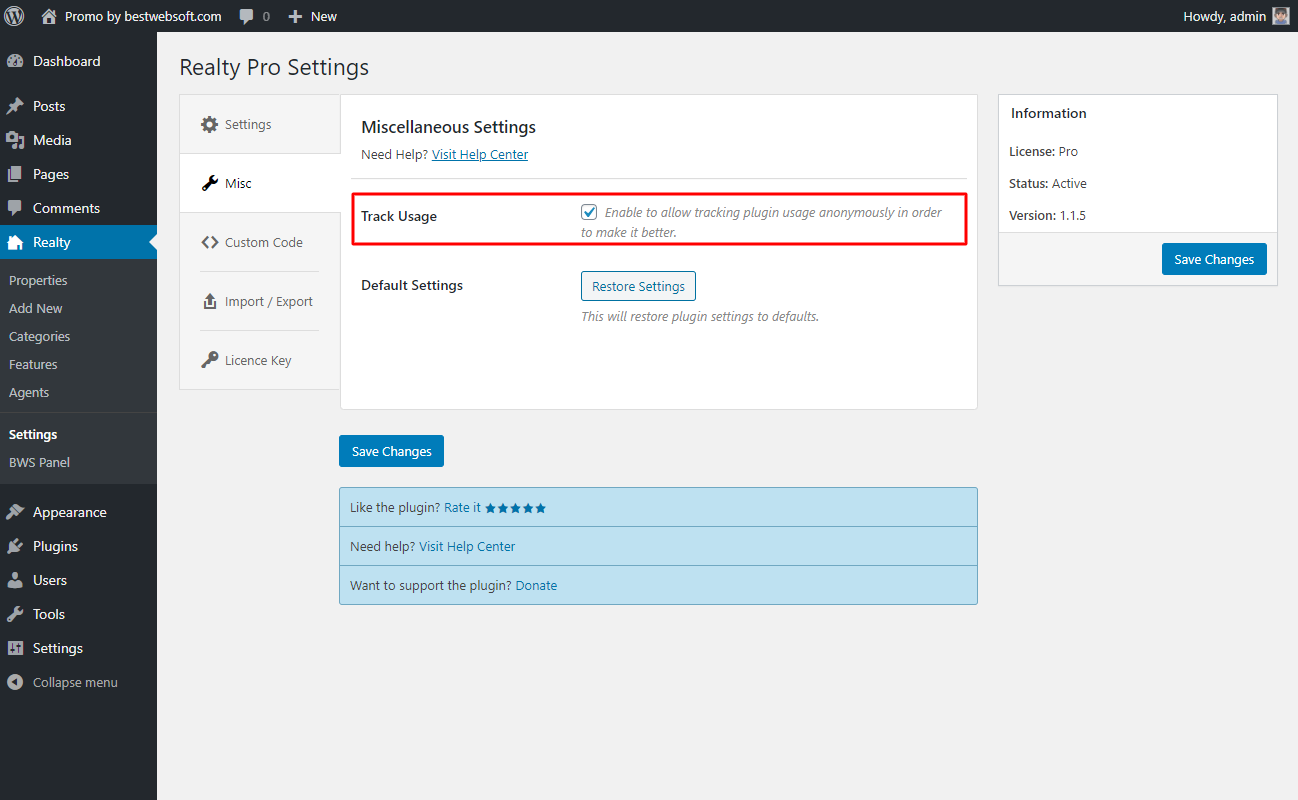
2.2. Miscellaneous Settings
Use the options of the “Miscellaneous Settings” tab to make the settings regarding the track usage and default settings.
2.2.1. Track Usage
Enable the “Track Usage” option to allow tracking plugin usage anonymously.
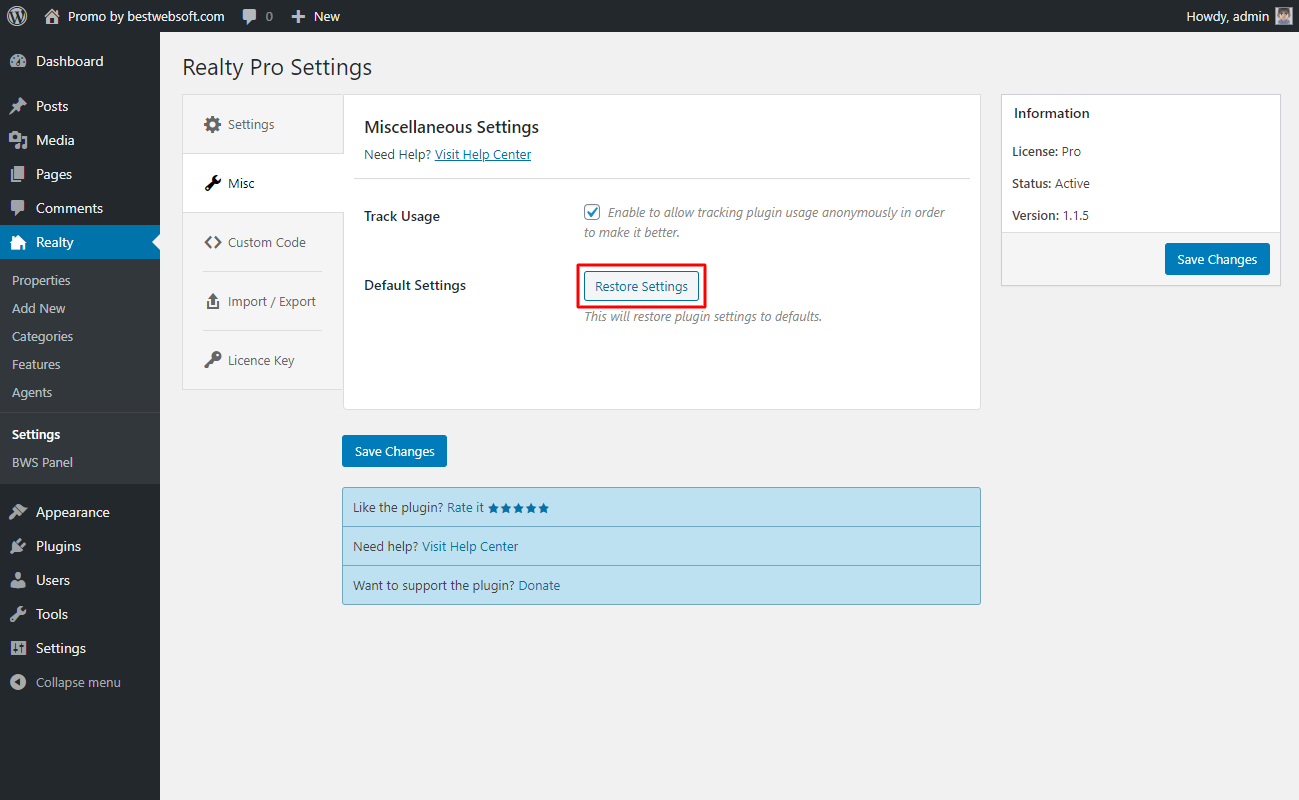
2.2.2. Default Settings
Click the “Restore Settings” button to reset all the settings made previously and revert them to the default ones.
2.3. Custom Code
Use the “Custom code” tab to insert a CSS, PHP, or JavaScript code. To activate a custom code, enable the “Activate custom … code” option and save changes.

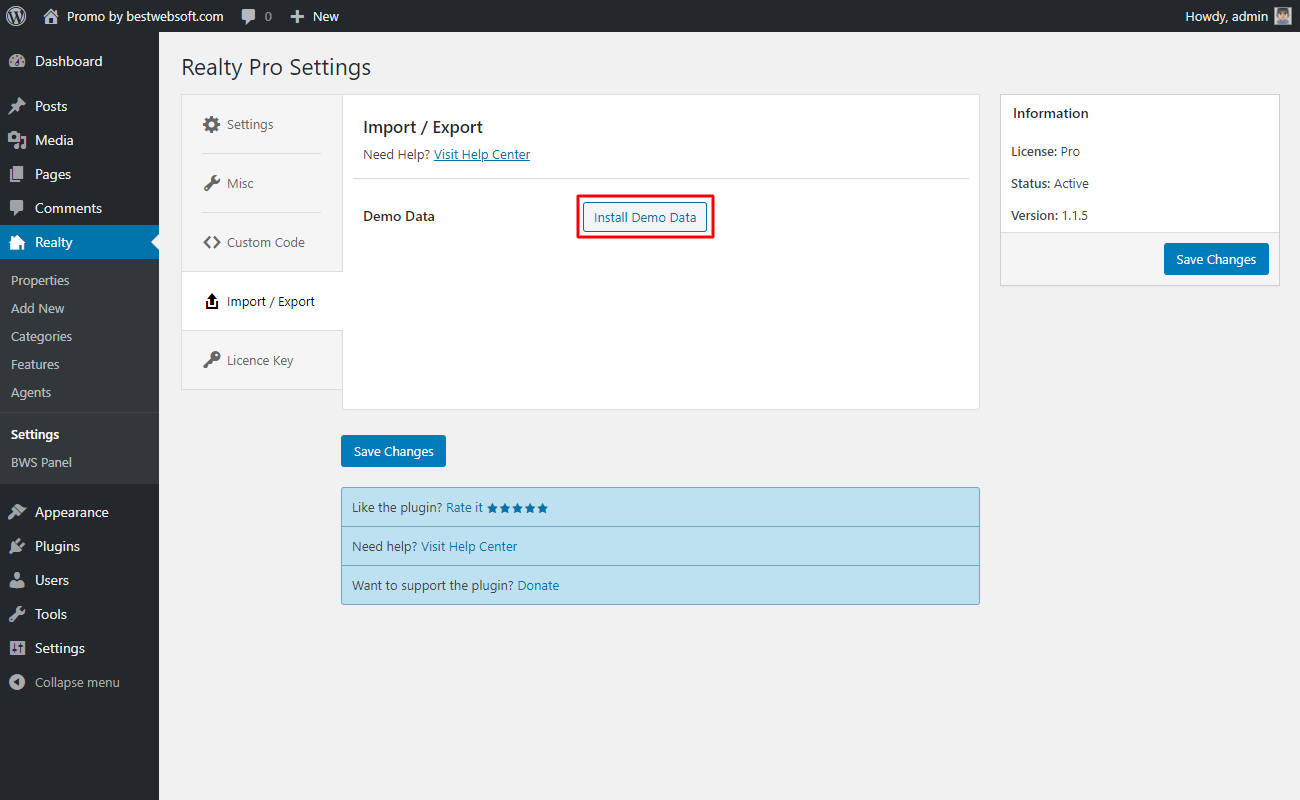
2.4. Import / Export
Use the “Import / Export” tab to install or delete the demo content like houses and demo extras with images, details and manufacturers. Click the “Install Demo Data” next to the “Demo Data” option to install it.
2.4.1. To remove demo data click the “Remove Demo Data” button next to the “Demo Data” option.

2.5. License Key
Use the “License Key” tab to activate or check the Pro plugin license.
2.5.1. Pro License
After a successful plugin purchase, you will receive an email notification with a download link and a license key. Activate Pro license by adding a license key into the field “Realty Pro License” and clicking the “Save Changes” button.

2.5.2. Check License Key
To check the license key, click the “Check license key” button. If the entered key is correct, the message “The license key is valid. Your license will expire on XXXX-XX-XX” will be displayed.

2.5.3. Manage License Settings
Use the “Manage License Settings” option to change your license settings. Click the “Login to Client Area” button to open your personal Client Area dashboard located on the https://bestwebsoft.com/ website. Browse and download purchased products, change the licensed domain and copy the license keys.

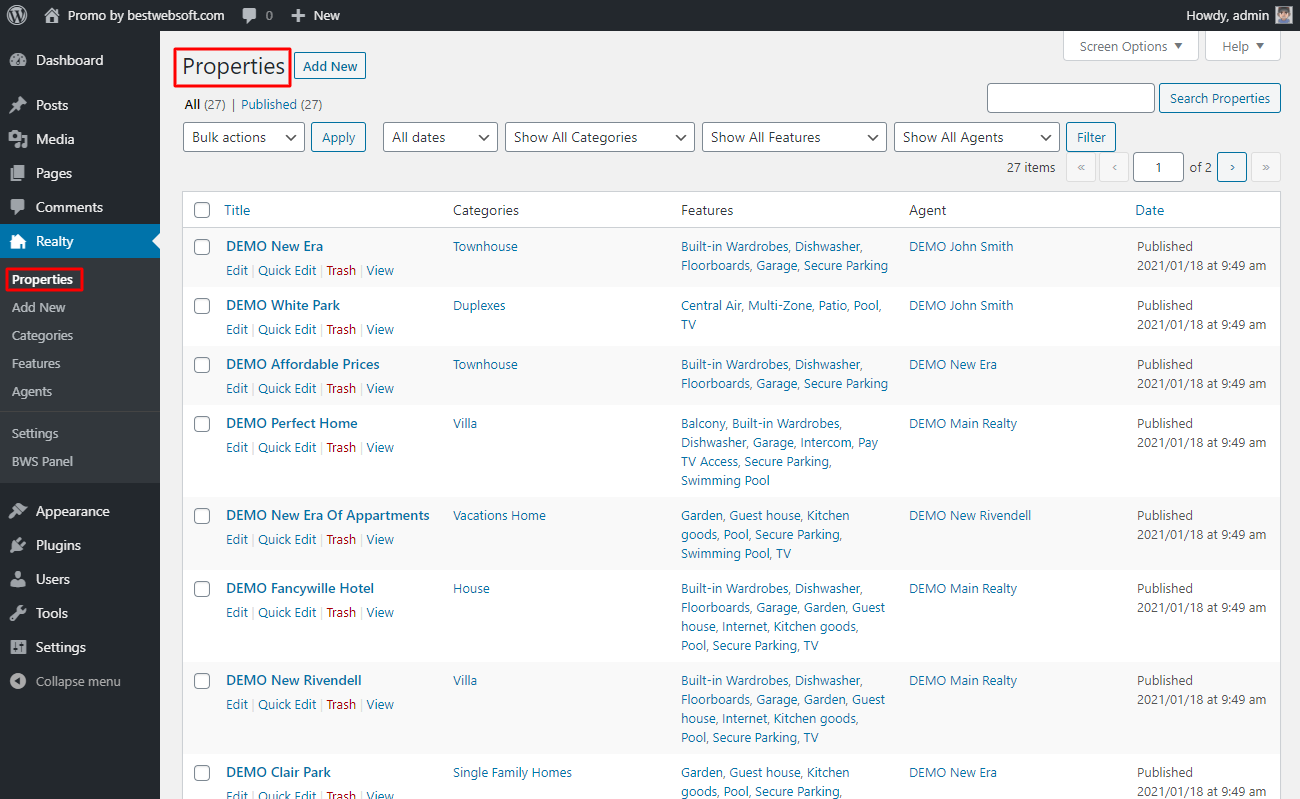
3. Properties
Use the “Properties” page to add new and manage existing properties and related products.
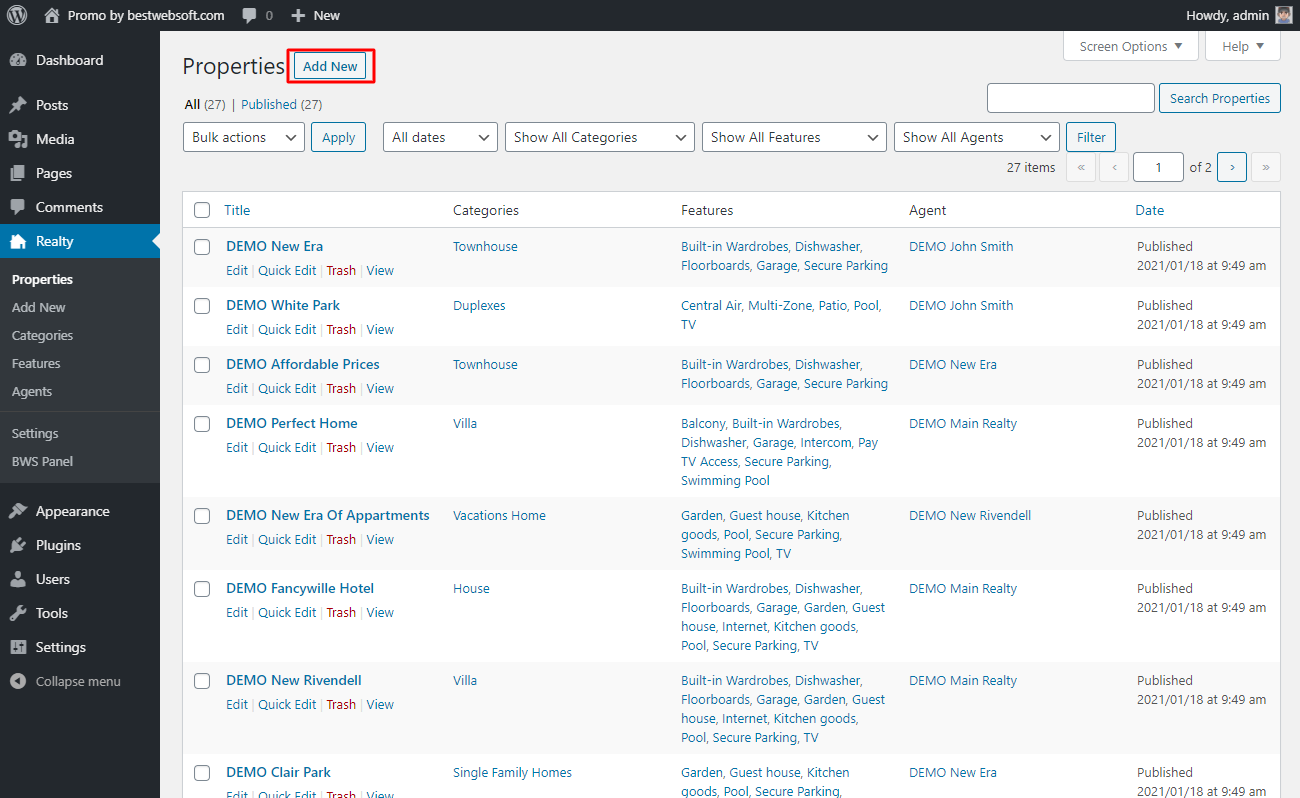
3.1. Add New
Click the “Add New” button to add a new properties page.
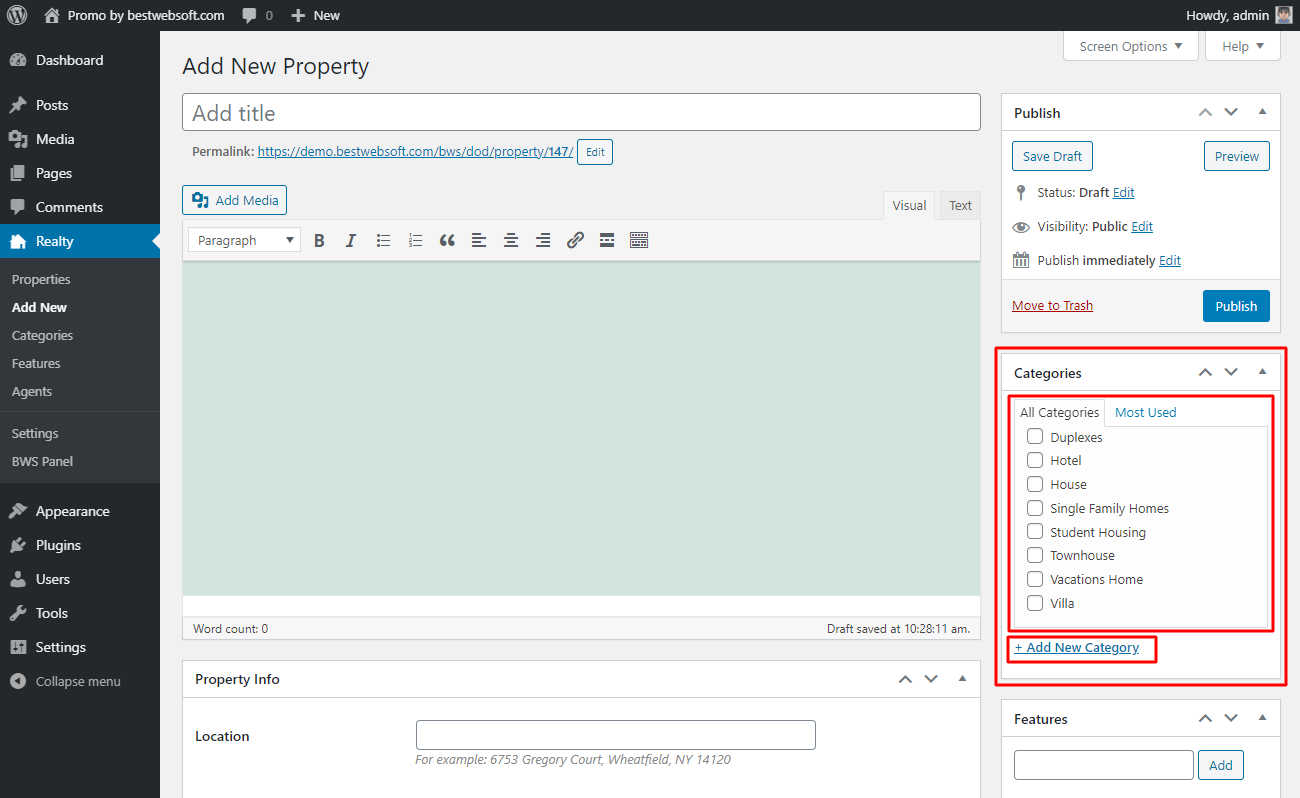
3.1.1. Add Title
Enter the property’s name in the appropriate field.

3.1.2. Categories
Use the “Categories” section to add categories related to the product or select existing.
3.1.3. Features
Use the “Features” section to add features related to the product or property. Enter the comma-separated features and click the “Add” button.
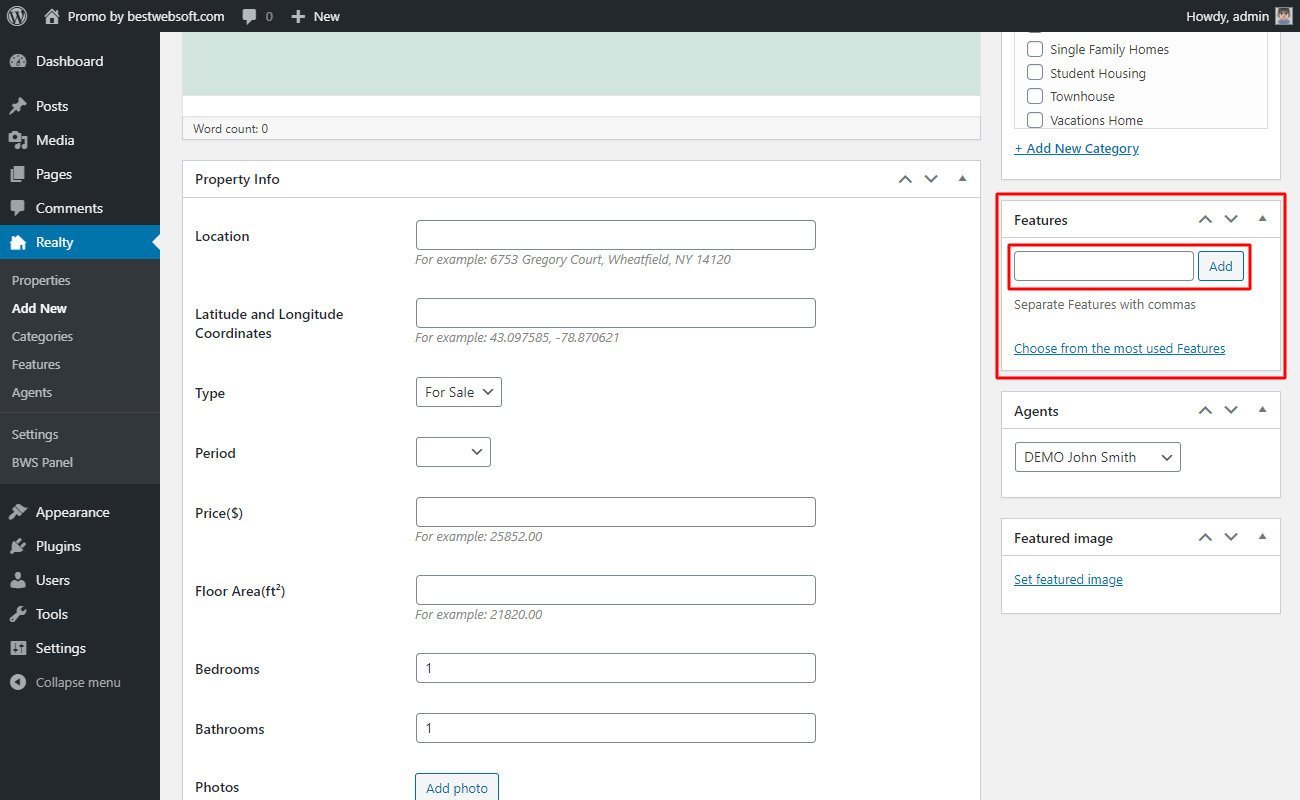
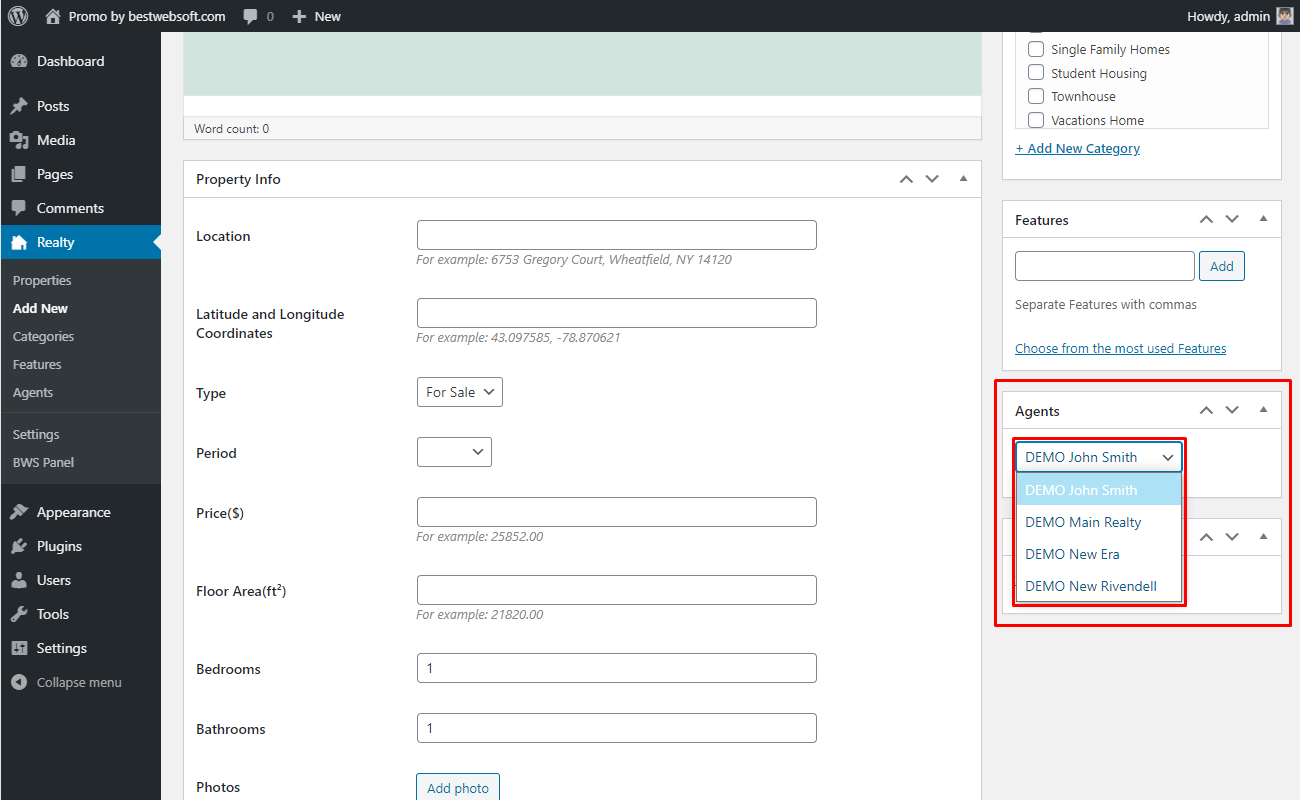
3.1.4. Agents
Use the “Agents” section to add an agent that deals with this property or product. Choose the required agent and click the “Add” button.
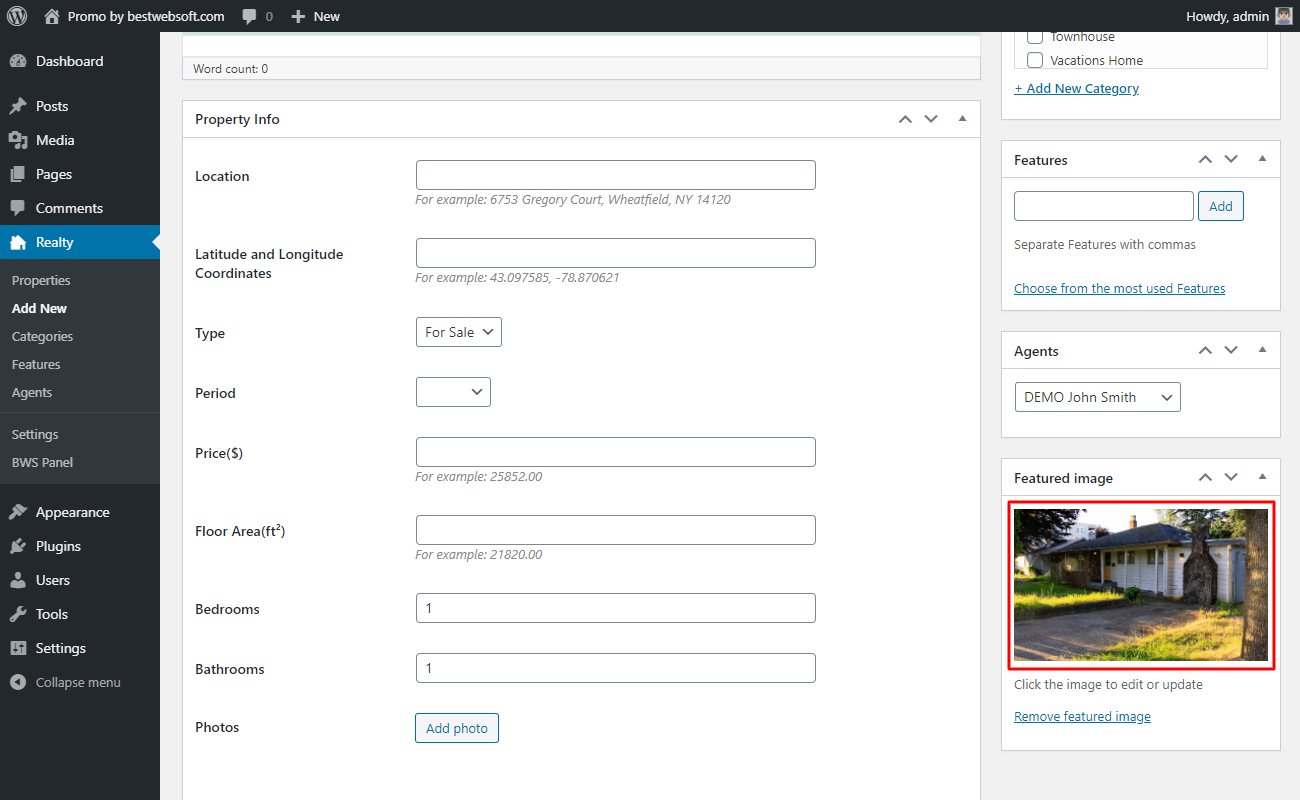
3.1.5. Featured Image
Use the “Featured Image” section to add the main photo of the property.

3.1.5.1. Click the “Set featured image” to upload an image from your device or select it from your media library.

3.1.5.2. Featured image may look as follows.
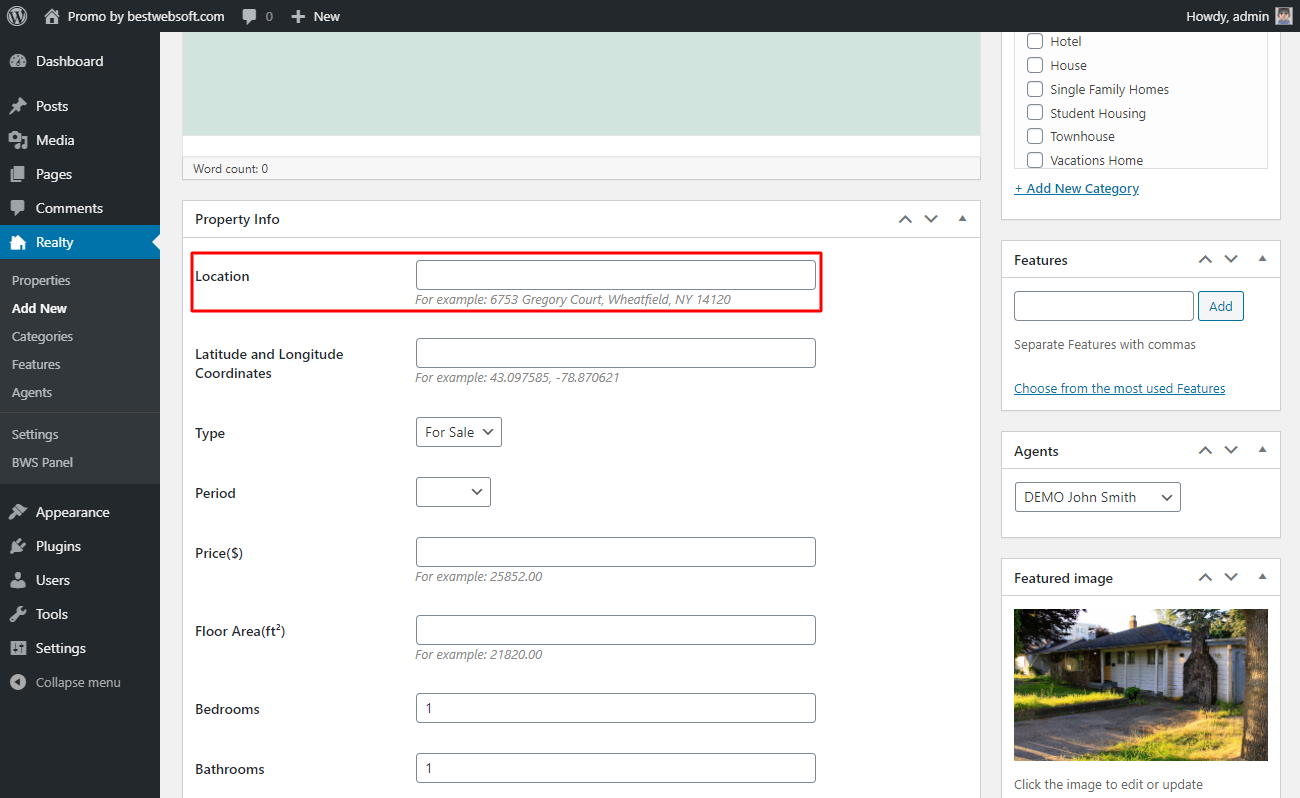
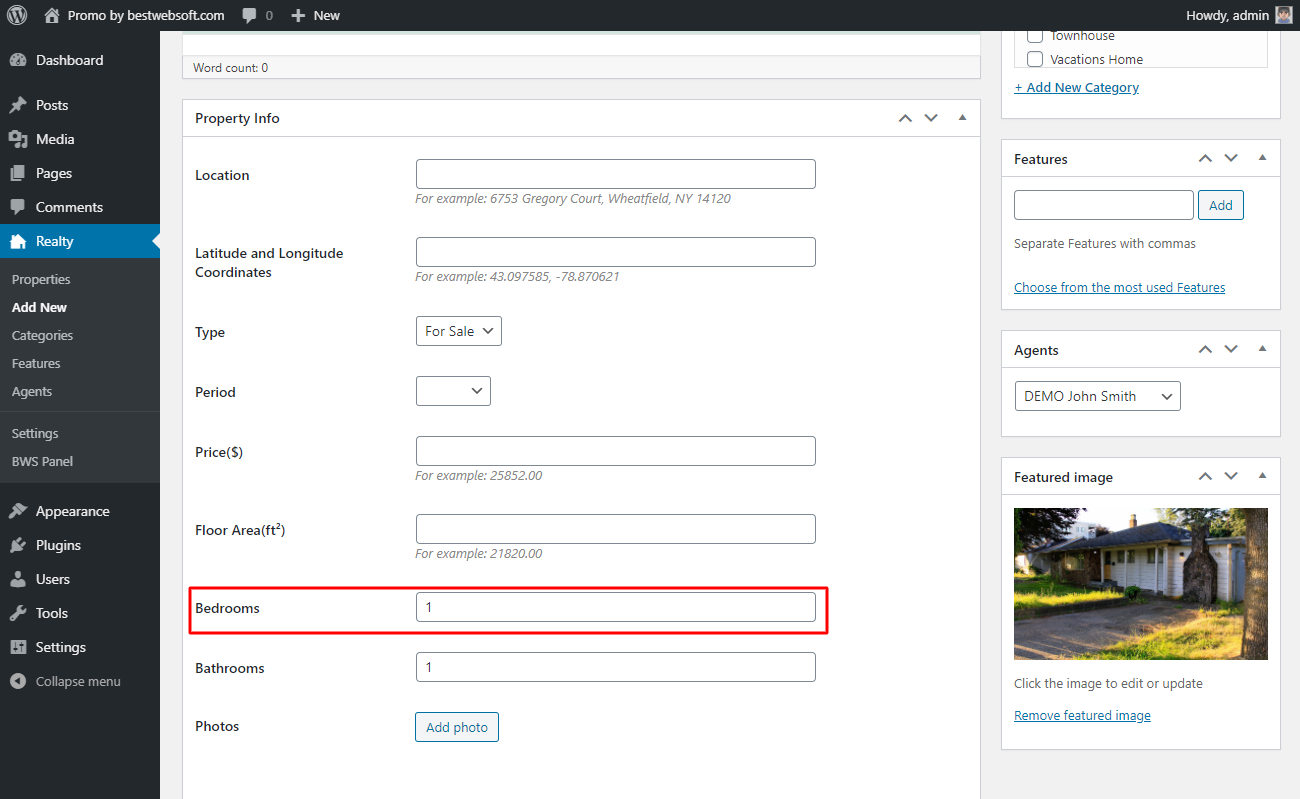
3.1.6. Property Info
Use the “Property info” section to add the most important info about the property.

3.1.6.1. Use the “Location” option on the “Property info” section to input the location for the property. This field can be changed later.
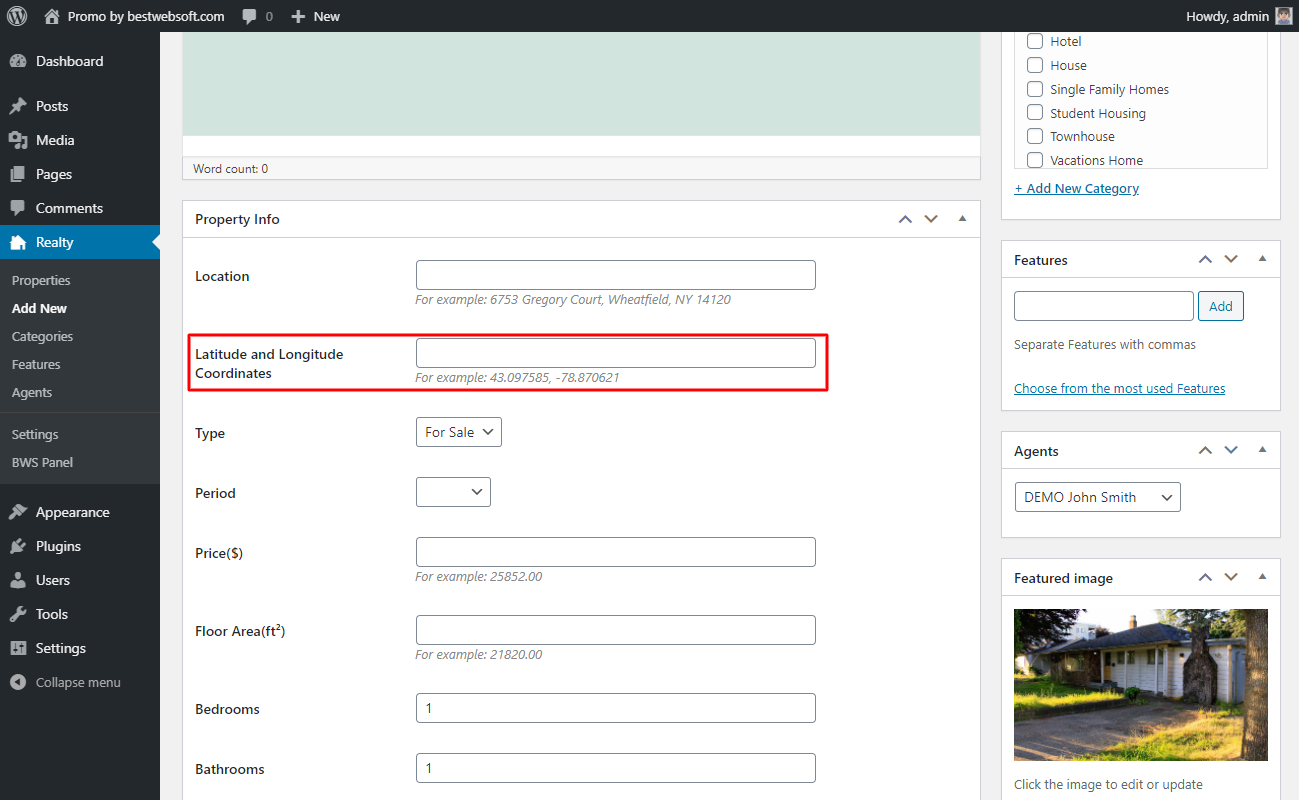
3.1.6.2. Use the “Latitude and Longitude Coordinates” option on the “Property info” section to input location coordinates for the property. This field can be changed later.
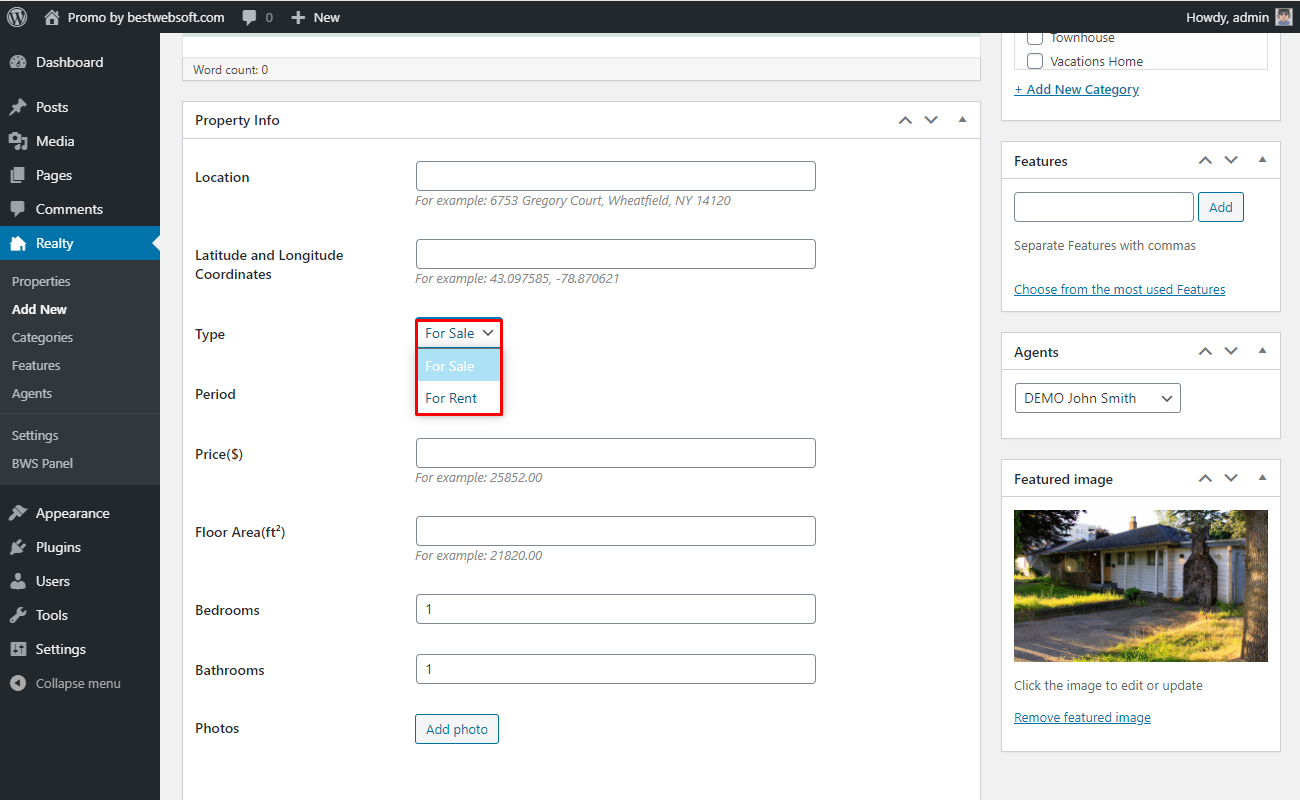
3.1.6.3. Use the “Type” option on the “Property Info” section to select if this object will be rented or sold.
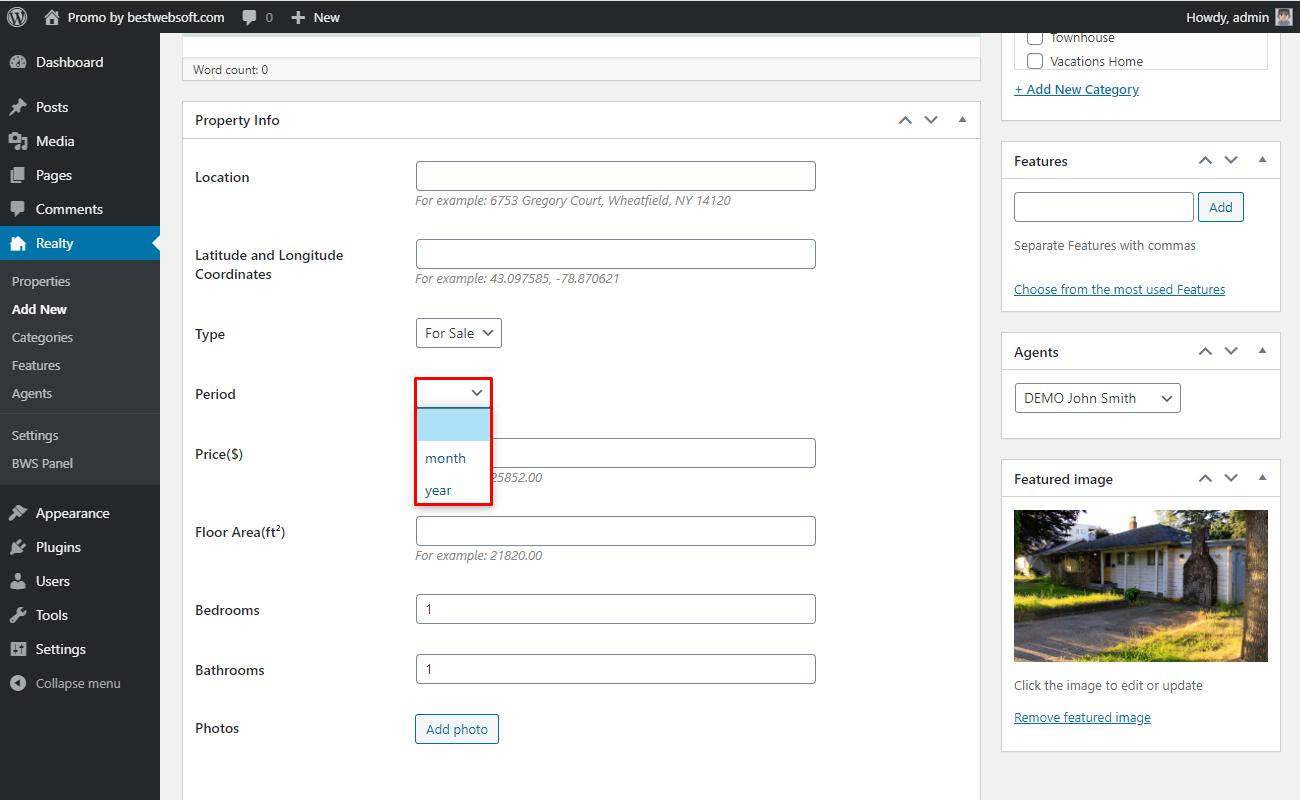
3.1.6.4. Use the “Period” option on the “Property Info” tab to set the rent interval.
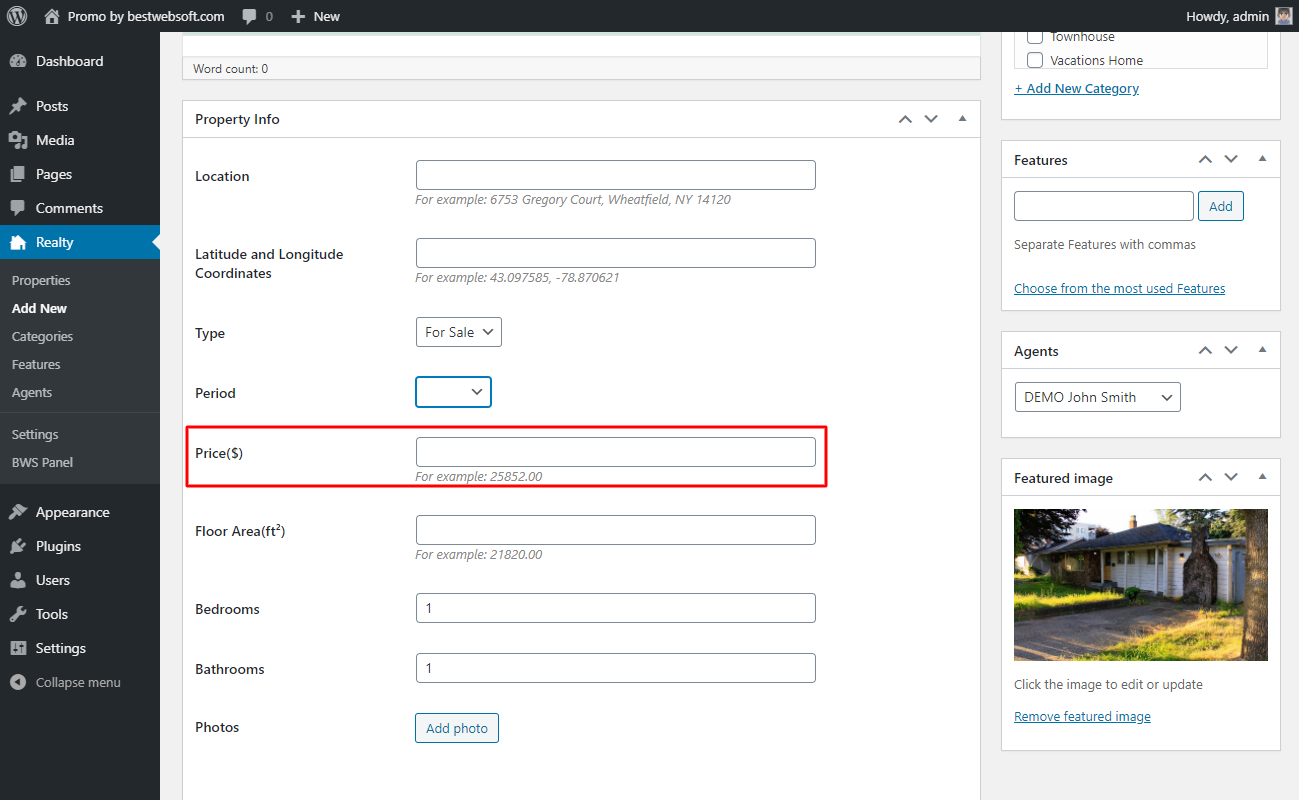
3.1.6.5. Use the “Price” option on the “Property Info” tab to set the price of a property or object.
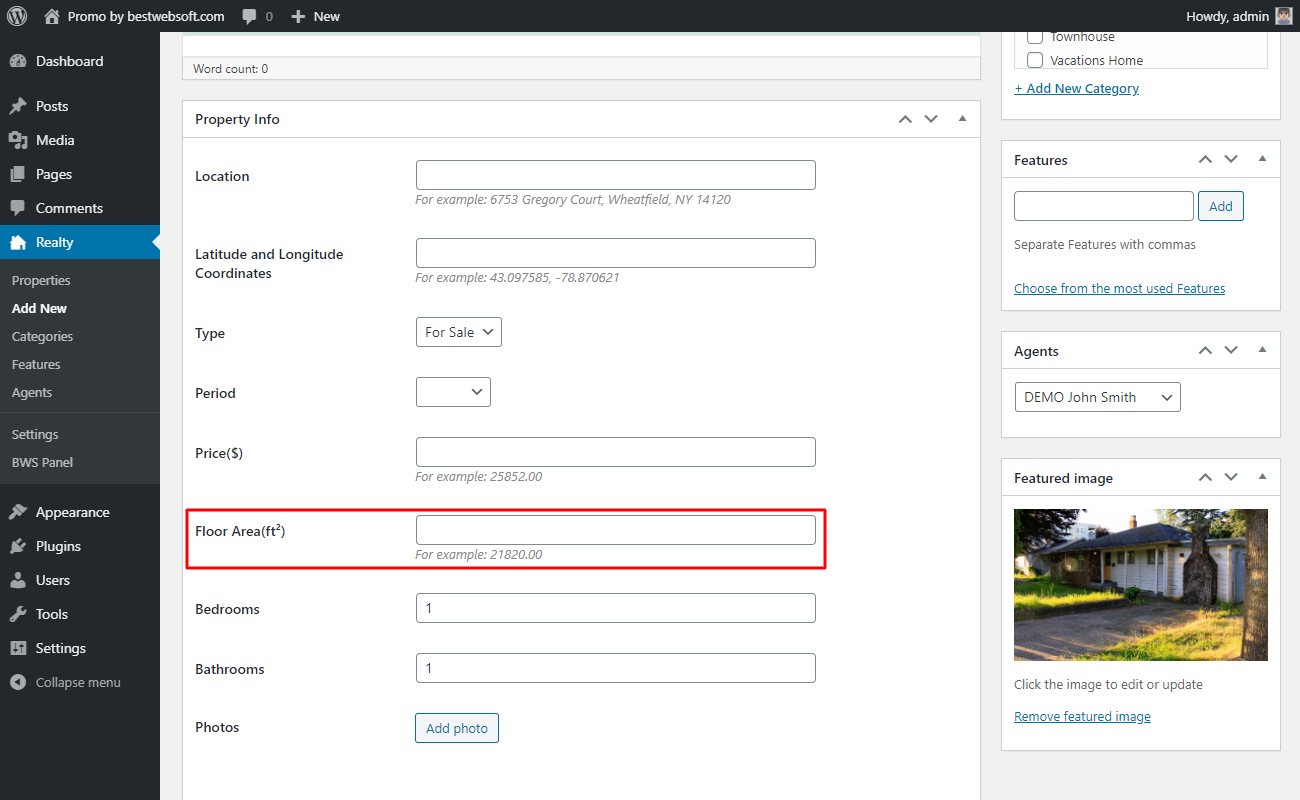
3.1.6.6. Use the “Floor Area” option on the “Property Info” tab to set the area size of a property or object.
3.1.6.7. Use the “Bedrooms” option on the “Property Info” tab to choose the number of bedrooms.
3.1.6.8. Use the “Bathrooms” option on the “Property Info” tab to choose the number of bathrooms.
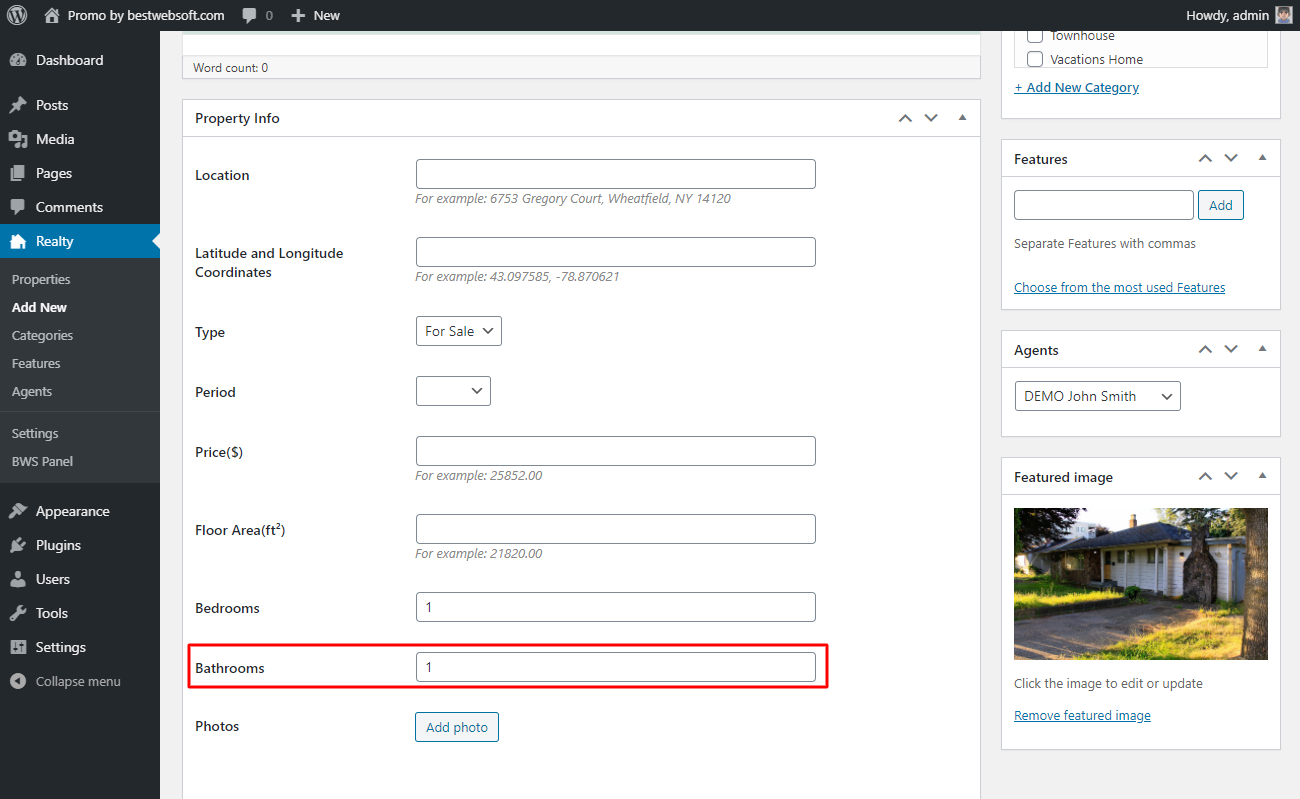
3.1.6.9. Use the “Photo” option on the “Property Info” to upload images from your device or select them from your media library.

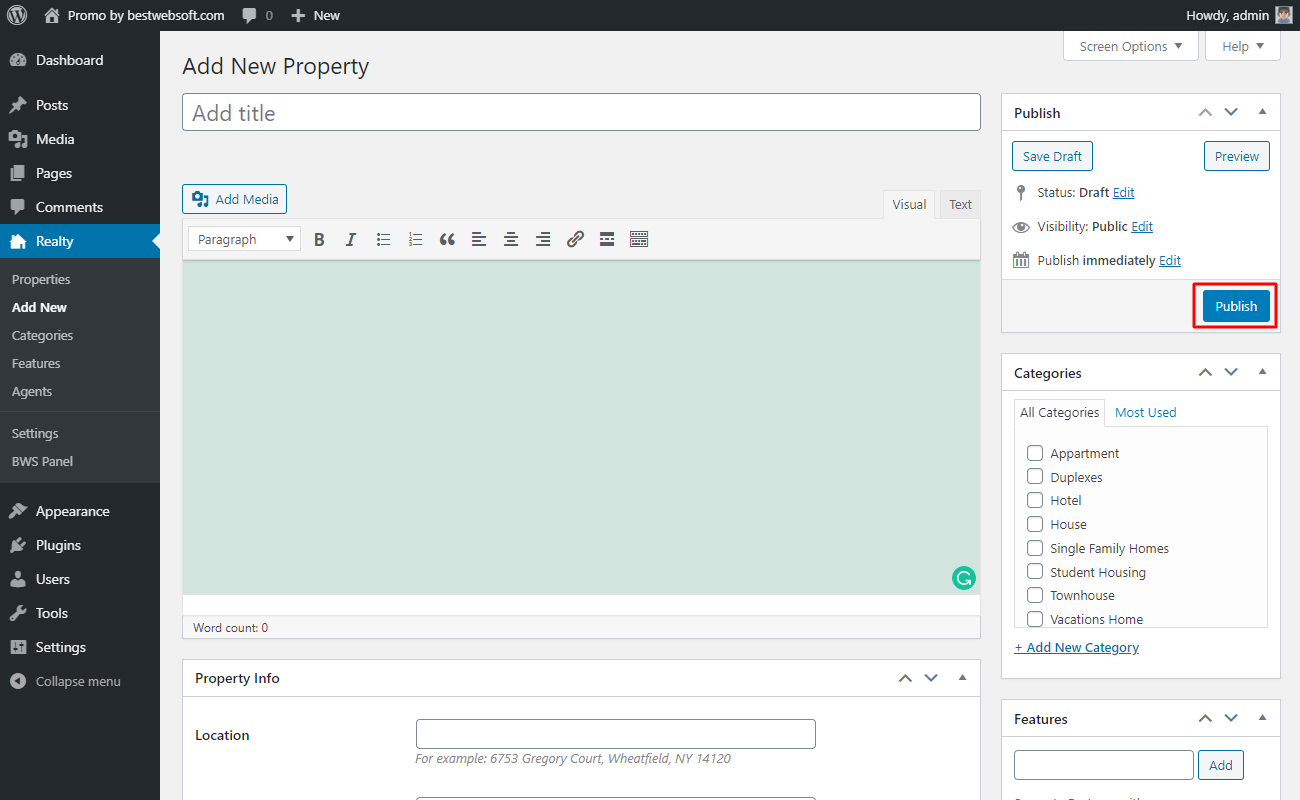
3.1.7. Publish Property
To publish a property and display it on the pages click the “Publish” button.
3.1.7.1. Added property may look on a page as follows.

3.2. Properties Page Tabs
Use the “Properties” page tabs to switch between products with different statuses.

3.3. Bulk Actions
Use the “Bulk Actions” to apply the action to multiple products. Enable the necessary properties, select bulk action, and click the “Apply” button.

3.4. Filter
Use the “Filter” options to display products for a specific date, agency, features, and category. Select the required values and click the “Filter” button.

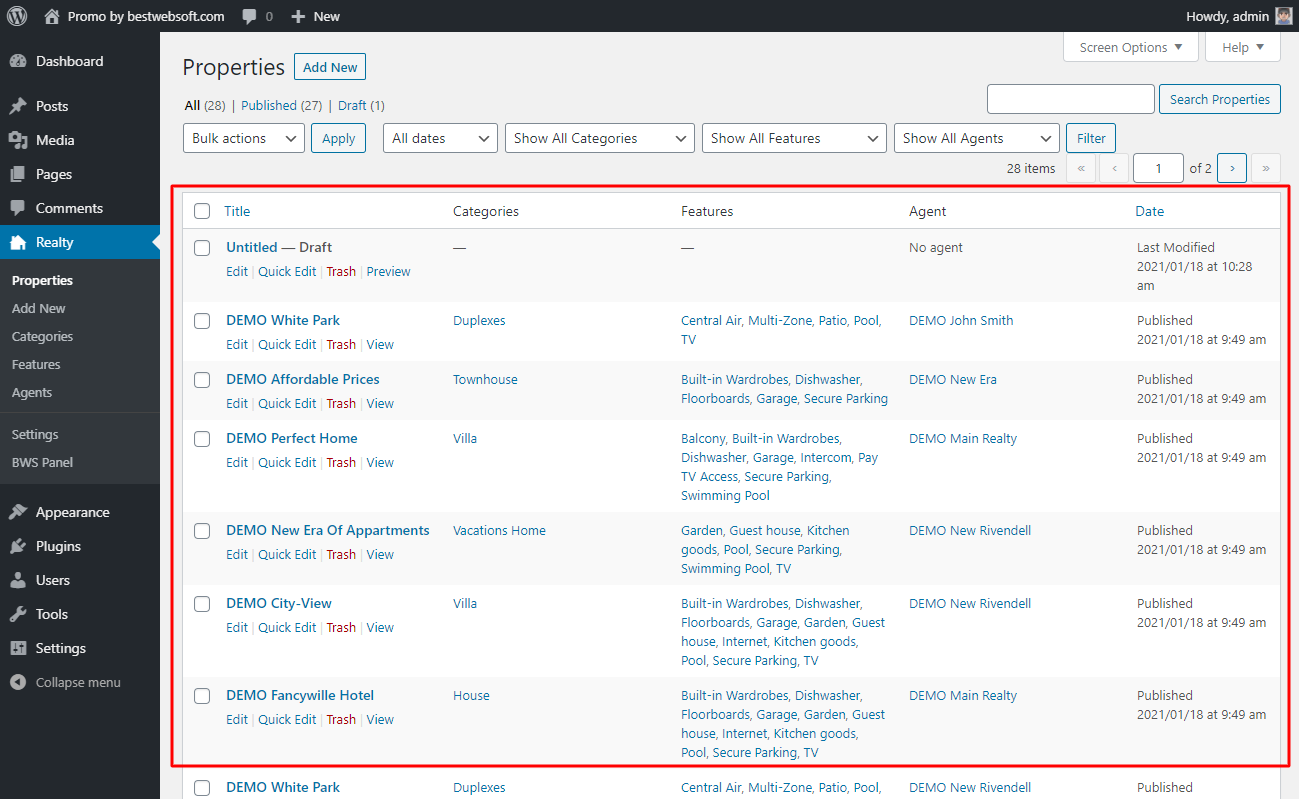
3.5. Search Properties
Use the search fields to find properties from the list. Enter the request and click the “Search Properties” button.

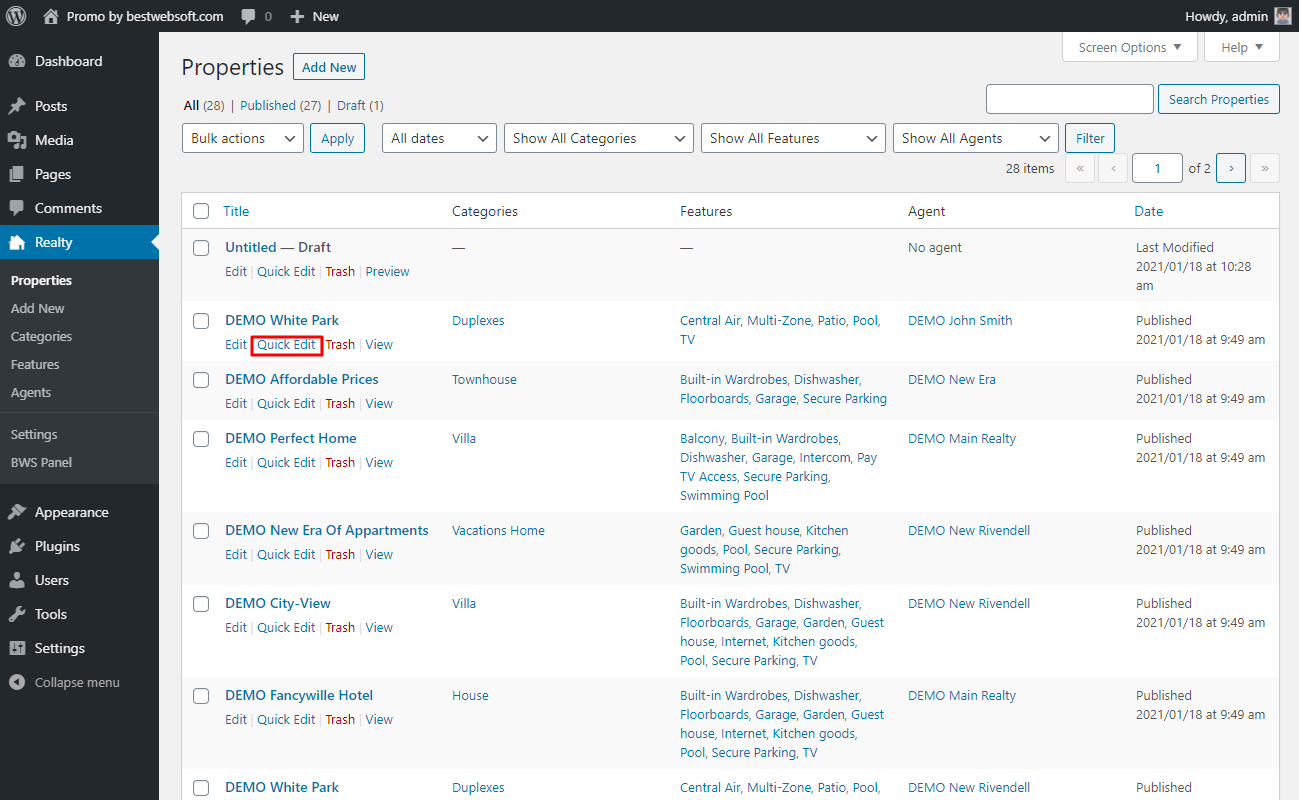
3.6. Properties List
Use the items in the properties list to edit, view, and delete them.
3.6.1. Hover the cursor on the item and click the “Edit” button to open its page and make necessary changes.

3.6.2. Hover the cursor on the item and click the “Quick Edit” button to make changes to the title, status, slug, tags, date, and make it private or password protected.
3.6.3. Make necessary changes and click the “Update” button.

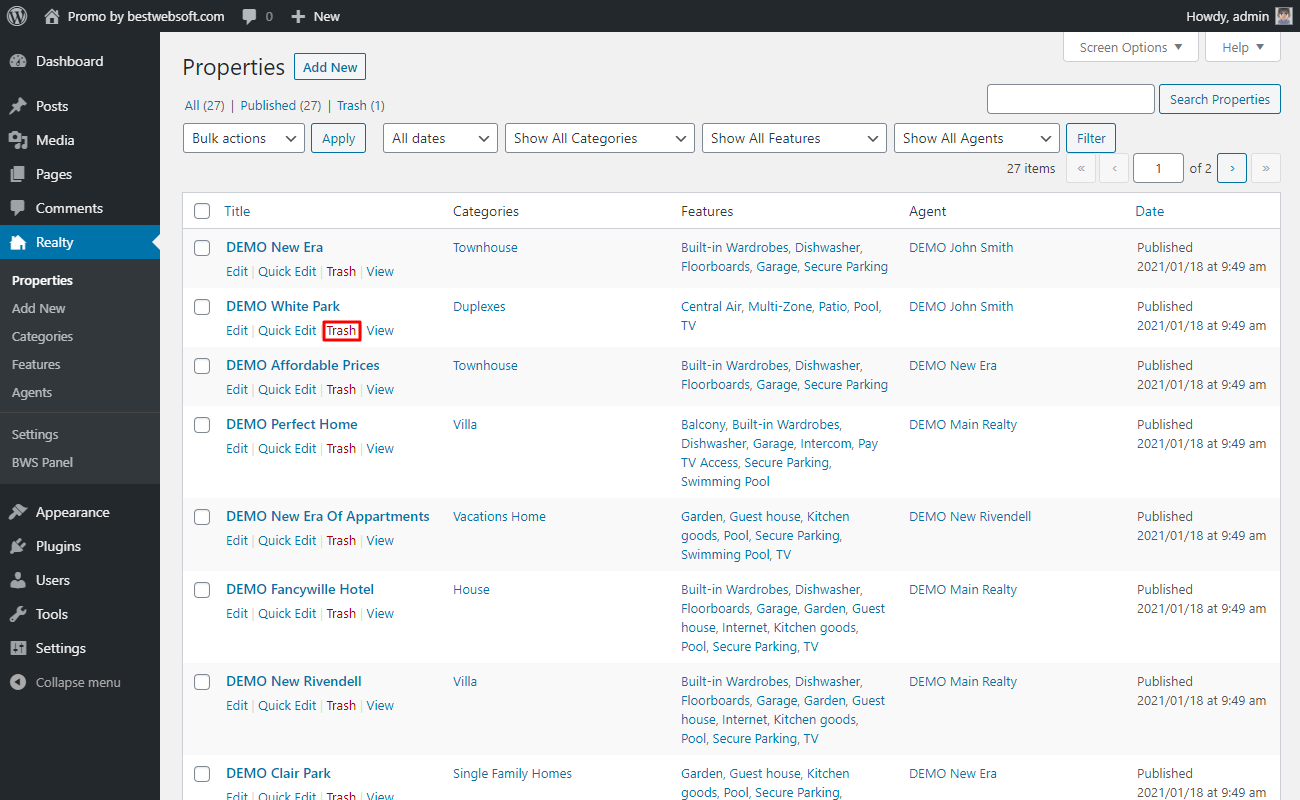
3.6.4. Hover the cursor on the item and click the “Trash” button to move the item to the “Trash” tab.
3.6.5. Hover the cursor on the item and click the “View” button to open its page.

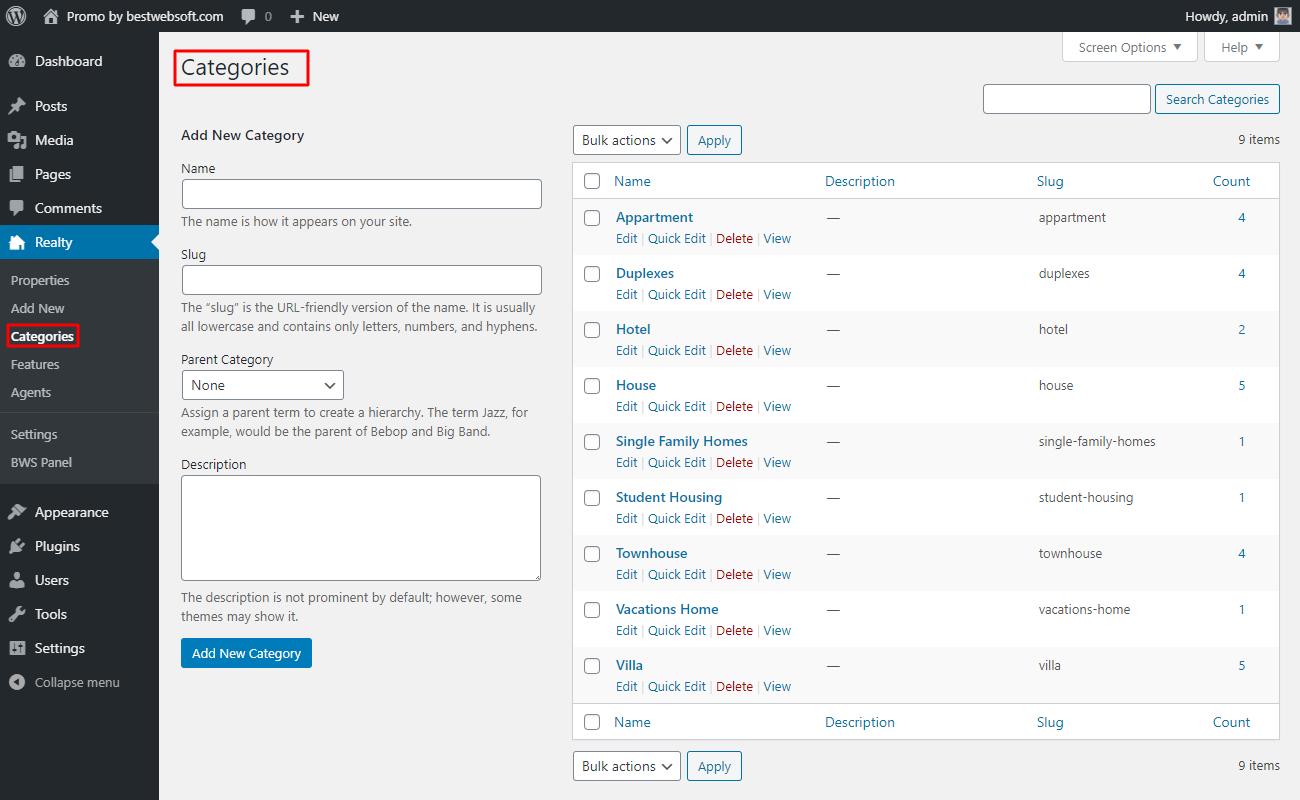
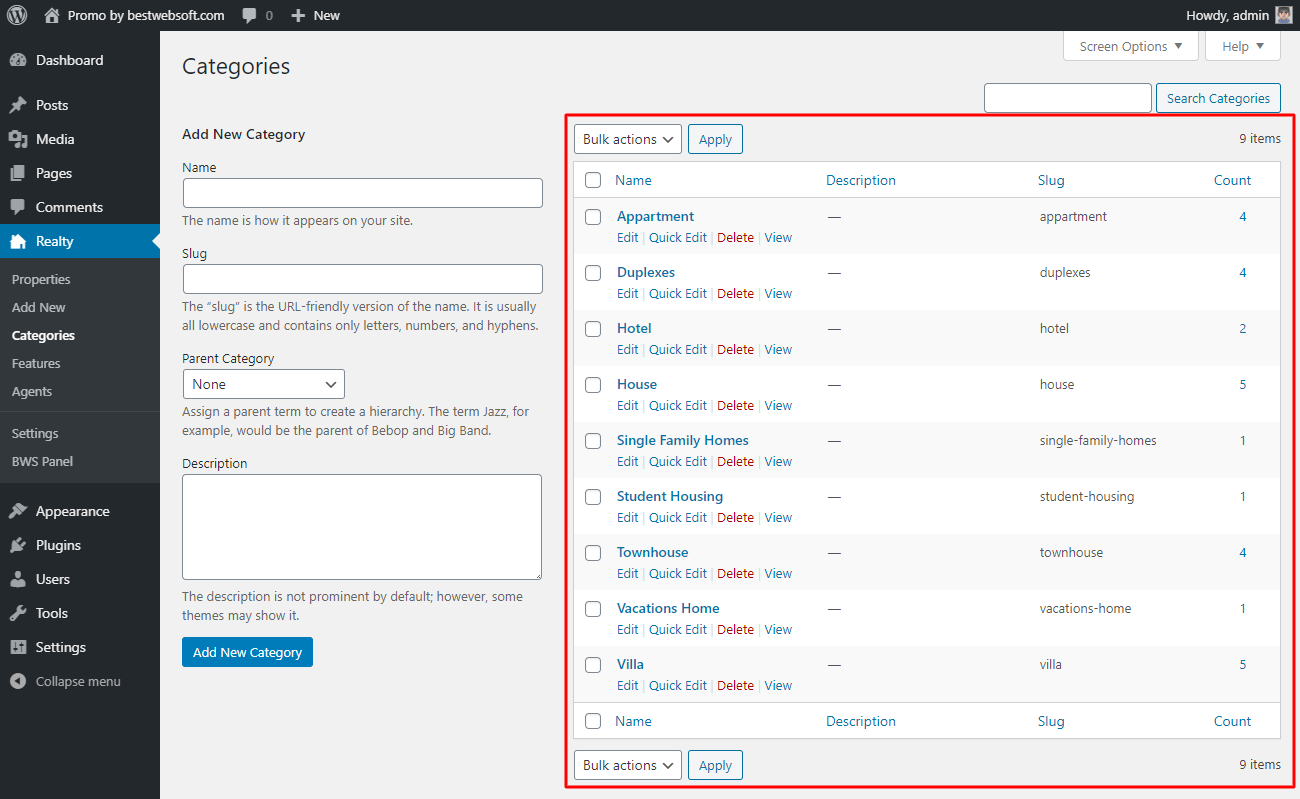
4. Categories
Use the “Categories” page to add new and manage existing categories of properties.
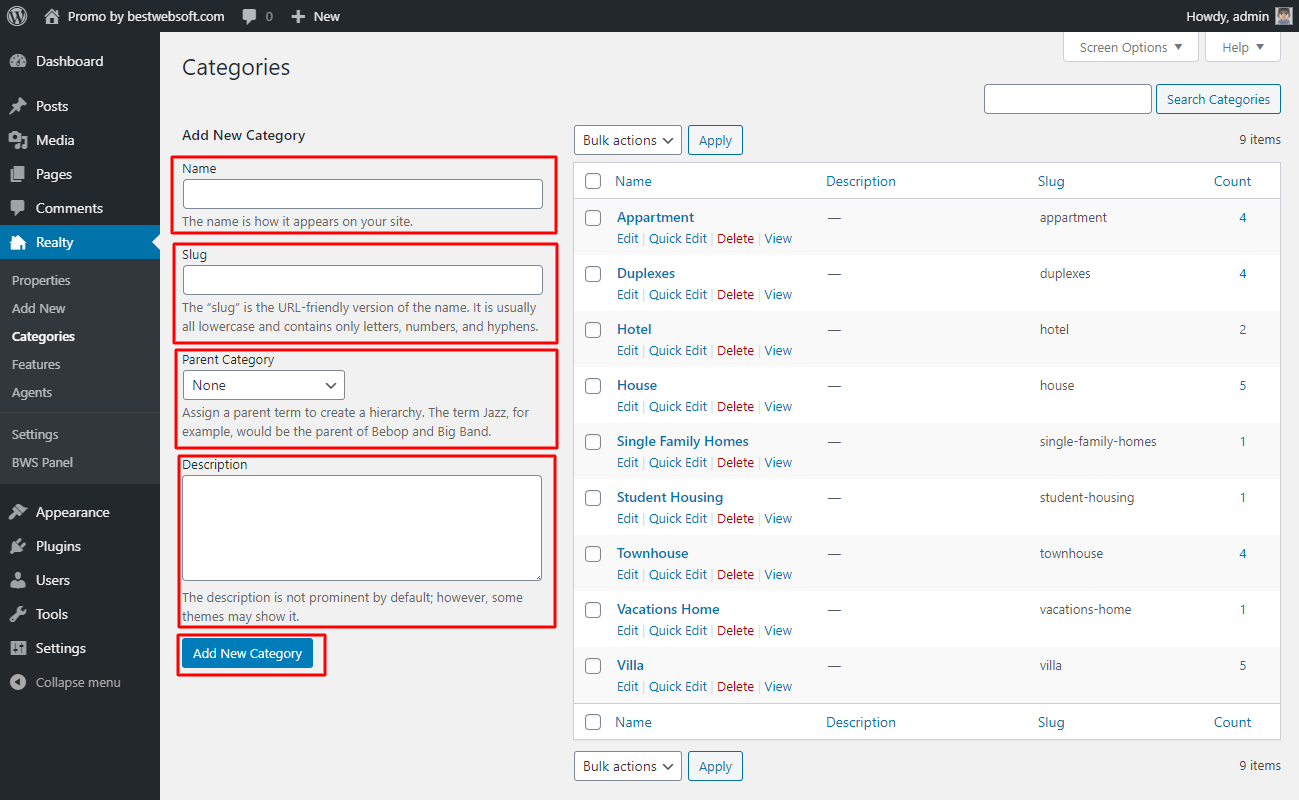
4.1. Add New Category
To add a new category enter the Name, Slug, Description in the corresponding fields, select a parent category and click the “Add New Category” button.
4.2. Categories List
Use the categories list to edit, delete, and view, categories.
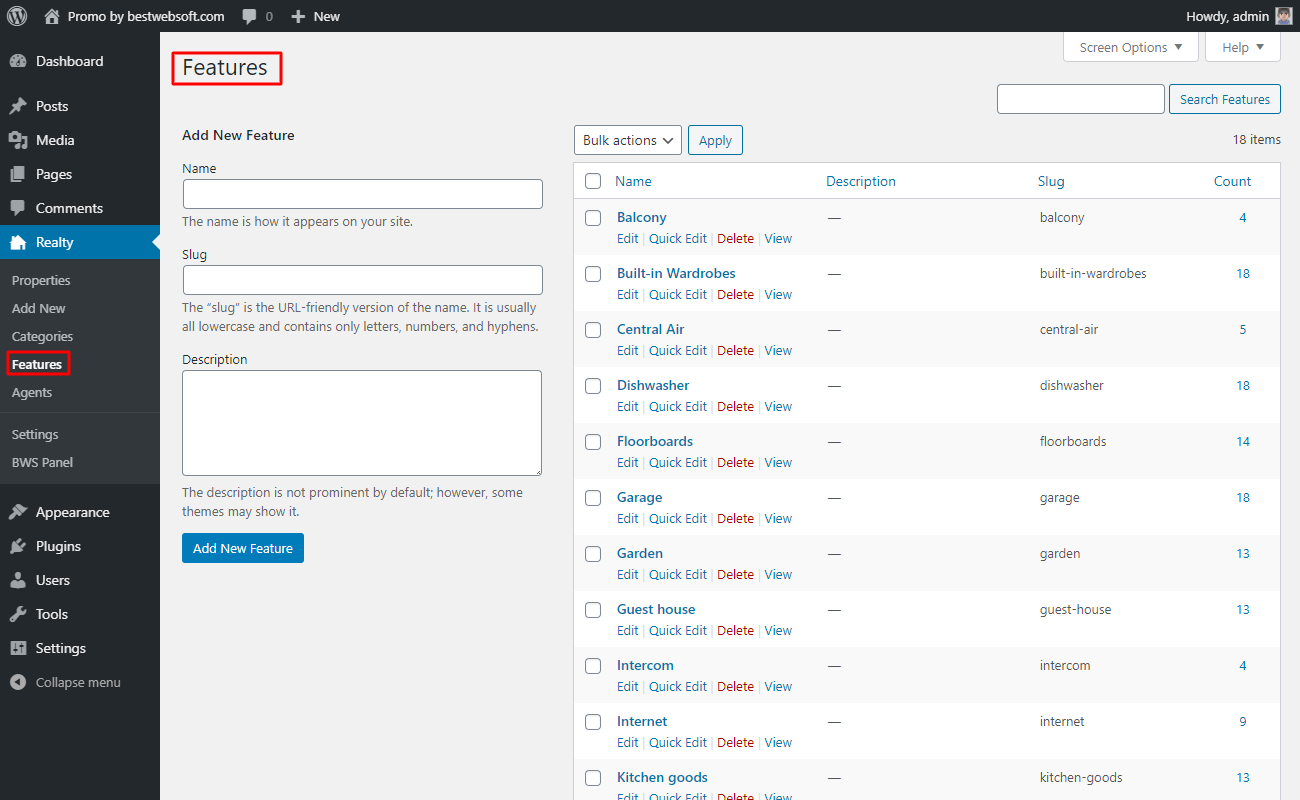
5. Features
Use the “Features” page to add new and manage existing features of properties.
5.1. Add New Features
To add a new feature enter the name, slug, description in the corresponding fields and click the “Add New Features” button.

5.2. Features List
Use the features list to edit, delete, view features.

6. Agents
Use the “Agents” page to add new and manage existing agents.

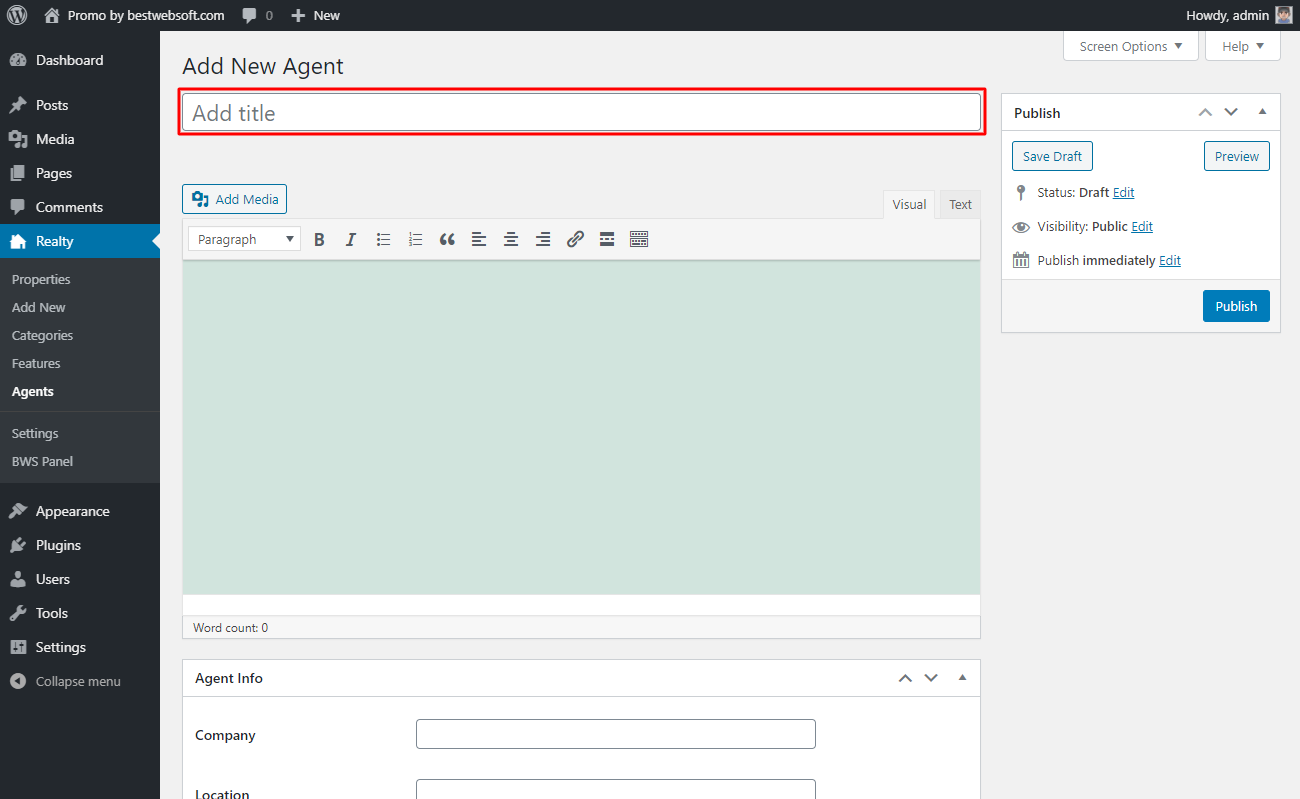
6.1. Add New
Click the “Add New” button to add a new agent.

6.1.1. Add Title
Enter the agent name in the appropriate field.
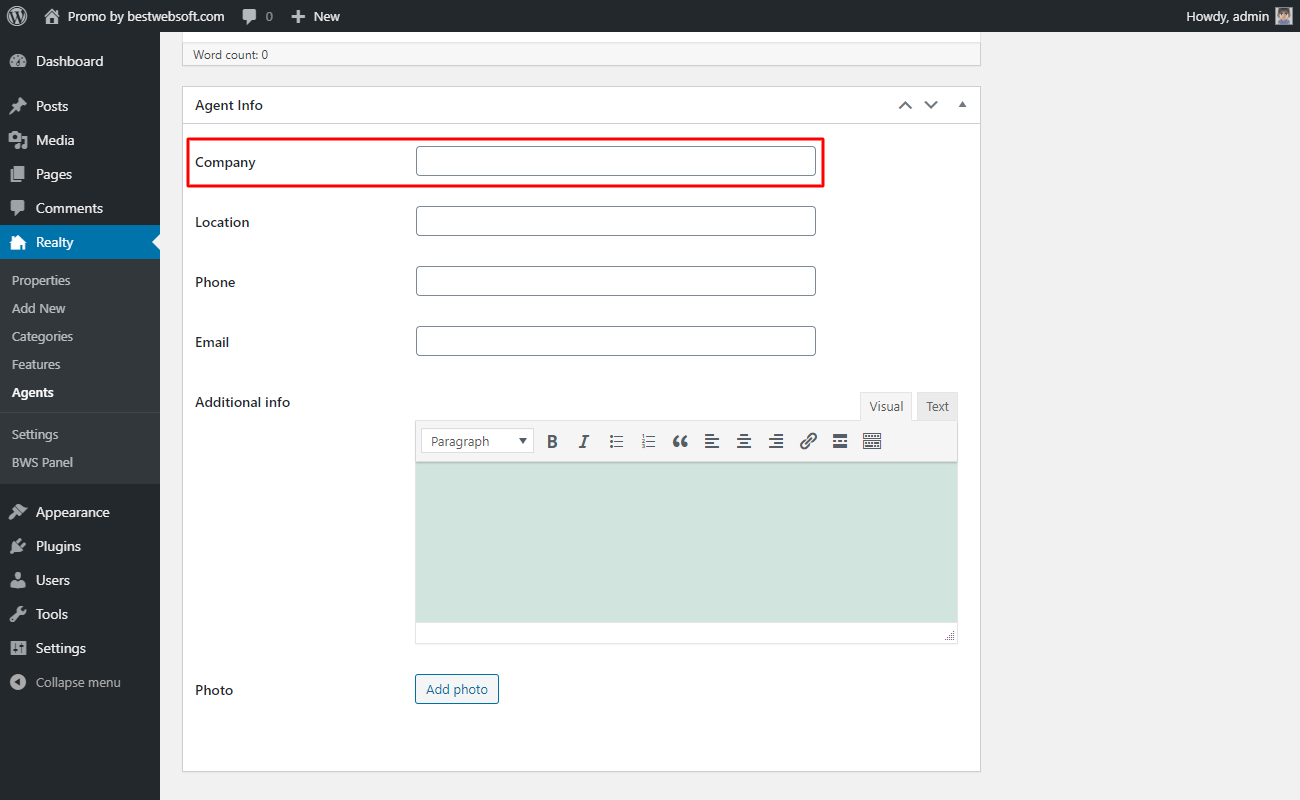
6.1.2. Agent Info
Use the “Agent info” section to add the most important info about the agent.
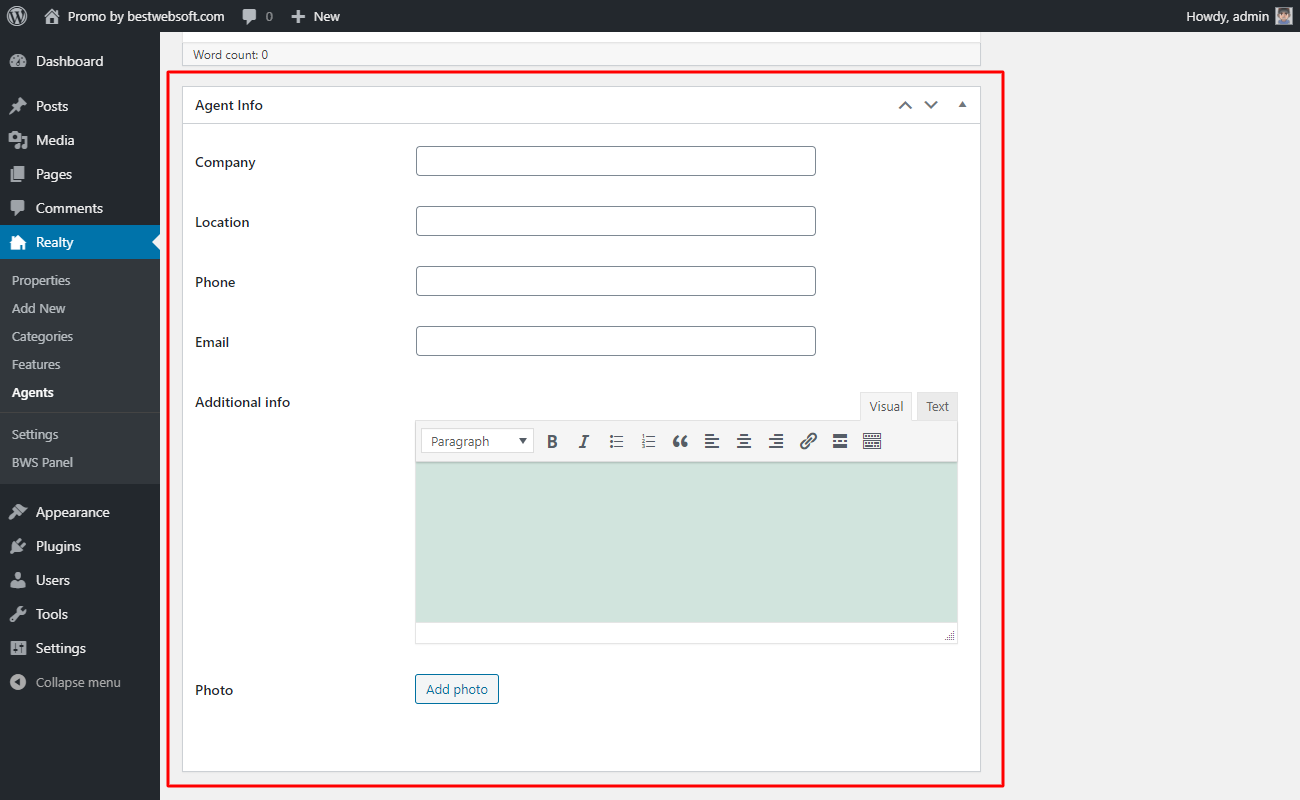
6.1.2.1. Use the “Company” option on the “Agent Info” section to input the company name. This field can be changed later.
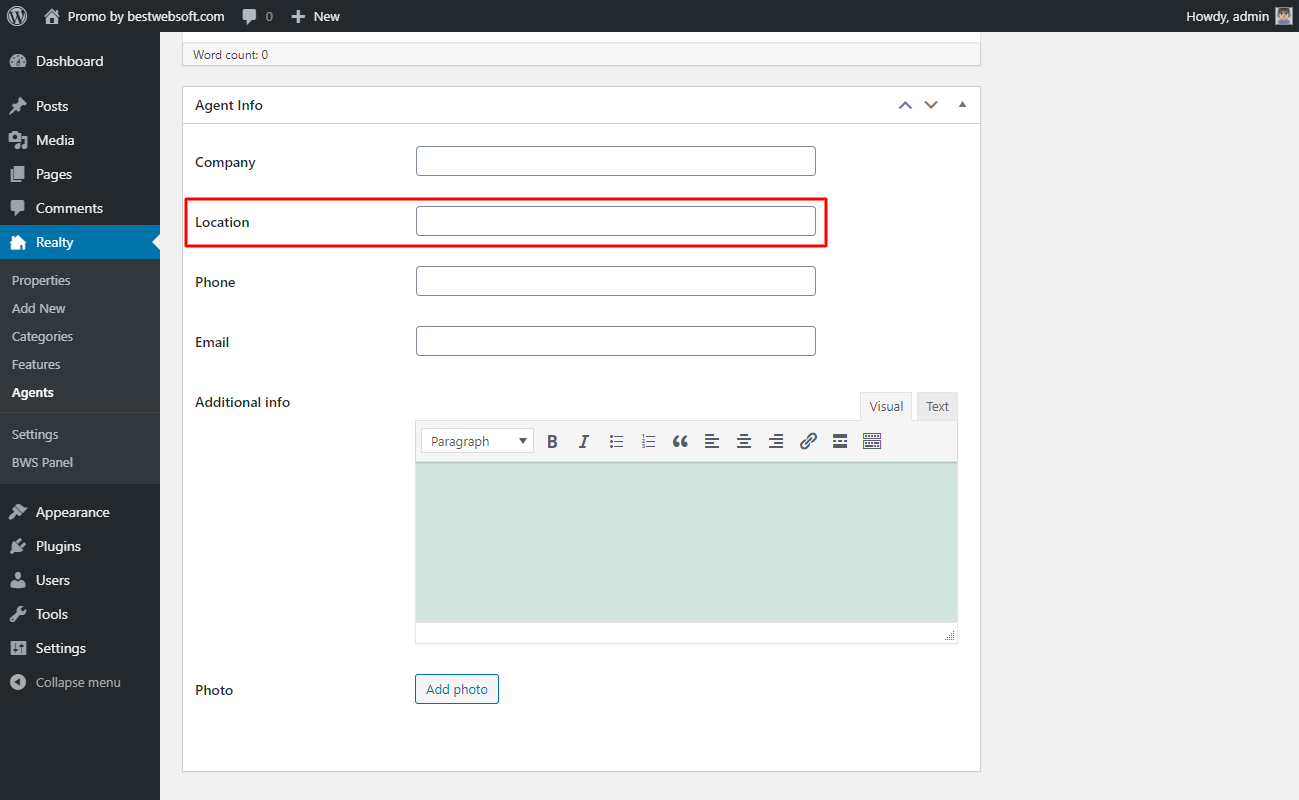
6.1.2.2. Use the “Location” option on the “Agent Info” section to input the location for the agent. This field can be changed later.
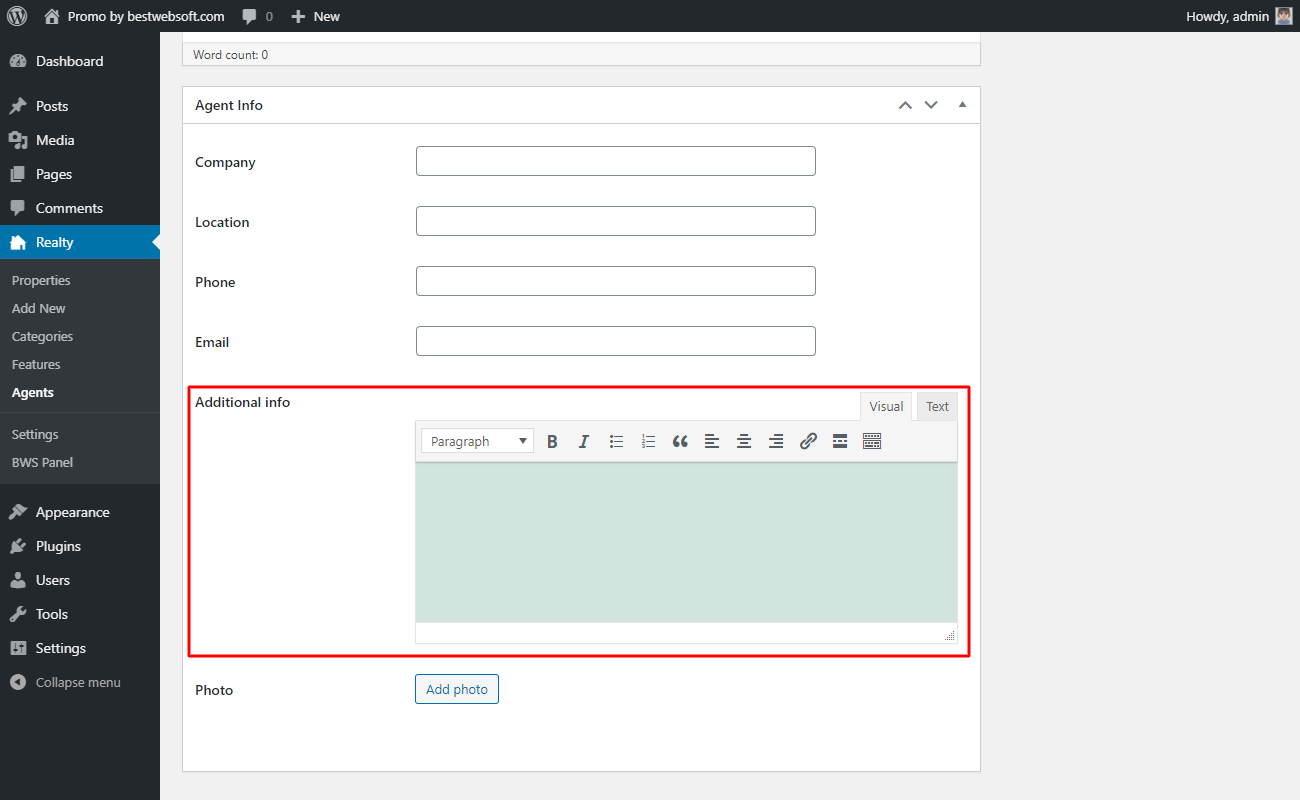
6.1.2.3. Use the “Phone” option on the “Agent Info” tab to input the phone of the company or agent.

6.1.2.4. Use the “Email” option on the “Agent Info” tab to input the email of the company or agent.

6.1.2.5. Use the “Additional Info” option on the “Agent Info” tab to input additional information about the company or agent.
6.1.2.6. Use the “Photo” option on the “Property Info” to upload images from your device or select them from your media library.

6.1.3. Publish Agent
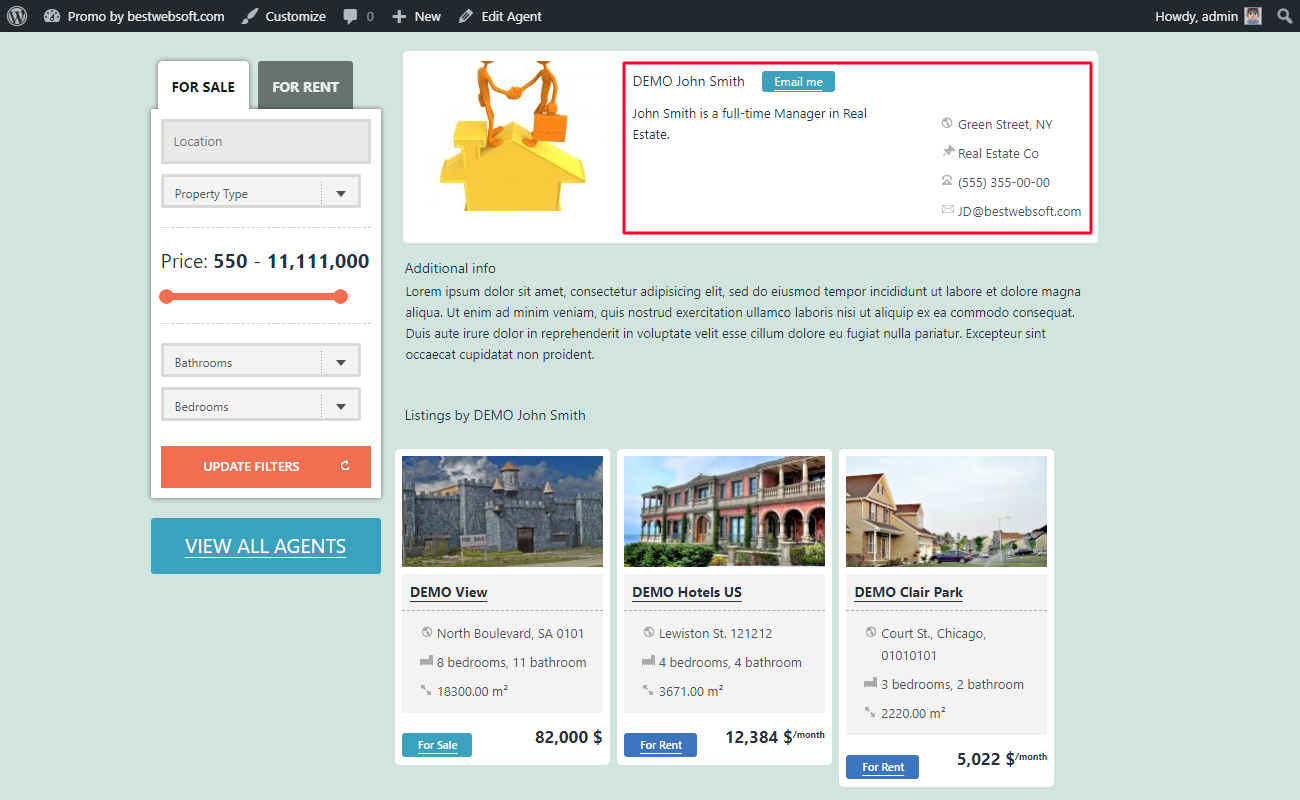
To publish an agent on the pages click the “Publish” button.

6.1.3.1. Added agents may look on a page as follows.
6.2. Agent Page Tabs
Use the “Agent” page tabs to switch between agents with different statuses.

6.3. Bulk Actions
Use the “Bulk Actions” to apply the action to multiple agents. Enable the necessary agents, select bulk action, and click the “Apply” button.

6.4. Filter
Use the “Filter” option to display agents for a specific date. Select the required values and click the “Filter” button.

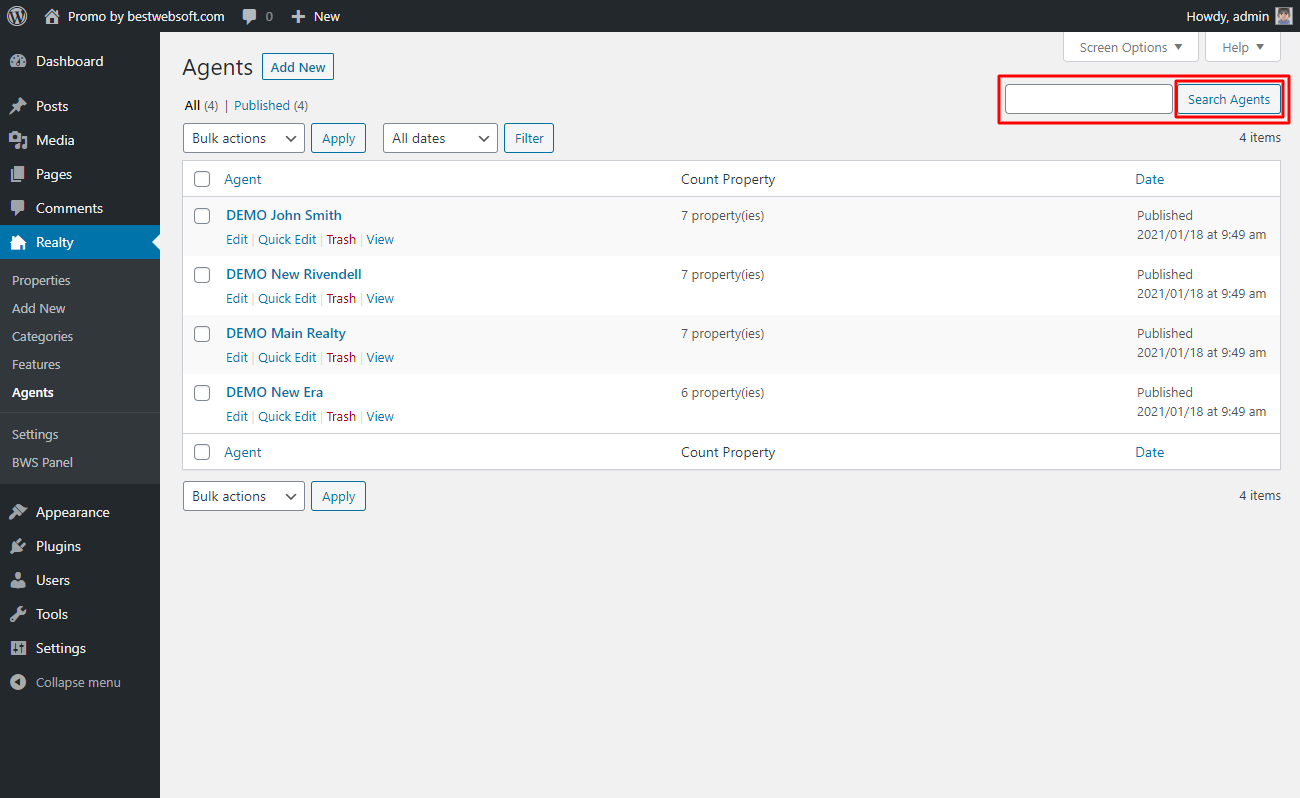
6.5. Search Agents
Use the search fields to find agents from the list. Enter the request and click the “Search Agents” button.
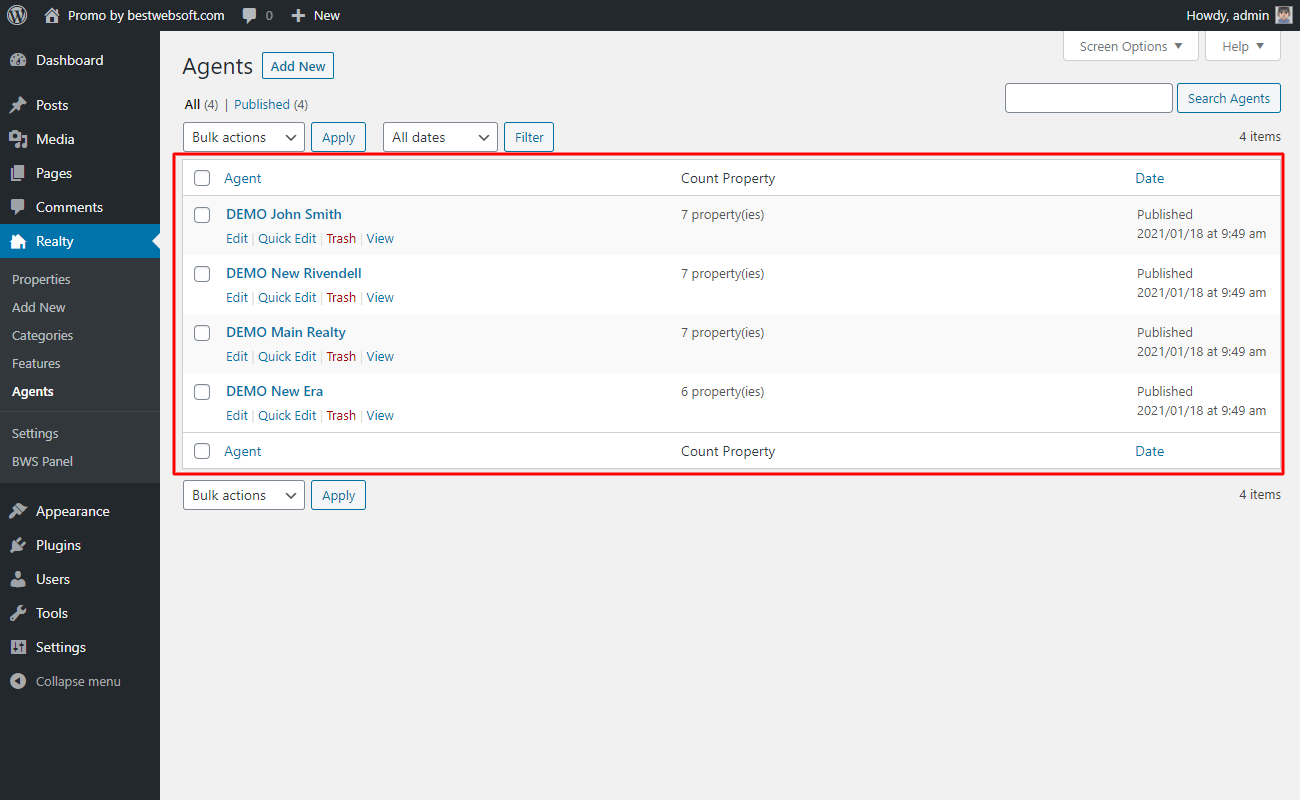
6.6. Agents List
Use the items in the properties list to edit, view, and delete them.
6.6.1. Hover the cursor on the item and click the “Edit” button to open its page and make necessary changes.

6.6.2. Hover the cursor on the item and click the “Quick Edit” button to make changes to the title, status, slug, date, and make it private or password protected.

6.6.3. Make necessary changes and click the “Update” button.

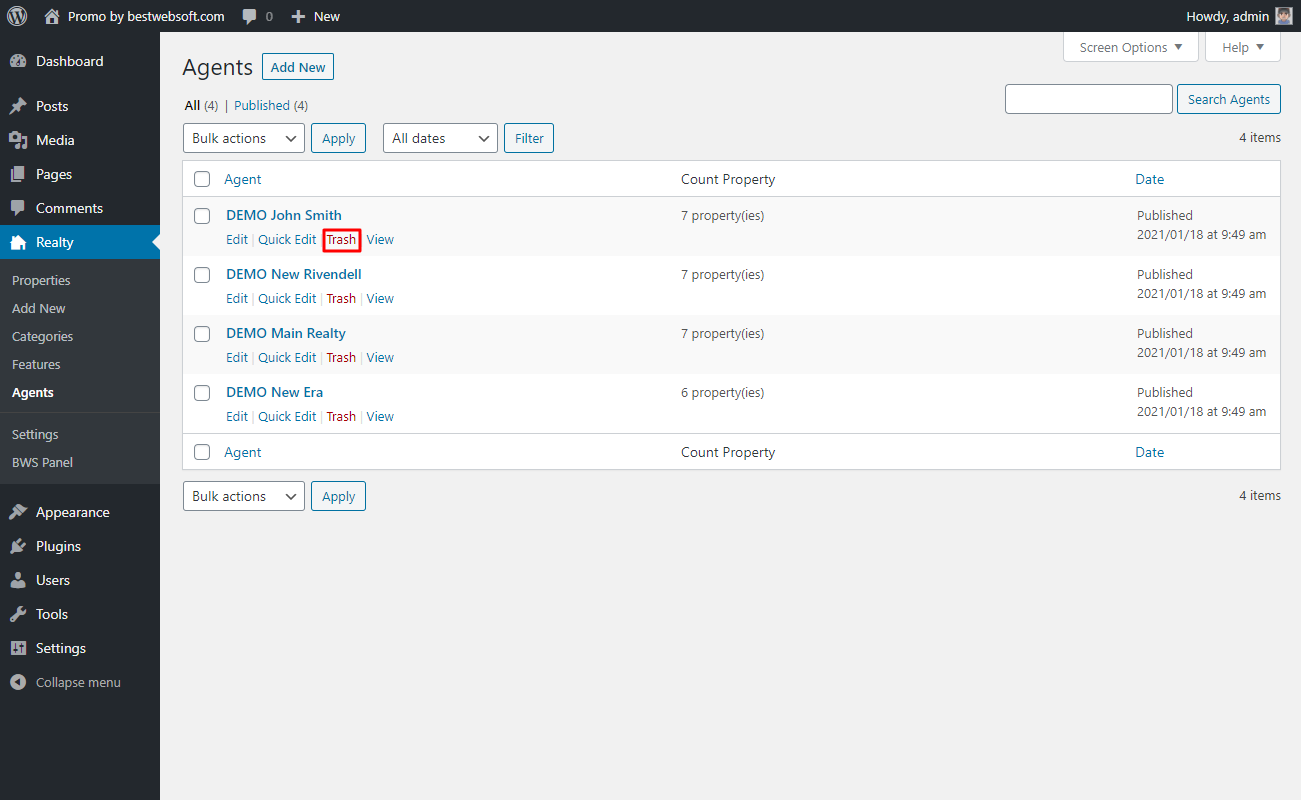
6.6.4. Hover the cursor on the item and click the “Trash” button to move the item to the “Trash” tab.
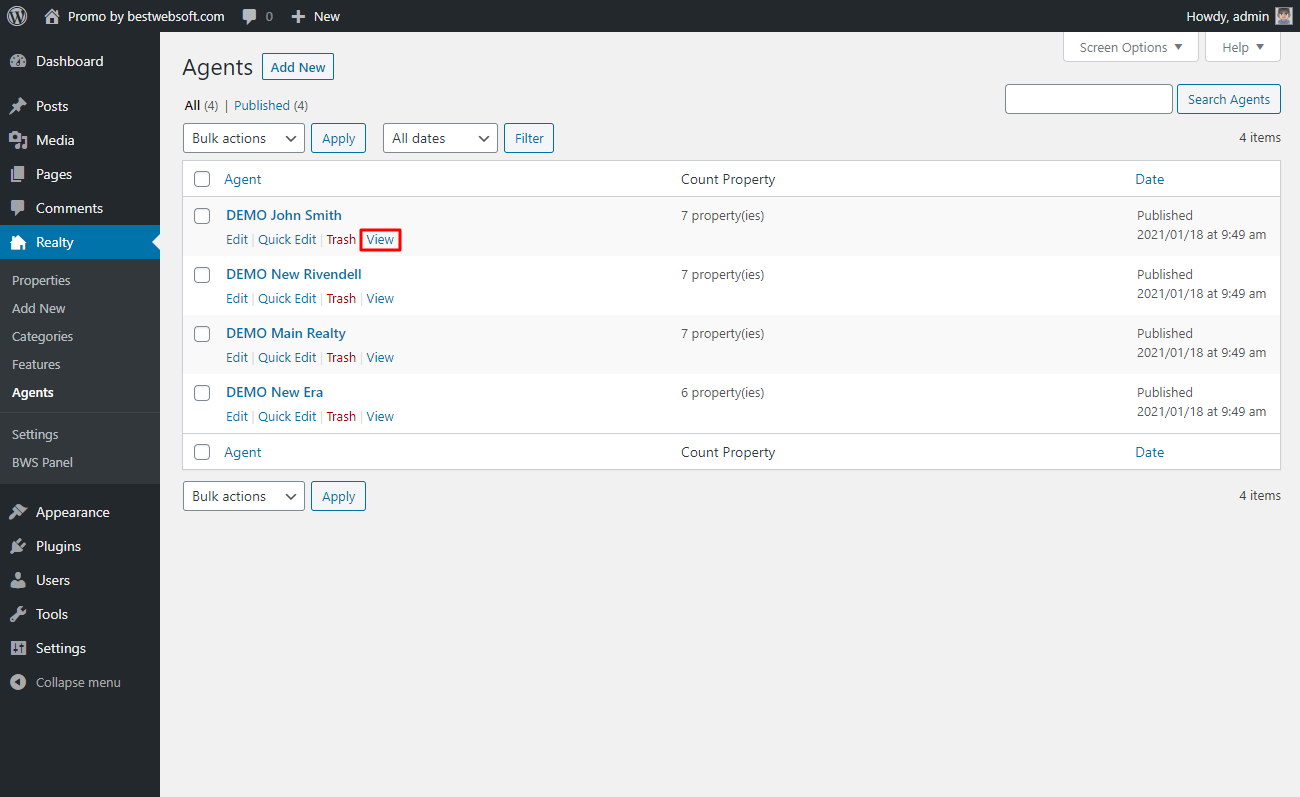
6.6.5. Hover the cursor on the item and click the “View” button to open its page.
7. Widget
Use the widgets page to add Realty widgets to your website pages.
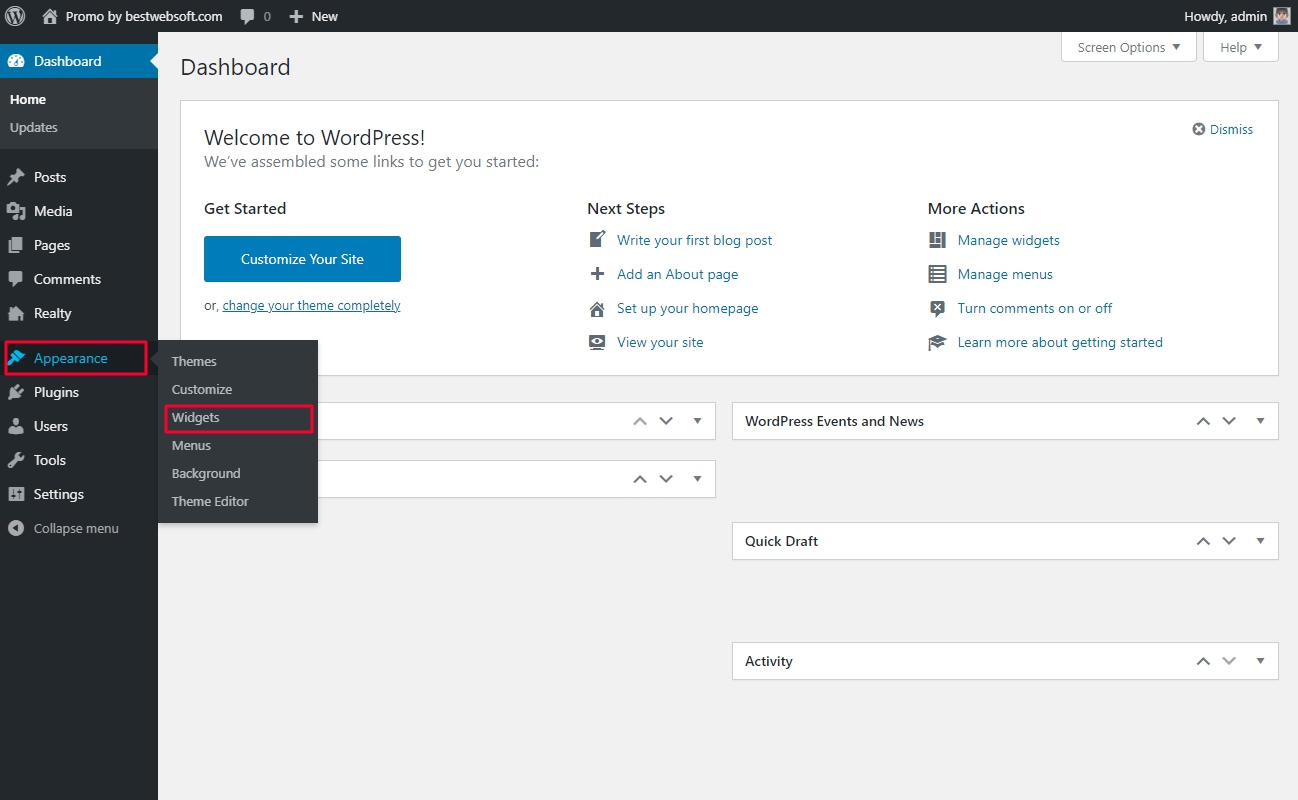
7.1. Add Realty Widget
Go to the “Appearance” > “Widgets” page on your dashboard.
7.1.1. Find the “Realty Widget” tab.

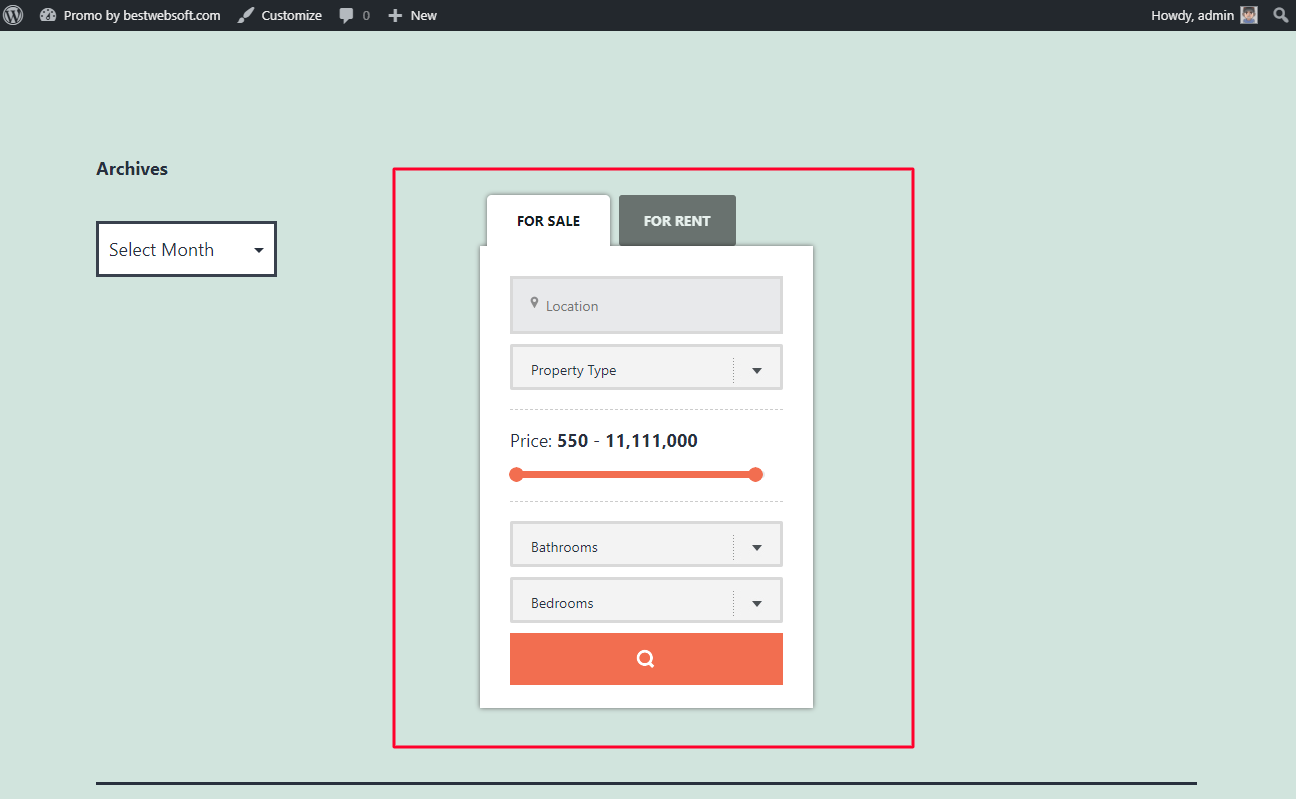
7.1.2. After saving changes the footer with “Realty Widget” may look as follows.
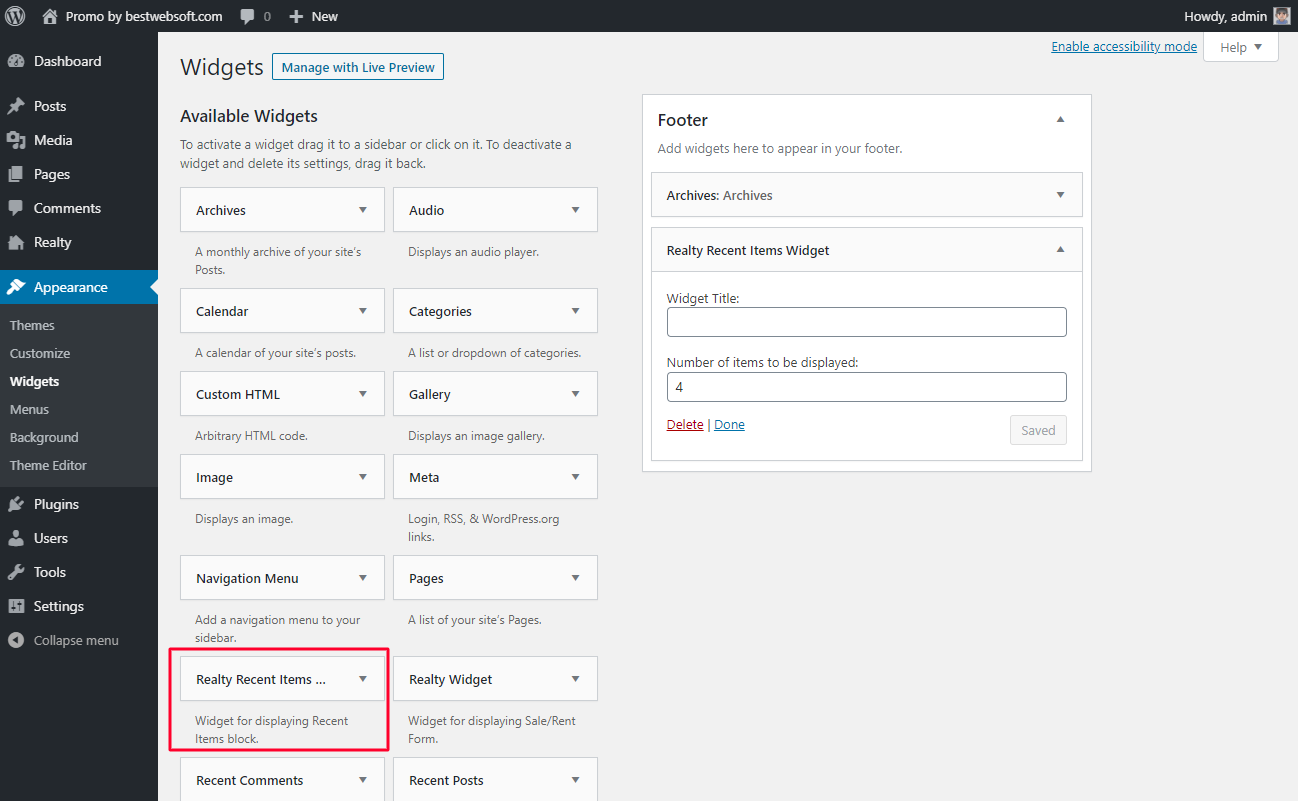
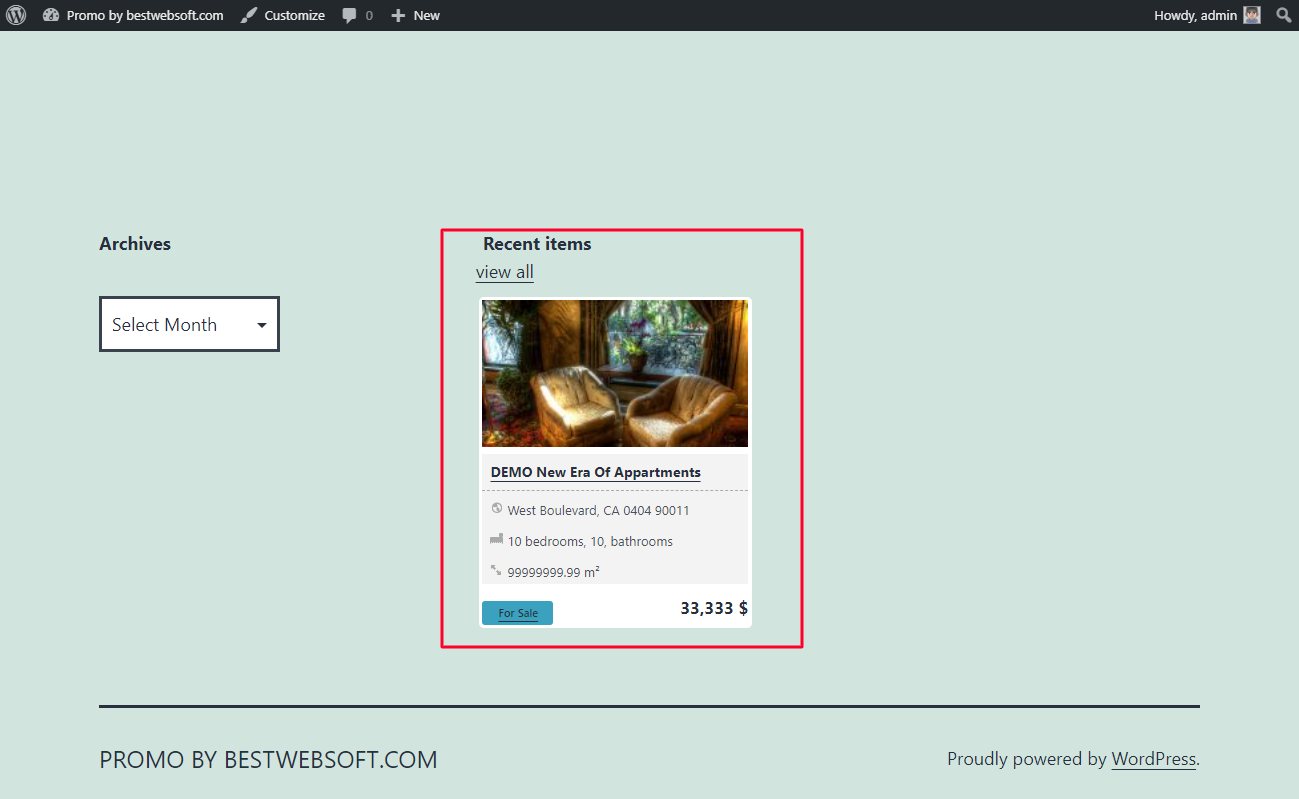
7.1.3. Find the “Realty Recent Items Widget” tab.
7.1.4. Enter the “Widget Title” to the appropriate field.
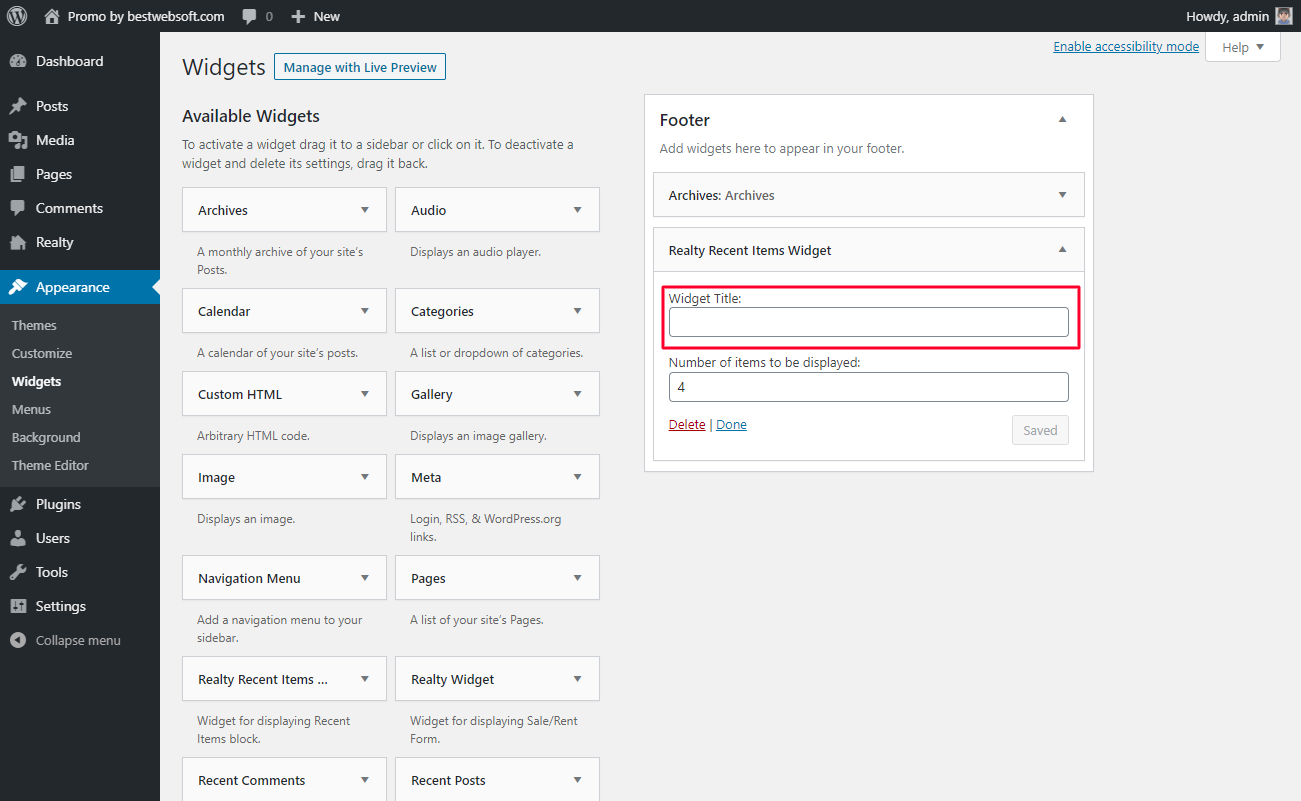
7.1.5. Use the “Number of items to be displayed” field to set the number of items to be displayed.

7.1.6. After saving changes the footer with “Realty Recent Items Widget” may look as follows.
Thank you!
Help & Support
Visit our Help Center if you have any questions — https://support.bestwebsoft.com/
Services
We provide additional services such as WordPress themes & plugins development,
graphic design, custom programming.
Contact us now to get a free quote — https://bestwebsoft.com/contacts/

