

Updater
User Guide
Updater | 1.45 * |
WordPress | 6.2 * |
*When using other versions some differences are possible to occur
** Screenshots were taken from a PC
Table of Contents
2.2. Update Inactive Plugins & Themes
2.4. Search & Install Updates Every
3. Email Notifications Settings
3.1. Receive Email Notifications When
3.2. Send Email Notifications to
3.3. Send Email Notifications from
3.4. New Updates are Available
4.1. Skip Minor WordPress Updates
6.3. Manage the License Settings
You can download Updater Plugin here:
https://bestwebsoft.com/products/wordpress/plugins/updater/
1. Introduction
Note: Сlick the “Save Changes” button in order to apply any changes. |
1.1. Open your WordPress Admin Dashboard and find the menu on the left.
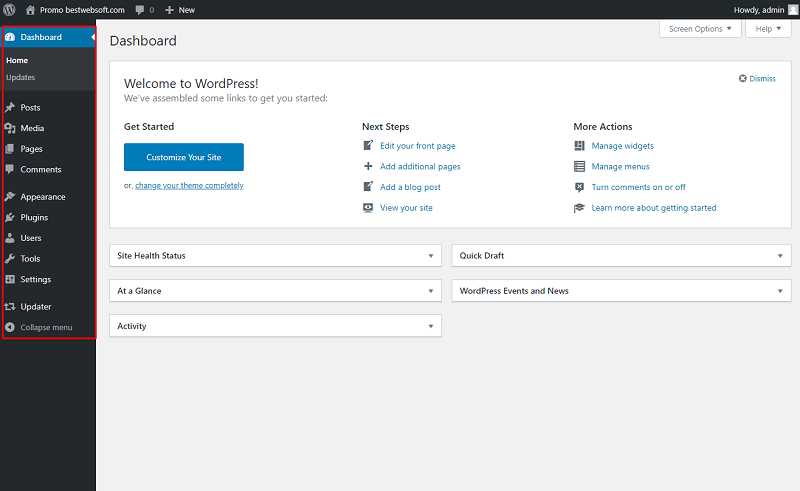
1.2. Open the “Updater” > “Settings” page on the dashboard.
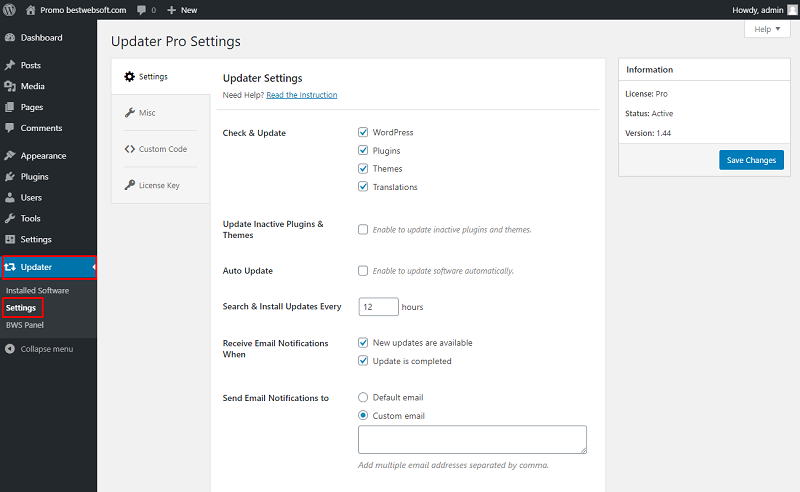
1.3. The “Updater Settings” page will open.

2. Settings
Use the options of the “Settings” page to make the global settings for the plugin.
Note: It is strongly recommended to backup your website before updating. |
Note: Сlick the “Save Changes” button in order to apply any changes. |
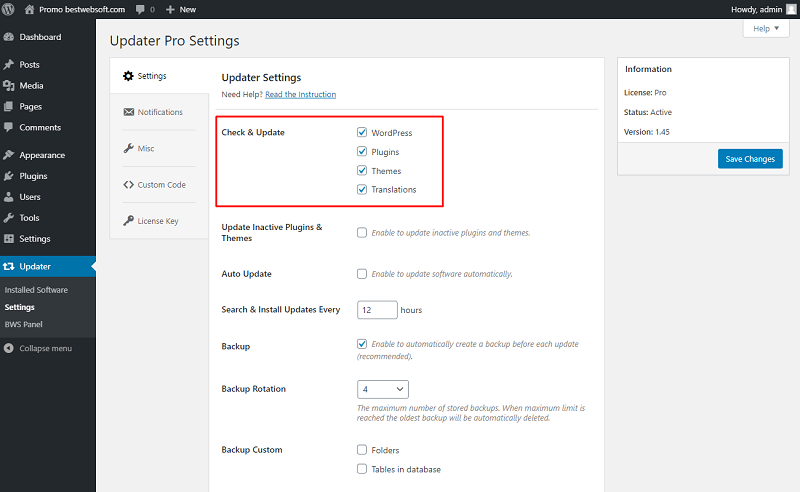
2.1. Check & Update
Use the “Check & Update” option to check and update the WordPress, Plugins, Themes, and Translations.
2.2. Update Inactive Plugins & Themes
Use the “Update Inactive Plugins & Themes” option to enable updating inactive plugins and themes.

2.3. Auto Update
Use the “Auto Update” option to update software automatically without additional efforts.

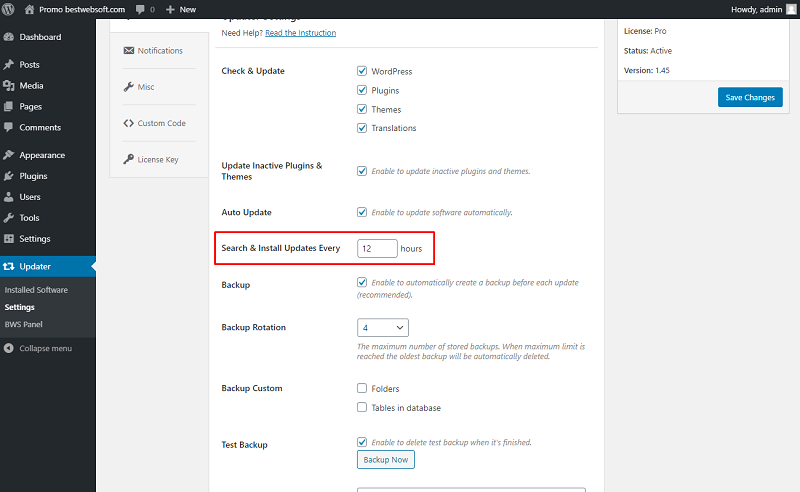
2.4. Search & Install Updates Every
Use the “Search & Install Updates Every” option to assign search and update frequency in hours.
2.5. Backup
Enable the “Backup” option to automatically create a backup before each update.
Note: The plugin creates a folder /wp-content/plugins/updater-pro/pdtrpr_storage/ named after the date and time of a backup creation. In this folder “database.sql.zip” you can find the database backup and backup of all the files and folders. To restore the website, substitute the existing files on your site with the files from the backup folder. This can be done via FTP using the file manager provided by the hosting company, the panel (cPanel), or via FTP or SFTP client (such as Filezilla for PC or Transmit for Mac). |

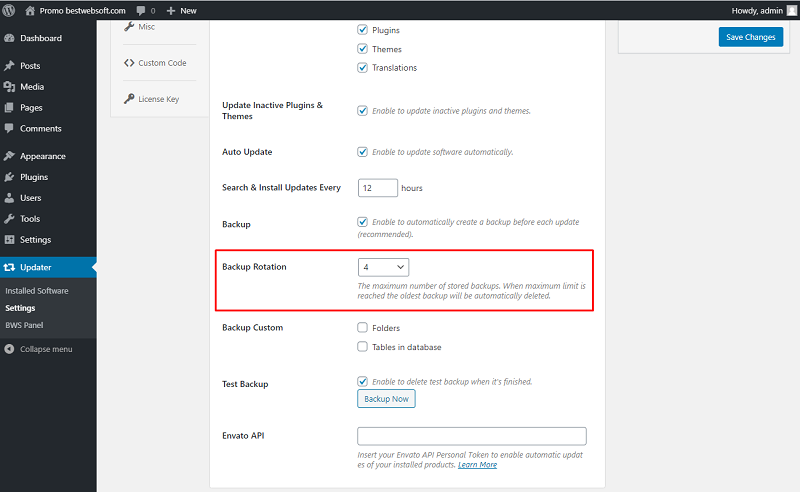
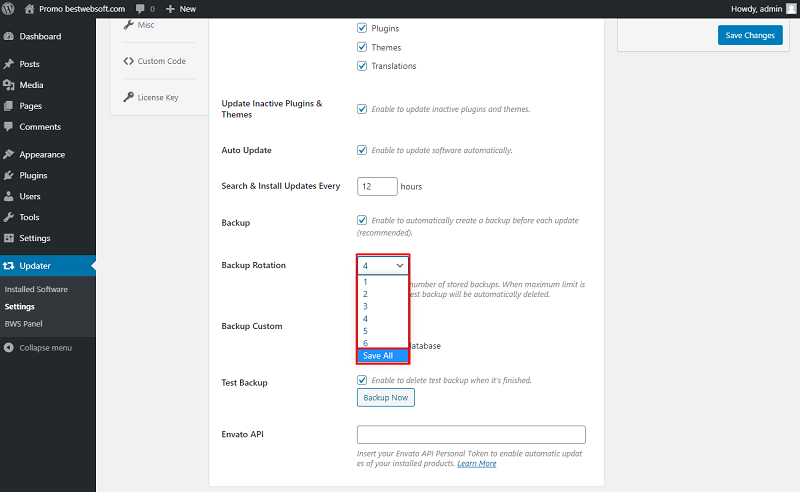
2.6. Backup Rotation
Use the “Backup Rotation” option to set the maximum number of stored backups. When the maximum limit is reached the oldest backup will be automatically deleted.
2.6.1. Select “Save All” to store all backups.
2.7. Backup Custom
Use the “Backup Custom” option to enable making backups for non-standard “Folders” and “Tables in database”.
Note: By default the plugin makes a backup of the tables and folders which have a special "wp_" prefix only. Enabling this option may increase the size of the backup copy. |

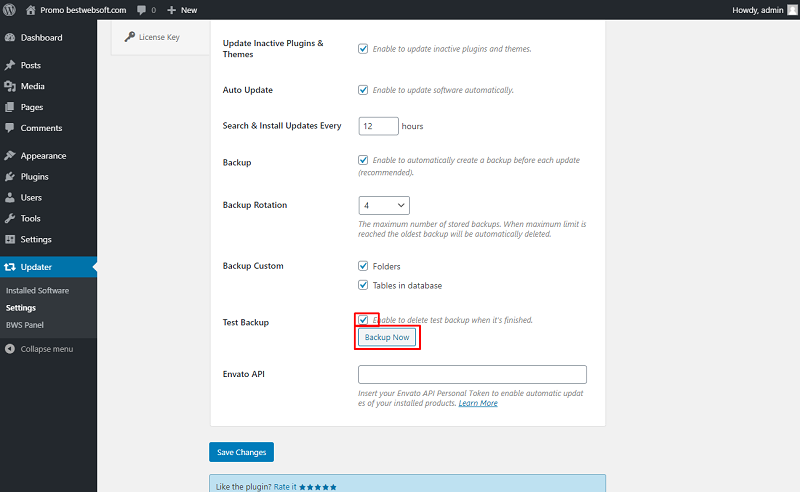
2.8. Test Backup
Use the “Test Backup” to check if backup creation is possible and create a backup file.
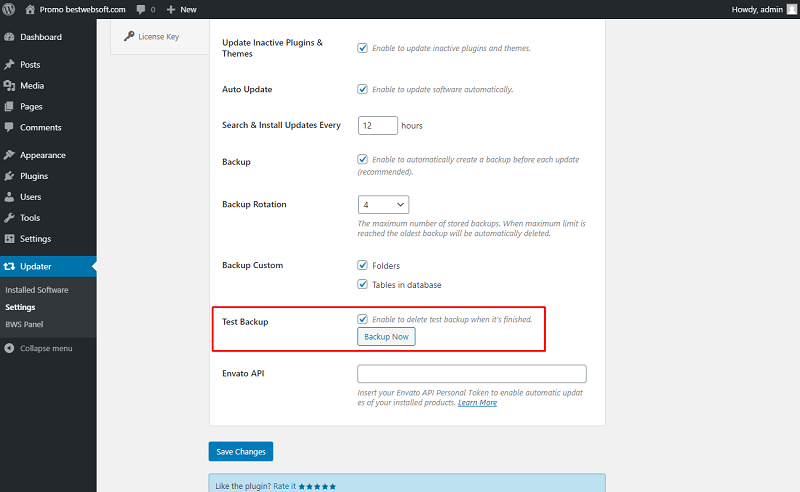
2.8.1. Click the “Backup Now” to create the backup file. Mark the checkbox to test the creation possibility and then delete the backup file.
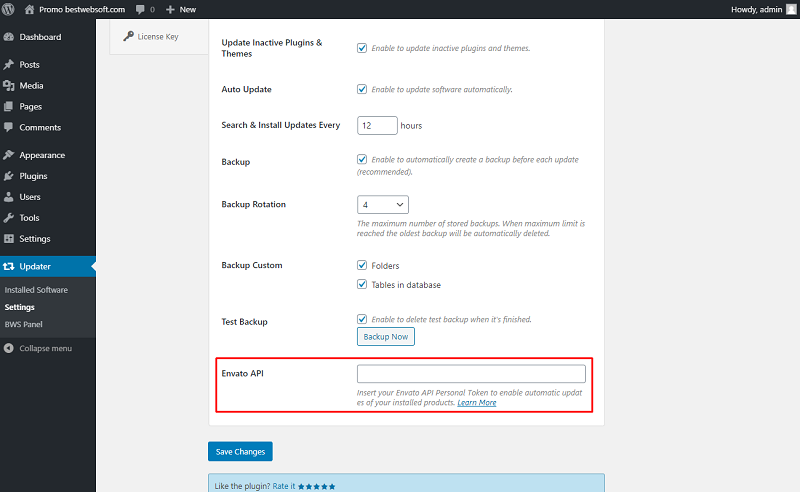
2.9. Envato API
Use the “Envato API” option to insert your Envato API Personal Token to enable automatic updates of your installed products. Click the “Learn More” link if necessary.
3. Email Notifications Settings
Use the options of the “Notifications” tab to make the settings for sending and receiving notifications and the content of email notifications.
3.1. Receive Email Notifications When
Use the “Receive Email Notifications When” option to enable notifications when new updates are available and/or update is completed.
Note: To configure the sending of email messages using mail gateways and email services such as Gmail, Yahoo, Hotmail and many others use the “SMTP” plugin by BestWebSoft. |
You can download SMTP Plugin here:
https://bestwebsoft.com/products/wordpress/plugins/smtp/

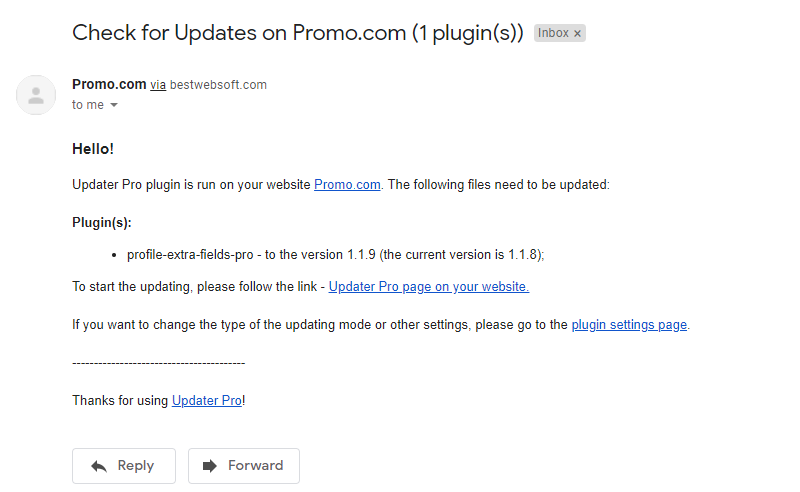
3.1.1. When the software update is available received email notification may look as follows.
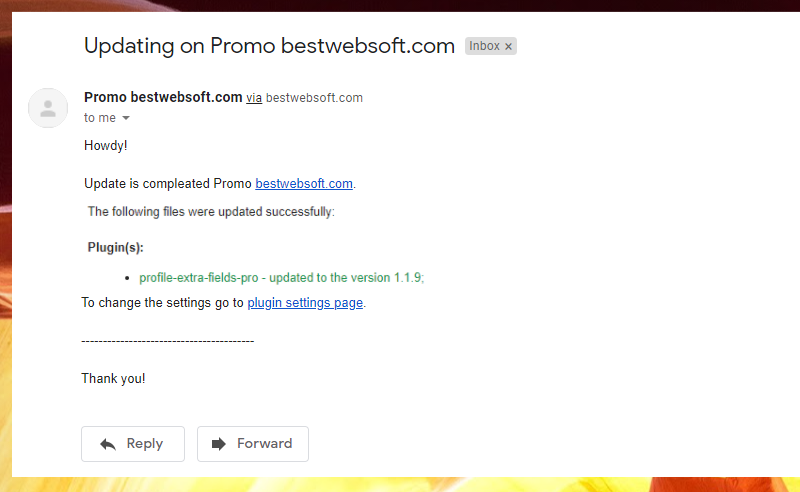
3.1.2. When the software update is completed, the received email notification may look as follows.

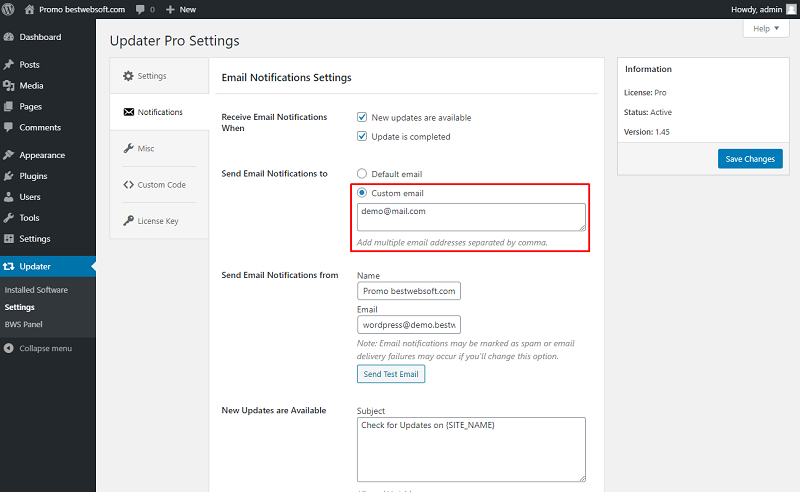
3.2. Send Email Notifications to
Use the “Send Email Notifications to” option to choose which email to send notifications.
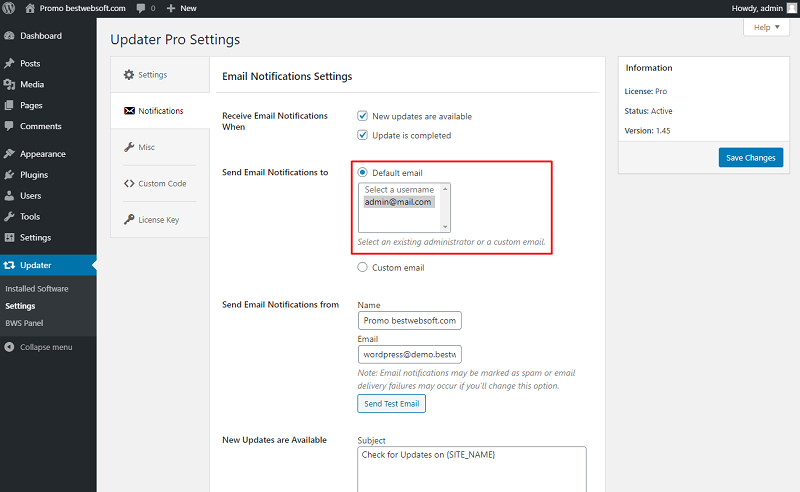
3.2.1. Choose the “Default email” to send a notification to a specific administrator email.
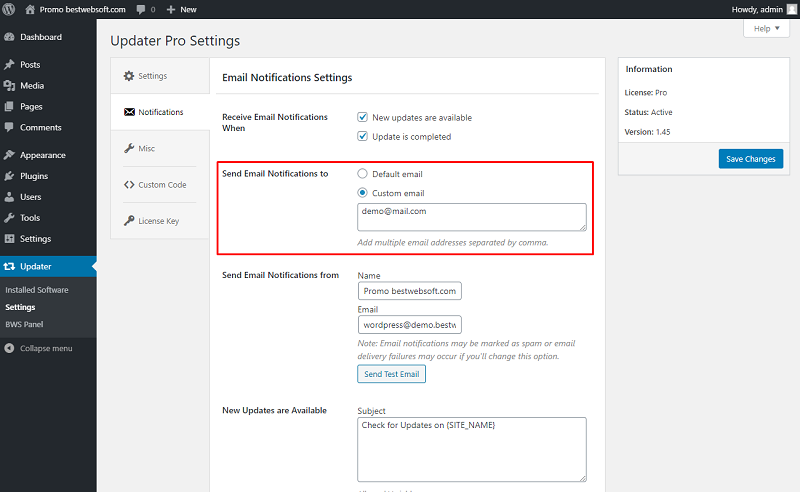
3.2.2. Choose the “Custom email” to send a notification to a custom email. Enter the necessary email to the field. Add multiple email addresses separated by a comma.
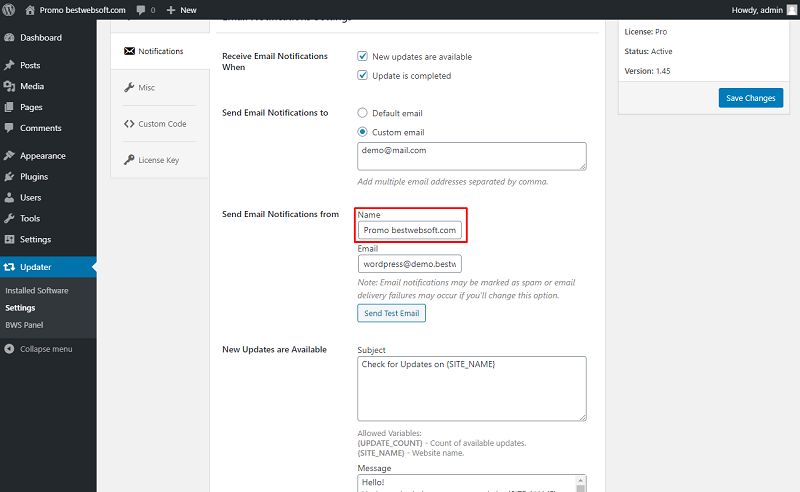
3.3. Send Email Notifications from
Use the “Send Email Notifications from” option to configure the output of the name and address of emails that the plugin will send.

3.3.1. Enter the “Name” that will be visible in incoming emails.
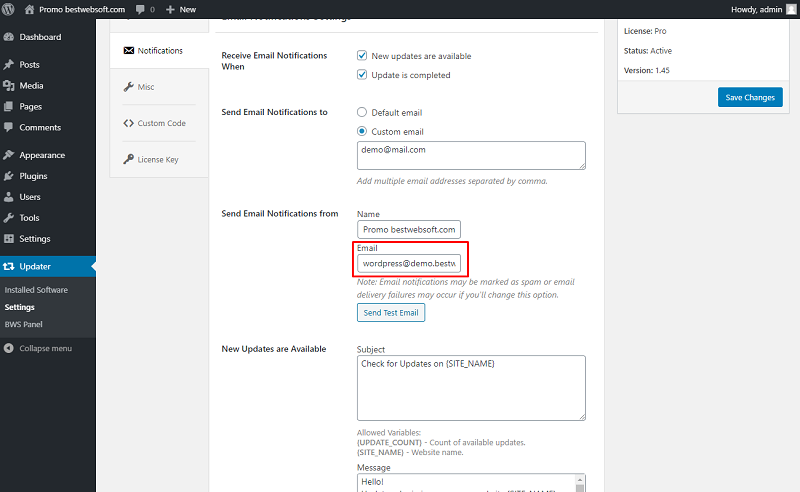
3.3.2. Enter the “Email” that will be visible in incoming emails.
Note: Email notifications may be marked as spam or email delivery failures may occur if you'll change this option. |
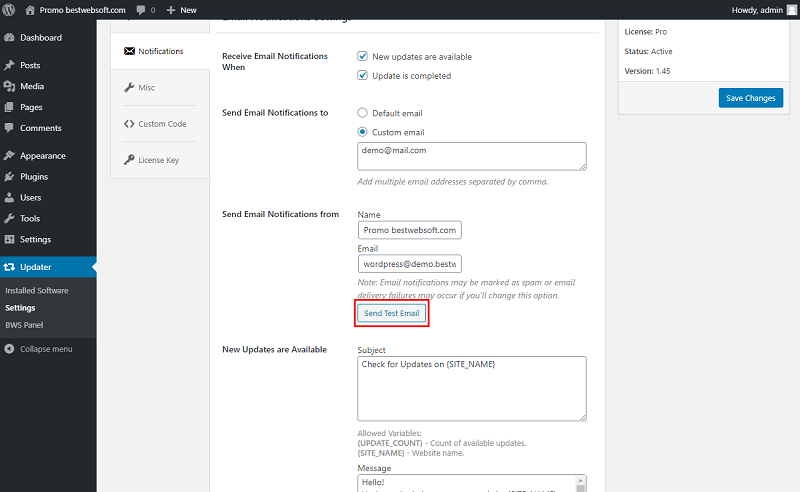
3.3.3. Click the “Send Test Email” button to receive a test email and check the data entry are correct and the email didn’t get into spam.
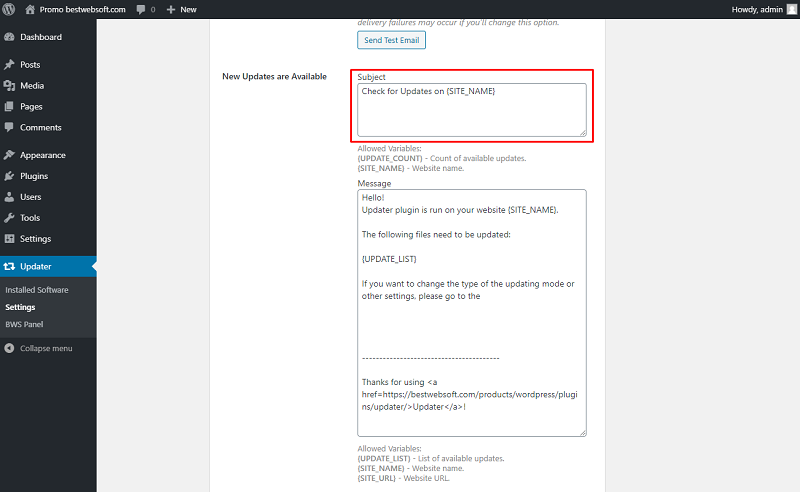
3.4. New Updates are Available
Use the “New Updates are Available” to customize the content of the email message when the software is available for updating.

3.4.1. Customize the “Subject” of the email in the appropriate field.
Note: Allowed Variables: {UPDATE_COUNT} - Count of available updates. {SITE_NAME} - Website name. |
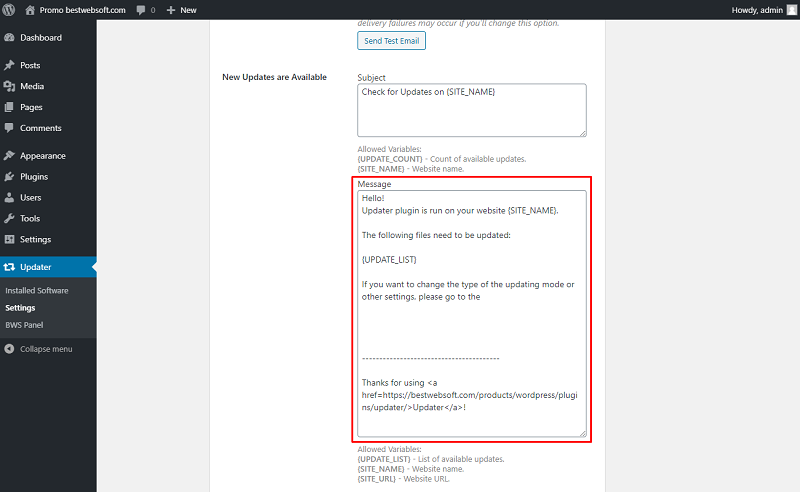
3.4.2. Customize the “Message” of the email in the appropriate field.
Note: Allowed Variables: {UPDATE_LIST} - List of available updates. {SITE_NAME} - Website name. {SITE_URL} - Website URL. |
3.4.3. The email message with customized content may look as follows.

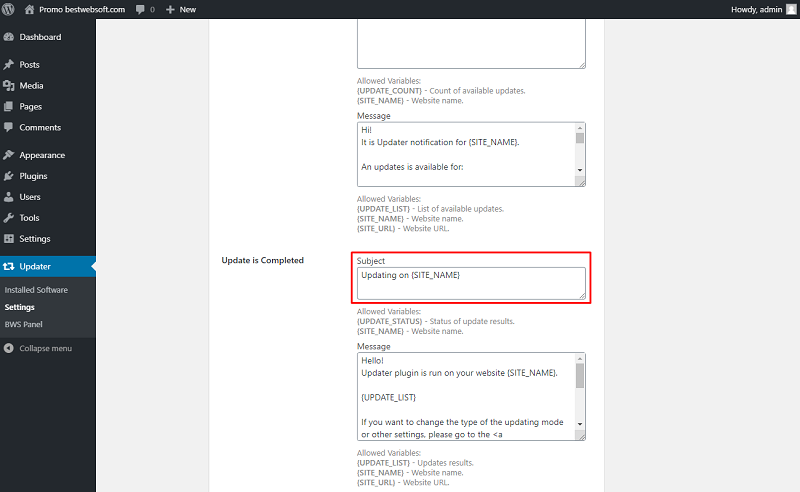
3.5. Update is Completed
Use the “Update is Completed” to customize the content of the email message when the software is updated.

3.5.1. Customize the “Subject” of the email in the appropriate field.
Note: Allowed Variables: {UPDATE_STATUS} - Status of update results. {SITE_NAME} - Website name. |
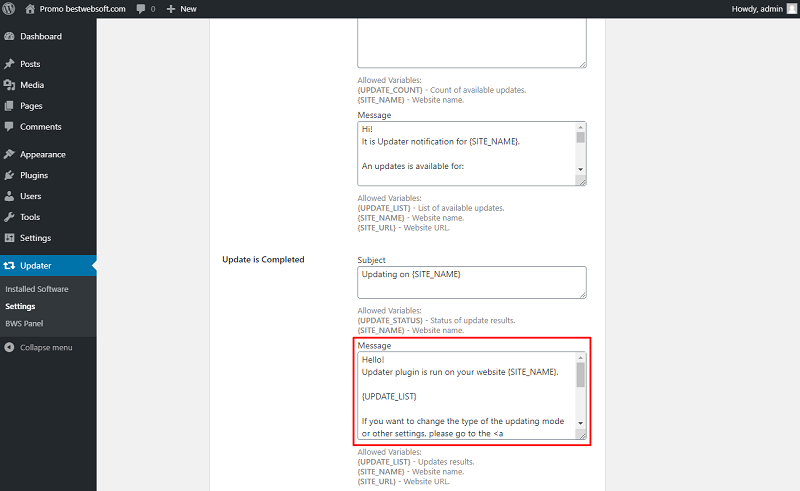
3.5.2. Customize the “Message” of the email in the appropriate field.
Note: Allowed Variables: {UPDATE_LIST} - List of available updates. {SITE_NAME} - Website name. {SITE_URL} - Website URL. |
3.4.3. The email message with customized content may look as follows.
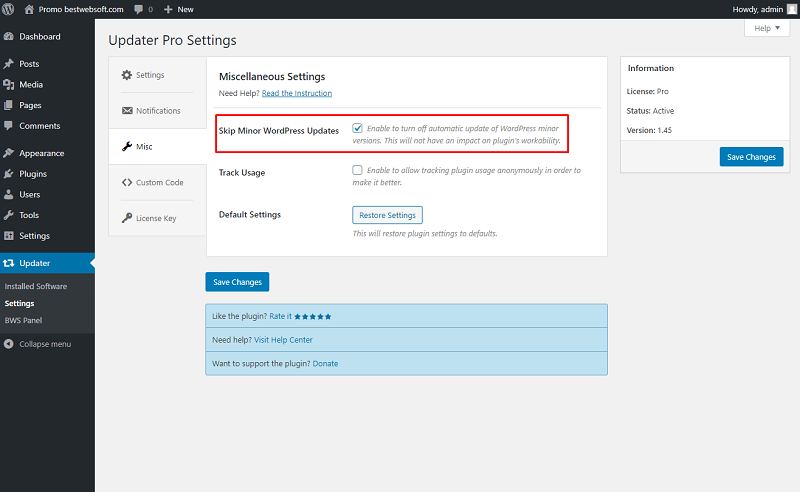
4. Miscellaneous Settings
Use the options of the “Miscellaneous Settings” tab to make the settings regarding the track usage, default settings and Skip Minor WordPress updates.
4.1. Skip Minor WordPress Updates
Enable the “Skip Minor WordPress Updates” option to turn off automatic updates of WordPress minor versions. This will not have an impact on the plugin’s workability.
4.2. Track Usage
Enable the “Track Usage” option to allow tracking plugin usage anonymously.

4.3. Default Settings
Click the “Restore Settings” button to reset all the settings made previously and revert them to the default ones.

5. Custom Code
Use the “Custom Code” tab to insert a CSS, PHP or JavaScript code. To activate the inserted code, enable the “Activate custom … code” option and save changes.

6. License Key
Use the “License Key” tab to activate or check the Pro plugin license.
6.1. Updater Pro License
After a successful plugin purchase, you will receive an email notification with a download link and a license key. Activate Pro license by pasting a license key into the “Updater Pro License” field and clicking the “Save Changes” button.

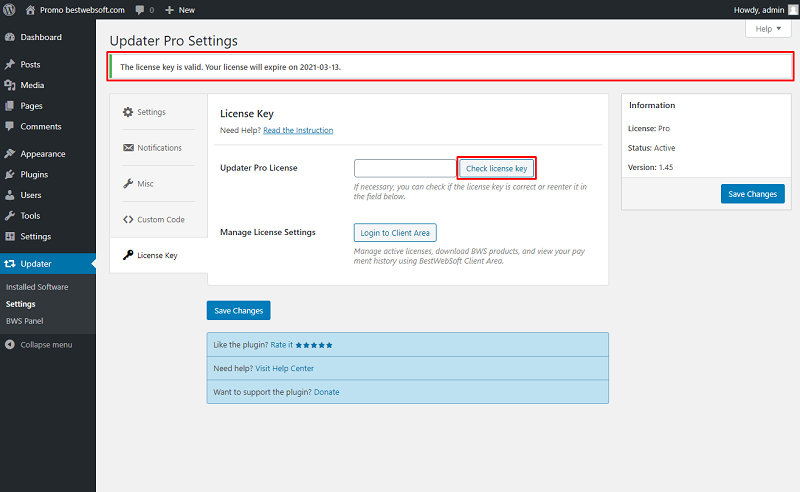
6.2. Check License Key
To check the license key, click the “Check license key” button. If the entered key is correct, the notification “The license key is valid. Your license will expire on XXXX-XX-XX” will be displayed in the upper left corner of the page.
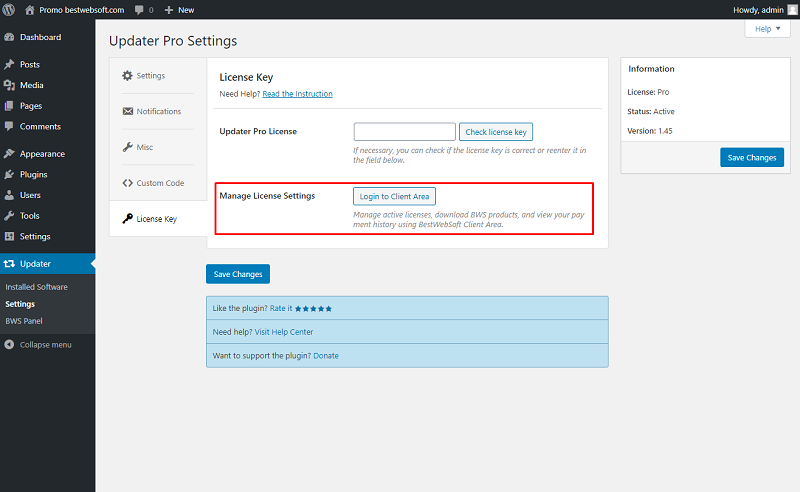
6.3. Manage the License Settings
Use the “Manage License Settings” option to change your license settings. Click the “Login to Client Area” button to open your personal Client Area dashboard located on the https://bestwebsoft.com/ website. Browse and download purchased products, change the license domain and copy the license keys.
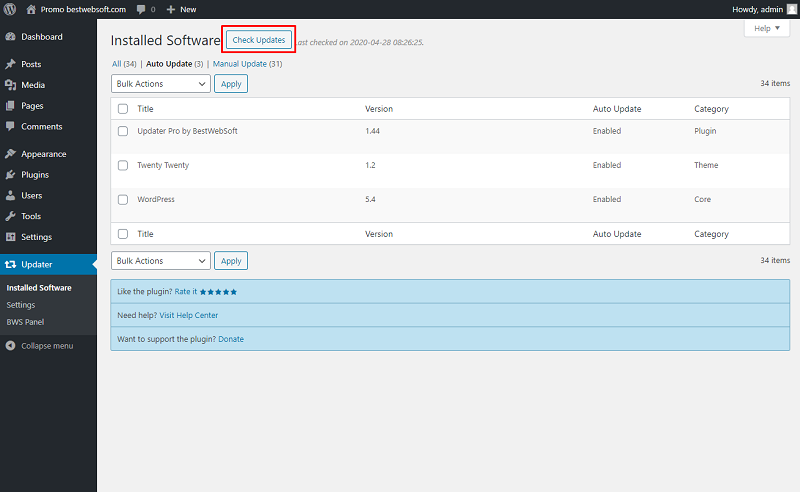
7. Installed Software
Use the “Installed Software” page to check the updates and enable/disable auto-updates for the installed software.

7.1. Click the “Check Updates” button to find the updates for all installed software.
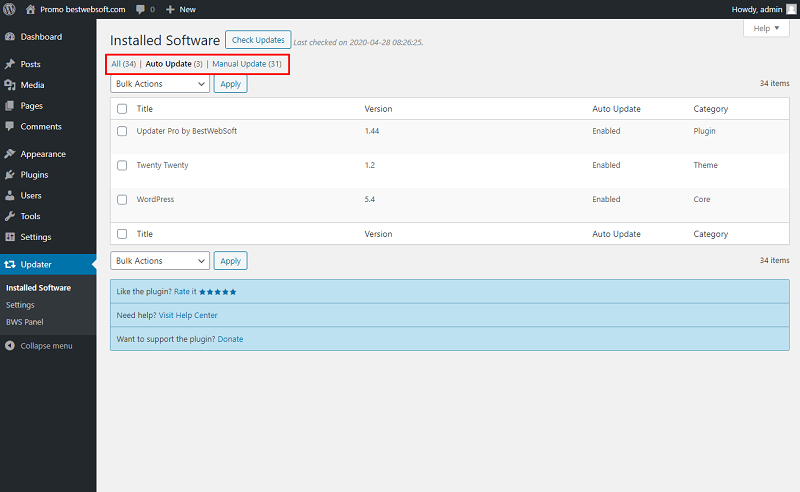
7.2. All the software distributed on tabs: “All” will display all software, “Auto Update” will display software for which the auto-update is enabled, and “Manual Update” will display software for which the auto-update is disabled.
7.3. To disable the “Auto Update” hover a cursor on the necessary software title and click the “Disable Auto Update” button.

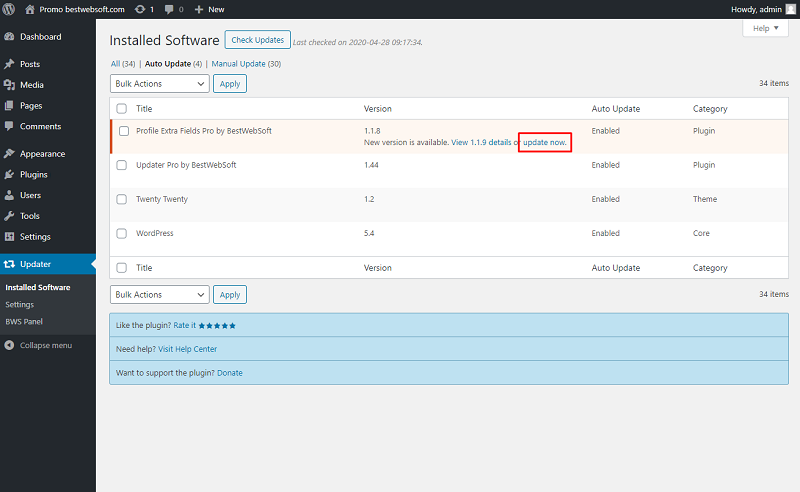
7.4. Software that has an update will be marked on the list as follows.

7.5. To manually update the software with a new version click the “update now” button.
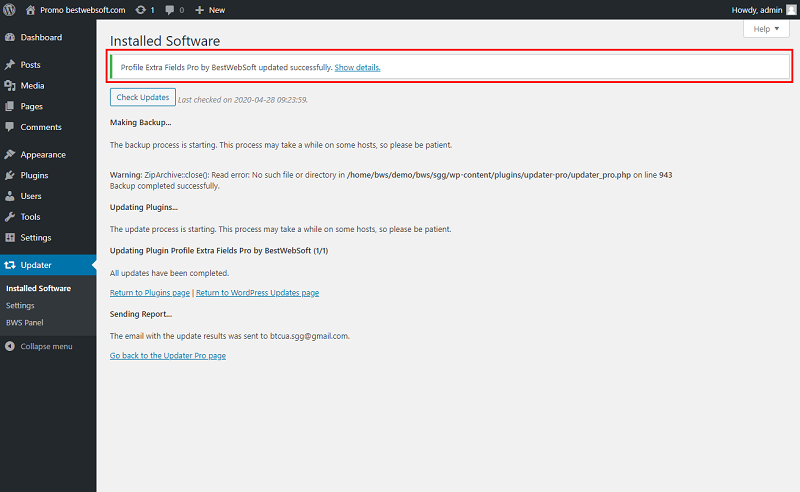
7.6. Notification about the successful update will be displayed at the top of the page.
7.7. To enable/disable updates for several titles or update them instantly mark their checkboxes, select the “Bulk Actions” and click the “Apply” button.

Thank you!
Help & Support
Visit our Help Center if you have any questions — https://support.bestwebsoft.com/
Services
We provide additional services such as WordPress themes & plugins development,
graphic design, custom programming.
Contact us now to get a free quote — https://bestwebsoft.com/contacts/

