Creating polished, professional-looking PDF and print versions of your website content is easier than ever with the PDF & Print by BestWebSoft plugin.
One of the latest and most useful features is the ability to add a custom first and last page to your generated PDF and print files.
This means you can now create beautiful cover pages and informative closing pages, giving your documents a professional structure and branding boost.
Why Use First and Last Pages?
First and last pages aren’t just decoration – they serve real purposes for branding, communication, and usability:
- Brand Identity – Use the first page as a cover with your logo, tagline, and company colors.
- Marketing Opportunities – Promote products, services, or special offers on the closing page.
- Legal & Compliance -Include copyright notices, disclaimers, or licensing information.
- Navigation & Context – Provide an introduction on the first page and further reading suggestions or links on the last page.
- Contact & Social Links – Make it easy for readers to reach you after reading.
How to Enable First and Last Pages in PDF & Print
Follow these steps to set it up:
- Go to Plugin Settings
In your WordPress dashboard, navigate to:
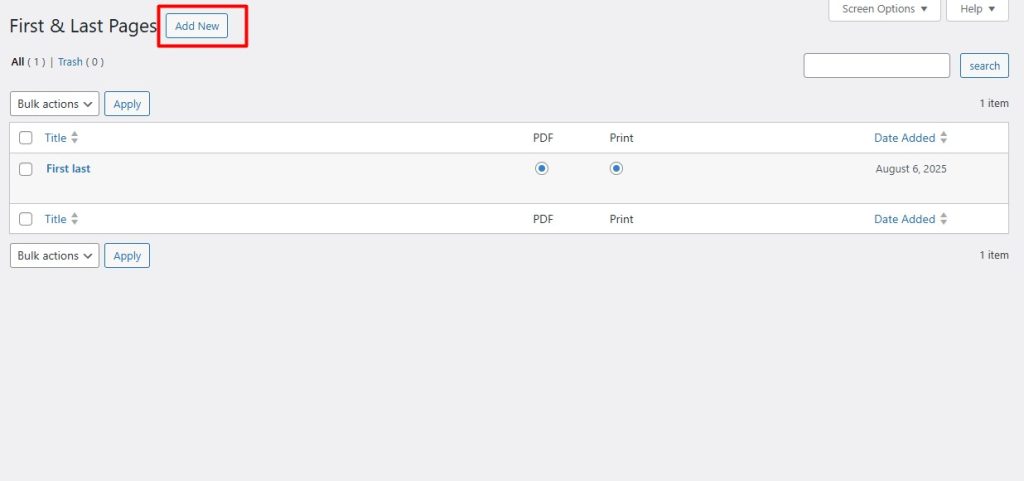
PDF & Print → First & Last Pages. - Add a New Page
- Click Add New.
- Create your content for either the first or last page.
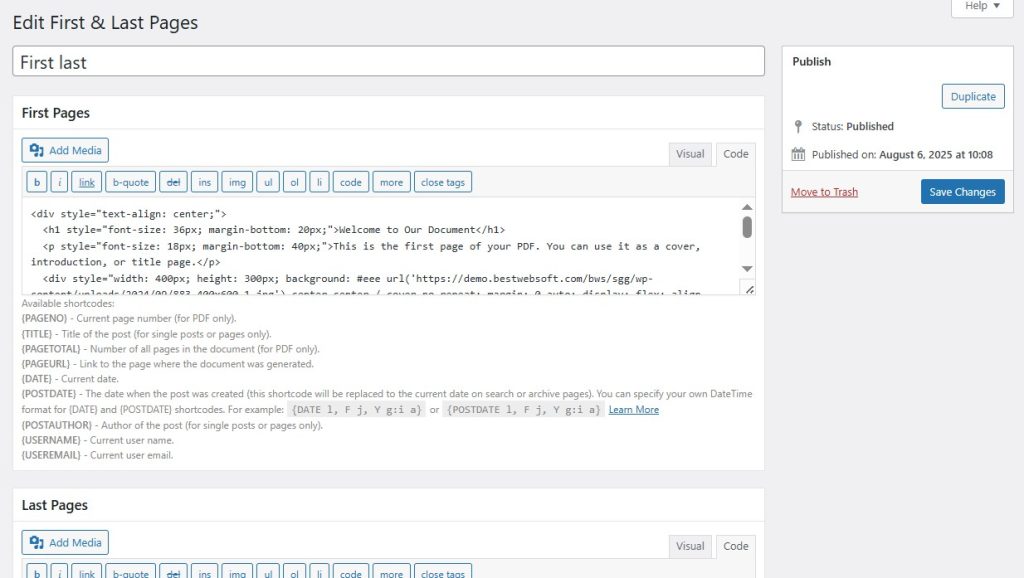
- You can use text, images, or even HTML formatting.
- Example: For a first page, add your company logo and a short intro.
- For the last page, add contact information and your website URL.
- Save Your Changes
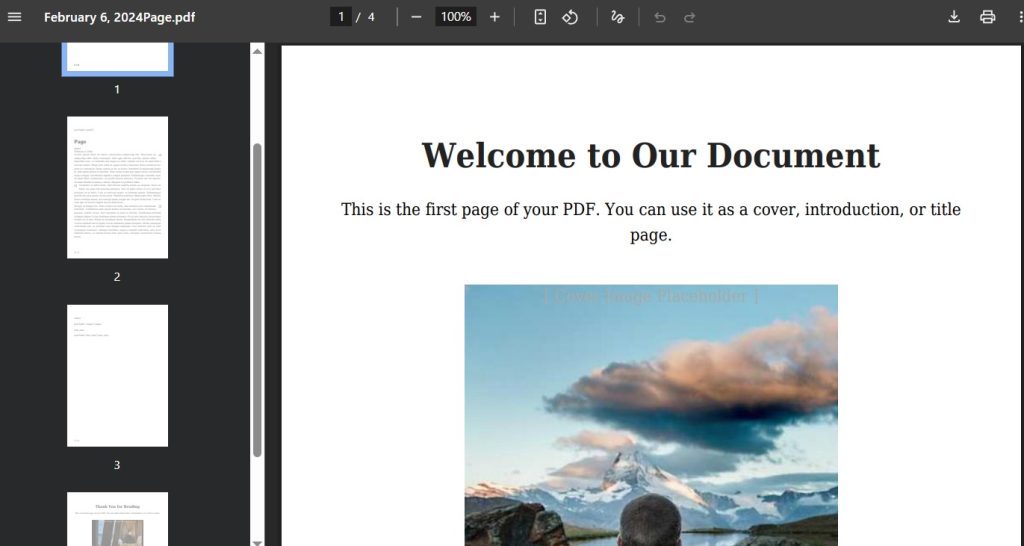
Once saved, the plugin will automatically insert these pages at the beginning and end of all generated PDF and print documents. - Test Your Document
Visit any post or page and use the PDF or Print button. You’ll see your newly added cover and closing pages.
Practical Use Cases
Here are some creative ways to use this feature:
For Bloggers
- First Page: Blog title, author name, and issue number (for regular content digests).
- Last Page: “Read more” suggestions with article links.
For Businesses
- First Page: A professional cover with your company logo and service description.
- Last Page: Discount codes, event announcements, or client testimonials.
For Nonprofits
- First Page: Mission statement and impact statistics.
- Last Page: Donation call-to-action and volunteer sign-up information.
Tips for Best Results
- Keep it concise – A good cover and closing page should be clear and visually appealing, not overloaded with text.
- Use high-quality images – A blurry logo will hurt the professional look of your PDF.
- Match your branding – Use consistent colors and typography.
- Include clickable links – For PDF readers, make sure your website or email is clickable.
Conclusion
The ability to add a first and last page to your PDF and print documents opens up countless possibilities for branding, marketing, and enhancing the user experience.
Whether you’re a blogger, business owner, educator, or nonprofit, this feature helps you make a lasting impression.
Start using it today and turn your PDFs into professional, branded publications that stand out.

