

Error Log Viewer
User Guide
WordPress | 6.4 * |
Error Log Viewer | 1.1.3 * |
*When using other versions some differences are possible to occur
** Screenshots were taken from a PC
Table of Contents
2.2.1. WordPress Error Log Notification
2.2.2. Error logging via '.htaccess' using 'php_flag' and 'php_value'
2.2.3. Error logging via 'wp-config.php' using 'ini_set'
2.2.4. Error logging via 'wp-config.php' using 'WP_DEBUG'
2.2.5. Enabling the WordPress Error Log
3.2. Send Email Notifications to
You can download Error Log Viewer plugin here https://bestwebsoft.com/products/wordpress/plugins/error-log-viewer/.
1. Introduction
Note: Сlick the “Save Changes” button in order to apply any changes. |
1.1. Open your WordPress Admin Dashboard and find the menu on the left.
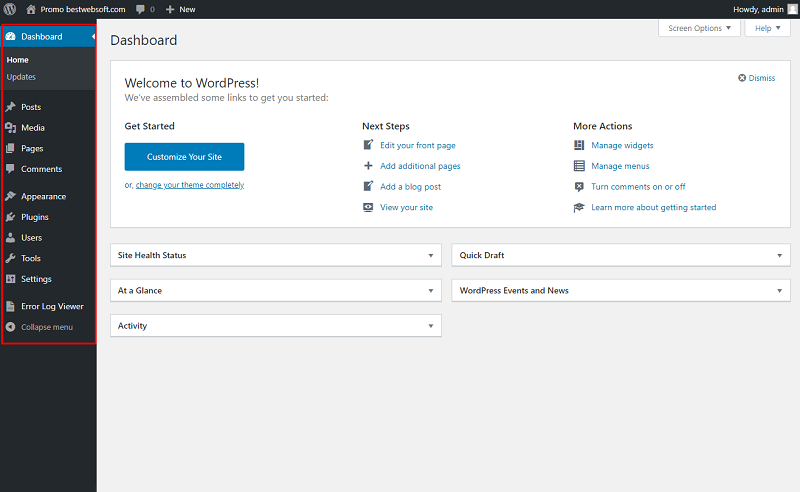
1.2. Open the “Error Log Viewer” > “Settings” page on the dashboard.
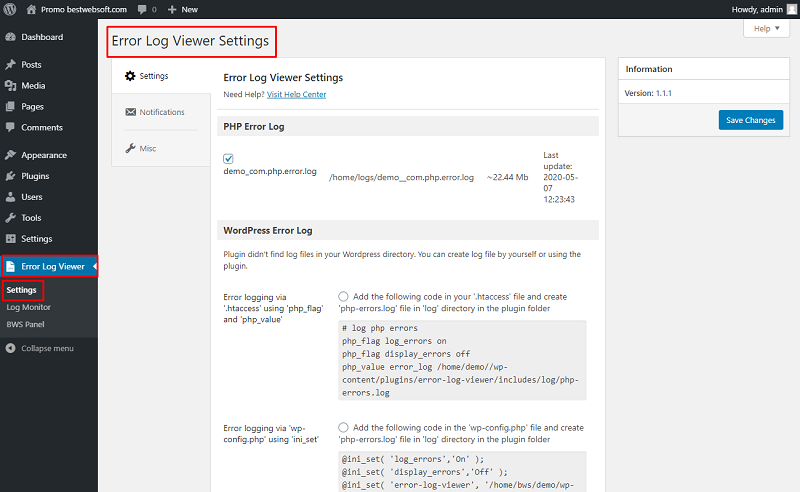
2. Settings
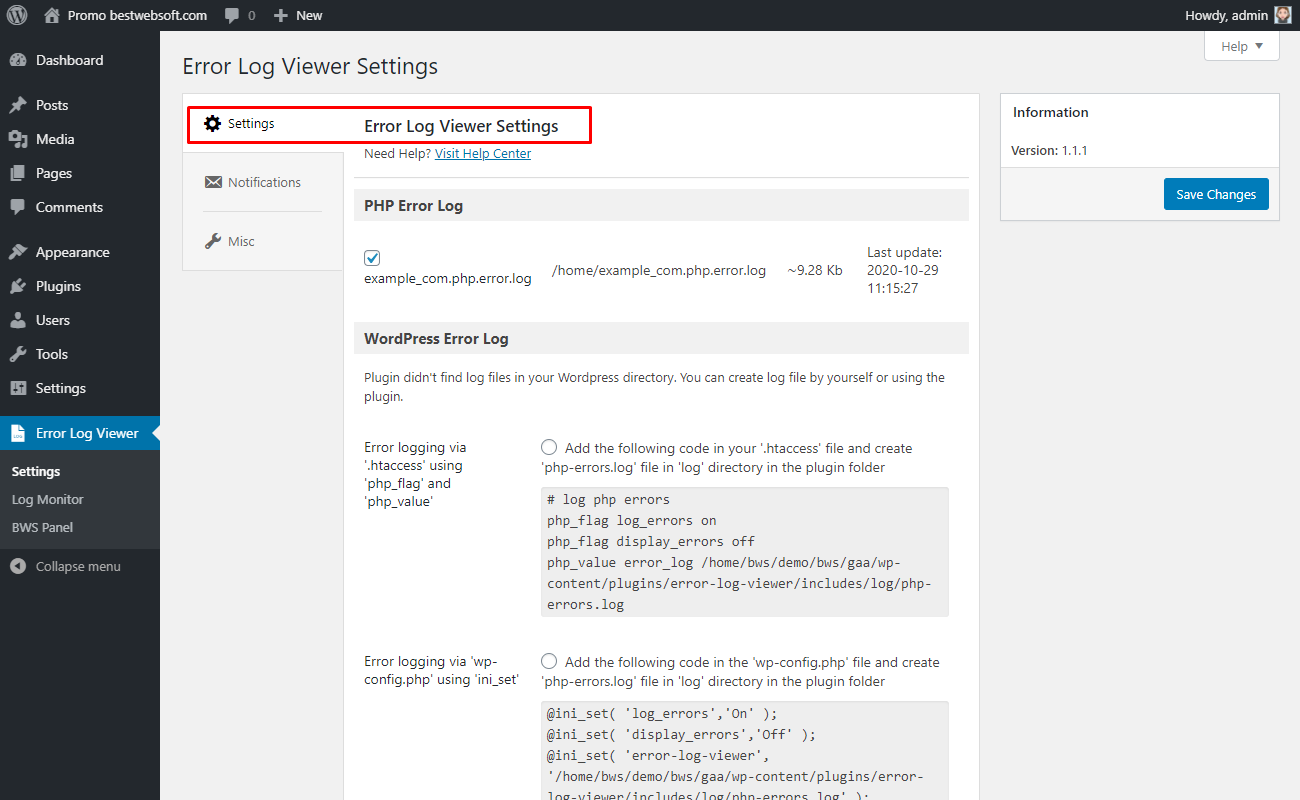
Use the options of the “Settings” page to make the global settings for the plugin.
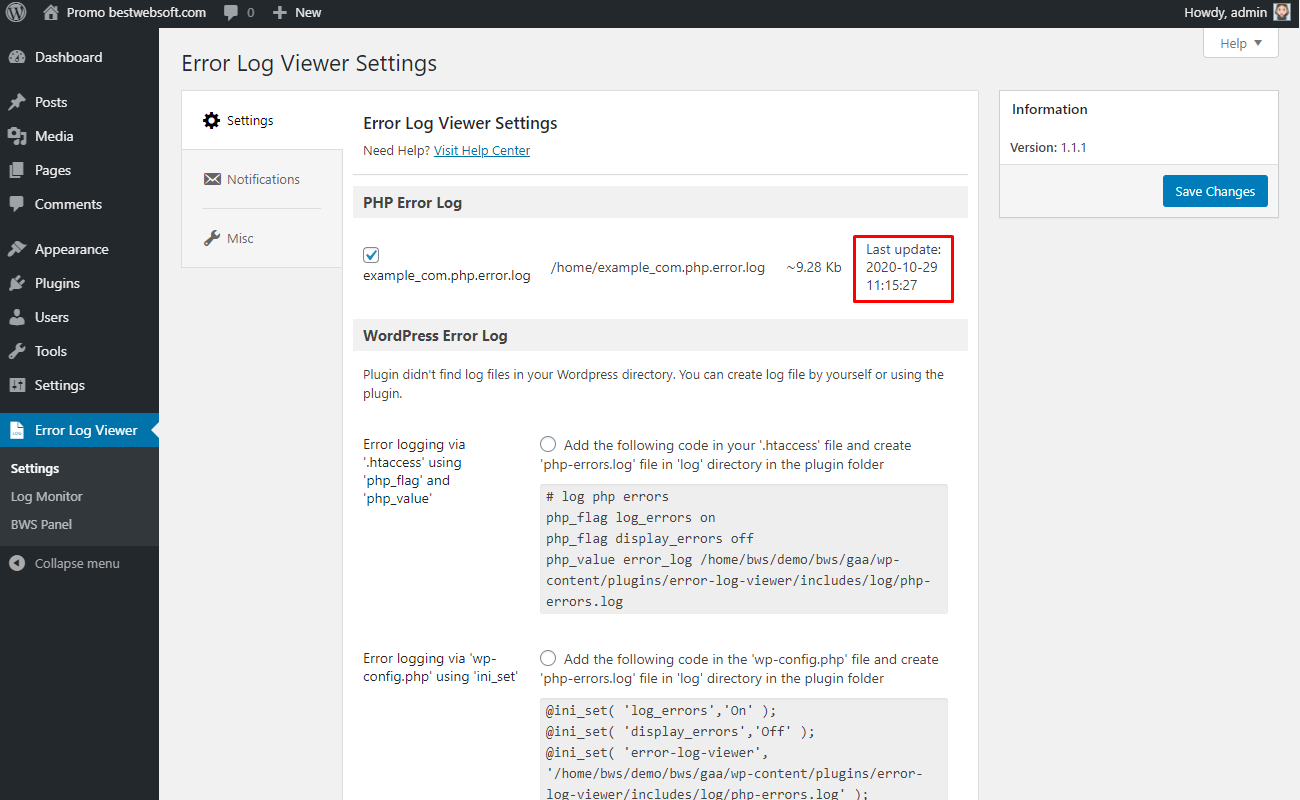
2.1. PHP Error Log
Use the “PHP Error Log” section to view the log file from the “php.ini” file of your server.
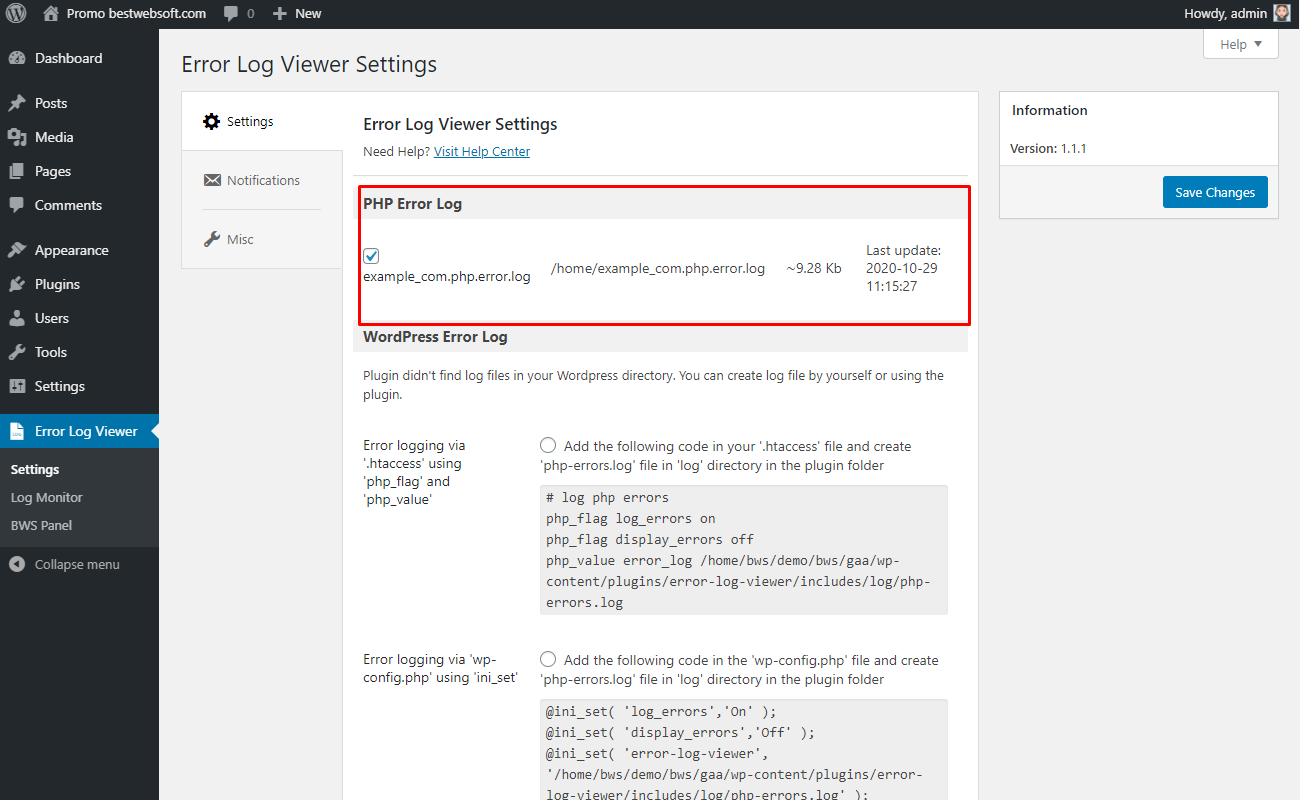
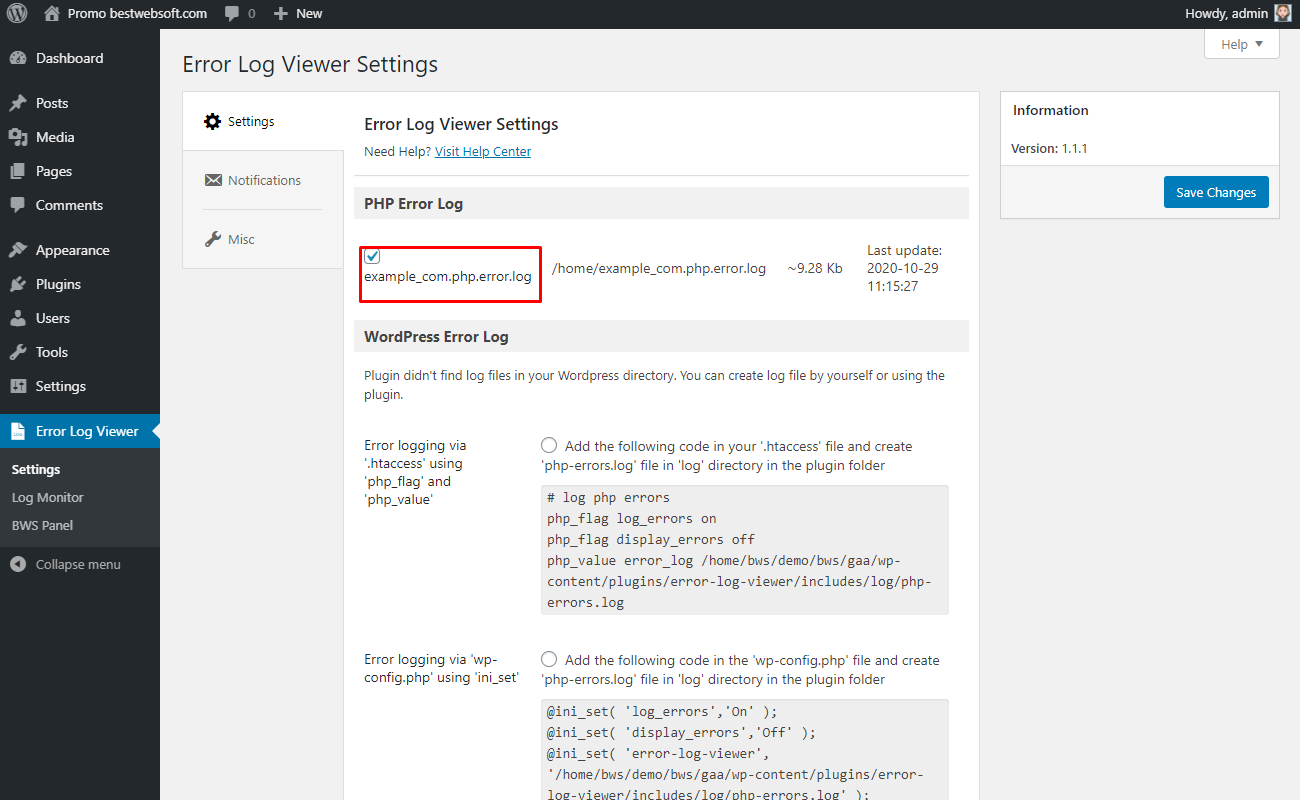
2.1.1. Enable the log file to display its information on the “Log Monitor” page.
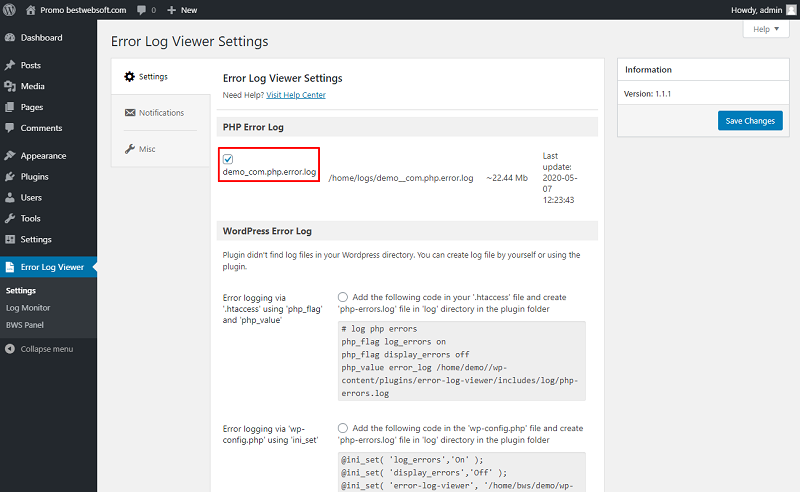
2.1.2. The name of the log file may be displayed as follows.
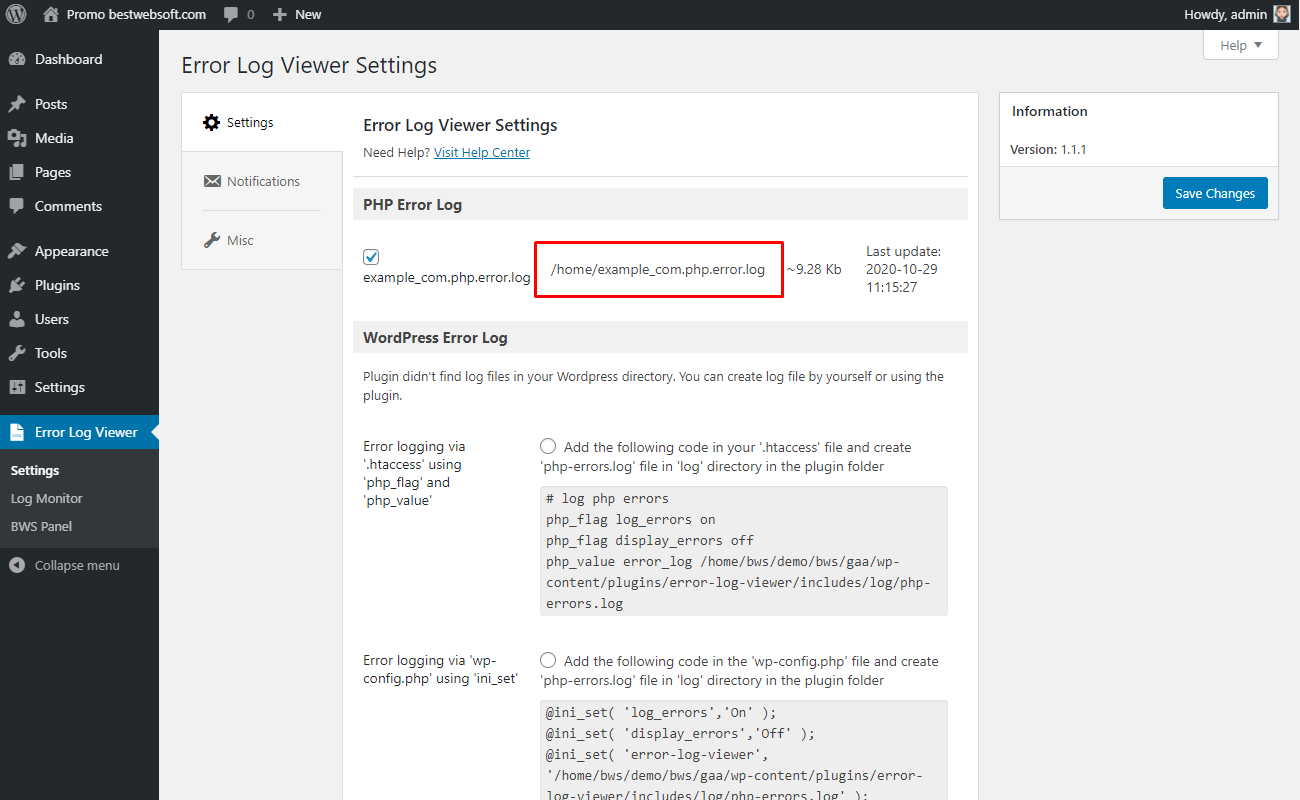
2.1.3. The path to the file may be displayed as follows.
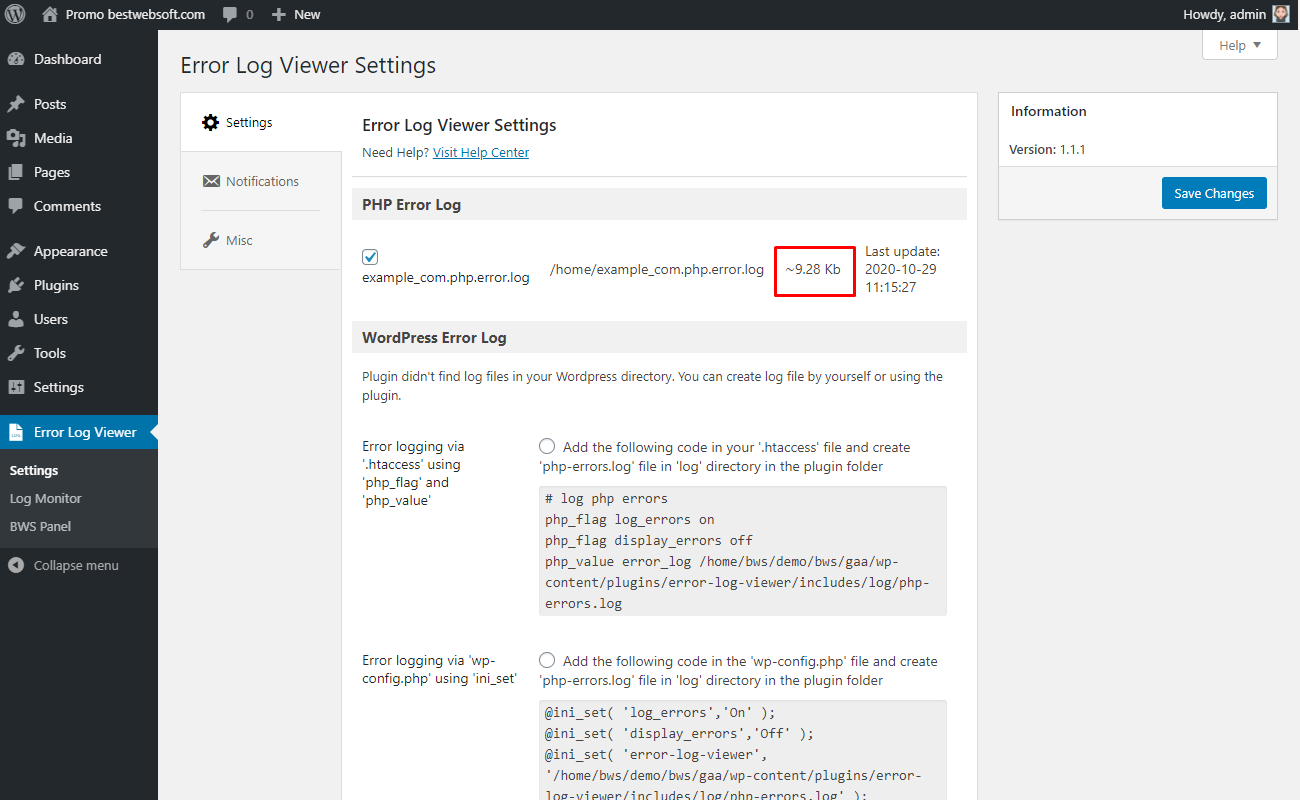
2.1.4. File size may be displayed as follows.
2.1.5. The date of the last update may be displayed as follows.
2.2. WordPress Error Log
Use the “WordPress Error Log” section to view Log files from the WordPress catalog of your site or create a custom one.
Note: Files “.htaccess” and “wp-config.php” are very important for the normal working of your site. Please save them necessarily before changes. You can create a custom file for logging and edit the required file by yourself. See also: Debugging on WordPress, Editing wp-config.php |
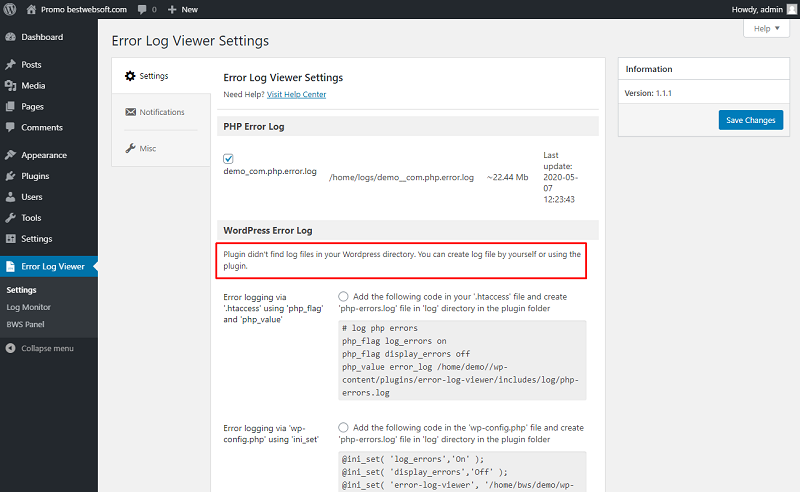
2.2.1. WordPress Error Log Notification
If no files are found the following notification about it will appear. The plugin will recommend creating a custom log file.
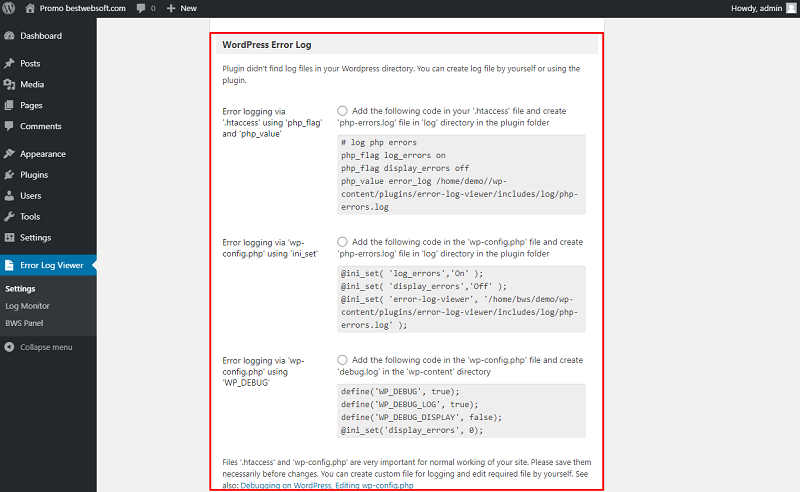
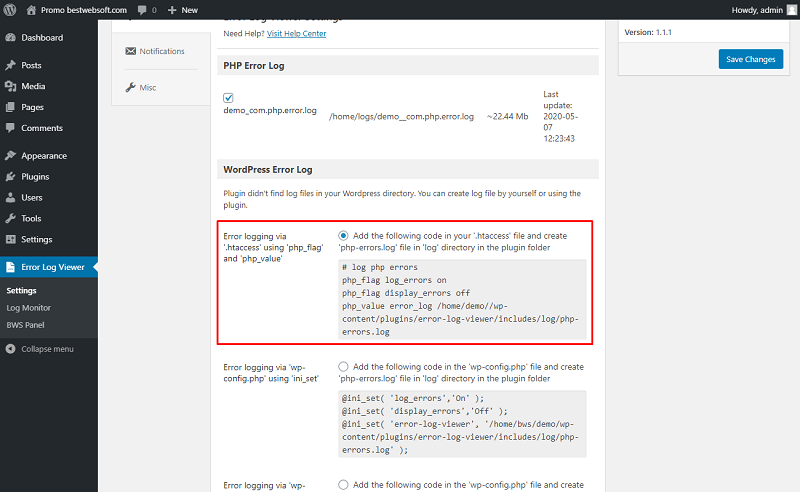
2.2.2. Error logging via '.htaccess' using 'php_flag' and 'php_value'
Choose the “Error logging via '.htaccess' using 'php_flag' and 'php_value'” log creating method, if you don't have permission to change the '.htaccess' file. It is possible to use the 'wp-config.php' file for changing server configuration settings via the 'ini_set' function. It is possible to configure various settings for logging and other options. The plugin uses this method only to enable error logging and set the absolute path for a log file. To find more information follow these links: Runtime Configuration; ini_set.
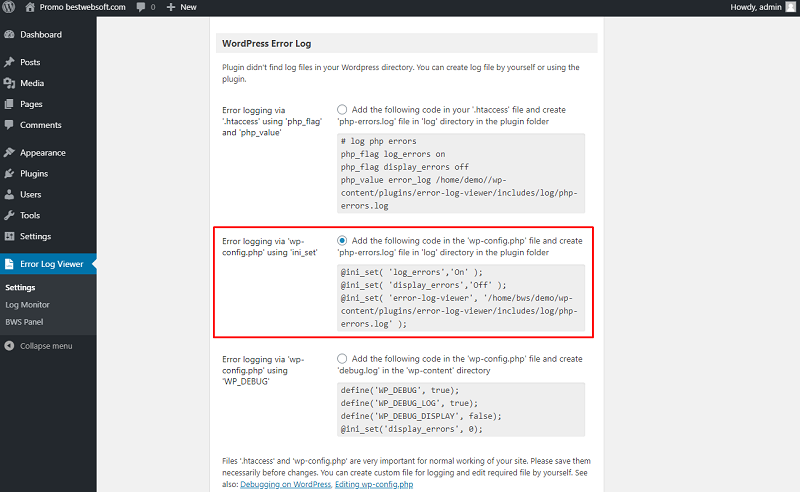
2.2.3. Error logging via 'wp-config.php' using 'ini_set'
Choose the “Error logging via 'wp-config.php' using 'ini_set'” log creating method if '.htaccess' file already exists or is enabled on the site and you have permission to edit it. This method allows you to create a custom log file, with the required name. You can assign an absolute path for this file. 'php_flag' and 'php_value' can change the value of Apache directives that allow you to change the Apache configuration. This method can be used only if you want to enable error logging and set the absolute path for a log file. To find more information follow these links: How to change configuration settings; List of php.ini directives.
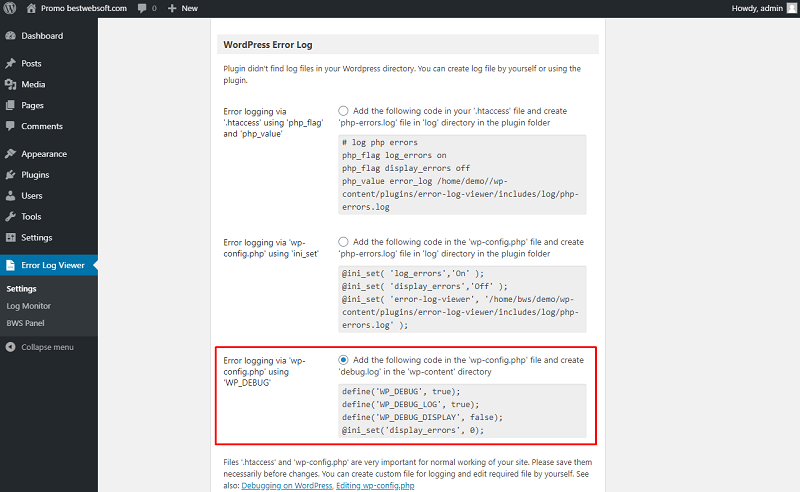
2.2.4. Error logging via 'wp-config.php' using 'WP_DEBUG'
Choose the “Error logging via 'wp-config.php' using 'WP_DEBUG'” log creating a method to log errors by using WordPress PHP constants, this constant is listed in the 'wp-config.php' file. This is a standard WordPress debugging method. This method is recommended for use on WordPress sites. In this case, your PHP errors will be listed in the 'debug.log' file in '/wp-content/' directory. You cannot change the absolute path to the log file, and cannot change the name. If you choose this method for debugging other methods will not work. To find more information follow this link: Debugging in WordPress; Editing wp-config.php.
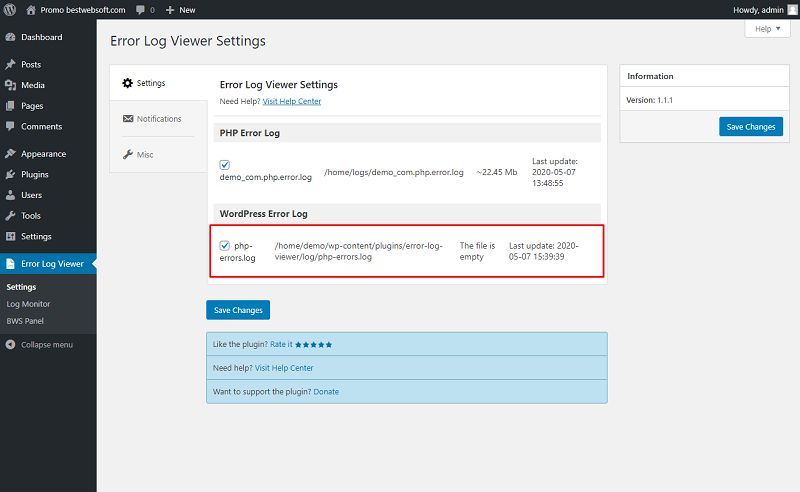
2.2.5. Enabling the WordPress Error Log
Аfter choosing the necessary log creating method, enable the log file to display its information on the “Log Monitor” page.
3. Notifications
Use the options of the “Notifications” page to make the setting regarding email notifications.
3.1. Email Notification
Enable the “Email Notification” option to receive email notifications about new errors.
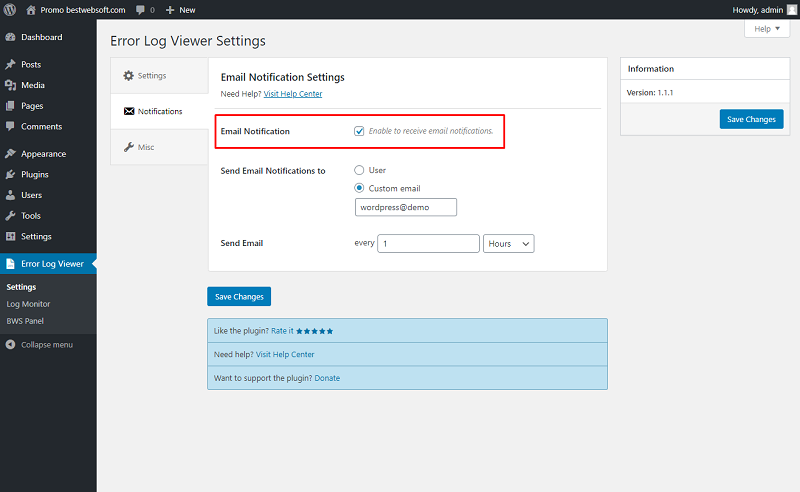
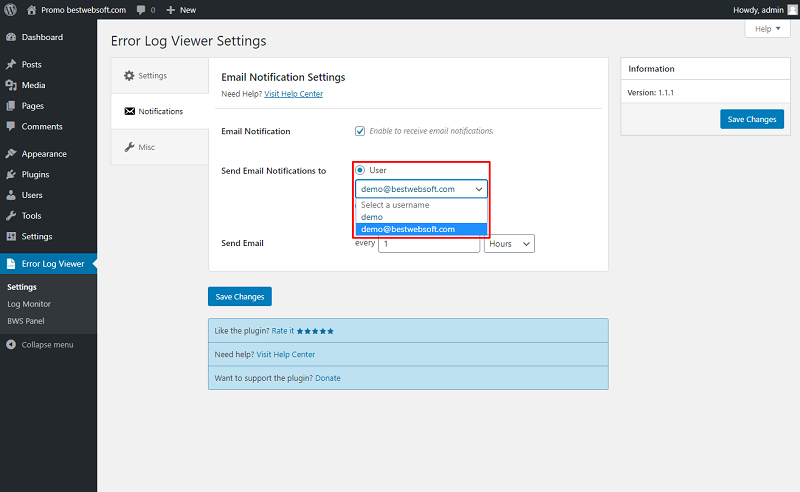
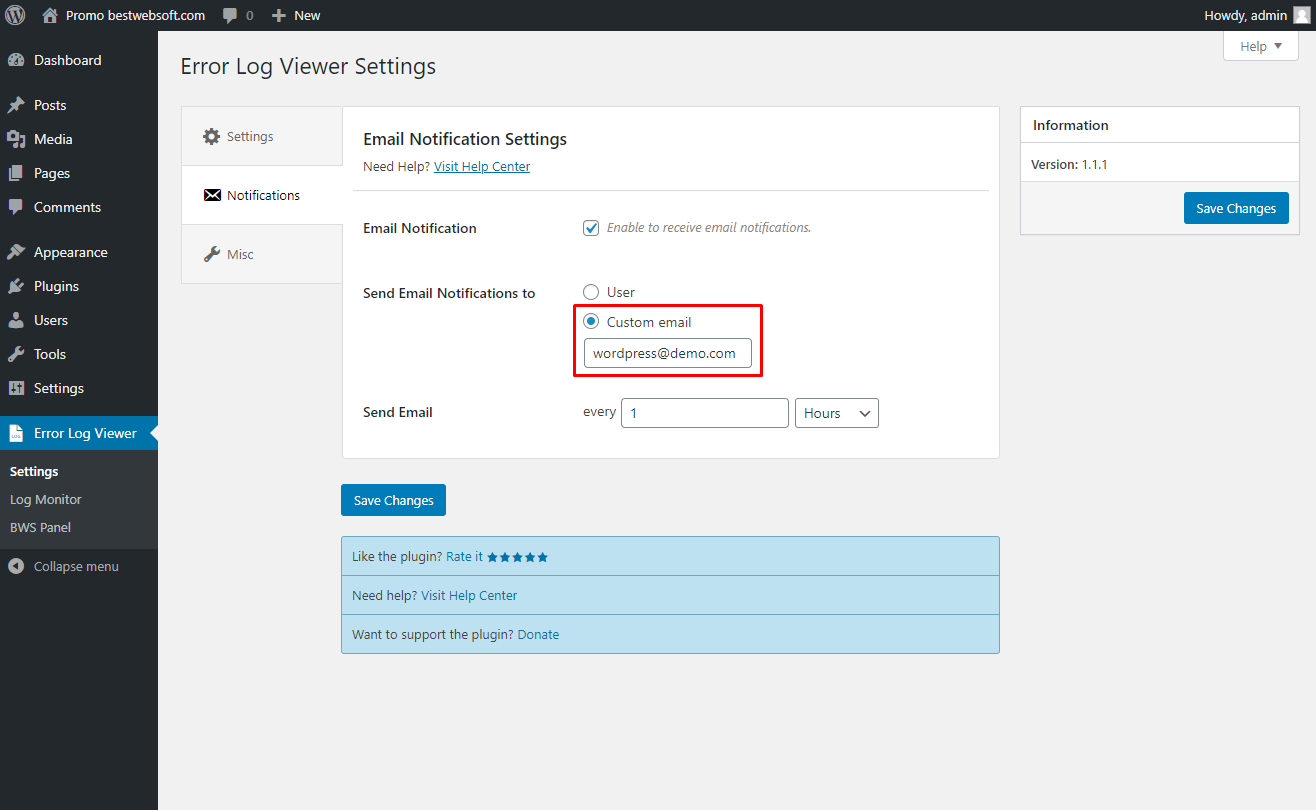
3.2. Send Email Notifications to
Use the “Send Email Notifications to” option to choose the recipient email address.

3.2.1. Choose “User” to select the recipient from the website administrators.
3.2.2. Choose “Custom Email” if you want to use a specific email address to receive notifications.
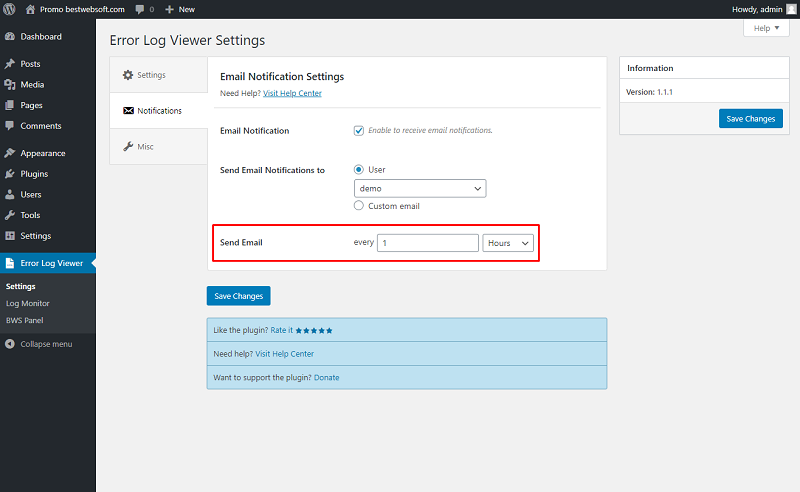
3.3. Send Email
Use the “Send Email” option to set the frequency of email notifications.
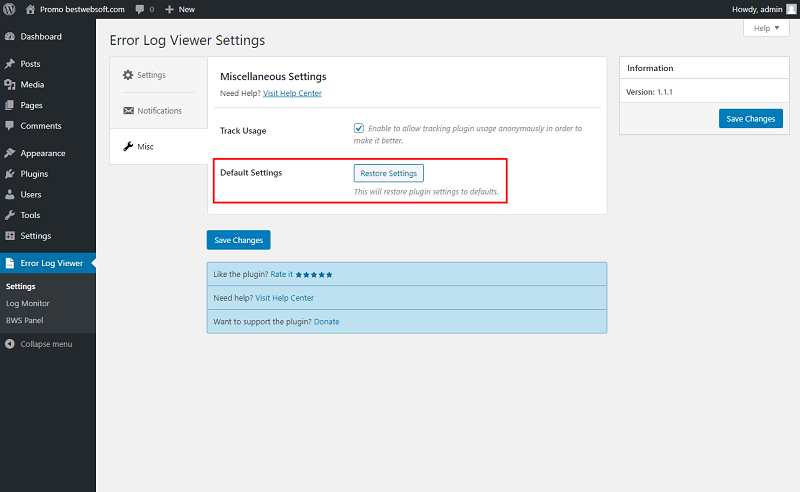
4. Miscellaneous Settings
Use the options of the “Miscellaneous Settings” tab to make the settings regarding the track usage and restoration settings.
4.1. Track Usage
Enable the “Track Usage” option to allow tracking plugin usage anonymously.

4.2. Default Settings
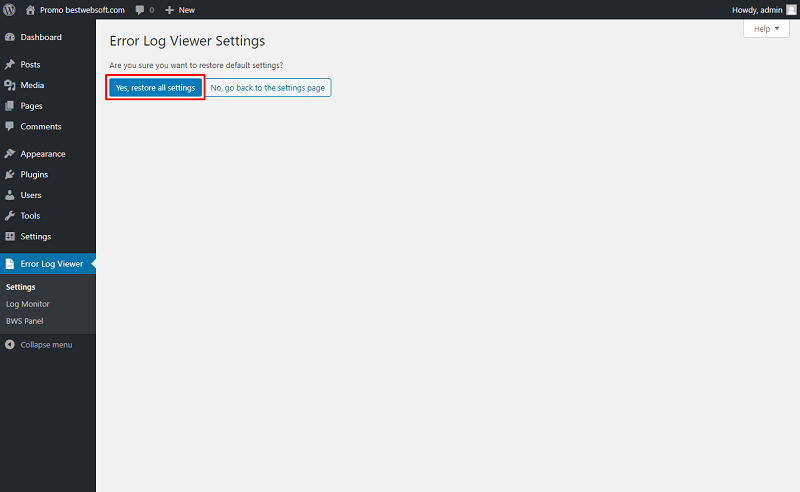
Click the “Restore Settings” button to reset all the settings made previously and revert them to the default ones.
4.2.1. Click “Yes, restore all settings” button to confirm the procedure.
5. Log Monitor
Use the options of the “Log Monitor” page to manage the error log files.
Note: To protect the folder with log files, check the presence of files index.php, htaccess Index.php is empty The htaccess file has the following content: Options All - Indexes Order Deny, Allow Deny from all Files will be automatically created when a log file is saved in text format in the saved_logs folder, if the scripts have access to create folders and files. Otherwise, you will need to add them manually. |
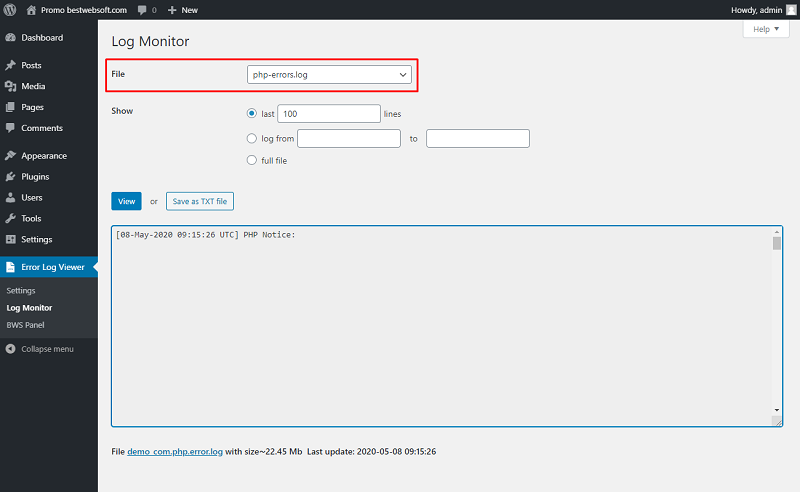
5.1. File
Use the “File” option to select the created log files to display.
5.2. Show
Use the “Show” option to choose the part of the information from the log file to display.
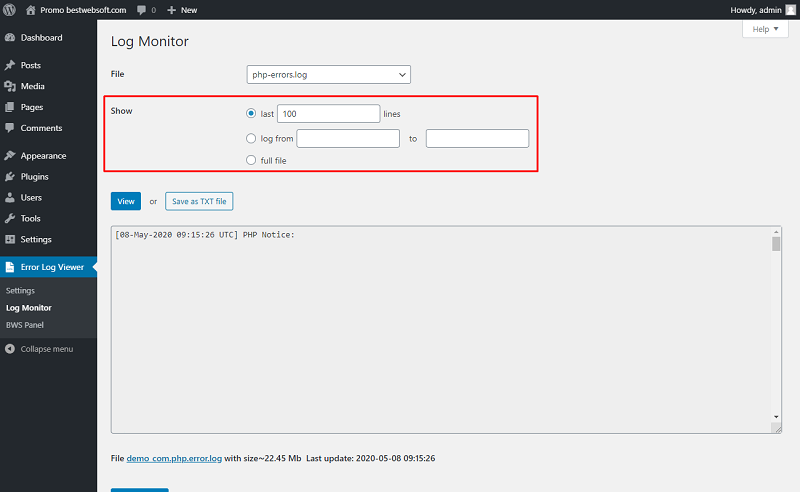
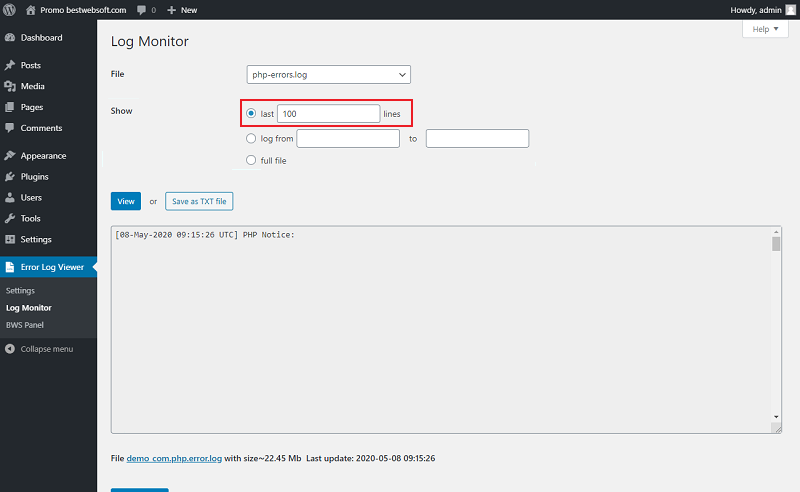
5.2.1. Choose the “last … lines” to define the number of last log file lines to display.
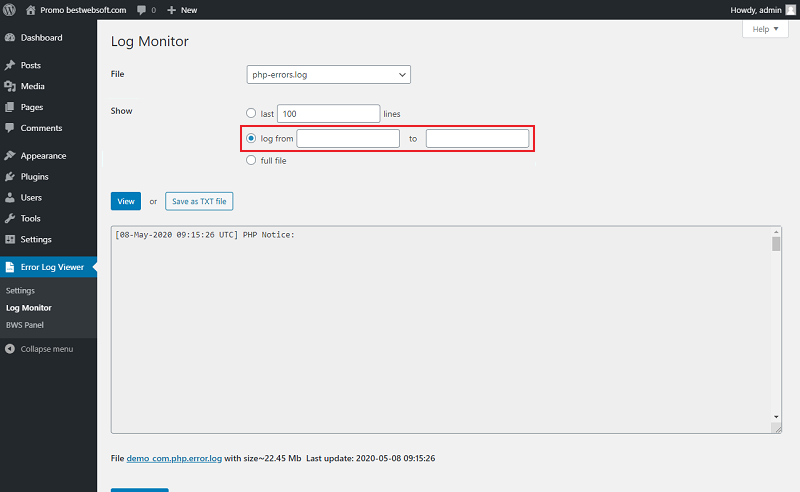
5.2.2. Choose the “log from … to …” to display logs for the chosen time period.
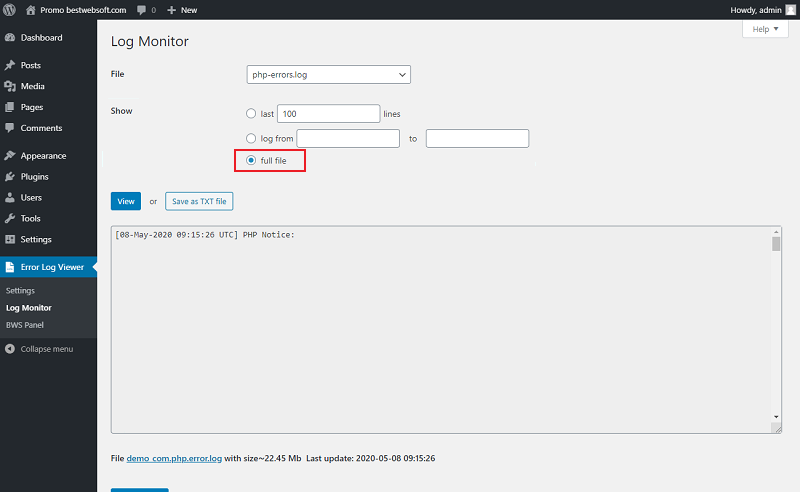
5.2.3. Choose the “full file” to display the full log file from the date it was created.
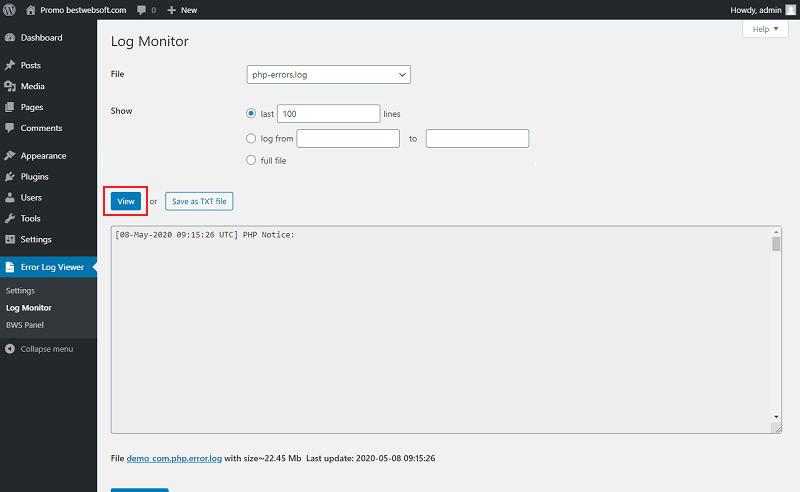
5.2.4. Click the “View” button to display the selected log file with the chosen information.
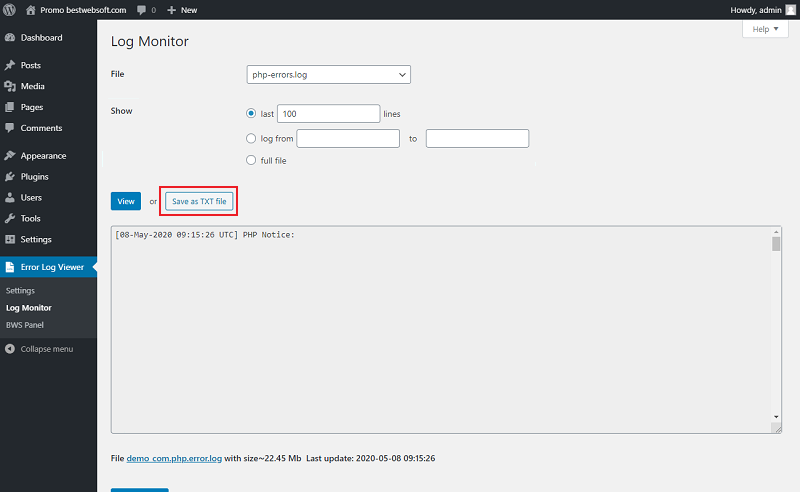
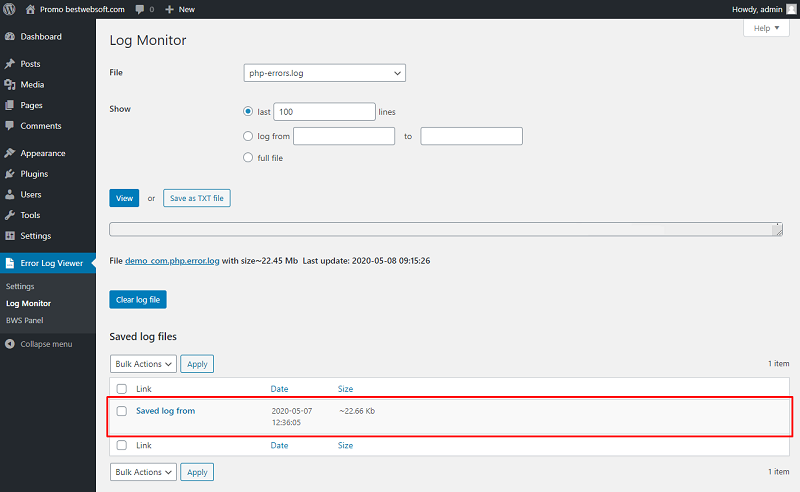
5.2.5. Click the “Save as TXT file button” button to save the selected log file to the “Saved log files” list.
5.2.6. Saved files will be displayed on the “Saved log files” list.
5.2.7. Follow the link of the selected log file to view it in a new browser tab.
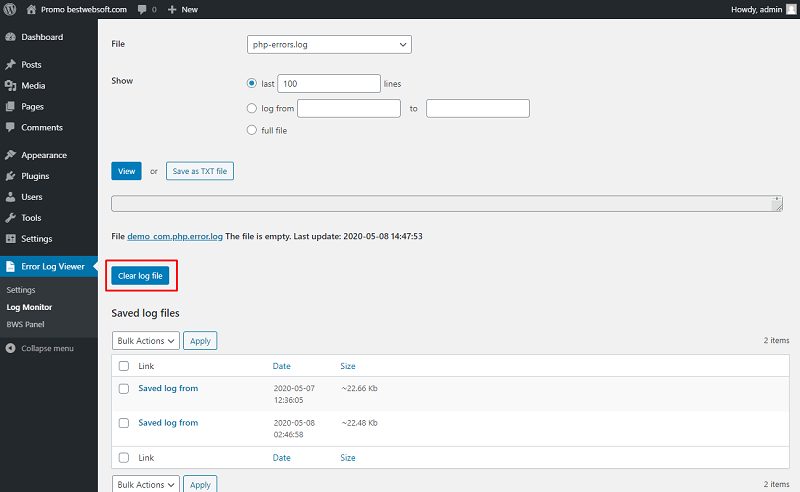
5.2.8. Click the “Clear log File” button to erase all the information from the selected log file.
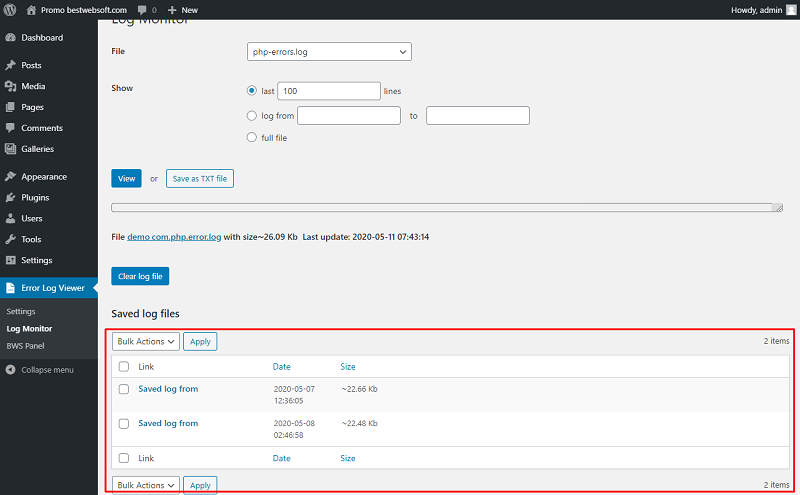
5.3. Saved Log Files List
Use the “Saved Log Files” list to view saved log files, view information about them like the date it was saved and size, or to delete them.
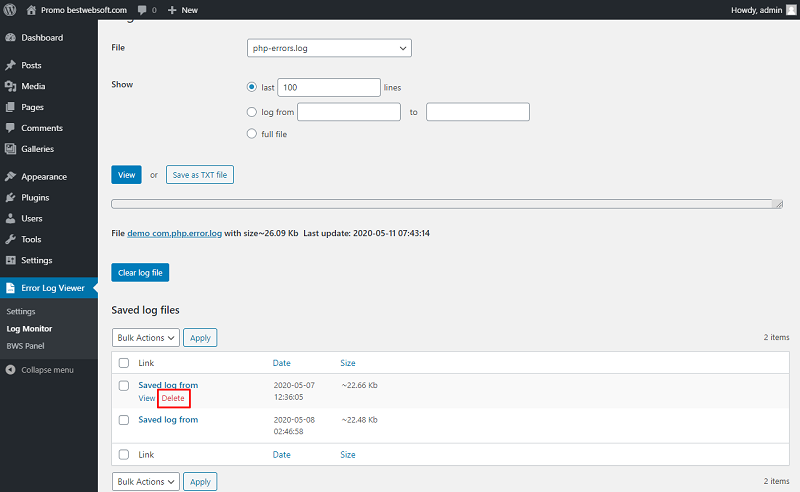
5.3.1. To view the log file, hover the cursor over the necessary file name and click the “View” button.
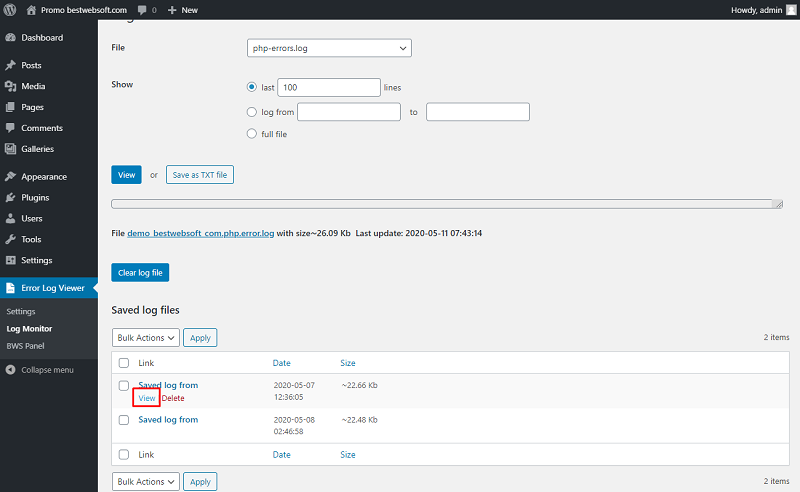
5.3.2. To delete the log file, hover the cursor over the necessary file name and click the “Delete” button.
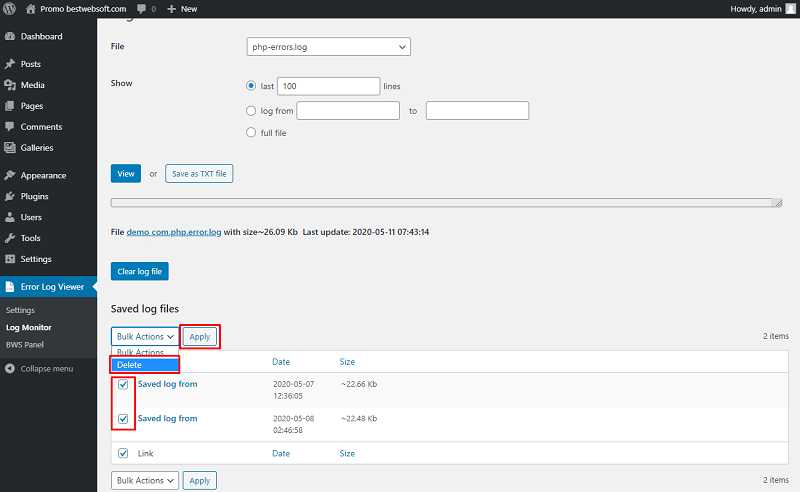
5.3.3. To delete several files at a time enable them, select “Delete” bulk action and click the “Apply” button.
Thank you!
Help & Support
Visit our Help Center if you have any questions — https://support.bestwebsoft.com/
Services
We provide additional services such as WordPress themes & plugins development,
graphic design, custom programming.
Contact us now to get a free quote — https://bestwebsoft.com/contacts/

