reCaptcha plugin has been probably the best security solution to protect your website forms from spam for years.
During this time, we have been constantly adding new features and improving the plugin’s functionality for you to enjoy it.
Thus, except for WordPress default forms (Login, Registration, Comments, Reset password) and our company’s plugins (Contact Form, Testimonials, Subscriber, Multilanguage), we also added compatibility with some of the most popular external plugins on the market. These include Contact Form 7, Jetpack, MailChimp, WooCommerce, bbPress, BuddyPress, and wpForo Forum. And reCAPTCHA v3 support saw the light as well.
And now we are proud to present you a new feature: compatibility with Ninja Forms! This means that from now on, over 1 million Ninja Forms users can enjoy an effective security solution!
In order to enable reCaptcha protection for Ninja Forms, you need to follow these steps:
1. Install and configure both reCaptcha and Ninja Forms plugins.
2. To start using reCaptcha, you need to register your website with Google and get the API keys.
Important: reCaptcha version on the plugin settings page and reCaptcha type of API keys in the Google Admin console must match.
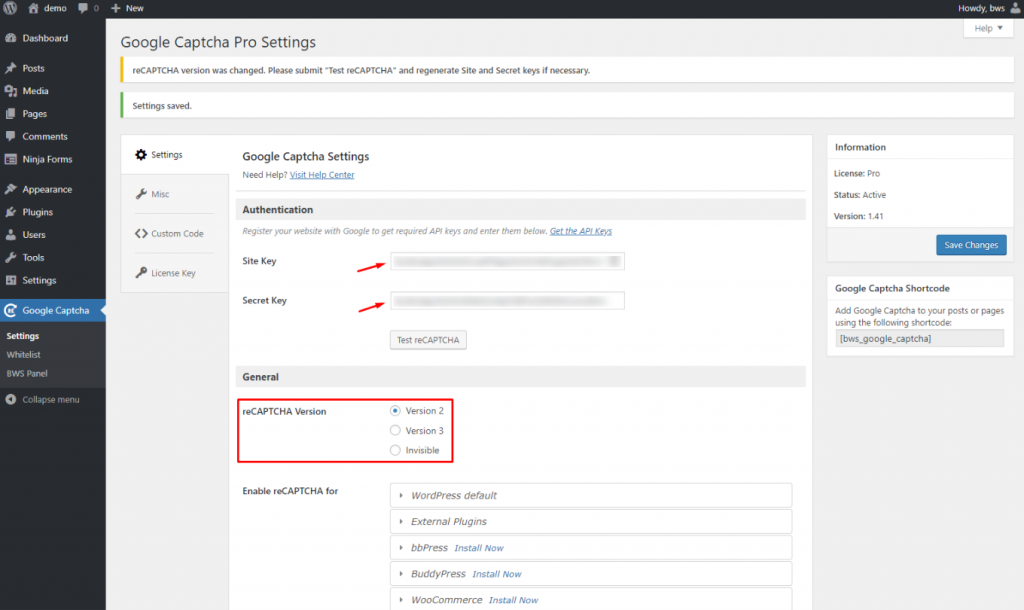
3. After you have decided which reCaptcha version to use and obtained API keys for it, go to the GreCaptcha plugin’s settings page.
4. The first thing to do here is to find the “reCaptcha version” section and select the one for which you generated the API keys. Then, copy and paste the site key and the secret key obtained from Google into the appropriate fields in the “Authentication” section. Save the changes.
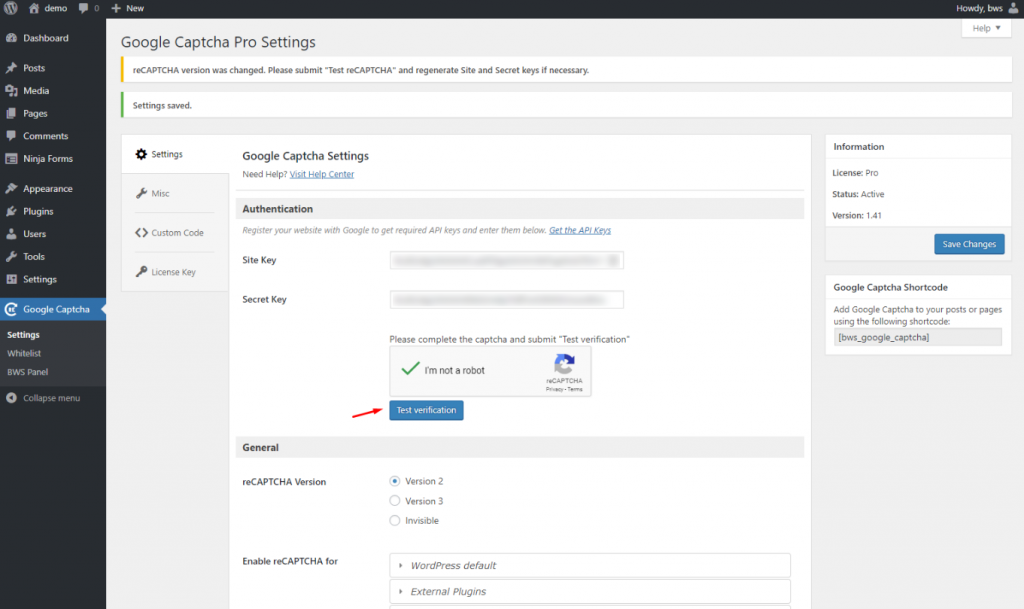
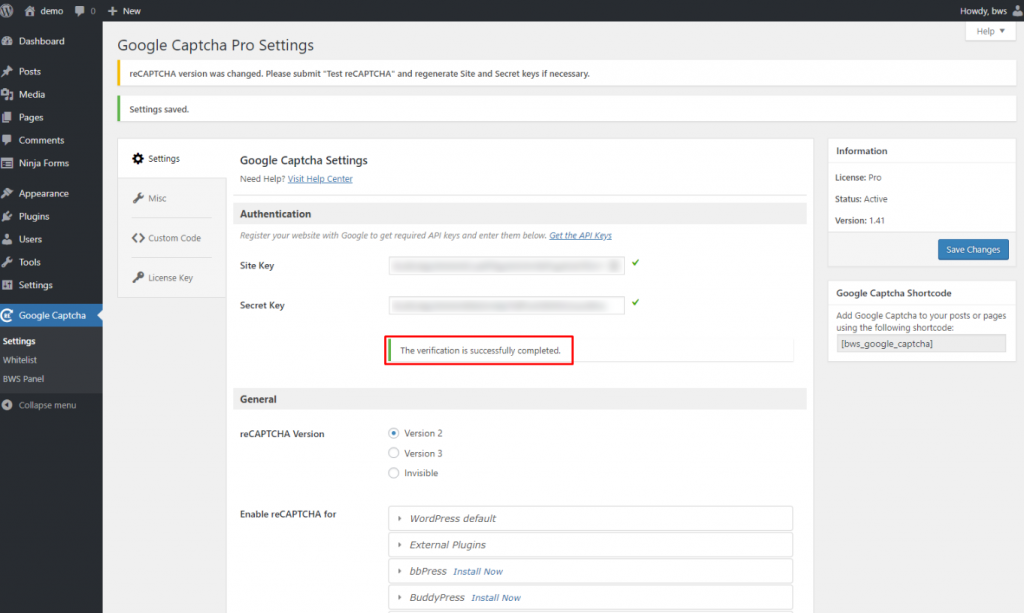
5. Now, click “Test reCaptcha” button and pass test verification to make sure that the keys are correct.
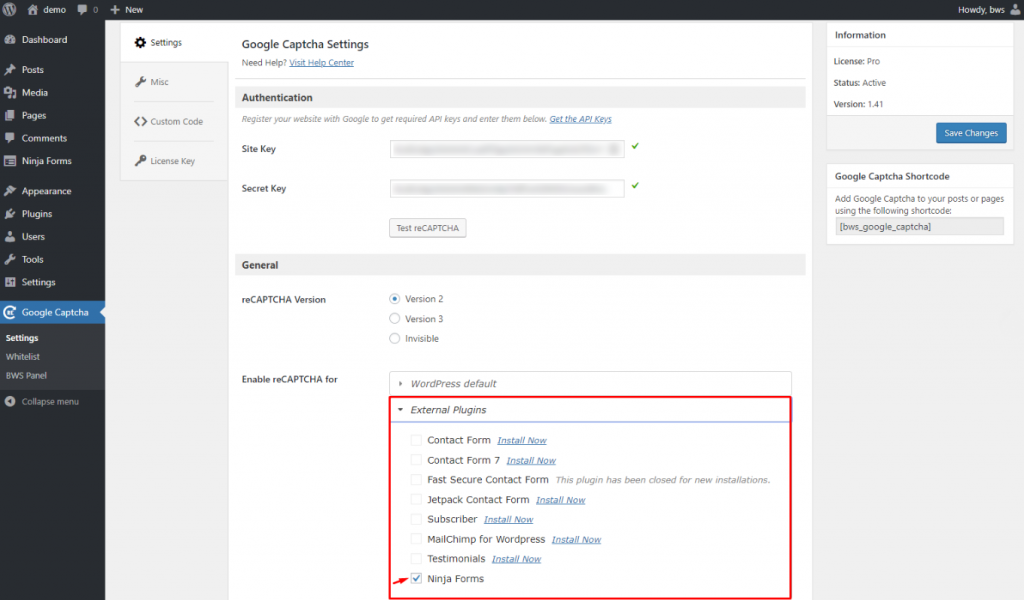
6. Go to the reCaptcha plugin settings page, find “External Plugins” section, and mark the “Ninja Forms” checkbox.
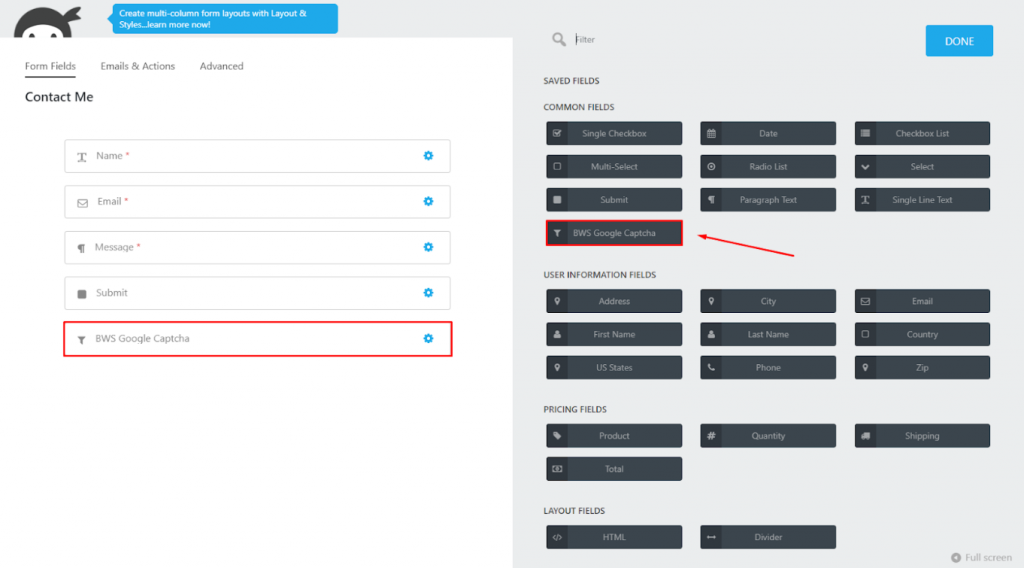
7. Open the necessary Ninja Form and click the “+” button in the lower right corner. Then, select “BWS Google Captcha” from “COMMON FIELDS” section and click “Done”. After that, you will see the corresponding field in your form, which can be dragged and dropped to a different position or renamed. After you have done editing, click “Publish”.
8. It remains only to add this form’s shortcode to your post or page (for details, see the Ninja Forms documentation).
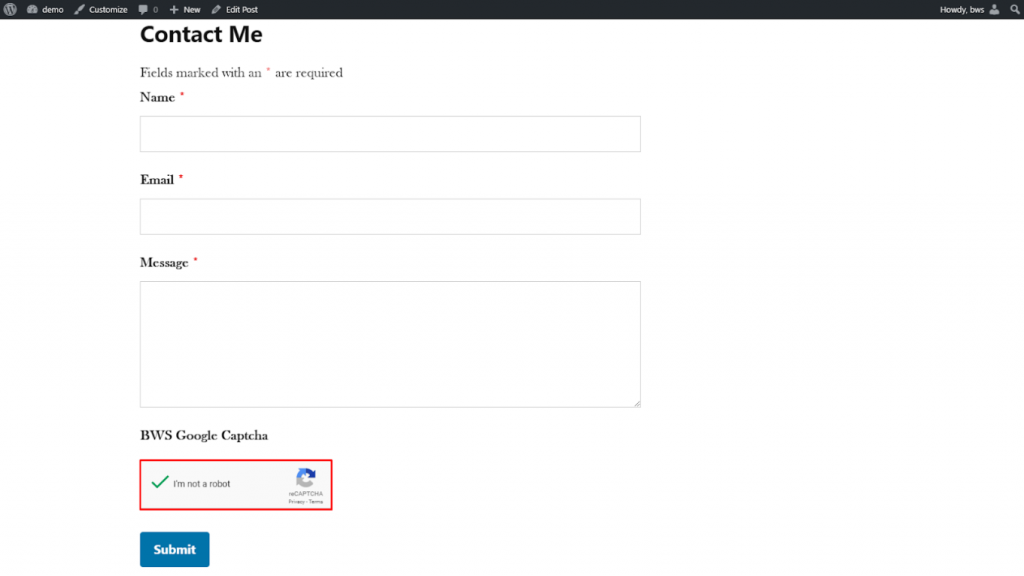
9. In the front-end, Ninja Forms Contact Form protected by reCaptcha v2 will look the following way:
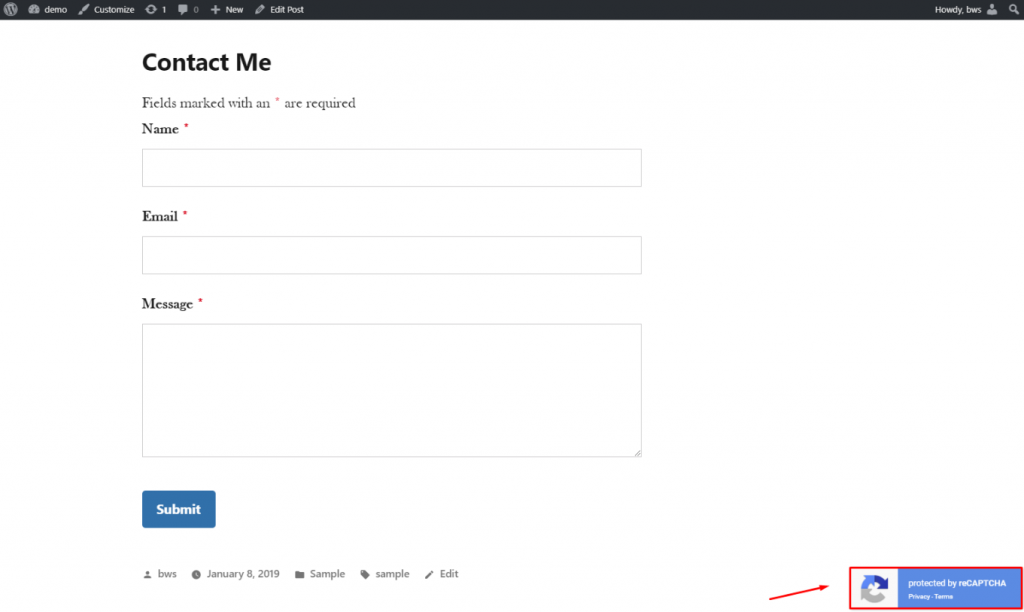
10. And the Contact Form protected by reCaptcha v3 will look like this:
reCaptcha is one of the most popular tools for preventing spam attacks and bots invasion. It is really important to update its functionality from time to time in order to make sure there is not even a small chance to bypass its security. What is more, we receive a lot of requests from our users asking to implement compatibility with some forms. We’re taking them all into account and do our best to realize all the suggestions. Thus, compatibility with some of the most popular external plugins, including Ninja Forms, has been added.
Don’t leave any chances to break your security, stay safe with the reCaptcha plugin by BestWebSoft!
Contact us via Help Center if you have any technical questions, our friendly Support Team is happy to help.