
Why Add Custom Fields to User Profiles?
WordPress offers a powerful user management system, which makes it ideal for multi-author blogs, membership sites, or eCommerce websites. By adding custom fields, you can enhance user profiles with additional information such as job titles, social media links, preferences, or any other data that is relevant to your site’s purpose.
Custom fields are a great way to collect more data from users, making your website more personalized and improving the overall user experience.
Benefits of Custom User Fields:
- Enhance User Profiles: Add additional details to user profiles, making them more informative.
- User Segmentation: Use custom fields to segment users for targeted content or marketing.
- Data for Integrations: Store metadata for use with other plugins (e.g., WooCommerce).
- Front-end Display: Display custom field data on the front end of your website, making user information accessible to others.
Main Features of Custom Fields in the User Profile
1. Using Shortcode
Profile Extra Fields allow you to display user data on your page or post. This custom extra field comprises all user data: logged-in user data, data for specific user roles, or certain user data for the current user. You can display profile extra fields via shortcodes. This also helps to export all user data to a CSV file and configure user data shortcode settings.
2. User Data Rotation
User data rotation allows you to display data in rows and columns. You can differentiate user data by username in ascending or descending order (ASC/DESC). It also allows you to display empty fields if they are missed. Additionally, it supports the display of user IDs in the table, which is a popular feature for WordPress custom fields, making management easier.
3. Form Validation Message
This feature lets you create validation messages for empty fields or unavailable fields. It also allows you to enable or disable the debug mode, which helps detect errors quickly. If there are any issues or mistakes, the system will automatically detect them, notify you, and help you remove these errors to avoid future problems.
4. Choose Extra Field Type
Choosing the extra field type is easy with this feature. You can select various field types, including text fields, text areas, checkbox fields, dropdown lists, date fields, time fields, and phone number fields. These field types make your work much easier and allow you to collect more specific user information.
5. Customize Extra Fields
This feature allows you to customize extra fields, such as creating field names and descriptions. You can also set the maximum length for text and numbers in the appropriate fields. You can mark fields as required if needed. The customization settings are designed for easy setup without requiring any coding. If you make a mistake, the system will guide you through the corrections.
6. Unlimited Number of Extra Fields (Pro Features)
By subscribing to the Pro version, you get access to all the features above and additional options such as compatibility with WooCommerce. This includes support for registration forms, checkout billing forms, and an unlimited number of extra fields. The Pro version also offers responsive support and ensures that all your needs are addressed promptly, with answers to your questions provided within one business day. Ready to help you, just in case you need one. There is a responsive system waiting to meet your needs.
Adding Custom Fields Programmatically
If you’d rather avoid using a plugin and want to add custom fields manually, you can do so by adding code to your theme’s functions.php file.
1. Add a Custom Field to the User Profile
Insert this code into your theme’s functions.php file to add a custom field to the user profile page:
function custom_user_profile_fields($user) {
    ?>
    <h3>Extra Profile Information</h3>
    <table class="form-table">
        <tr>
            <th><label for="job_title">Job Title</label></th>
            <td>
                <input type="text" name="job_title" id="job_title" value="<?php echo esc_attr(get_the_author_meta('job_title', $user->ID)); ?>" class="regular-text" /><br/>
                <span class="description">Please enter your job title.</span>
            </td>
        </tr>
    </table>
    <?php
}
add_action('show_user_profile', 'custom_user_profile_fields');
add_action('edit_user_profile', 'custom_user_profile_fields');
2. Save the Custom Field Value
You also need to save the custom field data when the user updates their profile. Add the following code:
function save_custom_user_profile_fields($user_id) {
    if (!current_user_can('edit_user', $user_id)) {
        return false;
    }
    update_user_meta($user_id, 'job_title', sanitize_text_field($_POST['job_title']));
}
add_action('personal_options_update', 'save_custom_user_profile_fields');
add_action('edit_user_profile_update', 'save_custom_user_profile_fields');
Now, the custom field will appear in the user profile, and any data entered will be saved when the user updates their profile.
Adding Custom Fields Using a Plugin
For those who prefer a plugin solution, Profile Extra Fields is a great choice. It allows you to add custom fields to user profiles without needing to write any code.
Features of Profile Extra Fields Plugin:
WooCommerce integration (Pro version).
Add various custom field types such as text, checkboxes, radio buttons, date pickers, etc.
Display custom field data on posts and pages using shortcodes.
Export user data to CSV.
How to Set Up Profile Extra Fields Plugin:
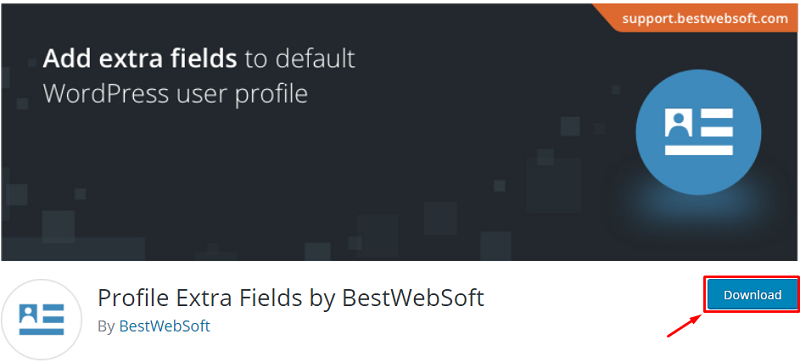
- Download the Profile Extra Fields plugin, as shown in the picture below. We recommend you to download Profile Extra Fields Plugin as it is one of the best custom fields adder.
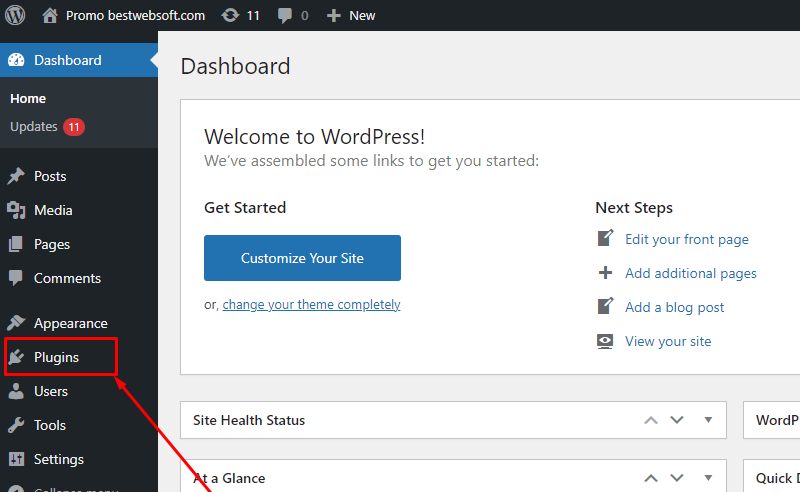
- Open your WordPress page, then click on plugins is seen in the picture below, then you will be taken to a page where you have to activate the plugin.
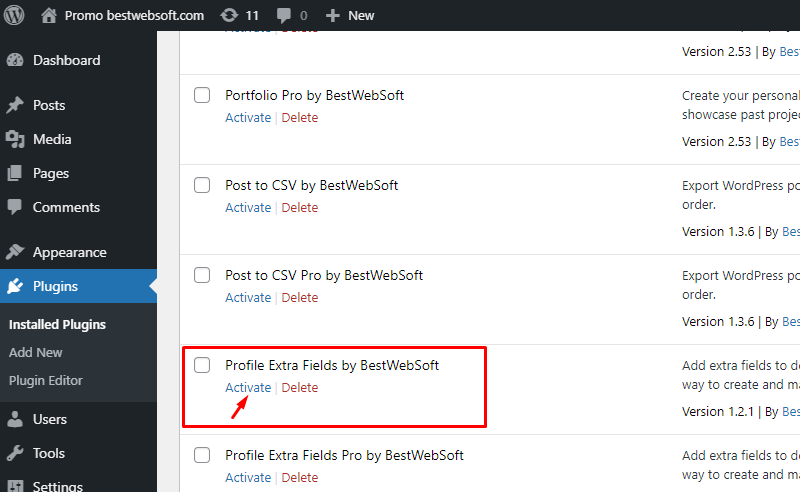
- Activate the BestWebSoft plugin by clicking on Activate as seen in the picture below. You will see a little change in the interface, which will include setting.
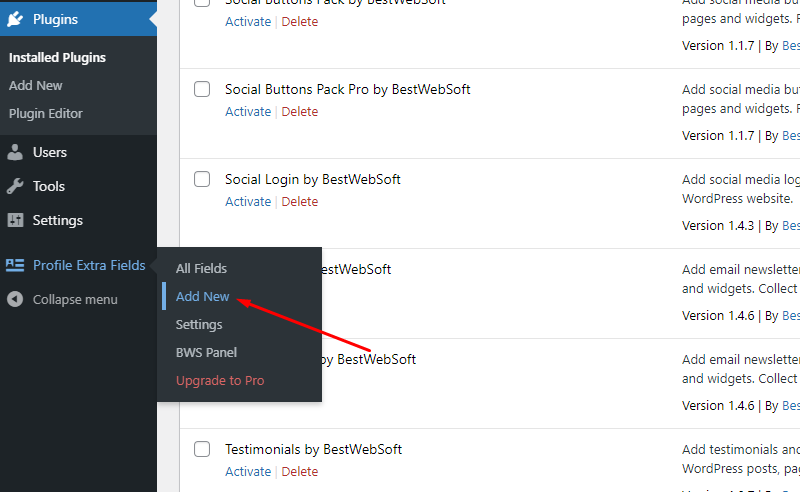
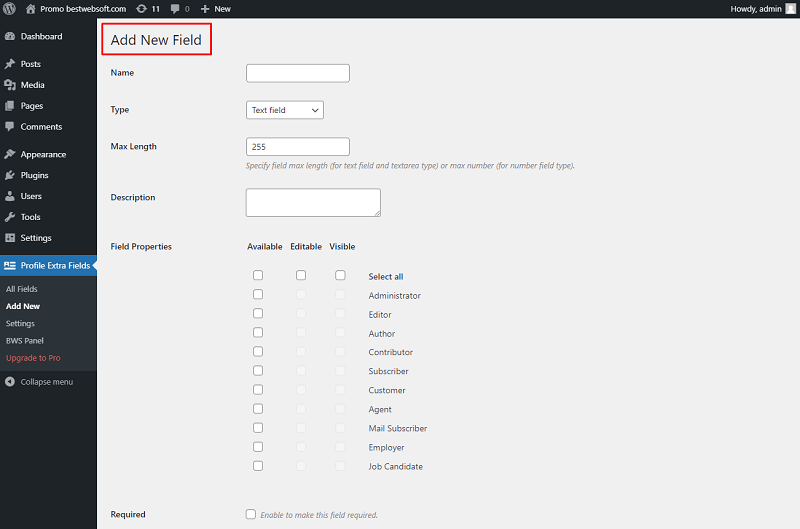
- On the Dashboard, click the Profile Extra Fields > Add New.
- Set up the new field according to your needs
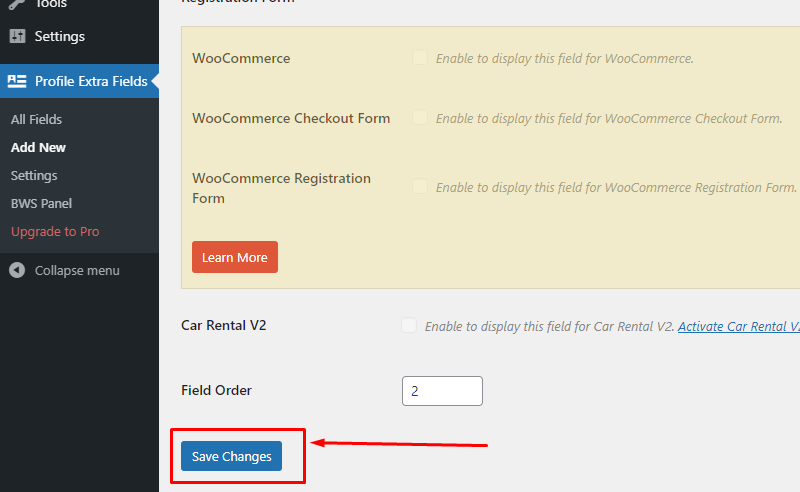
- After setting a new field, don’t forget to save your changes.
8. You can go to the Pro Version where you will have more features for your work. The Pro options let you add fields to the WooCommerce user profile and Checkout page.
And also add and edit custom fields directly on posts and pages using a shortcode. This is convenient for users, since there is no need to go to the admin panel.
Alternative Plugins for Adding Custom Fields
If Profile Extra Fields isn’t the right fit for you, there are other plugins available that can help you add custom fields to user profiles:
- Advanced Custom Fields (ACF): Ideal for managing custom fields across posts, users, and other content types.
- User Meta: A user-friendly plugin for adding and managing user profile fields.
- Pods: A flexible content management plugin that allows you to create custom user fields and display them on your site.
Conclusion
Adding custom fields to user profiles in WordPress enhances the user experience and provides more options for data collection and personalization. Whether you choose to add fields programmatically or via a plugin like Profile Extra Fields, the benefits are clear. Custom fields help you customize user profiles and improve your website’s functionality.
For those who want even more options, consider using other plugins like ACF, User Meta, or Pods to enhance your user management system.
In summary, we will also recommend the Updater plugin which will automatically check and update the WordPress website core with all installed plugins and themes to the latest versions.
Also, the User Role plugin is a very powerful user role management plugin for the WordPress website. Create, edit, copy, and delete user roles.