
The PDF & Print plugin from BestWebSoft provides an easy way to create professional PDFs and print pages from your WordPress site. In this guide, we’ll show you how to integrate it with the Advanced Custom Fields (ACF) plugin to include custom fields in your documents.
Steps to Display ACF Fields in PDF & Print Documents
1. Activate the Required Plugins
Ensure that both the PDF & Print Pro and Advanced Custom Fields plugins are installed and activated on your WordPress site.
2. Create Custom Fields with ACF
Use the ACF plugin to create custom fields or field groups.
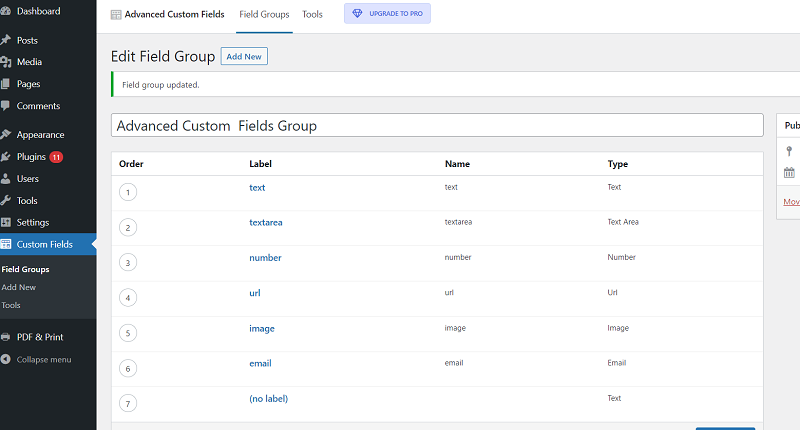
3. Add ACF Fields to Content Using Shortcodes
On your WordPress page or post, insert ACF field shortcodes as needed.
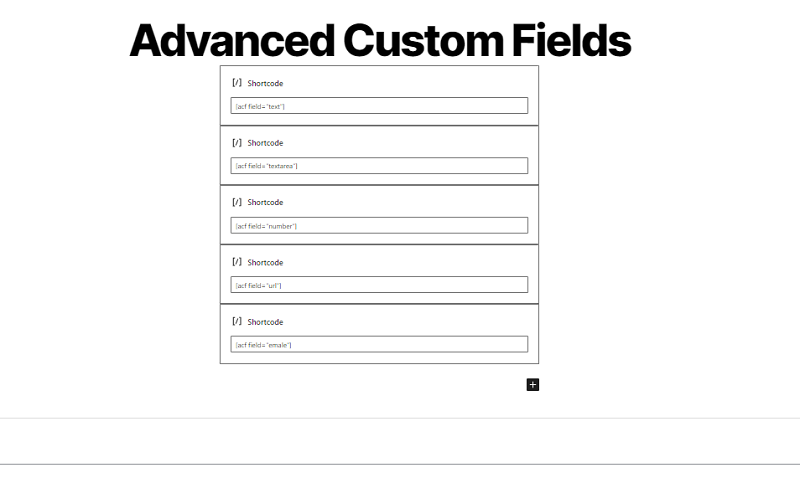

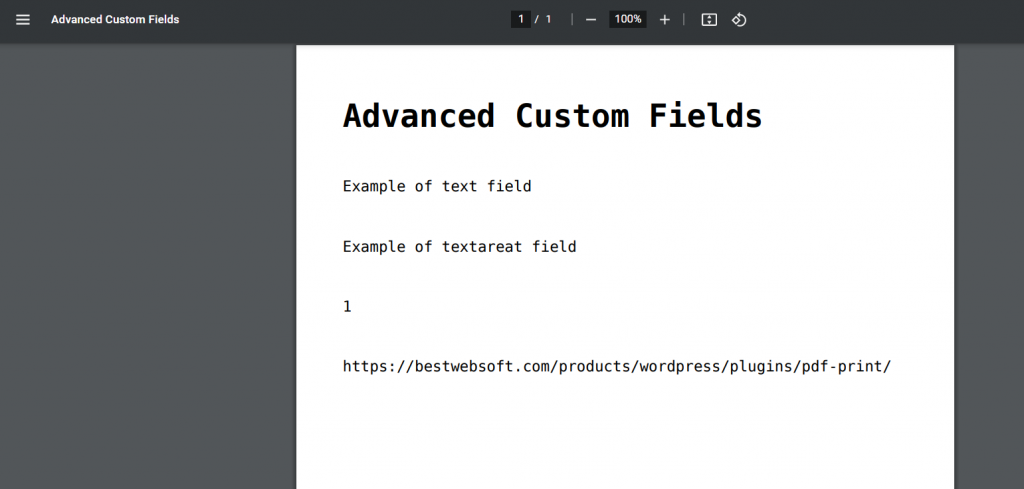
4. Generate a PDF or Print Document
When ACF shortcodes are used inside the main content, no extra setup is required—the fields will appear automatically in your PDF & Print documents.
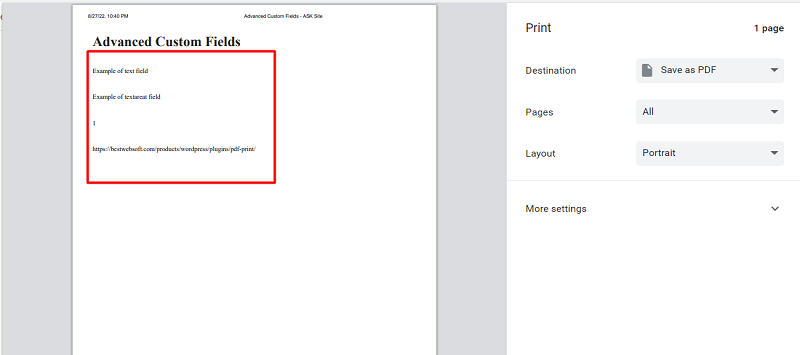
And, an example of displaying fields in a Print document.
5. Display ACF Fields Exclusively in PDF & Print Documents
If you want ACF fields to appear only in the PDF or Print documents, enable the Advanced Custom Fields option in the PDF & Print Pro settings.
Steps:
Go to Settings → Output tab.
Enable the Advanced Custom Fields display option.

6. Activate ACF Fields for Specific Pages
To control ACF field visibility for individual pages:
Open the page editor.
Enable the PDF & Print Advanced Custom Fields option
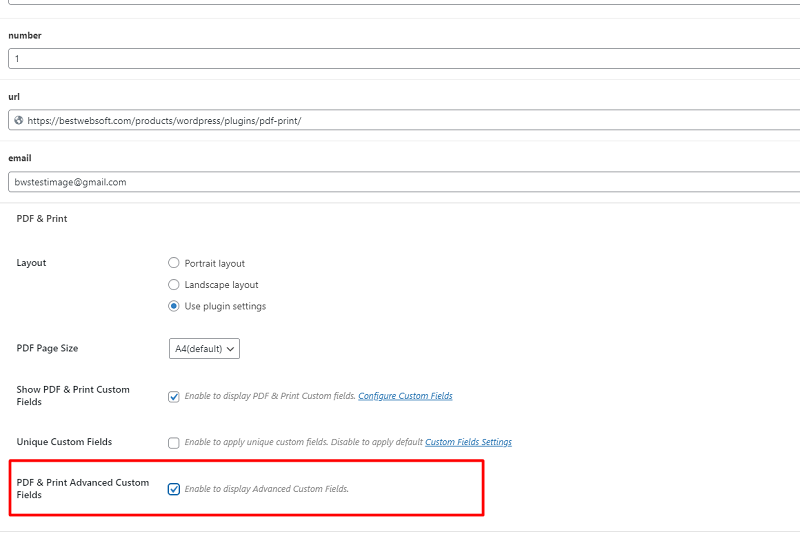
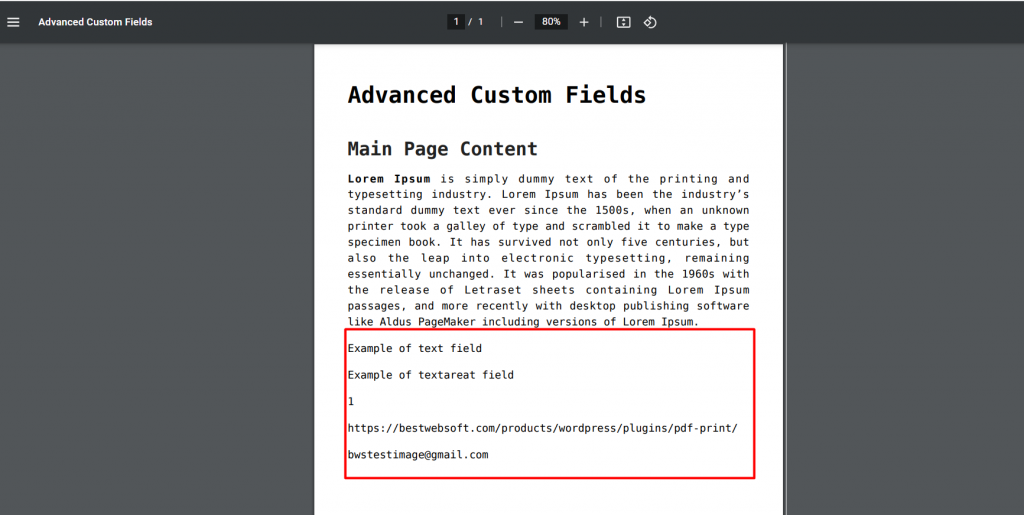
Even if these fields are not displayed in the main content, they will still appear in your PDF and Print documents.
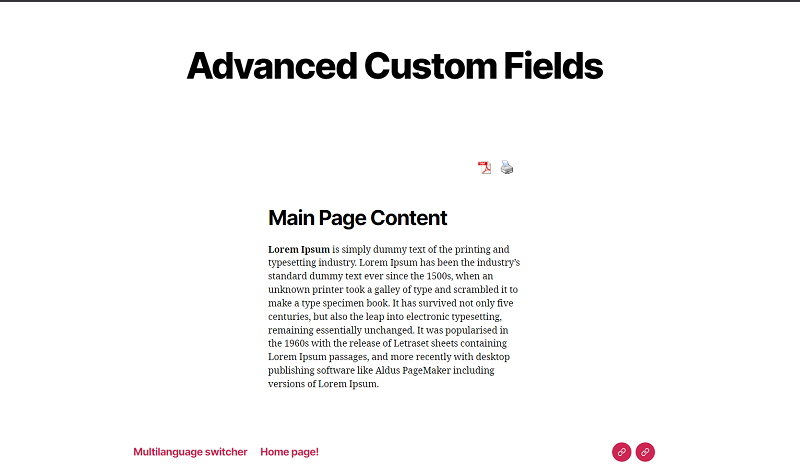
Below is an example of the main content on a website page:
Example of displaying a PDF document:
7. Add Field Names to PDF & Print Documents
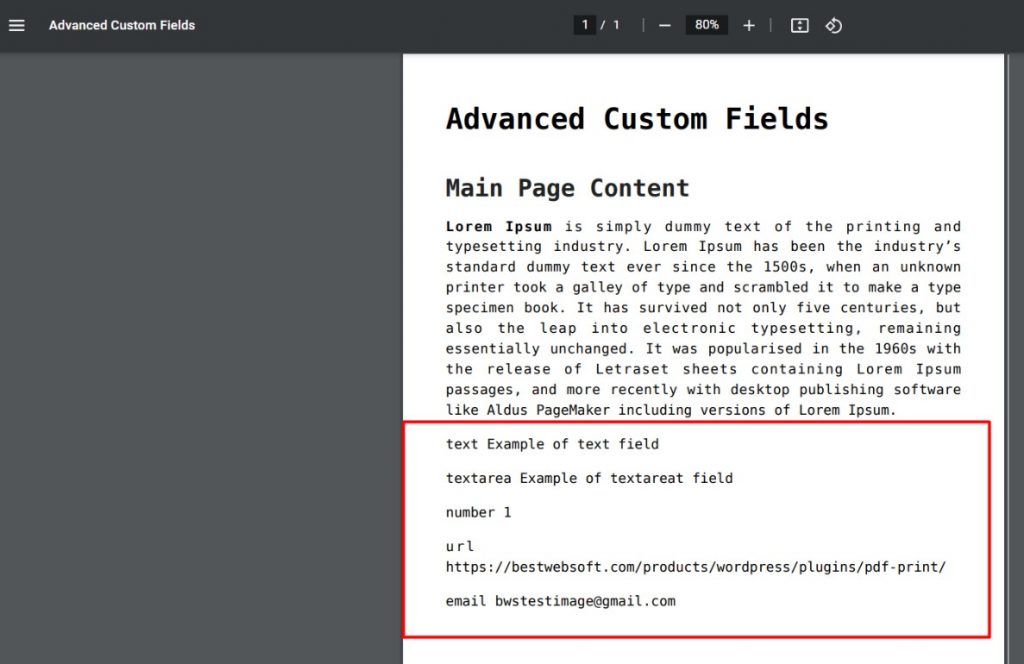
You can configure the plugin to display field labels (names) along with field values in the output.
Steps:
Go to PDF & Print Pro Settings.
Enable the option to display field names.

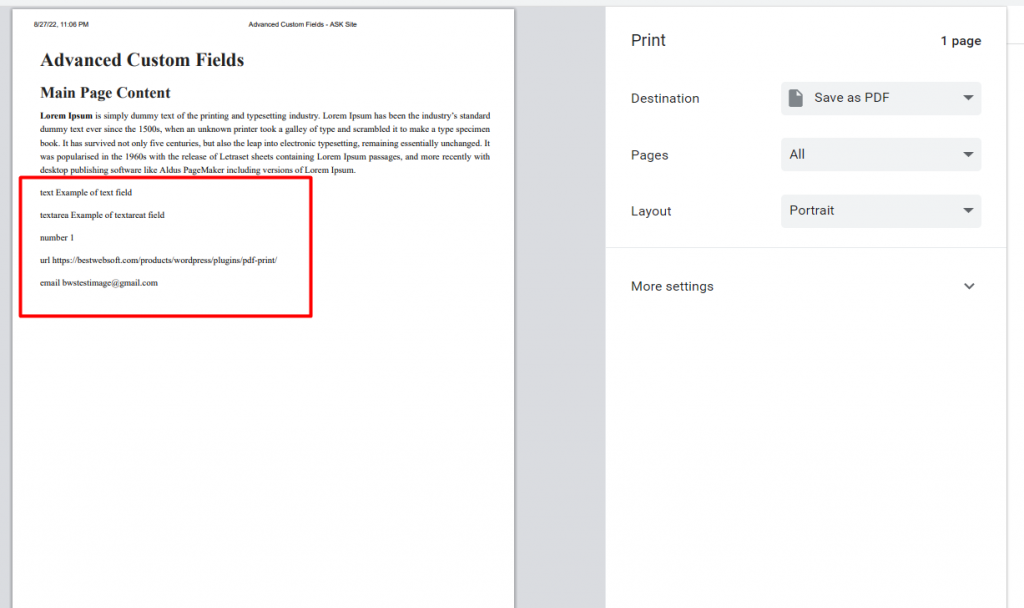
In PDF documents and Print documents, it will look as follows.
Summary
Integrating Advanced Custom Fields with PDF & Print Pro allows you to generate customized PDF and Print documents with extra data. Whether you want ACF fields in the main content or only in the generated documents, the plugin provides full control over their display.
Why Use ACF with PDF & Print?
- Generate professional-looking PDFs with custom field data.
- Display or hide ACF fields as needed.
- Improve document organization with labeled fields.
- Seamlessly integrate with your WordPress site.
Now, you can effortlessly include custom fields in your PDFs and printouts, making your documents more informative and tailored to your needs.


